Files
The Files tab is a file manager for your R scripts, data files, and folders. Create, organize, edit, and run scripts without leaving the tab.
Browsing your files
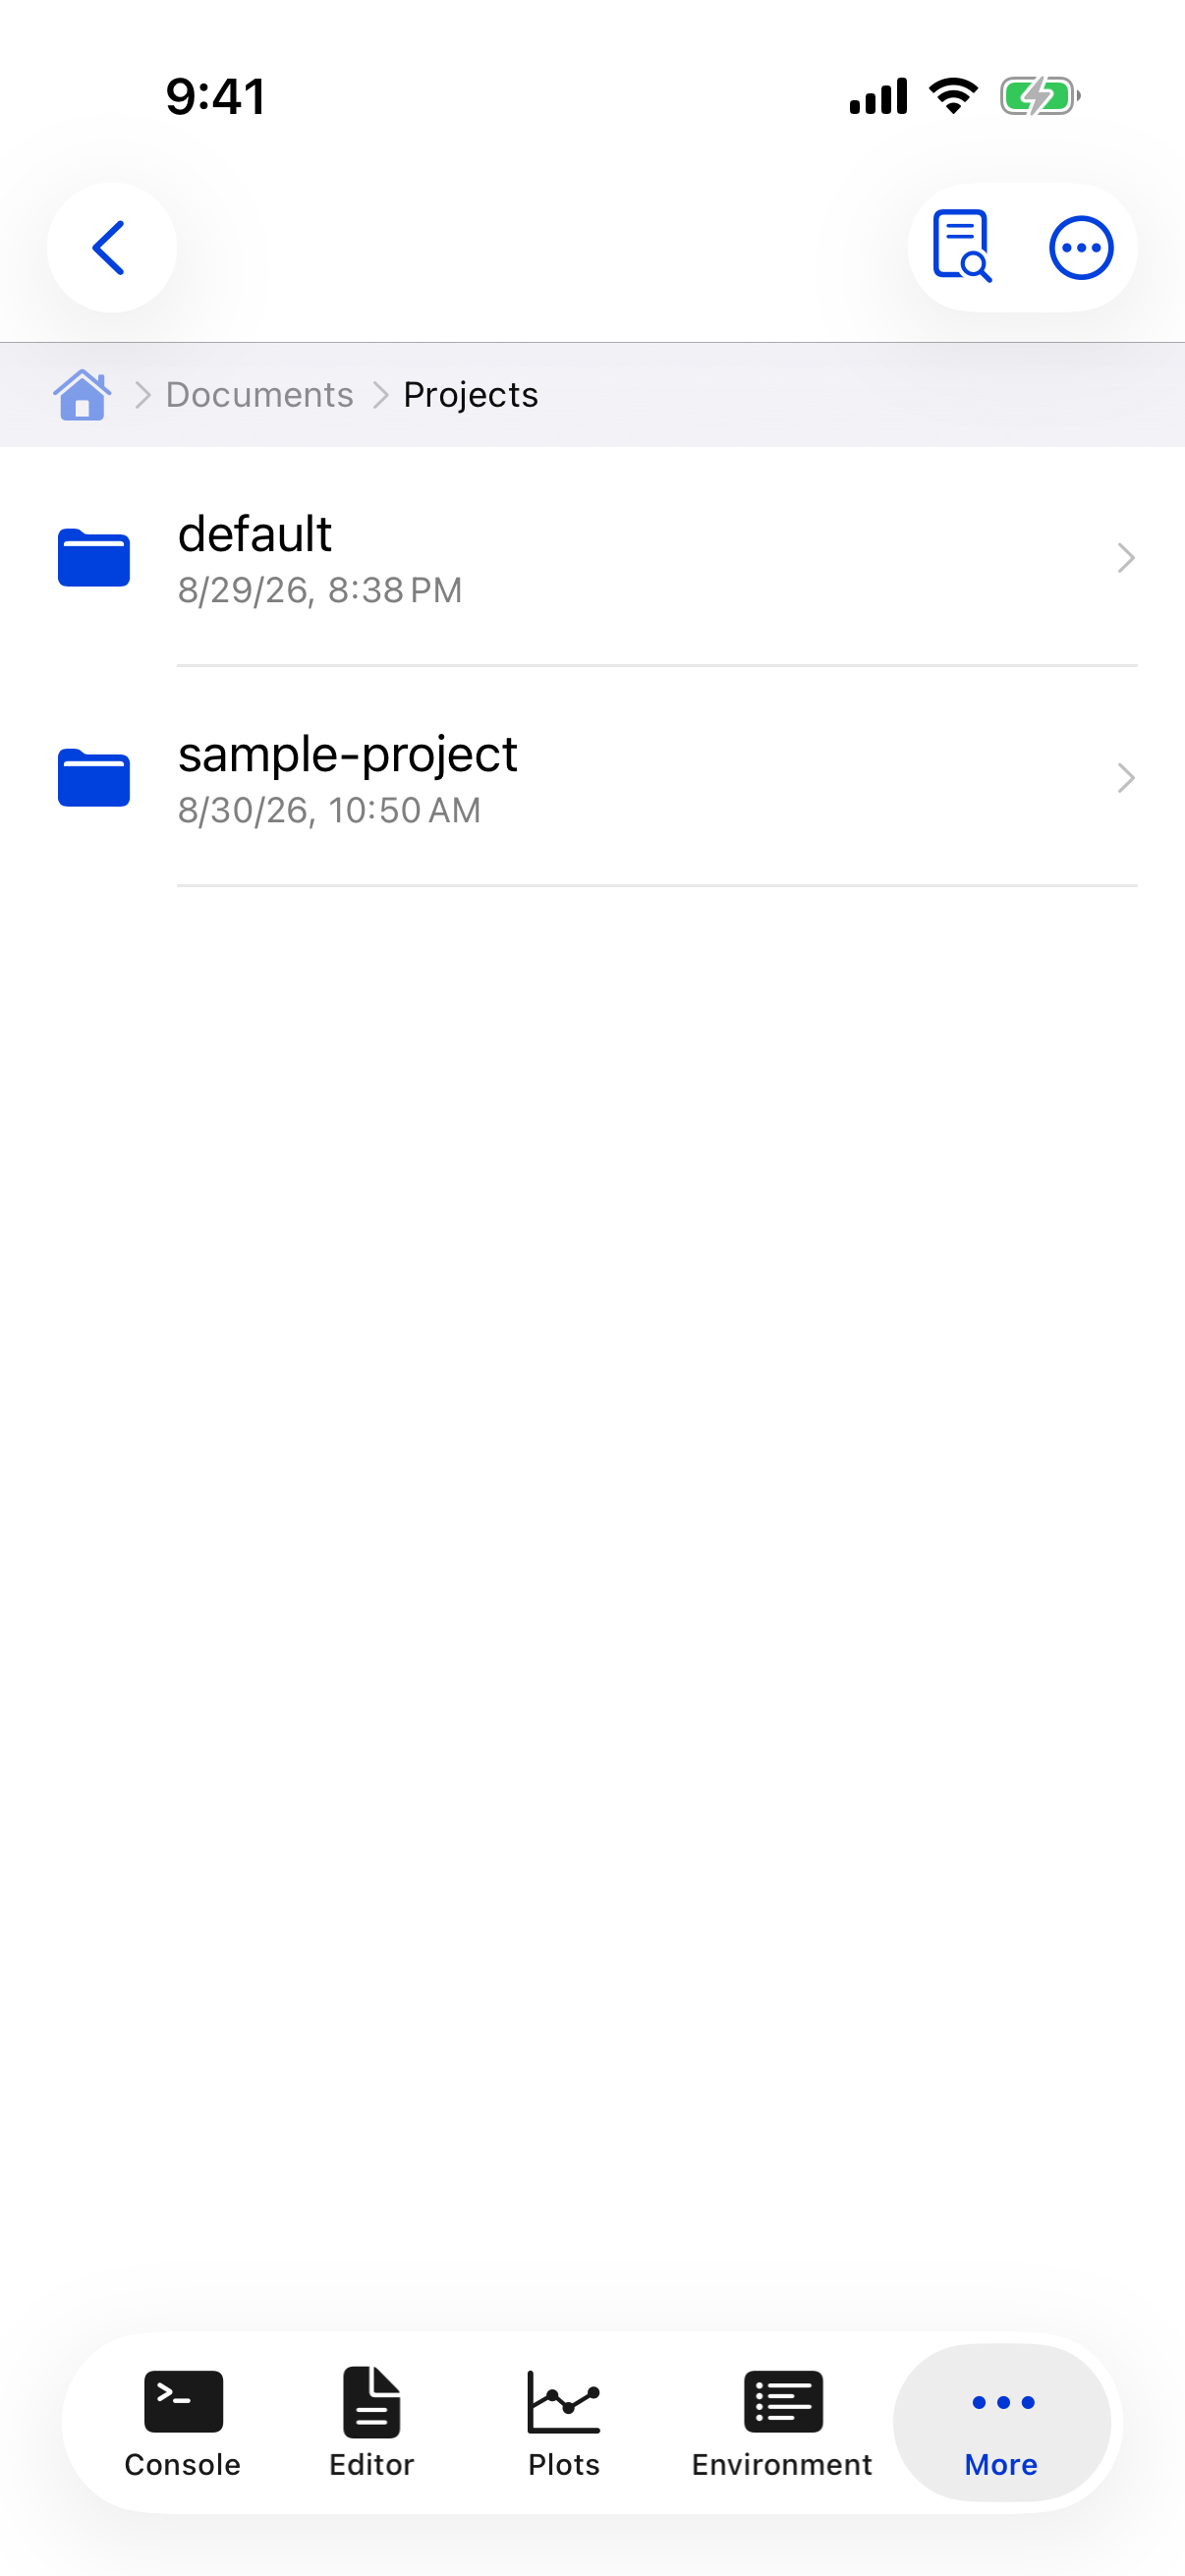
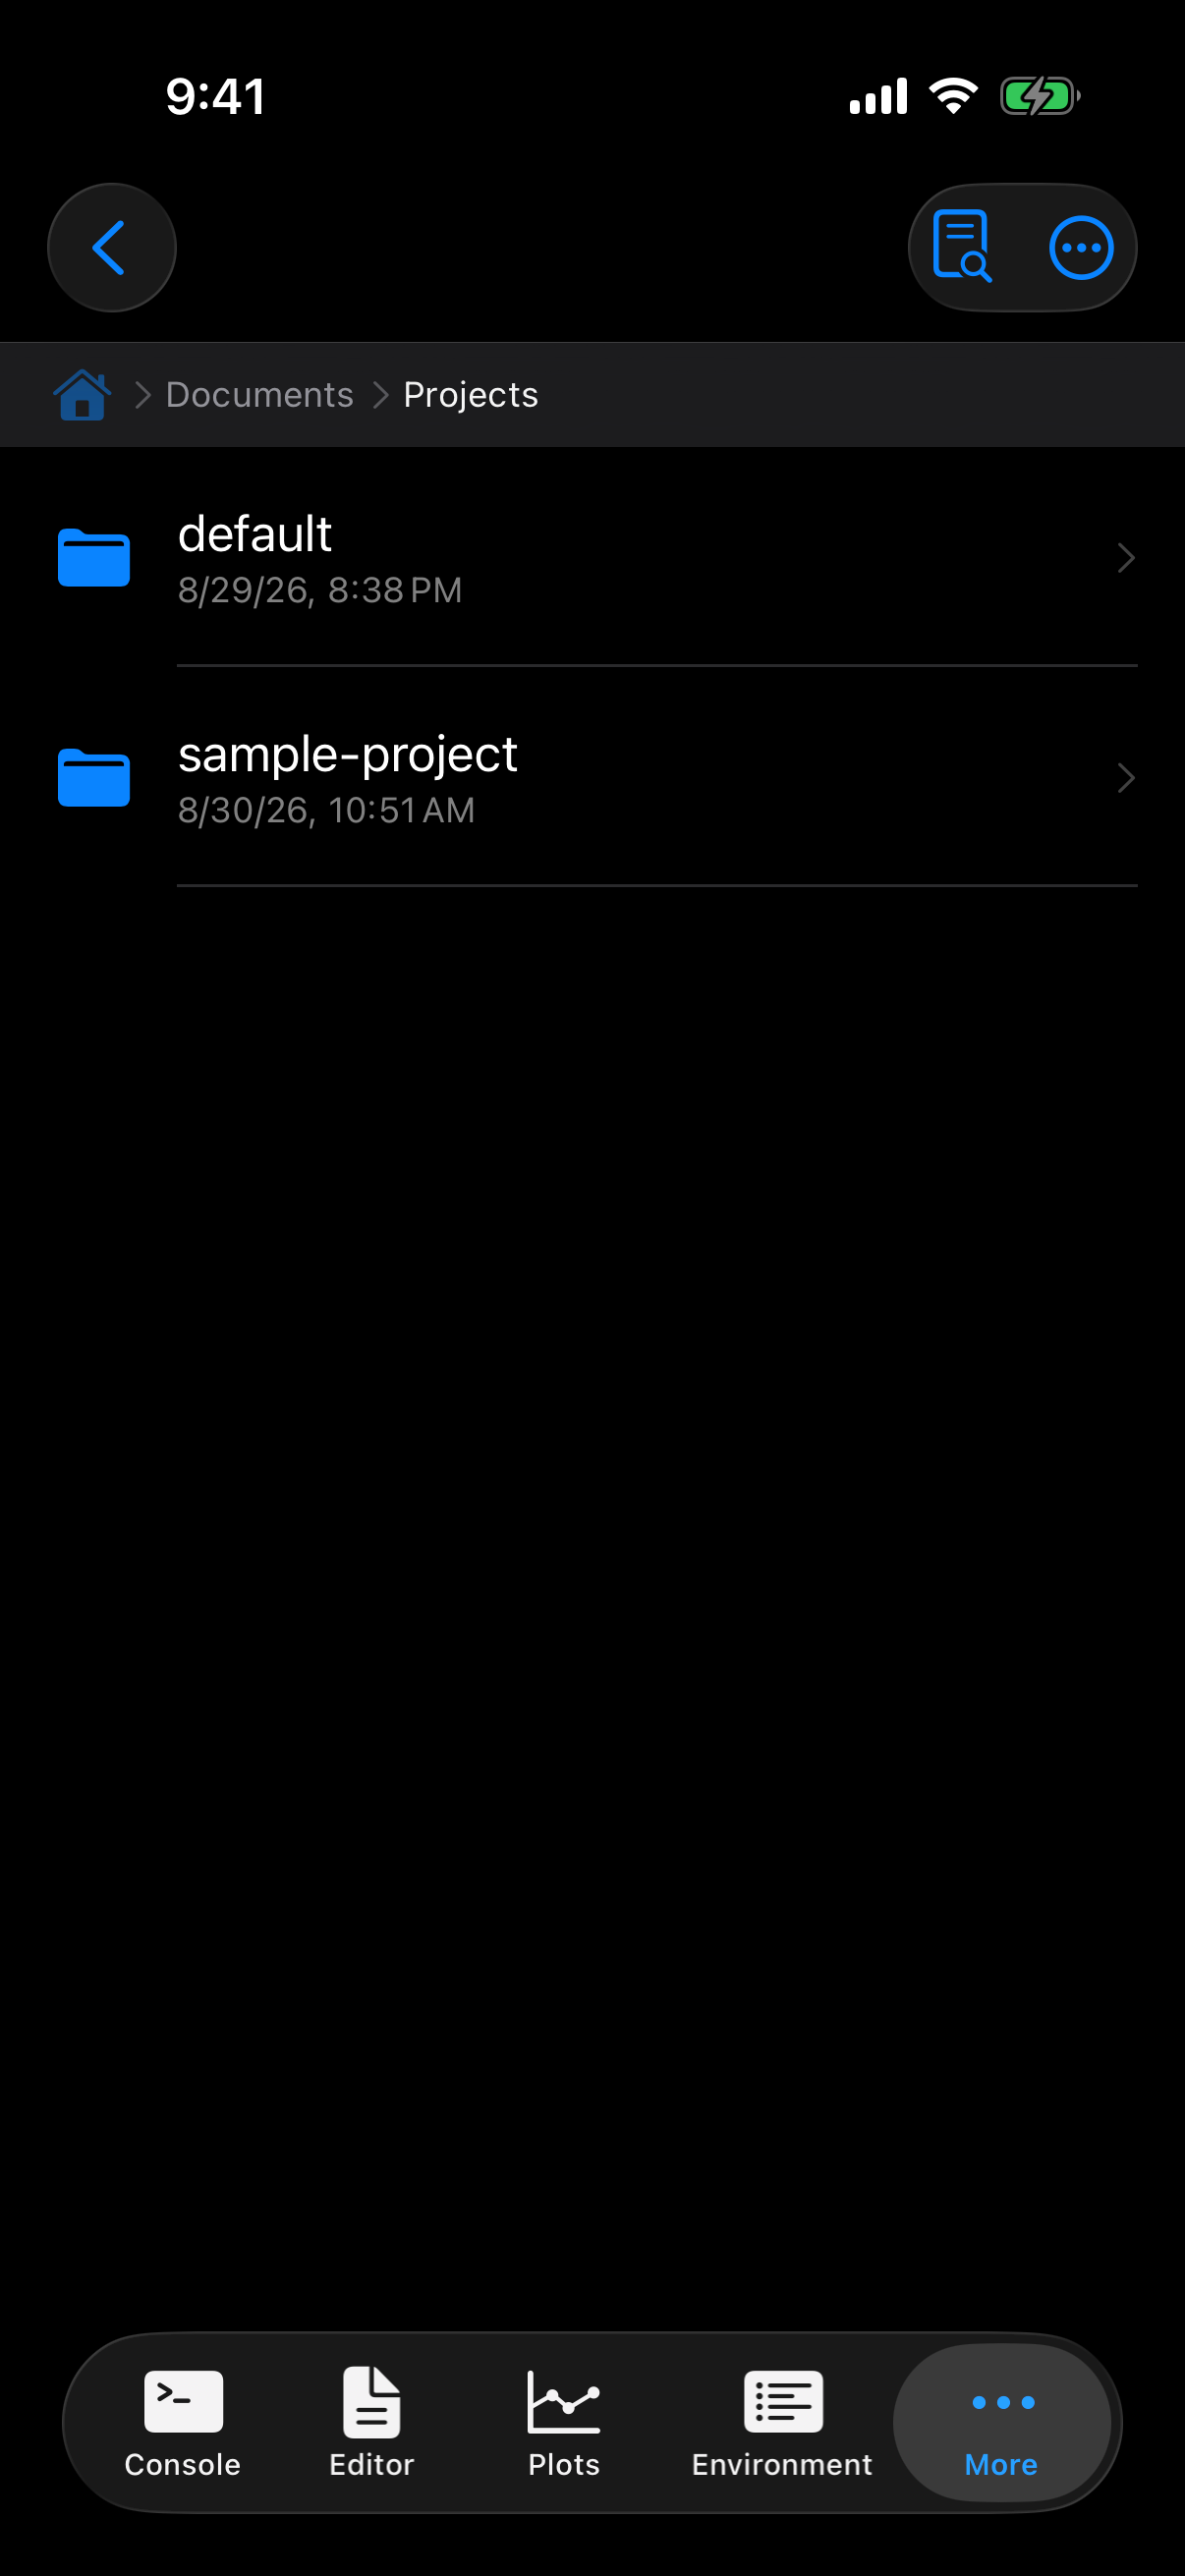
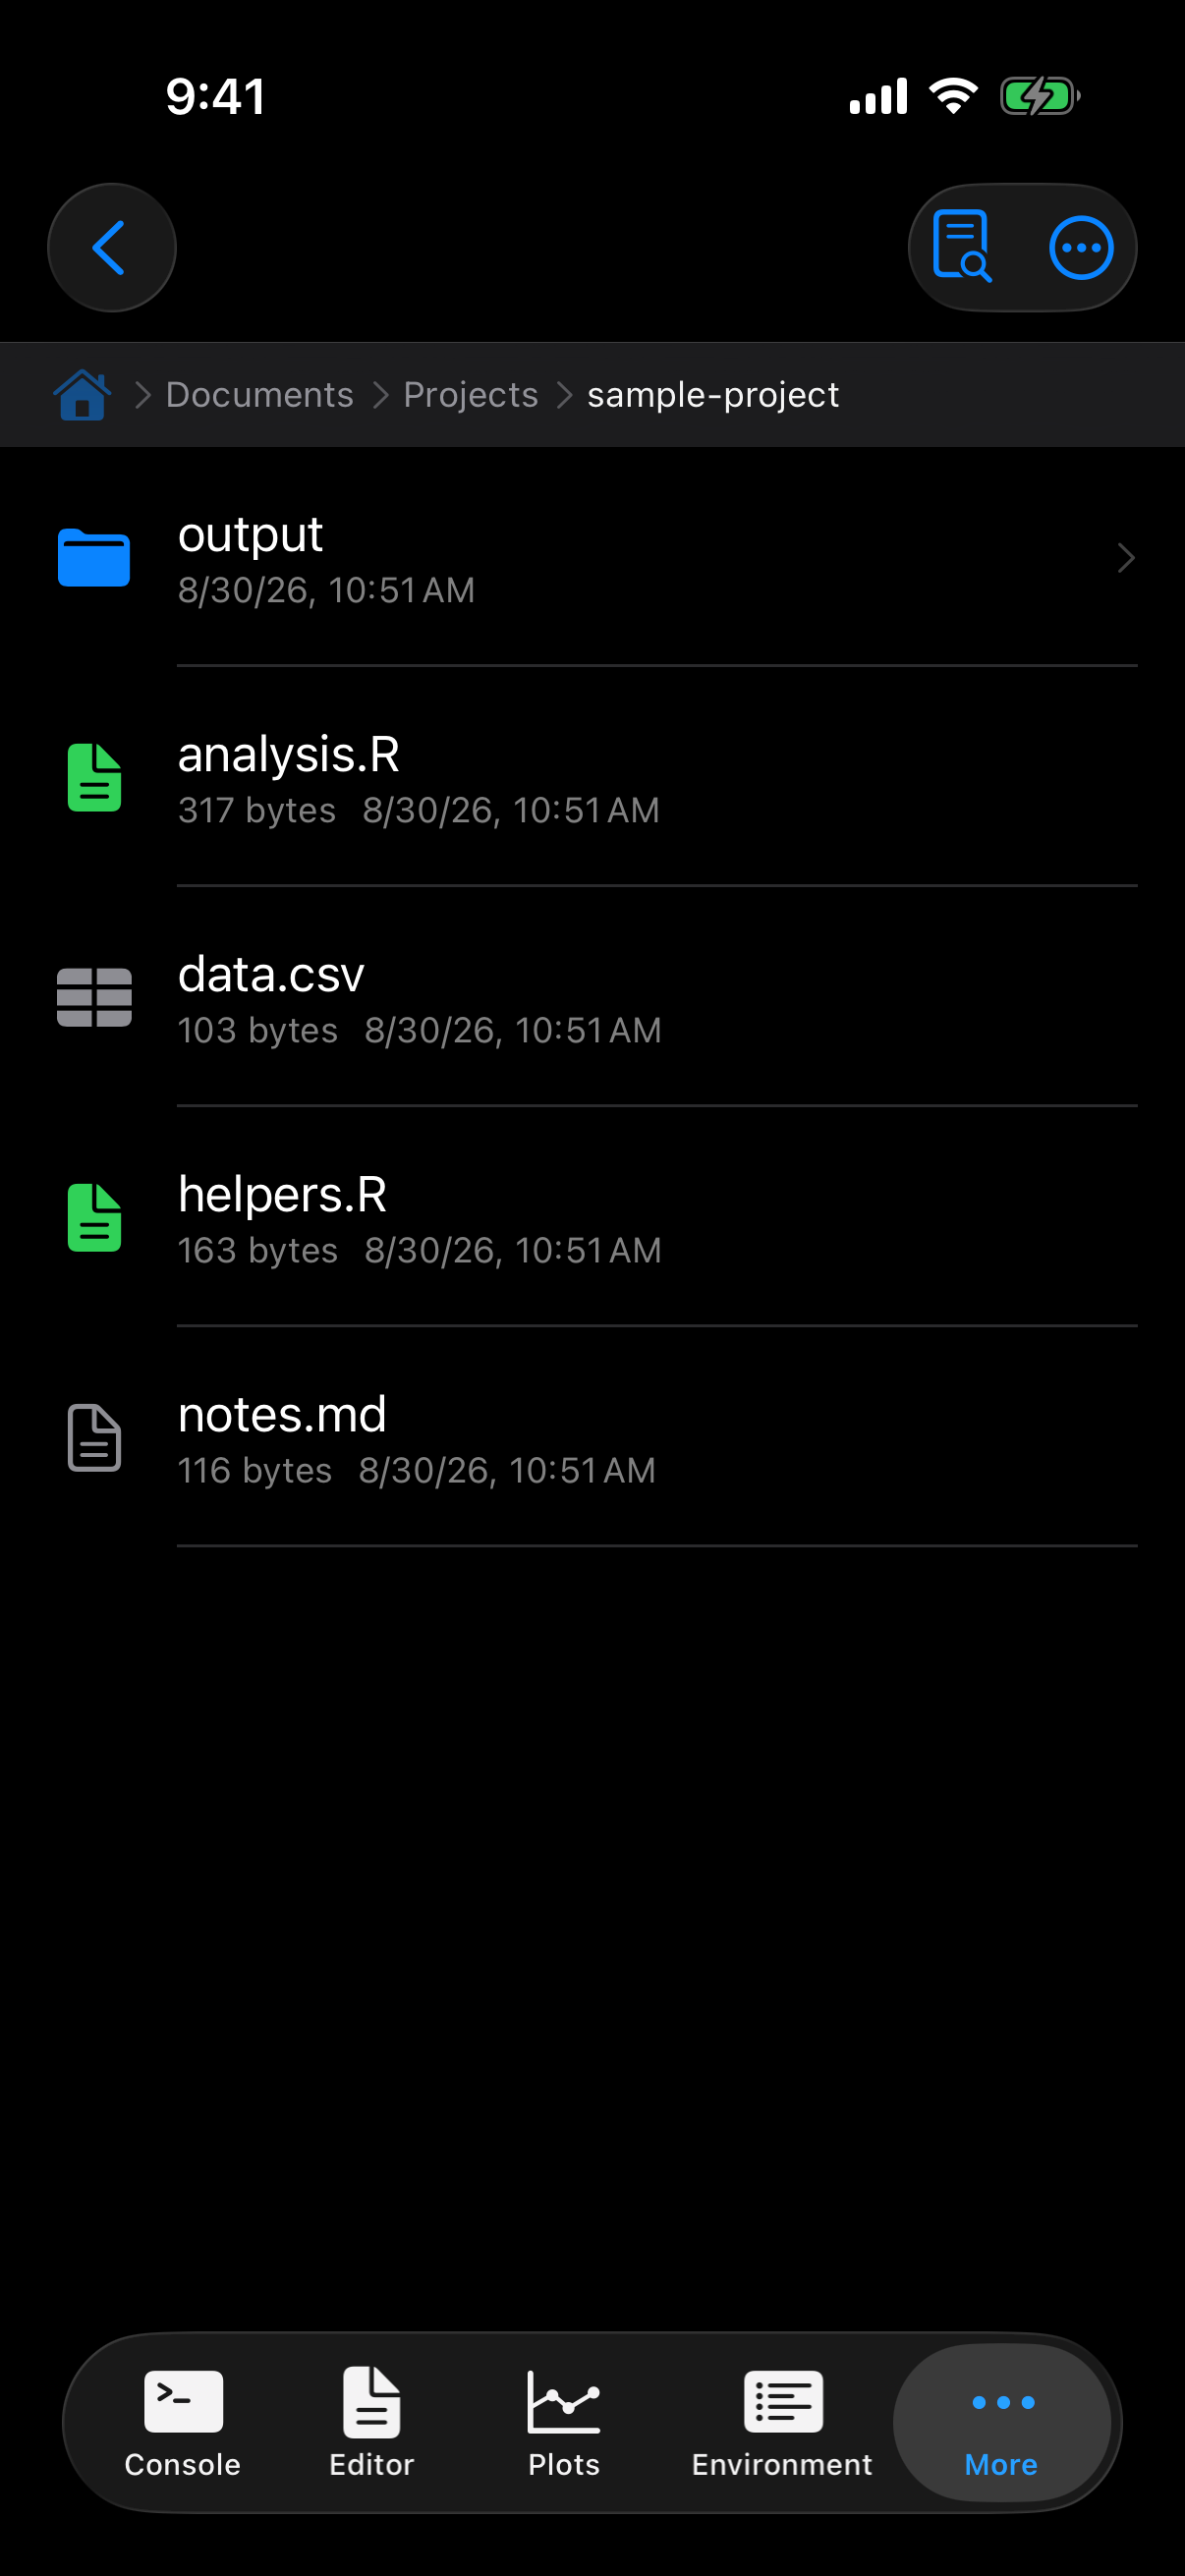
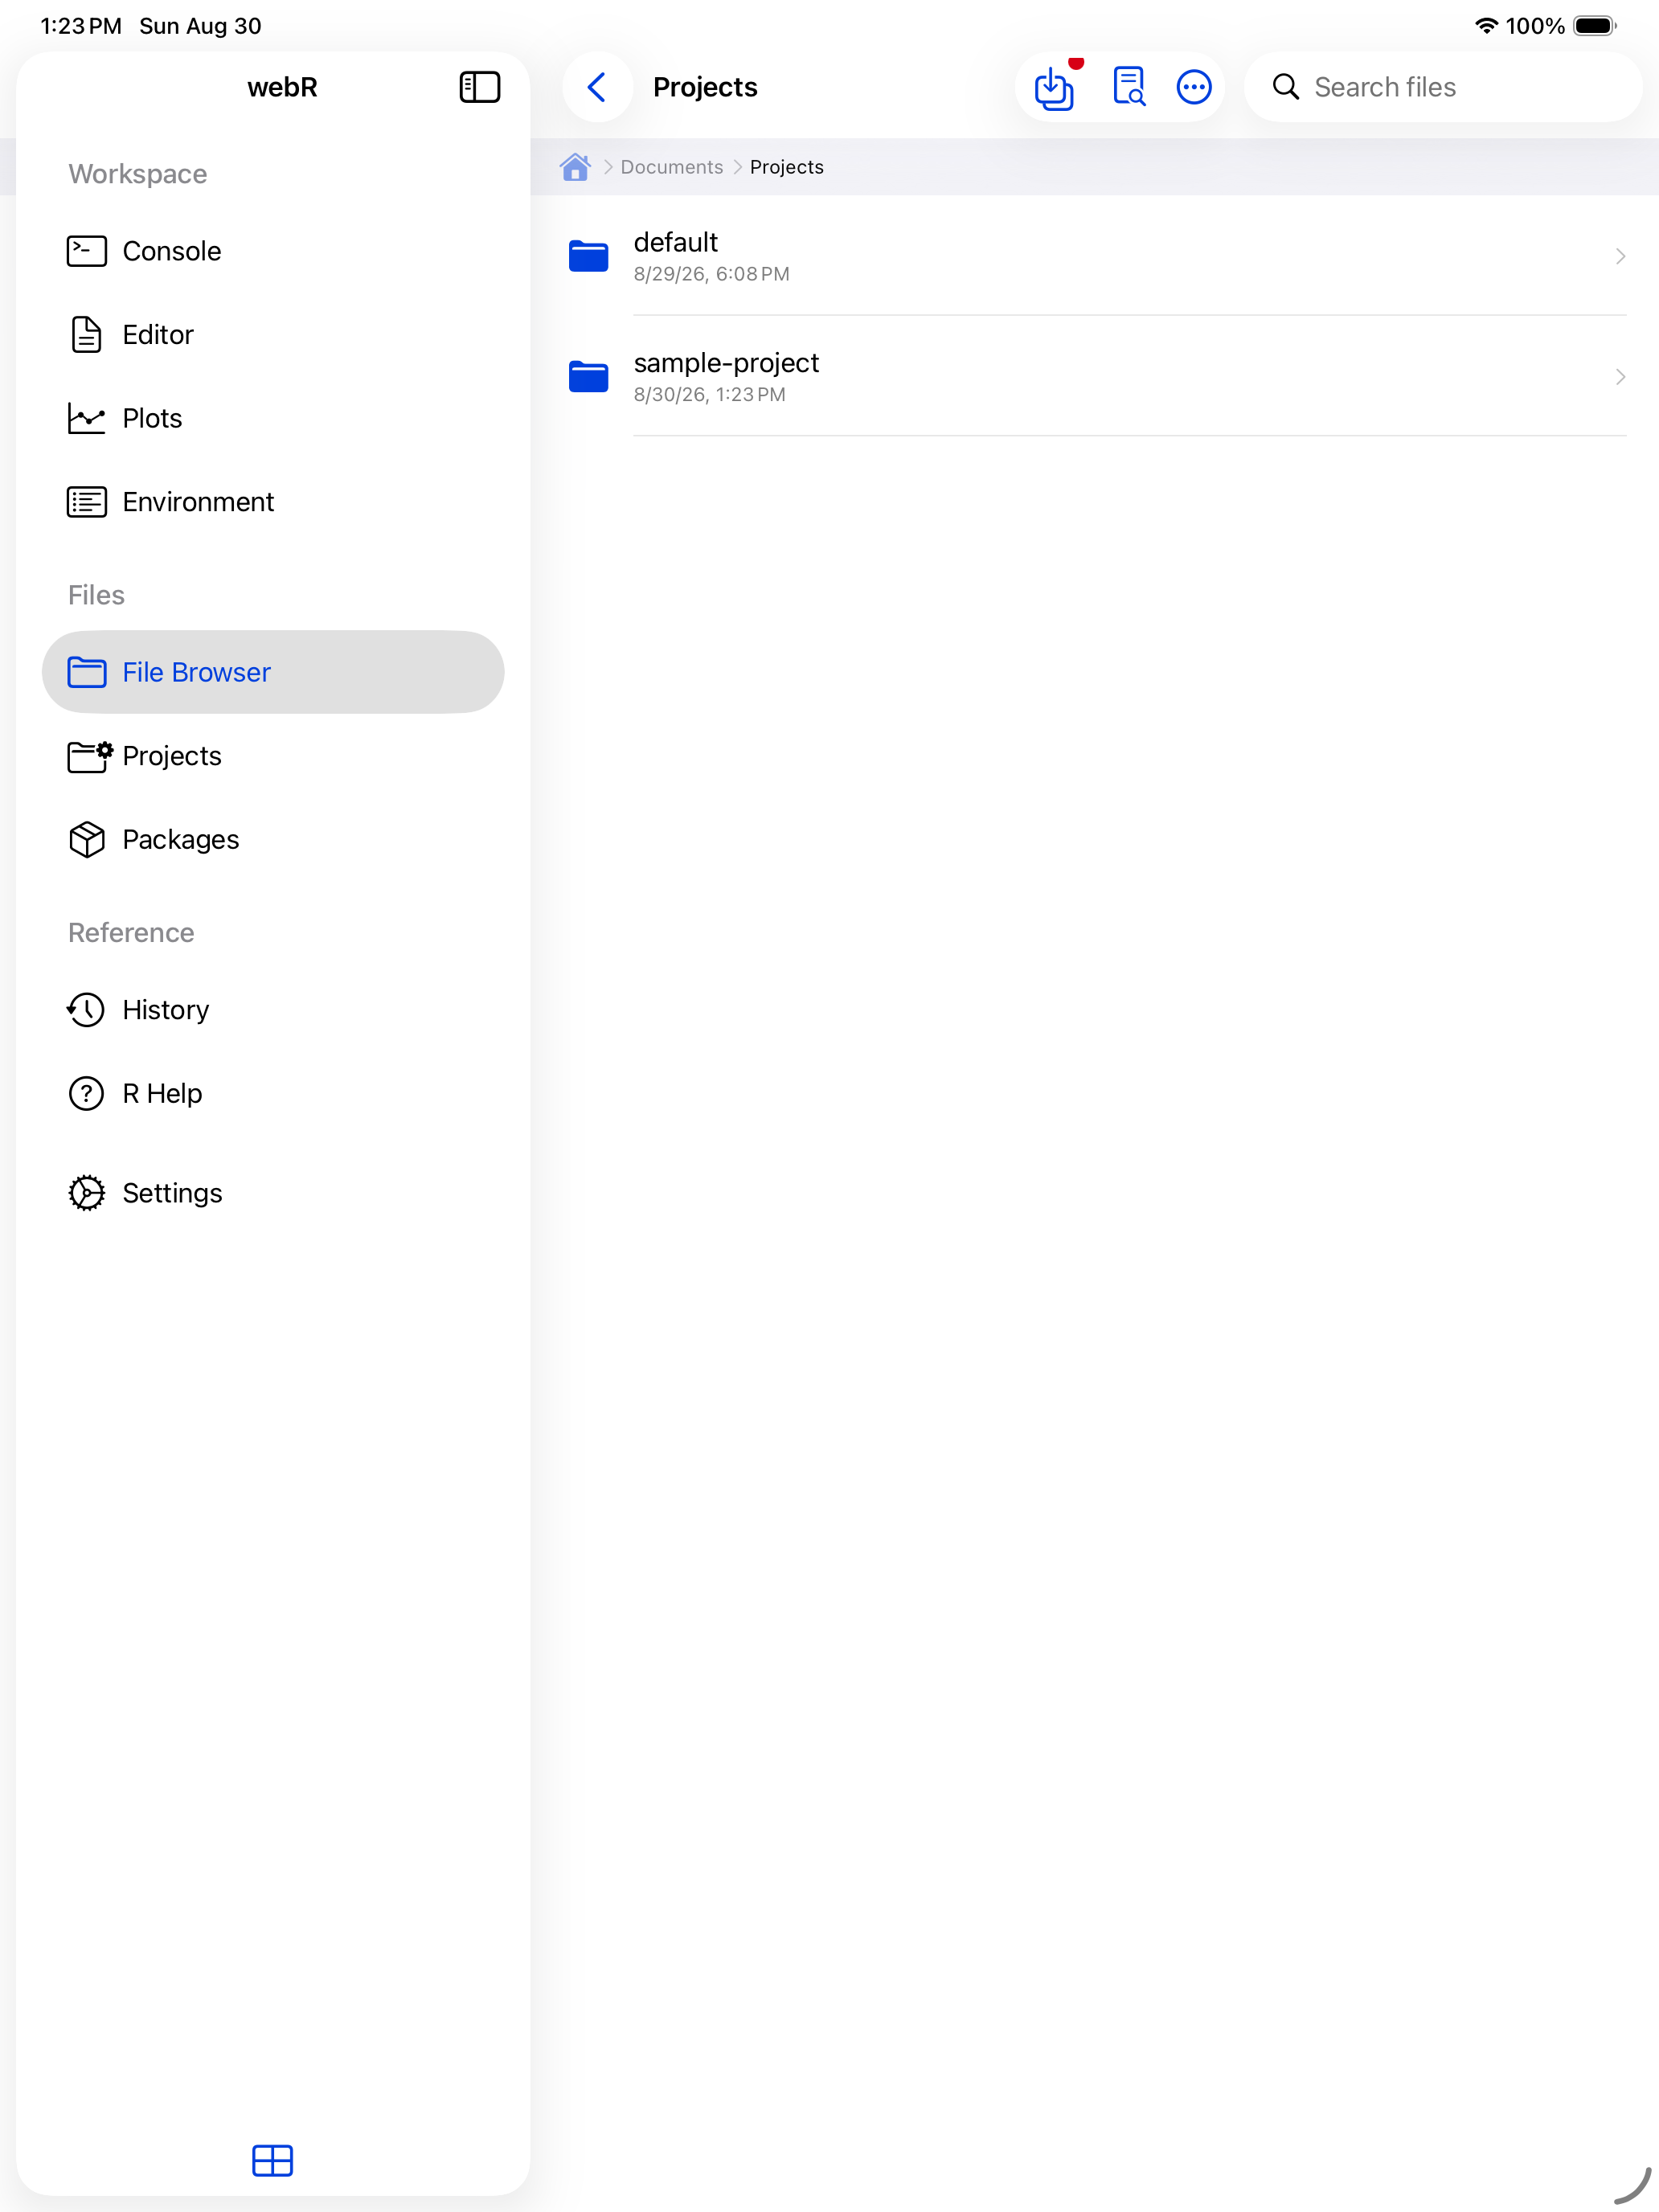
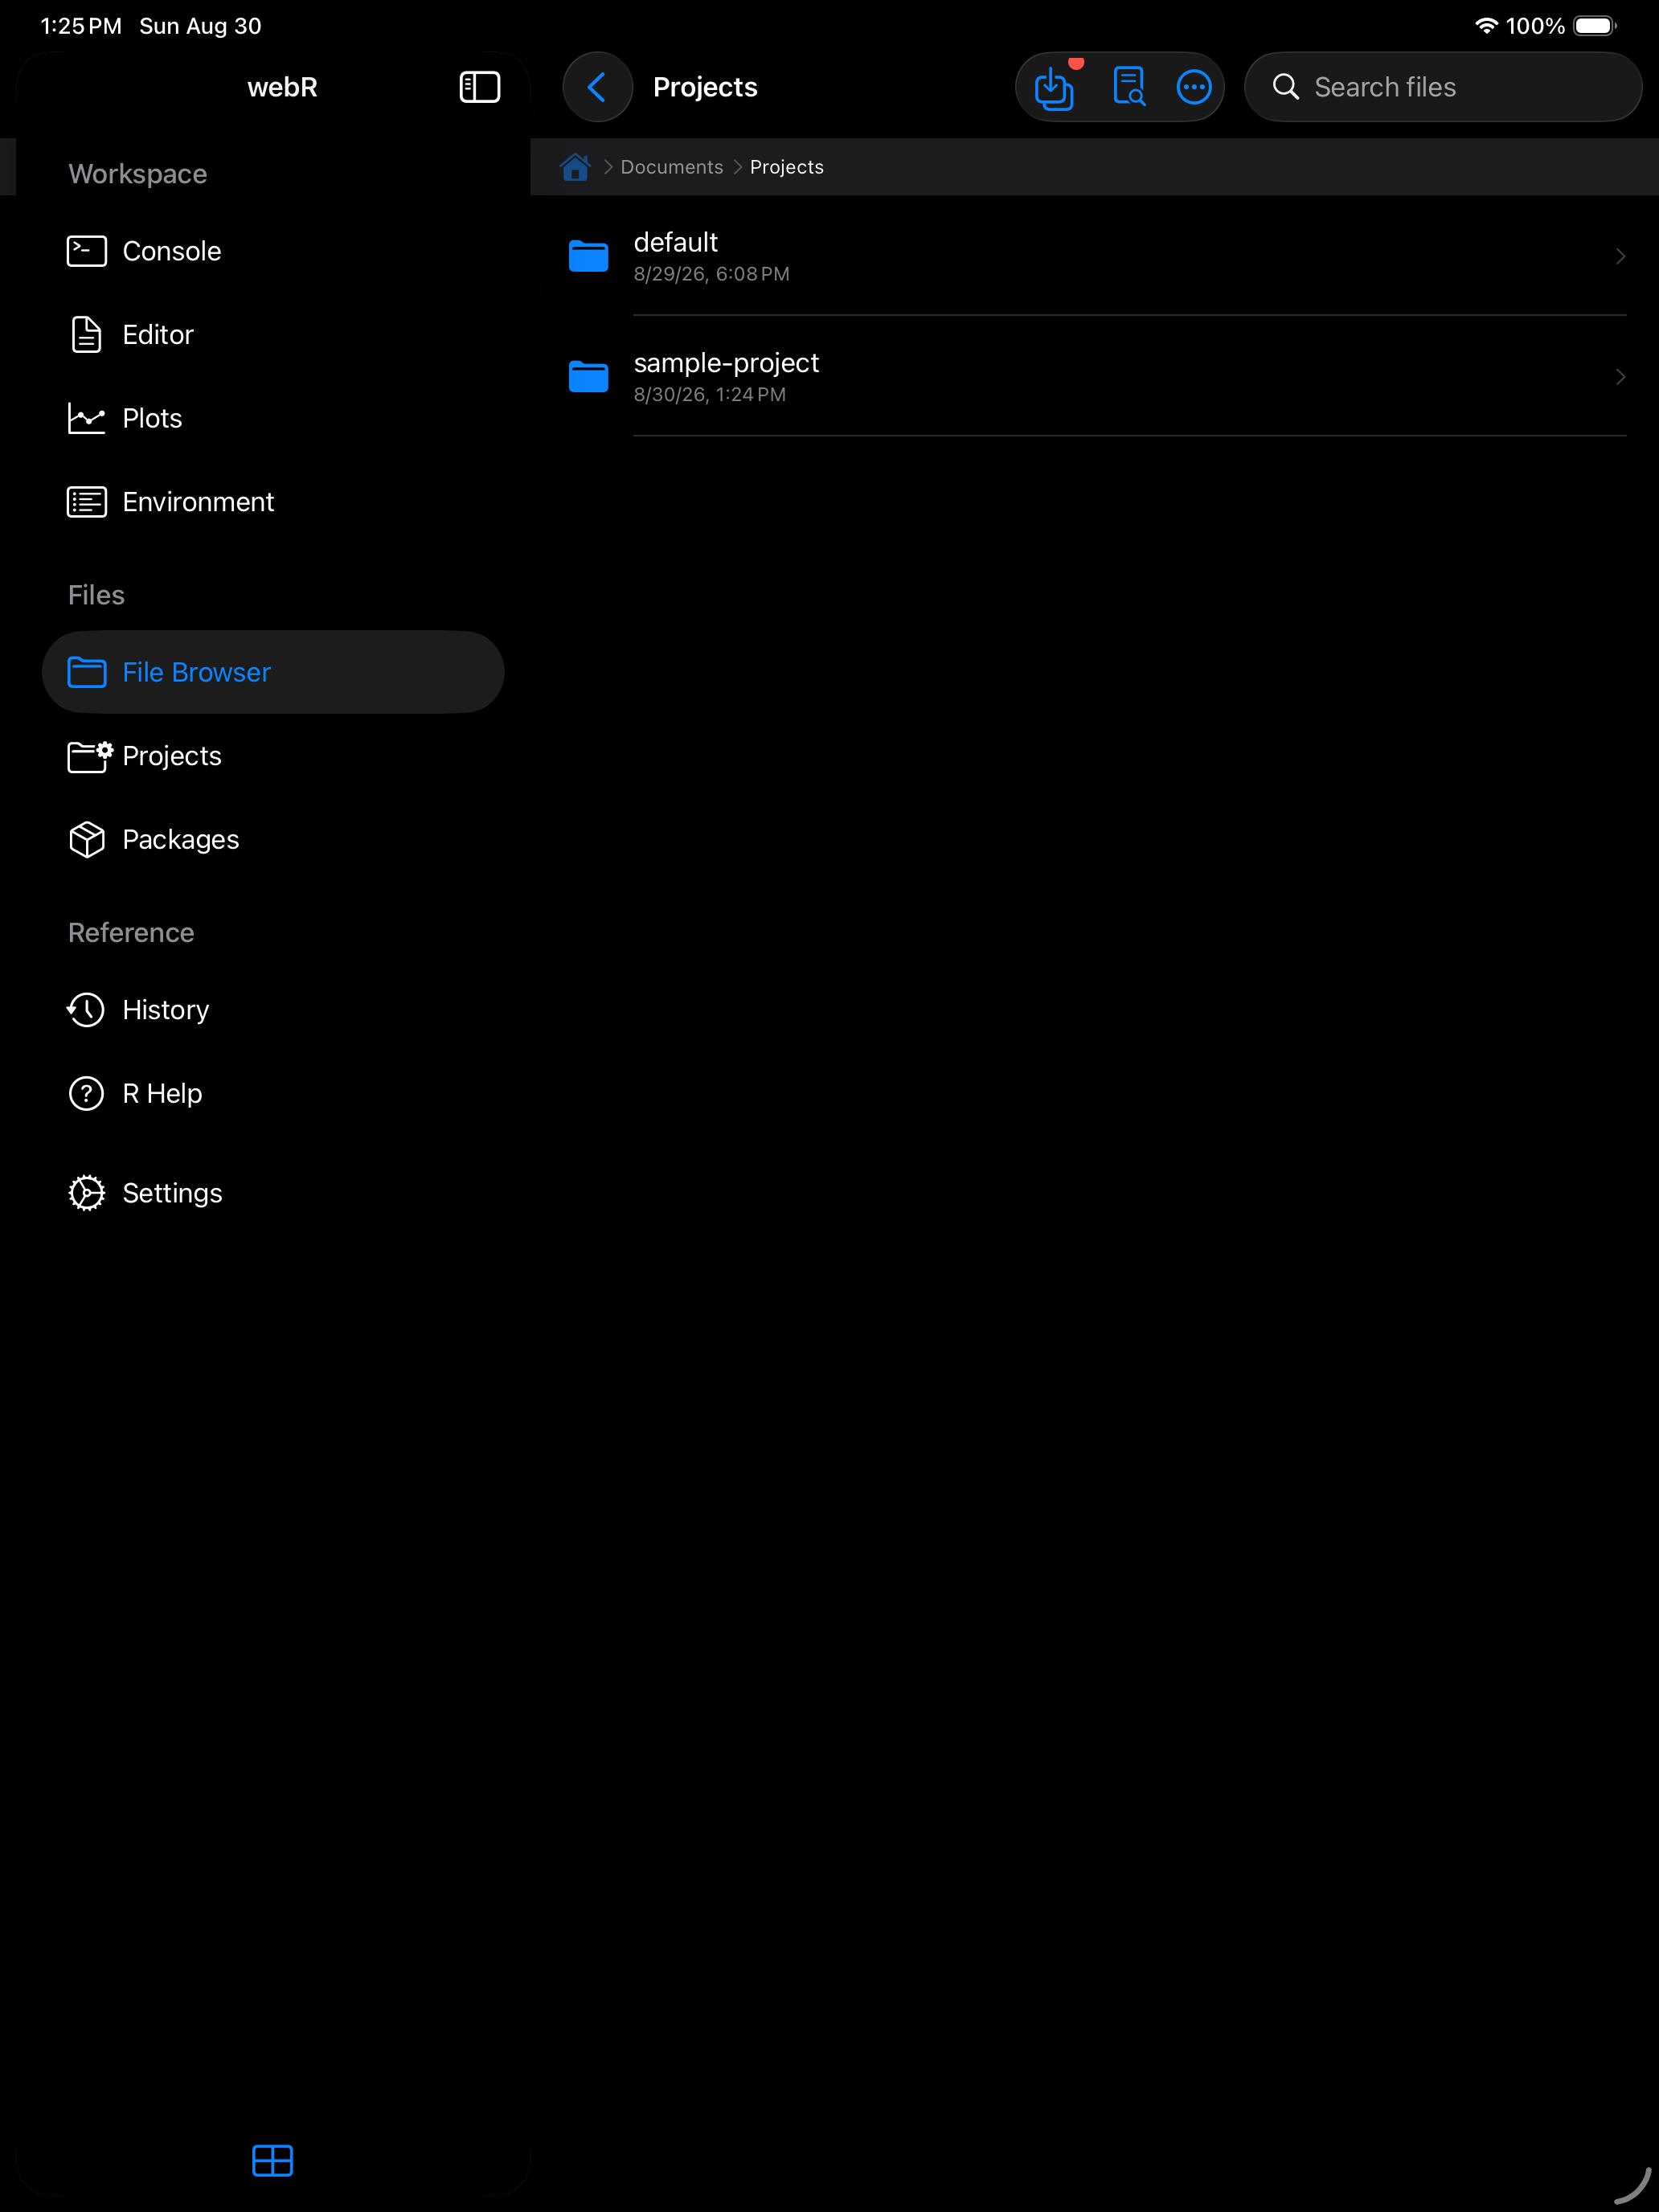
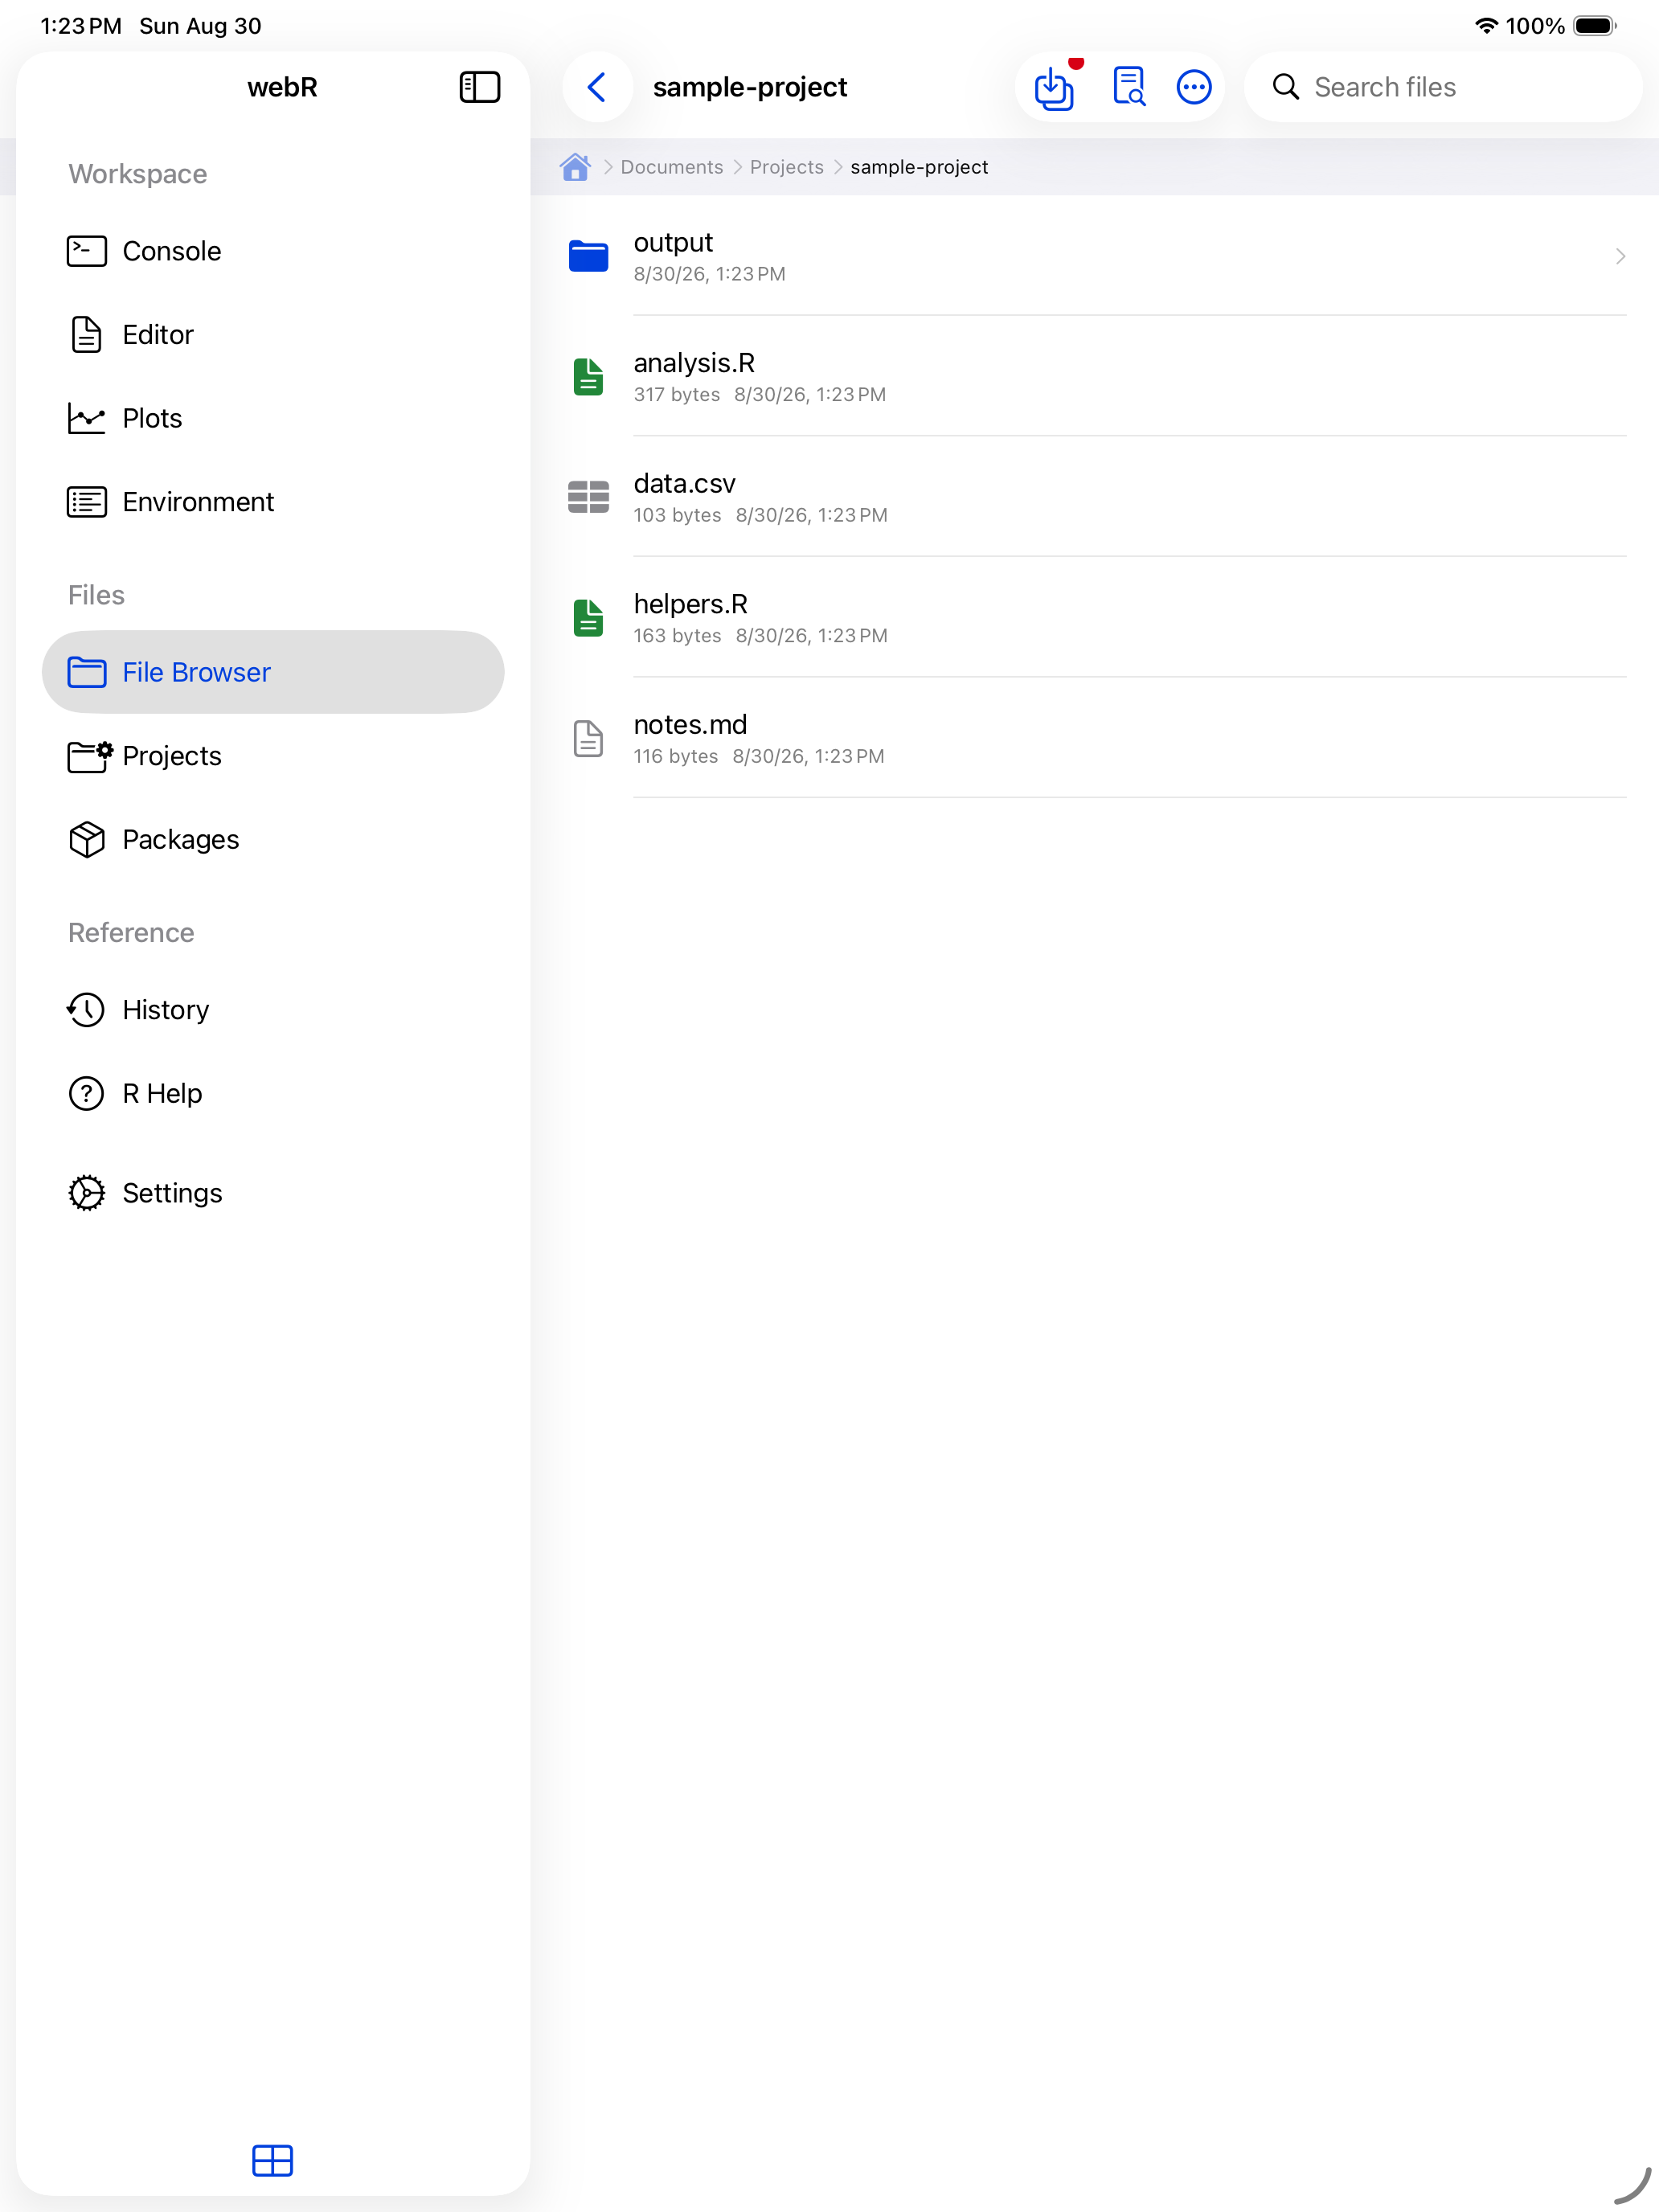
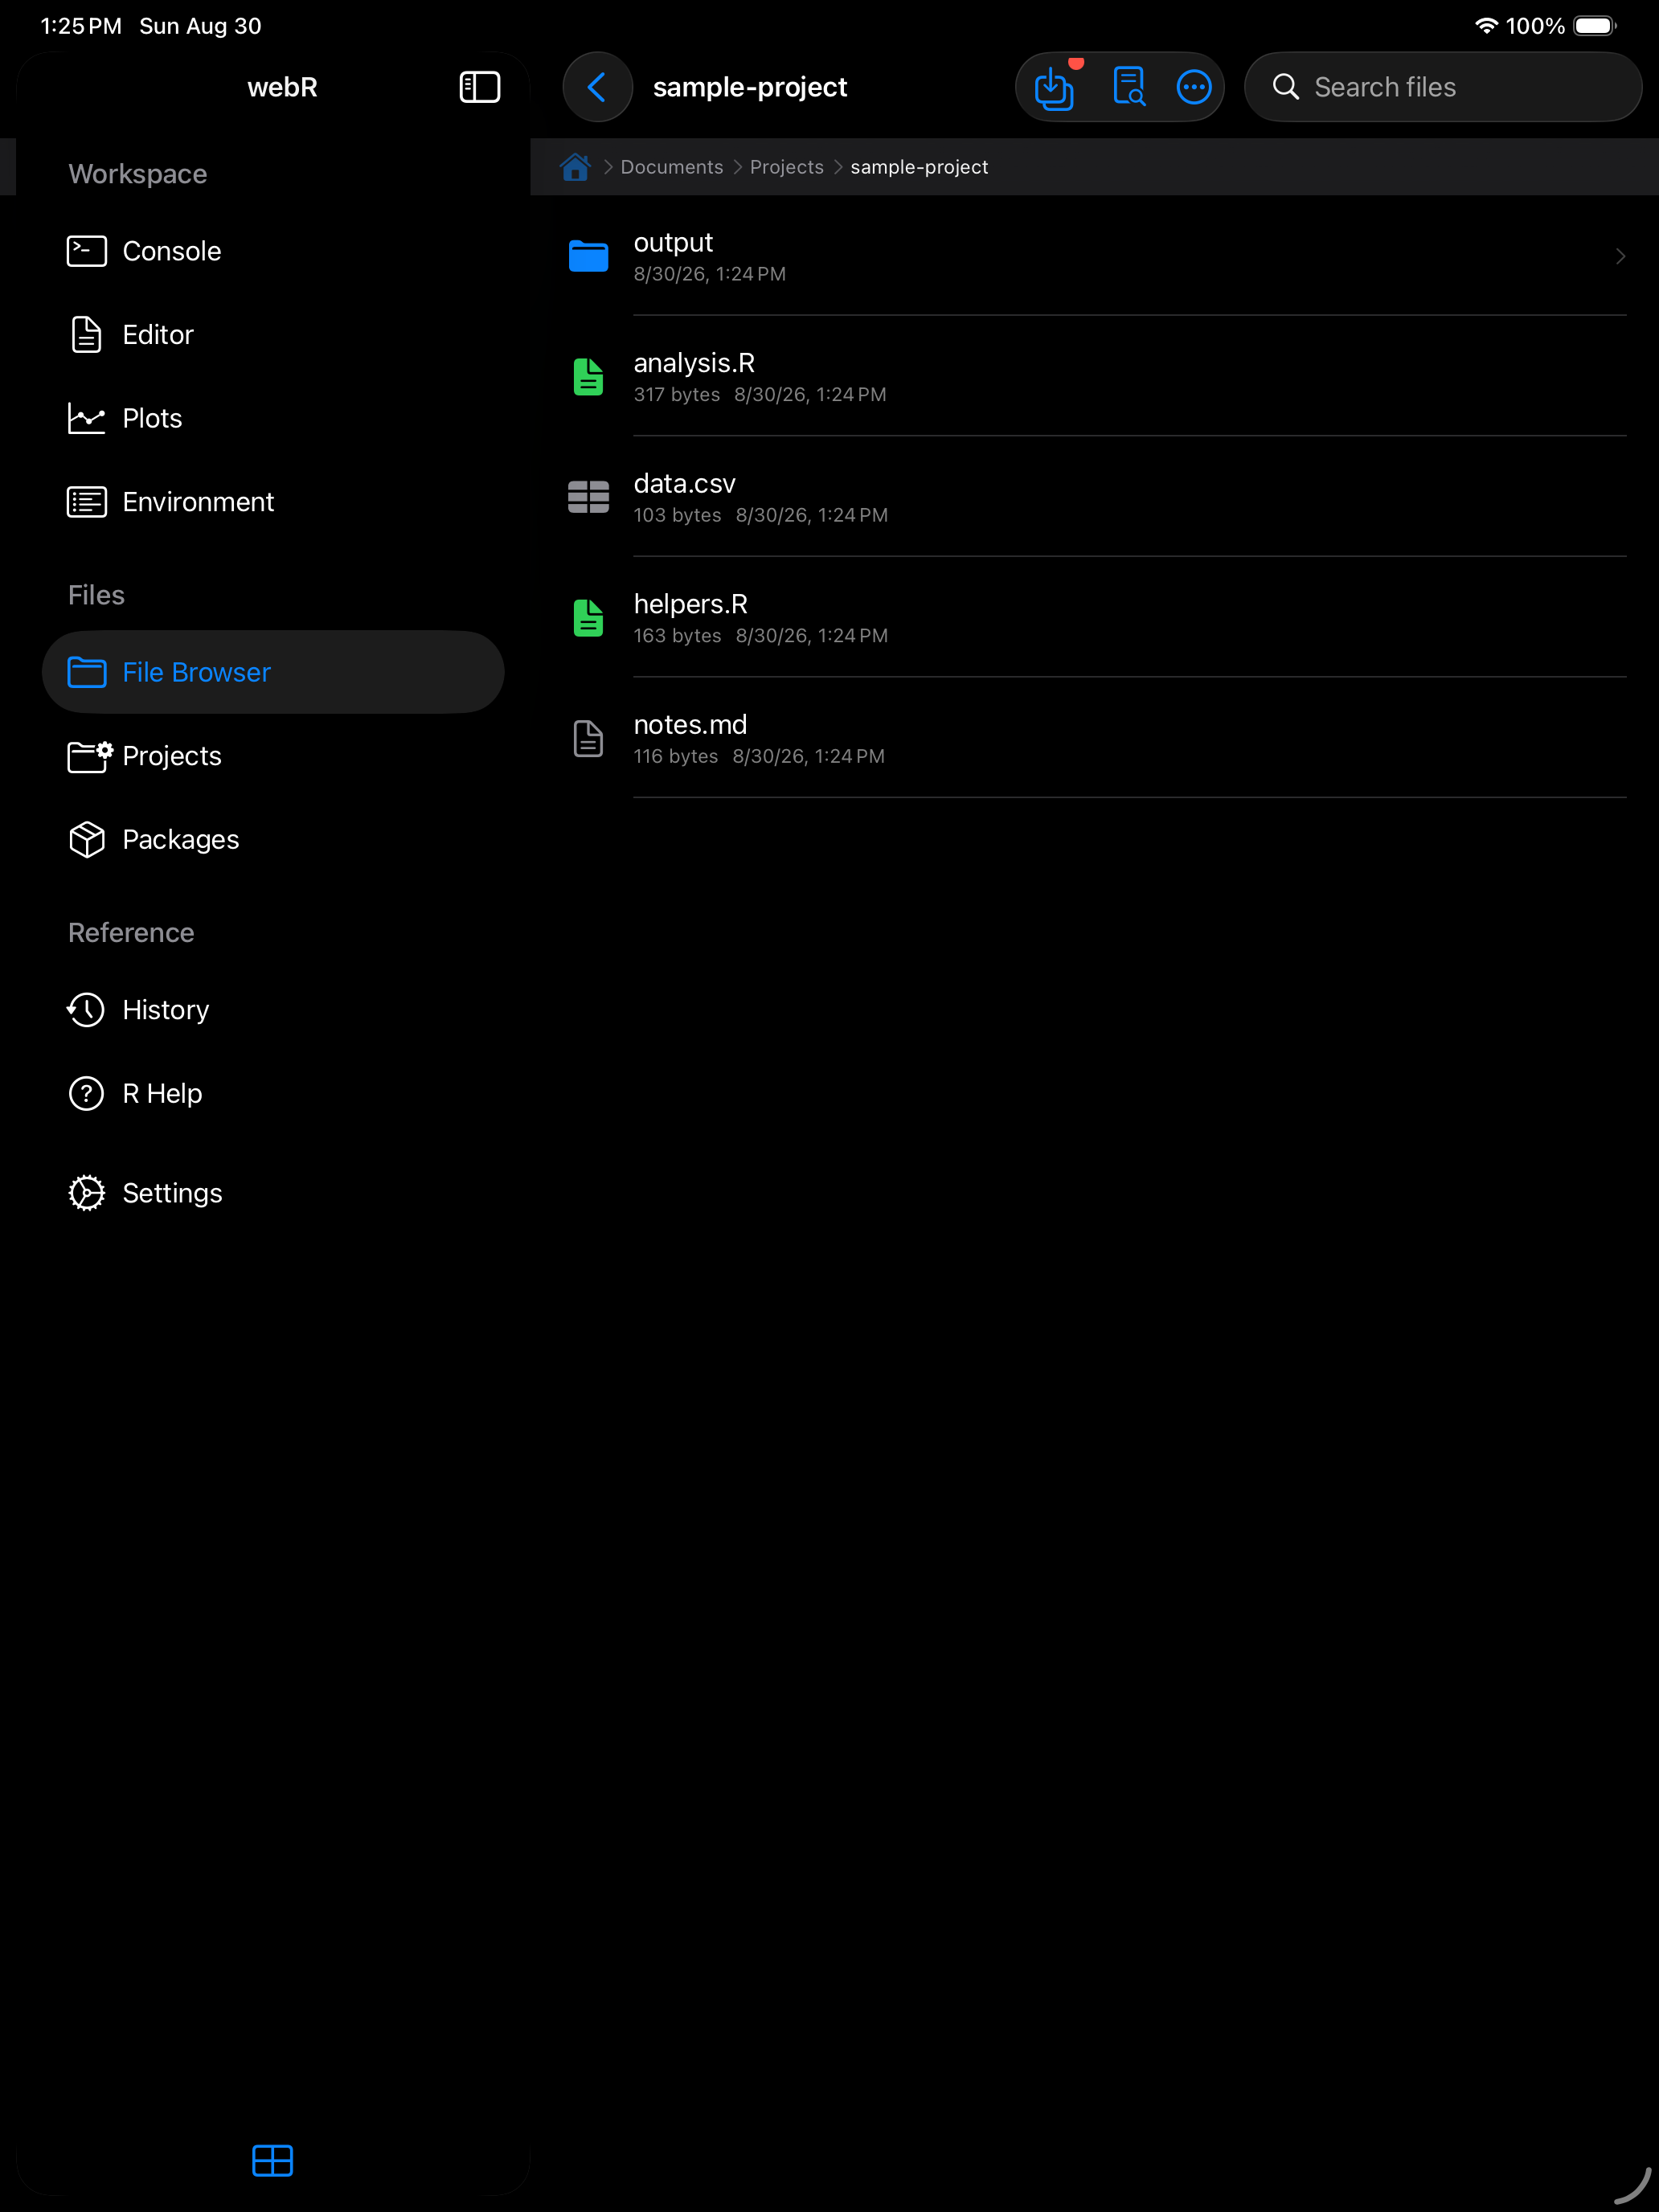
The Files tab opens to your Documents folder. Tap a folder to open it. A breadcrumb trail at the top lets you jump back to any level, and the home icon returns to the root.
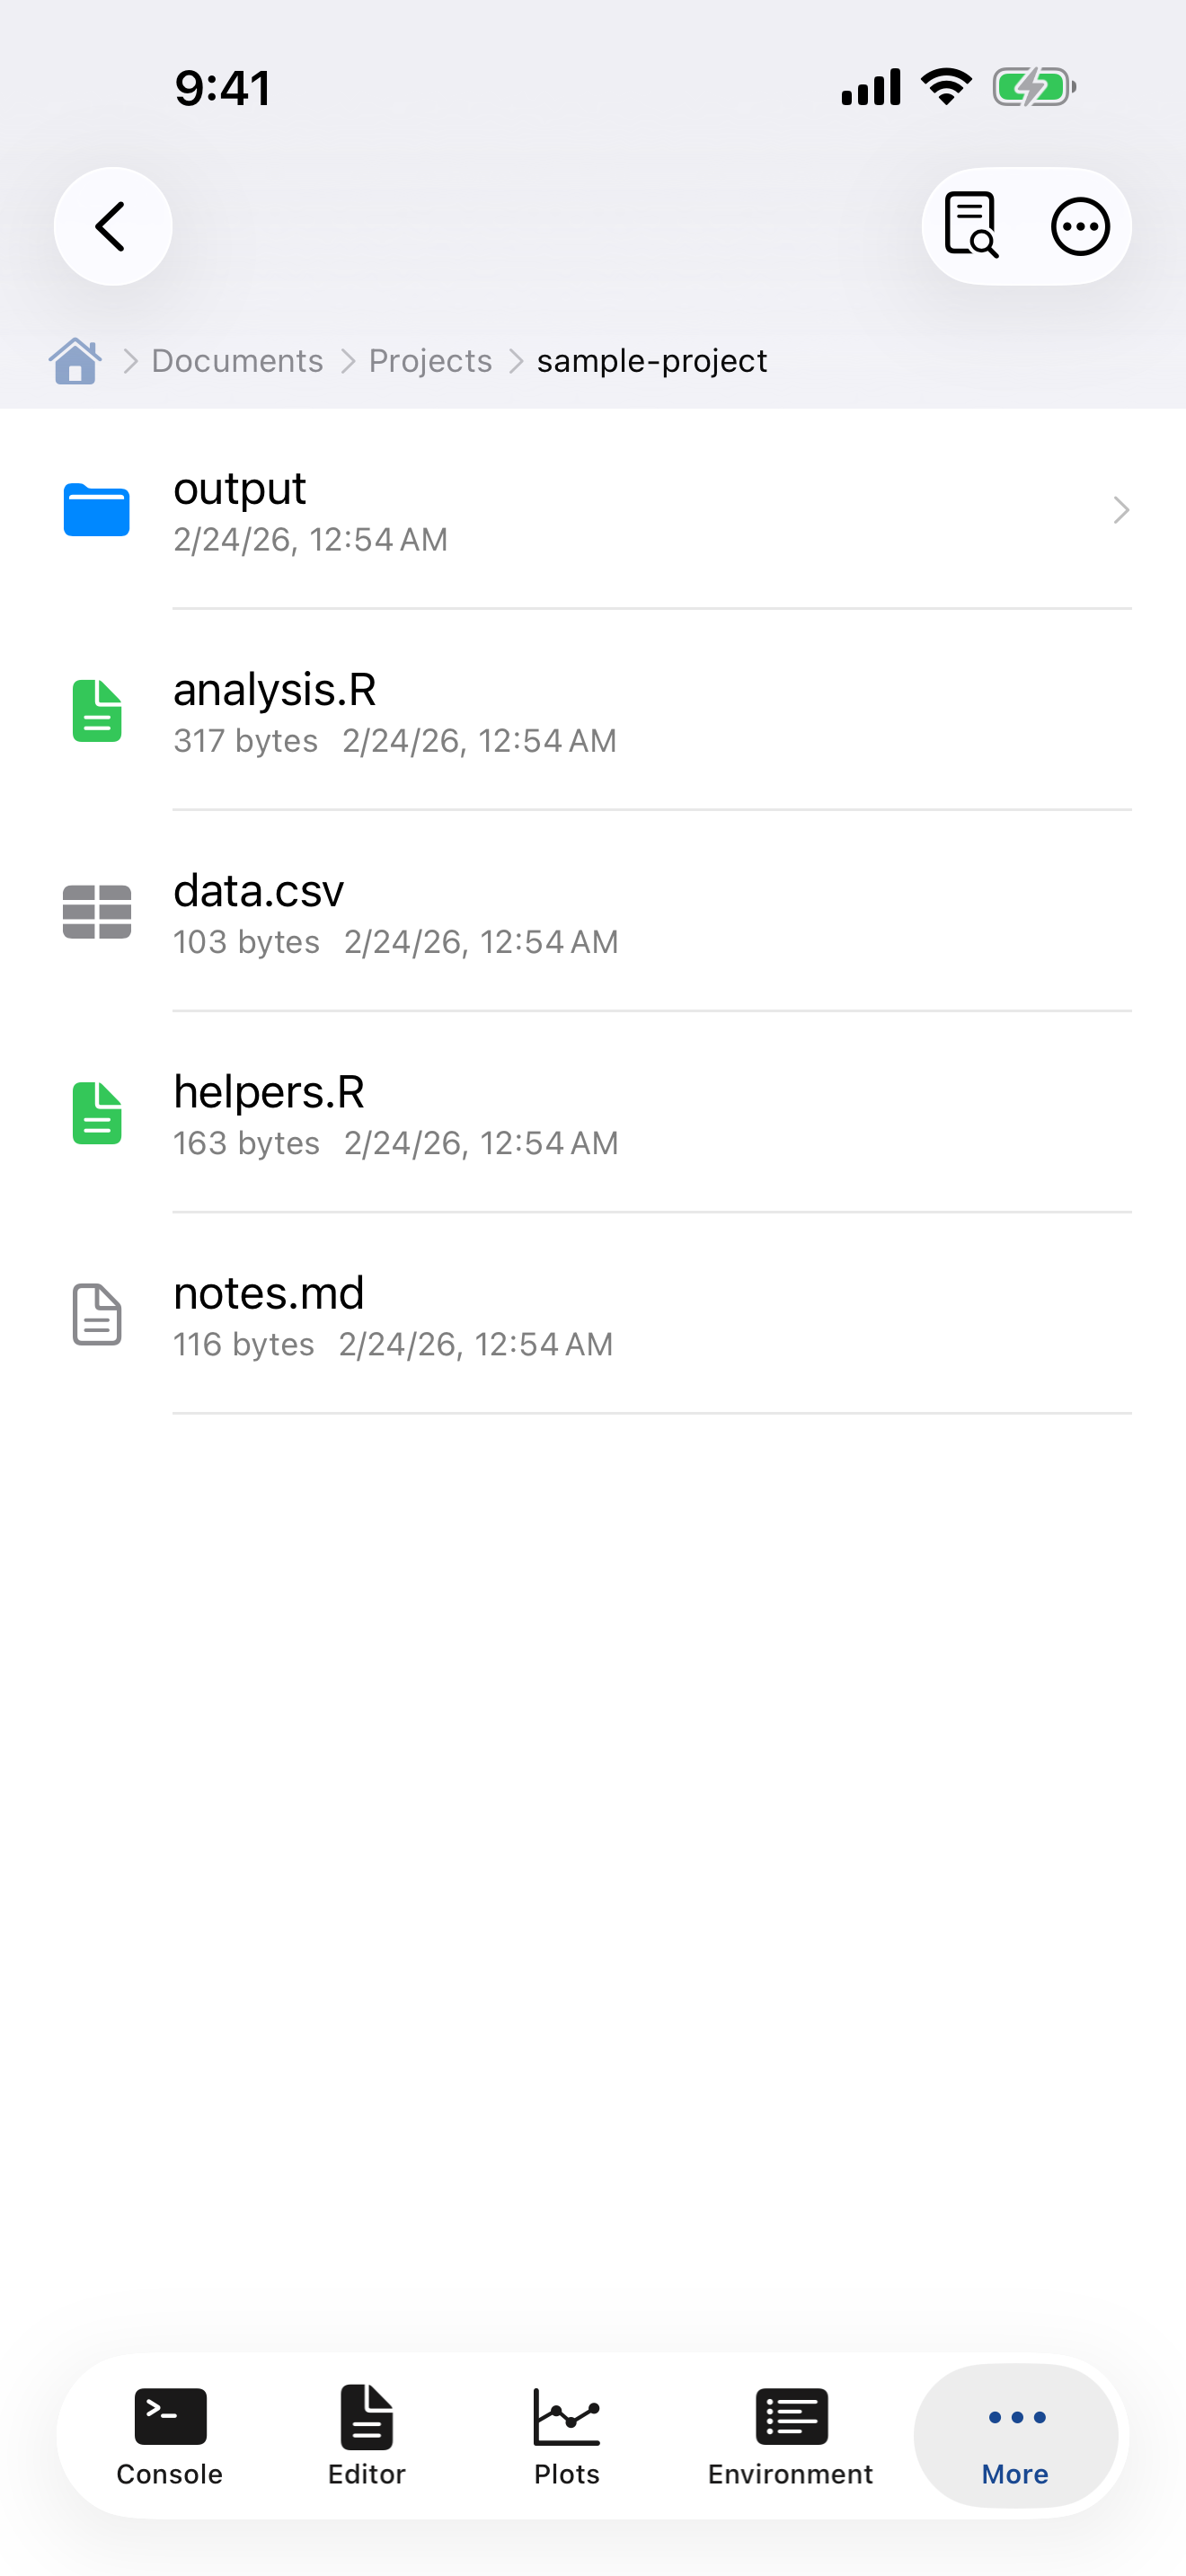

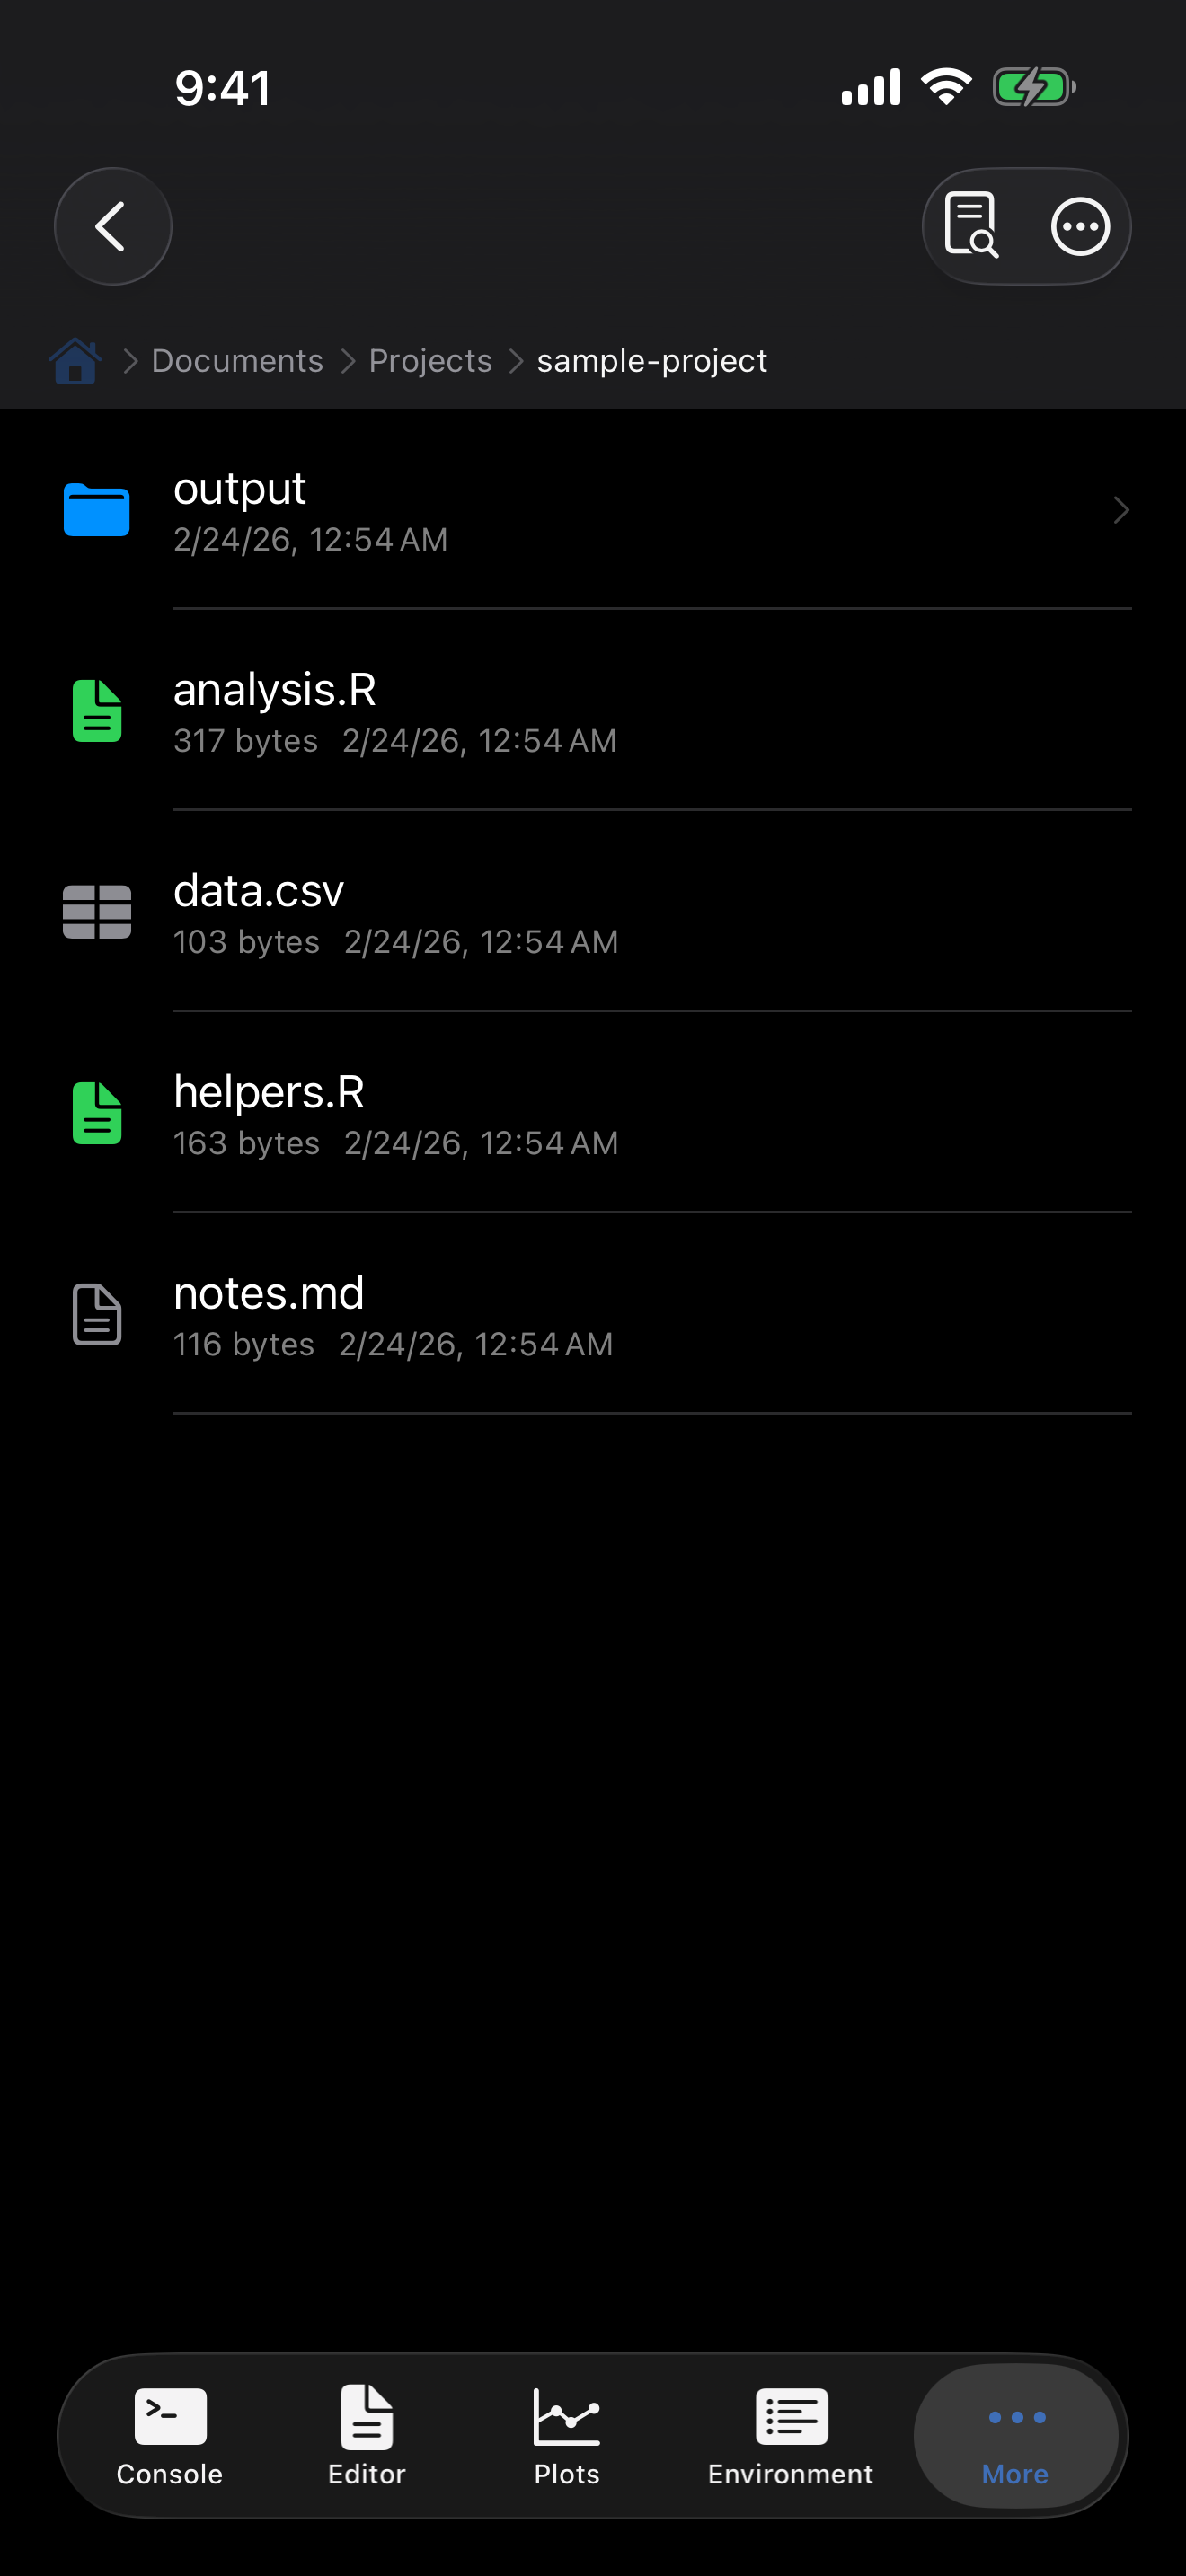
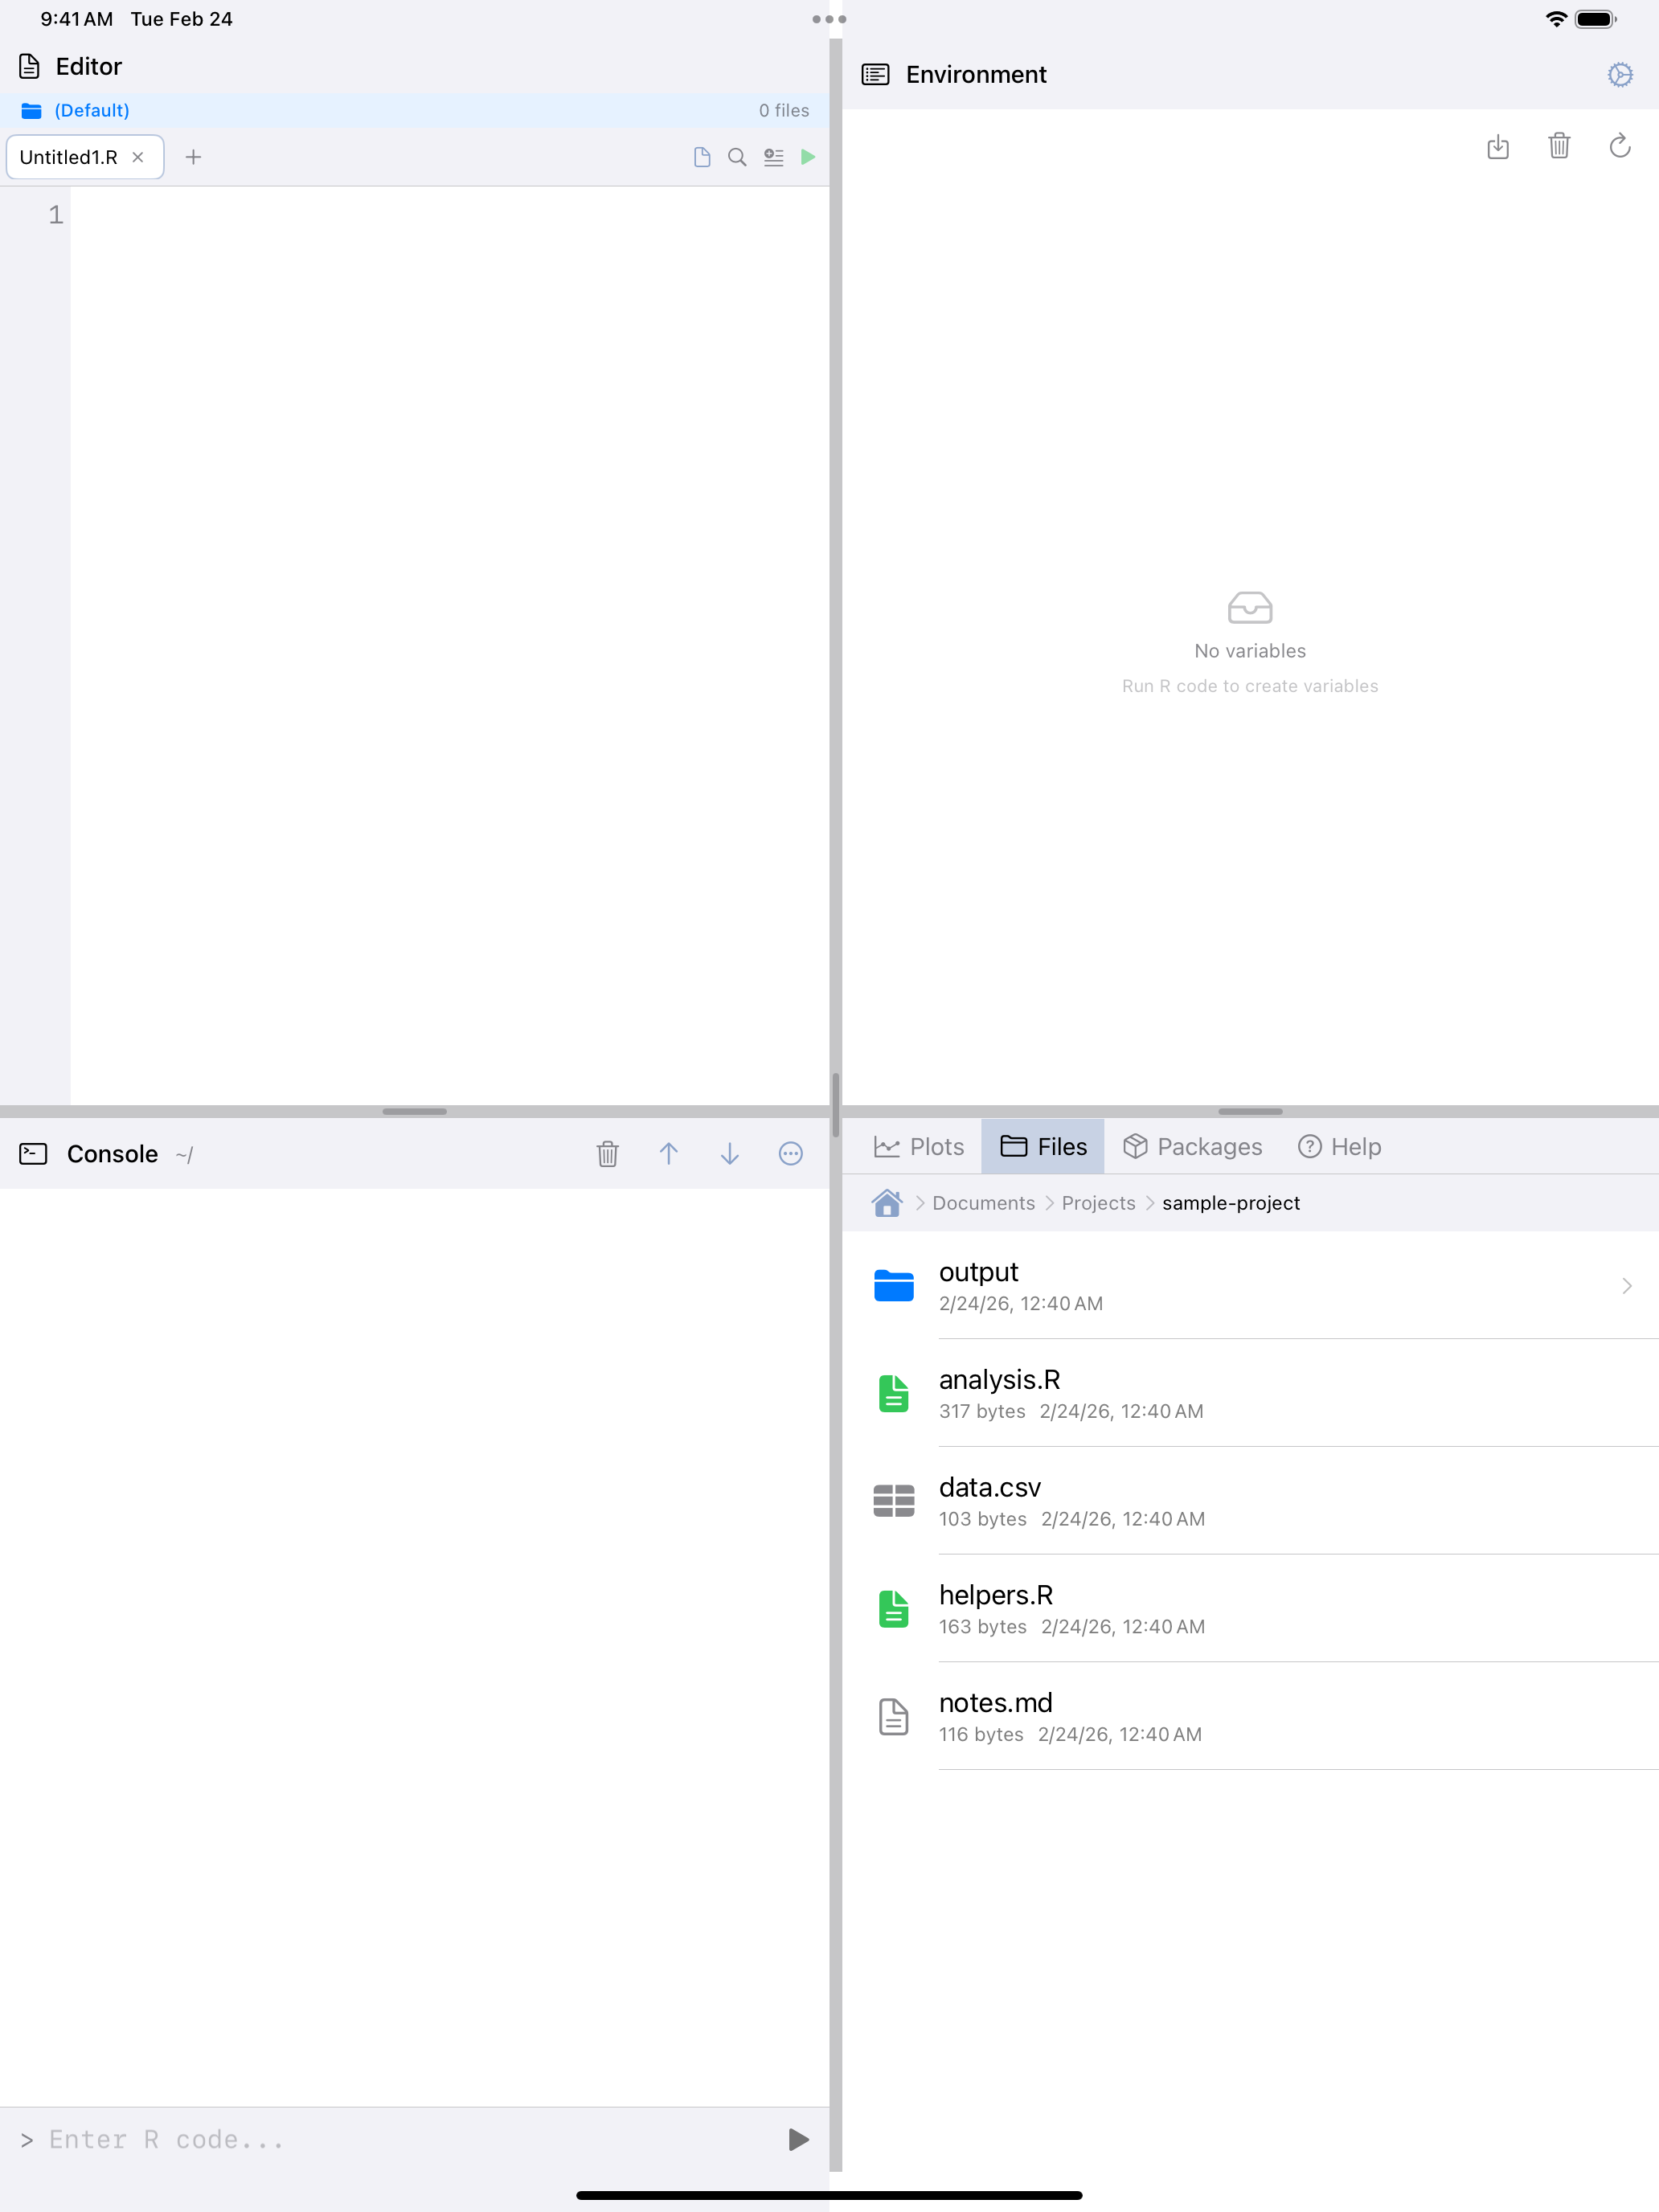
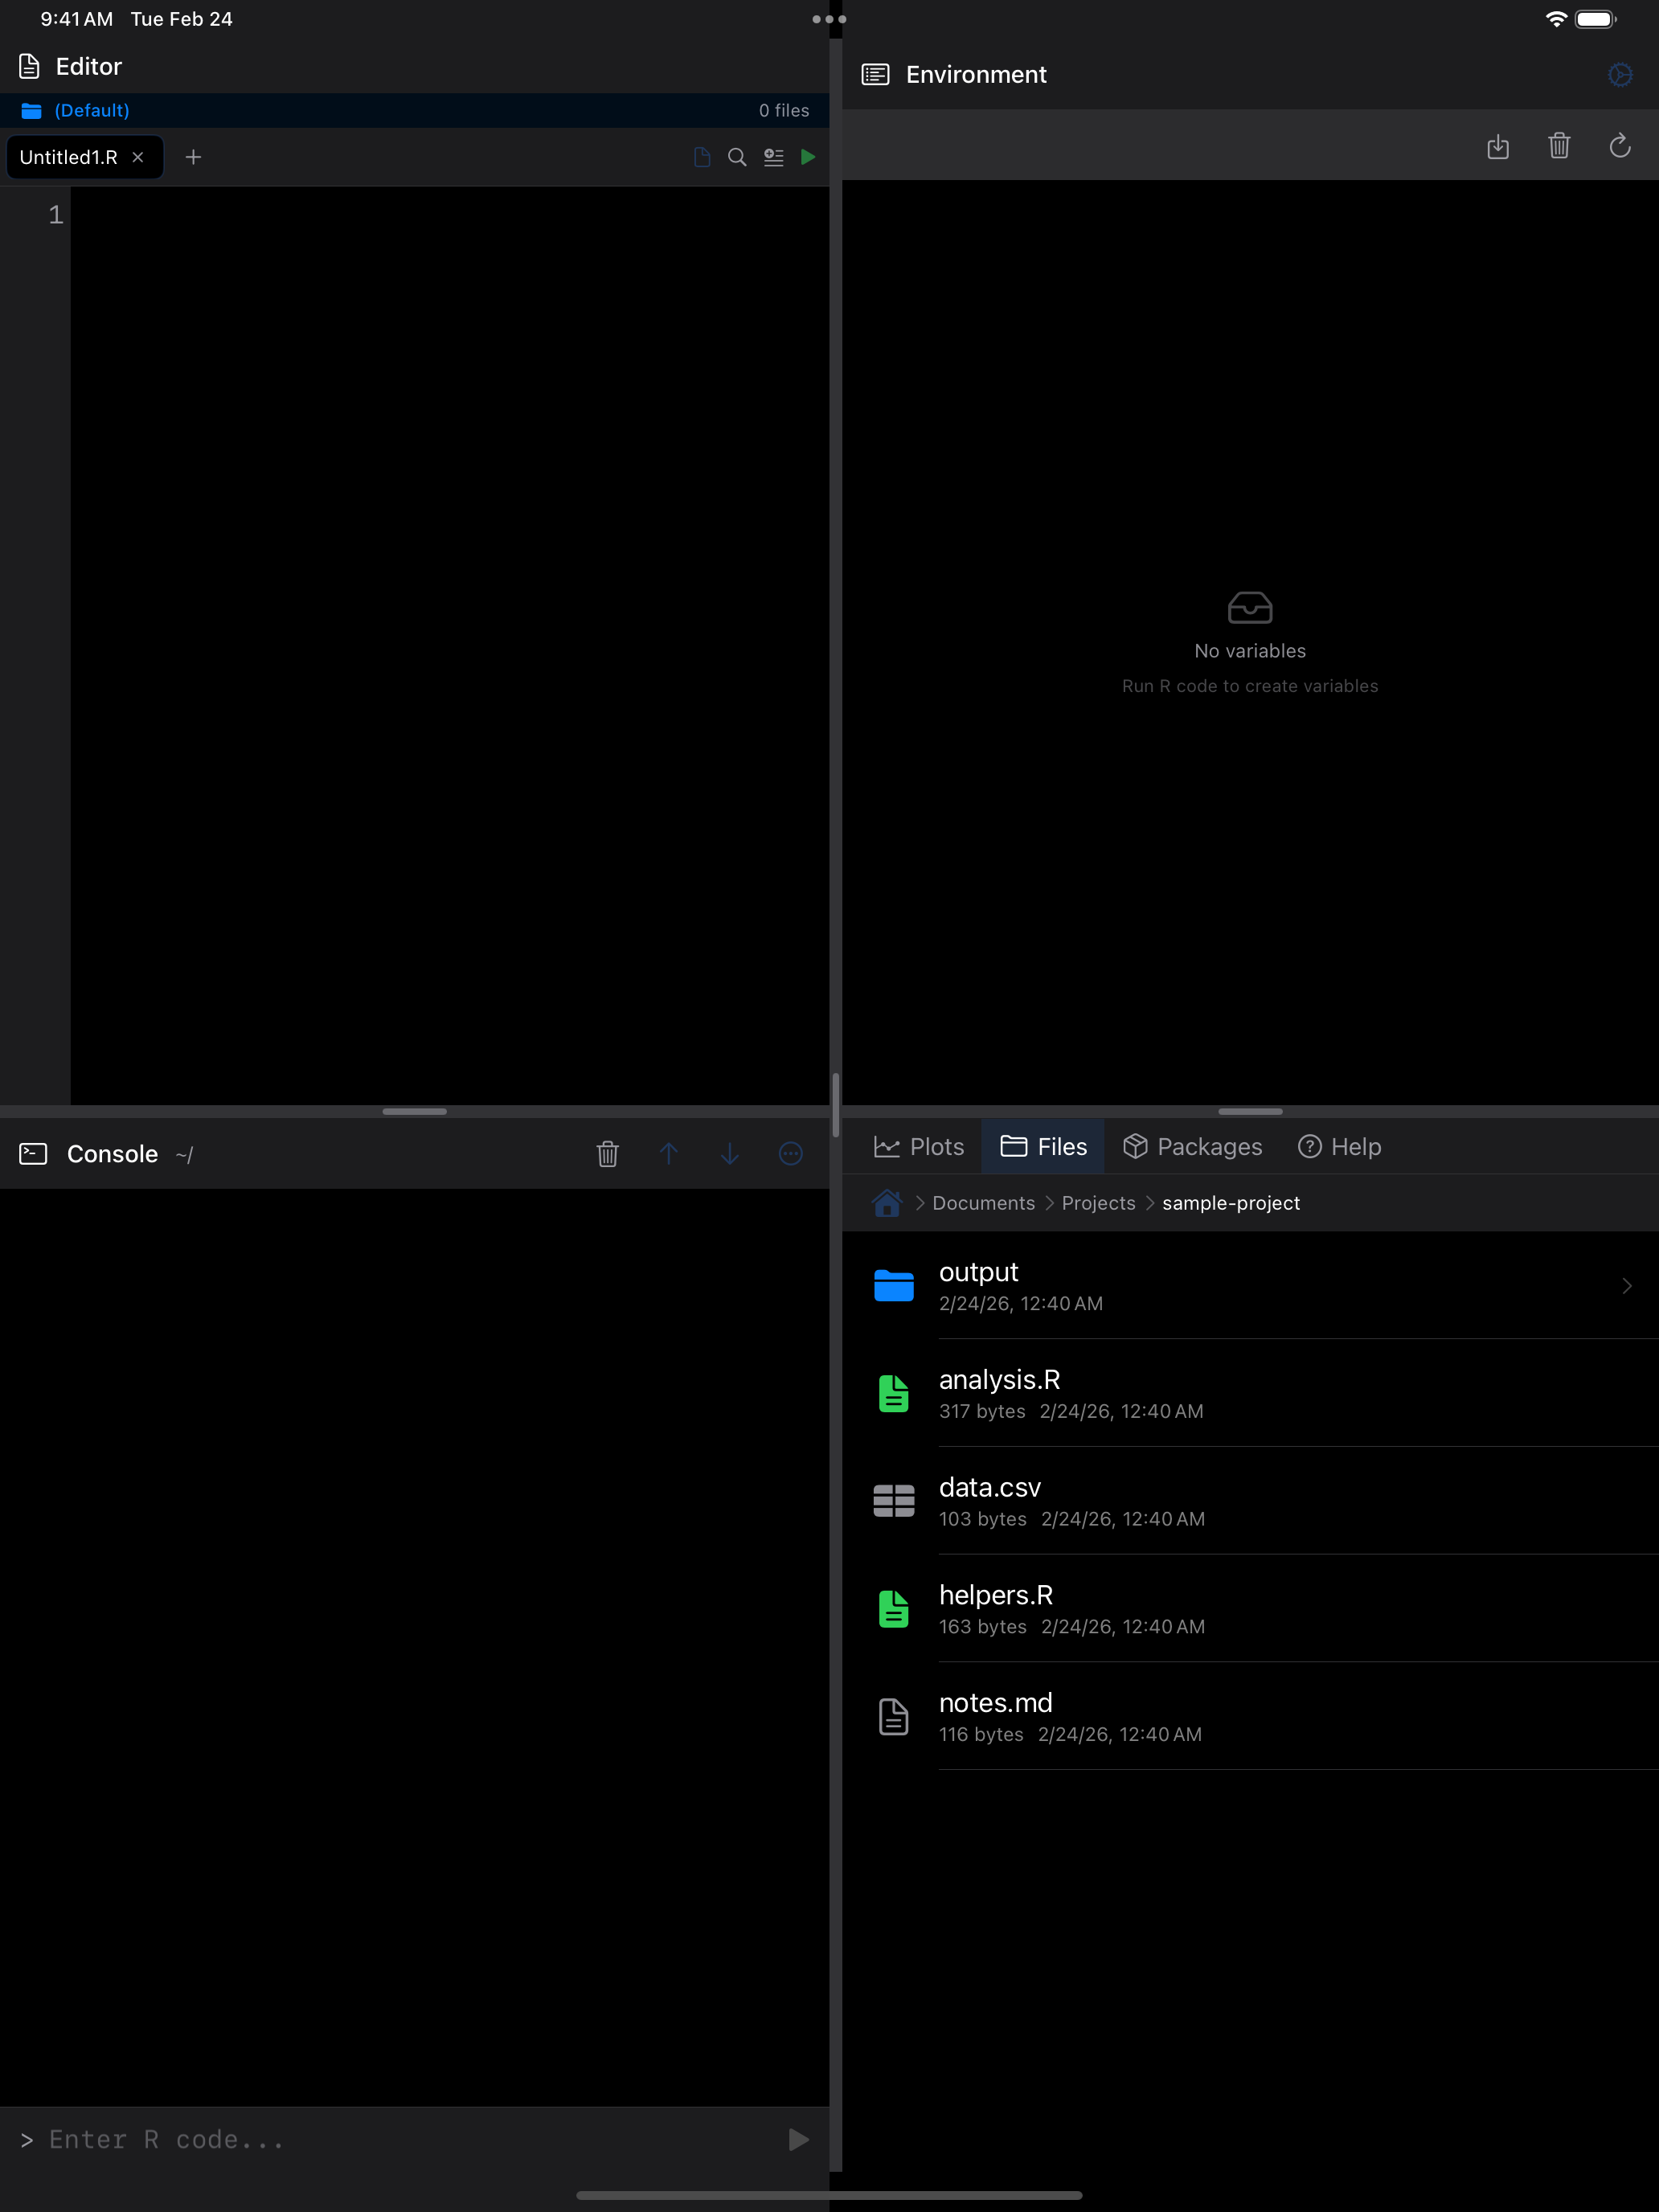
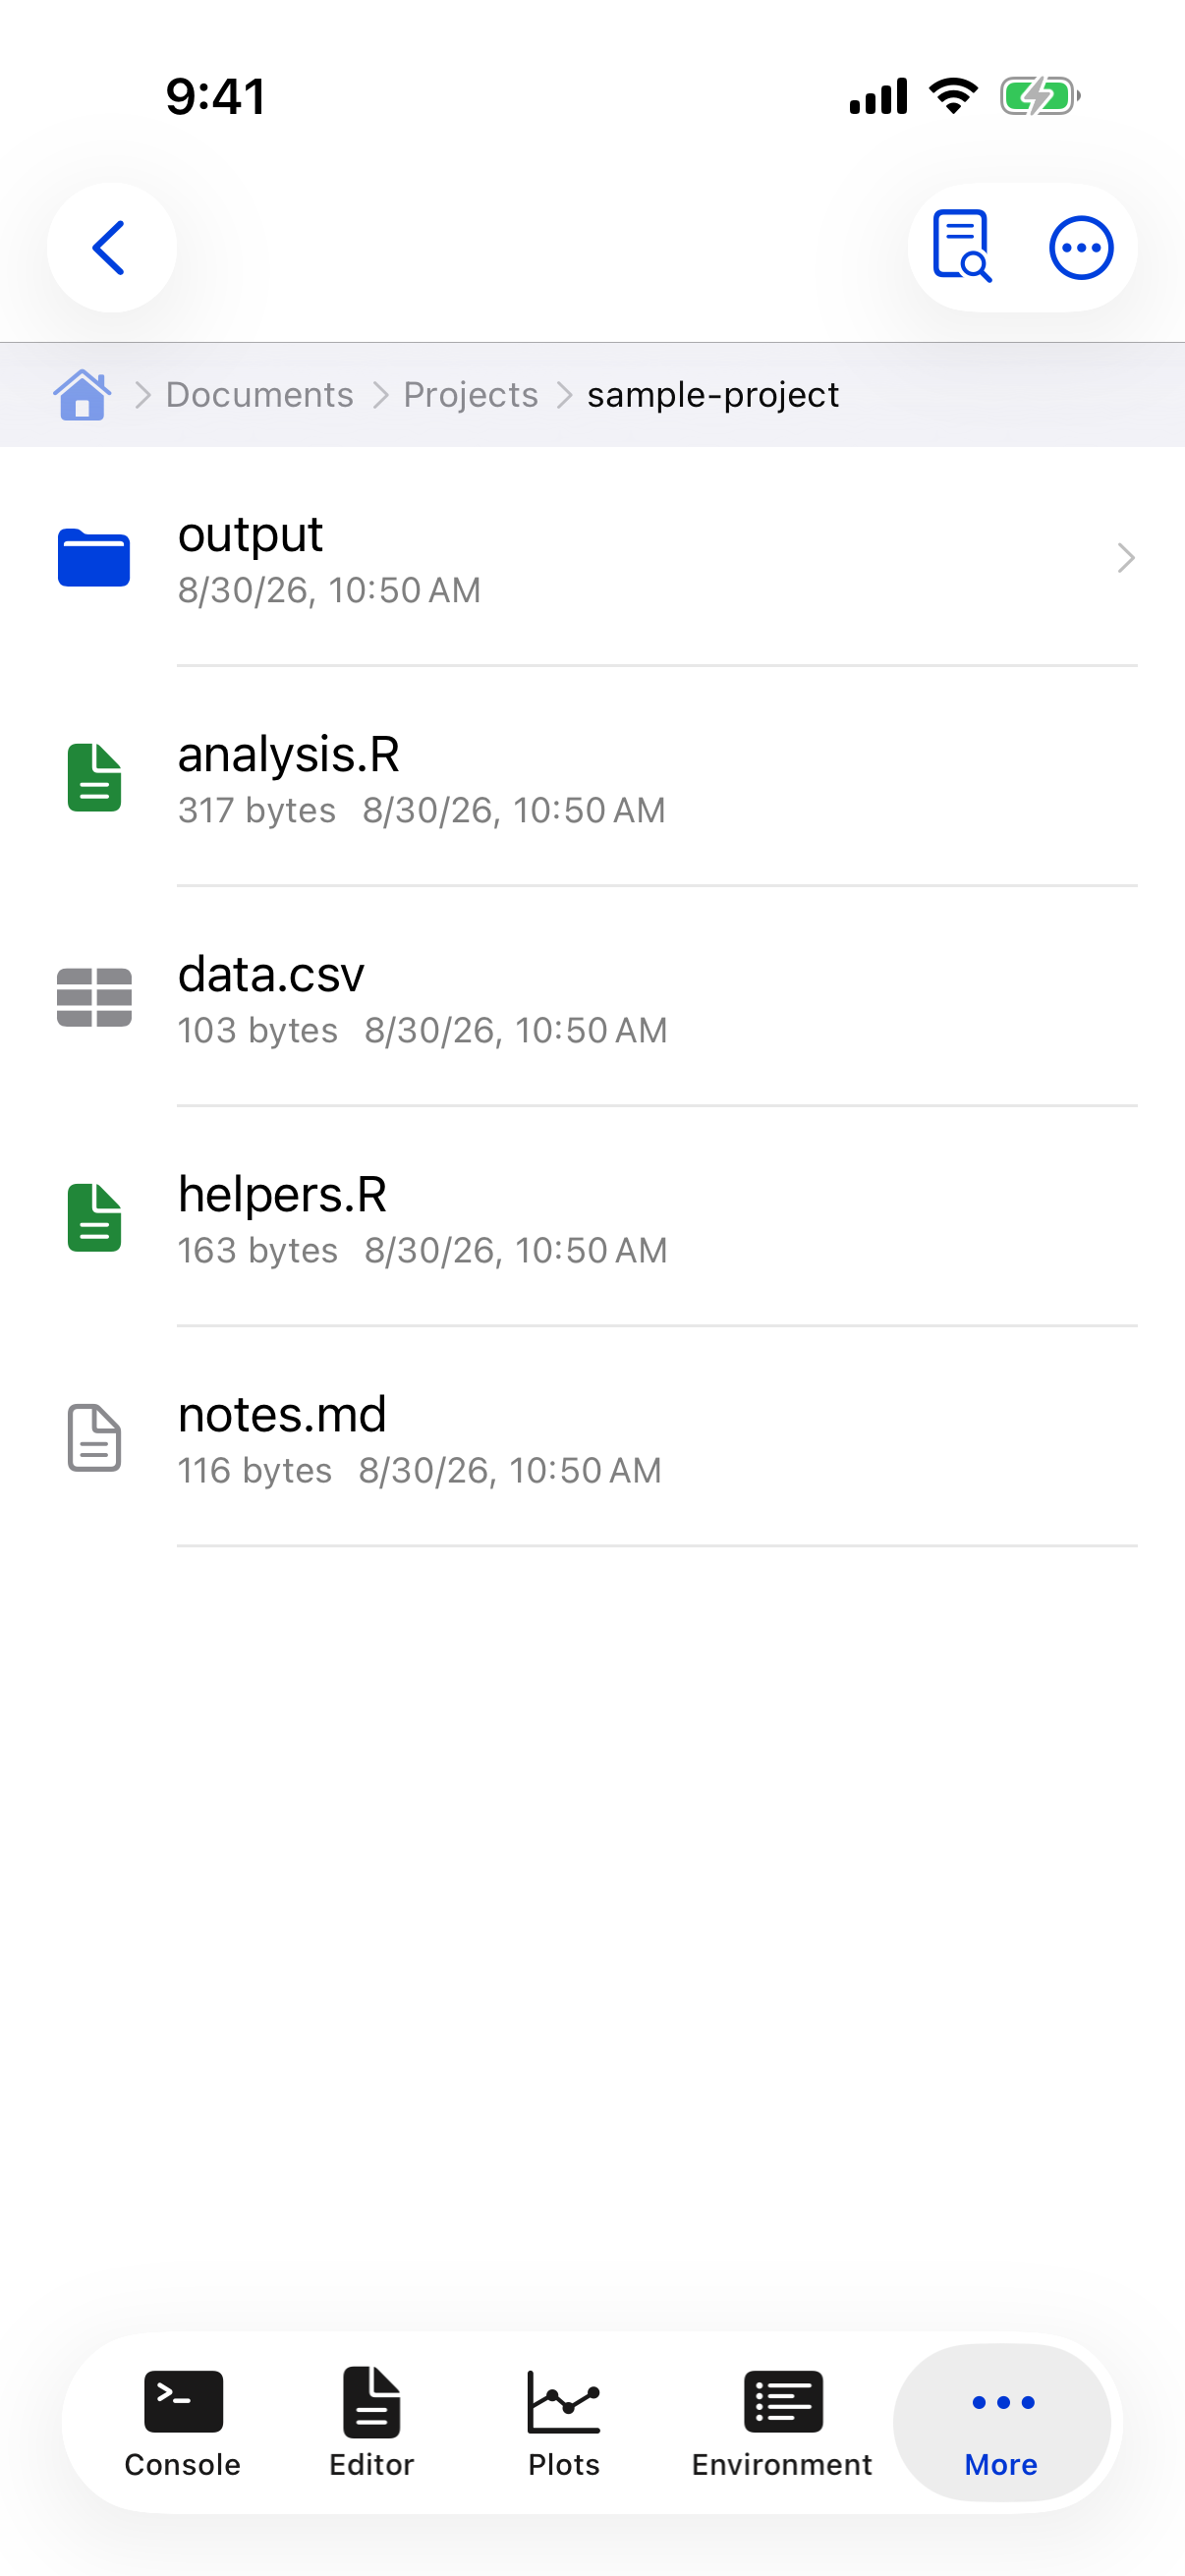
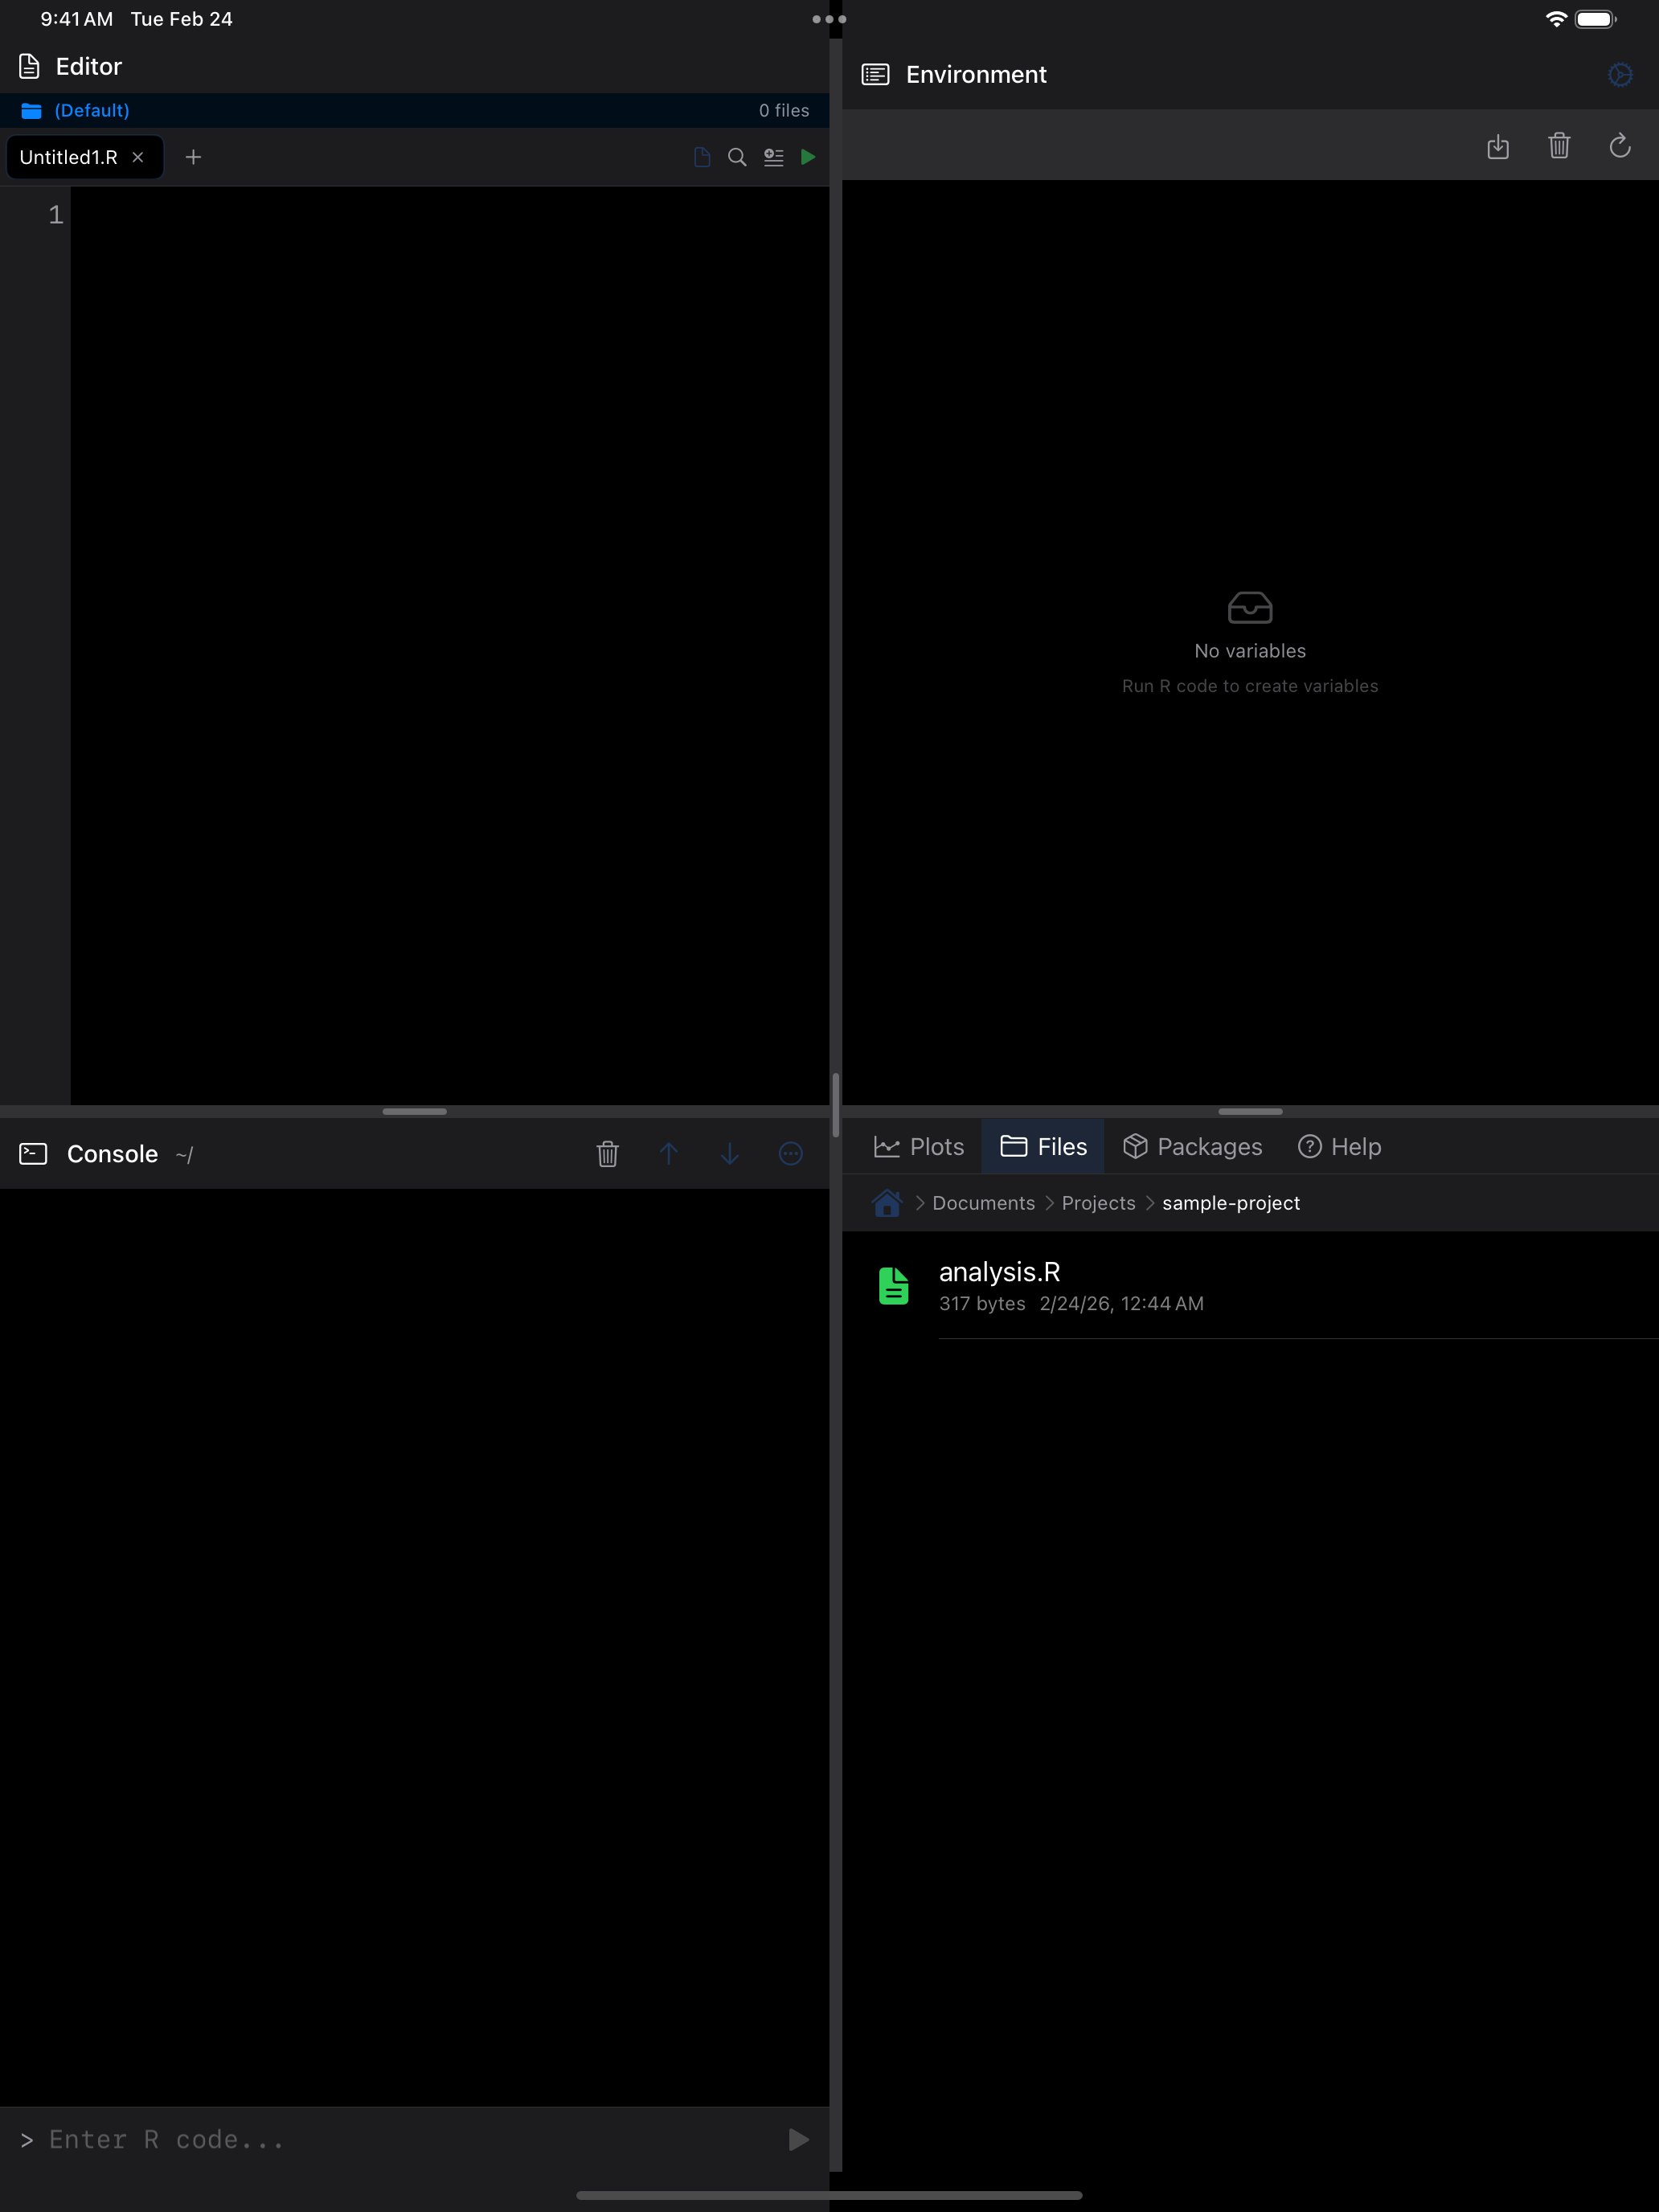
Each row shows the file name, size, and modification date. R scripts get a green icon, folders blue, everything else gray.
Projects
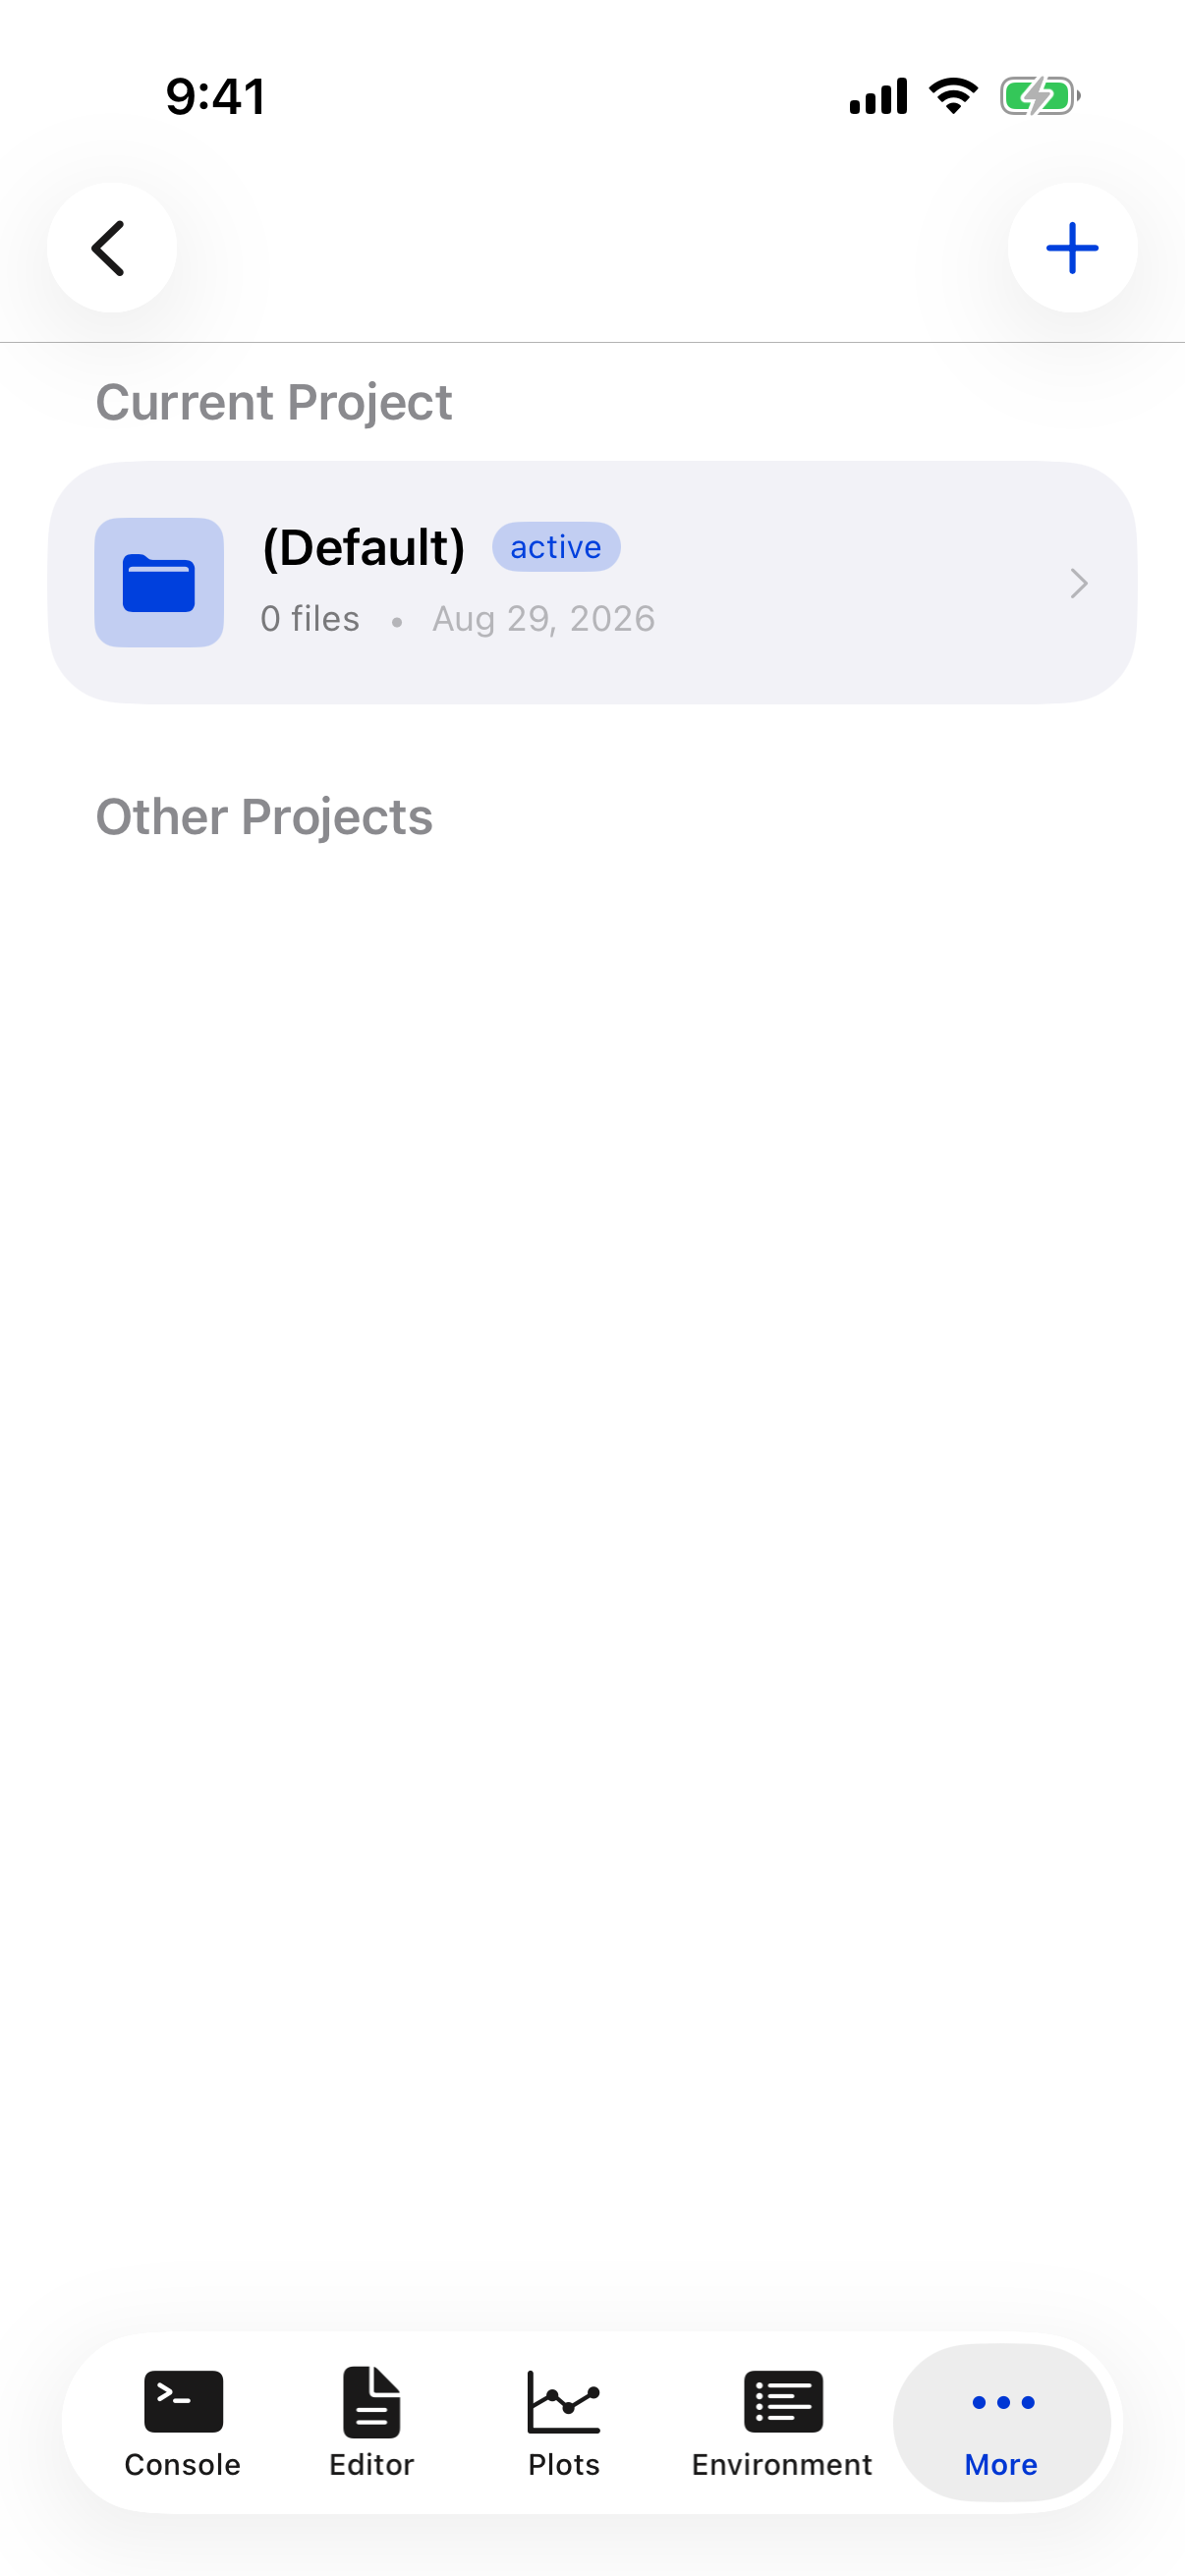
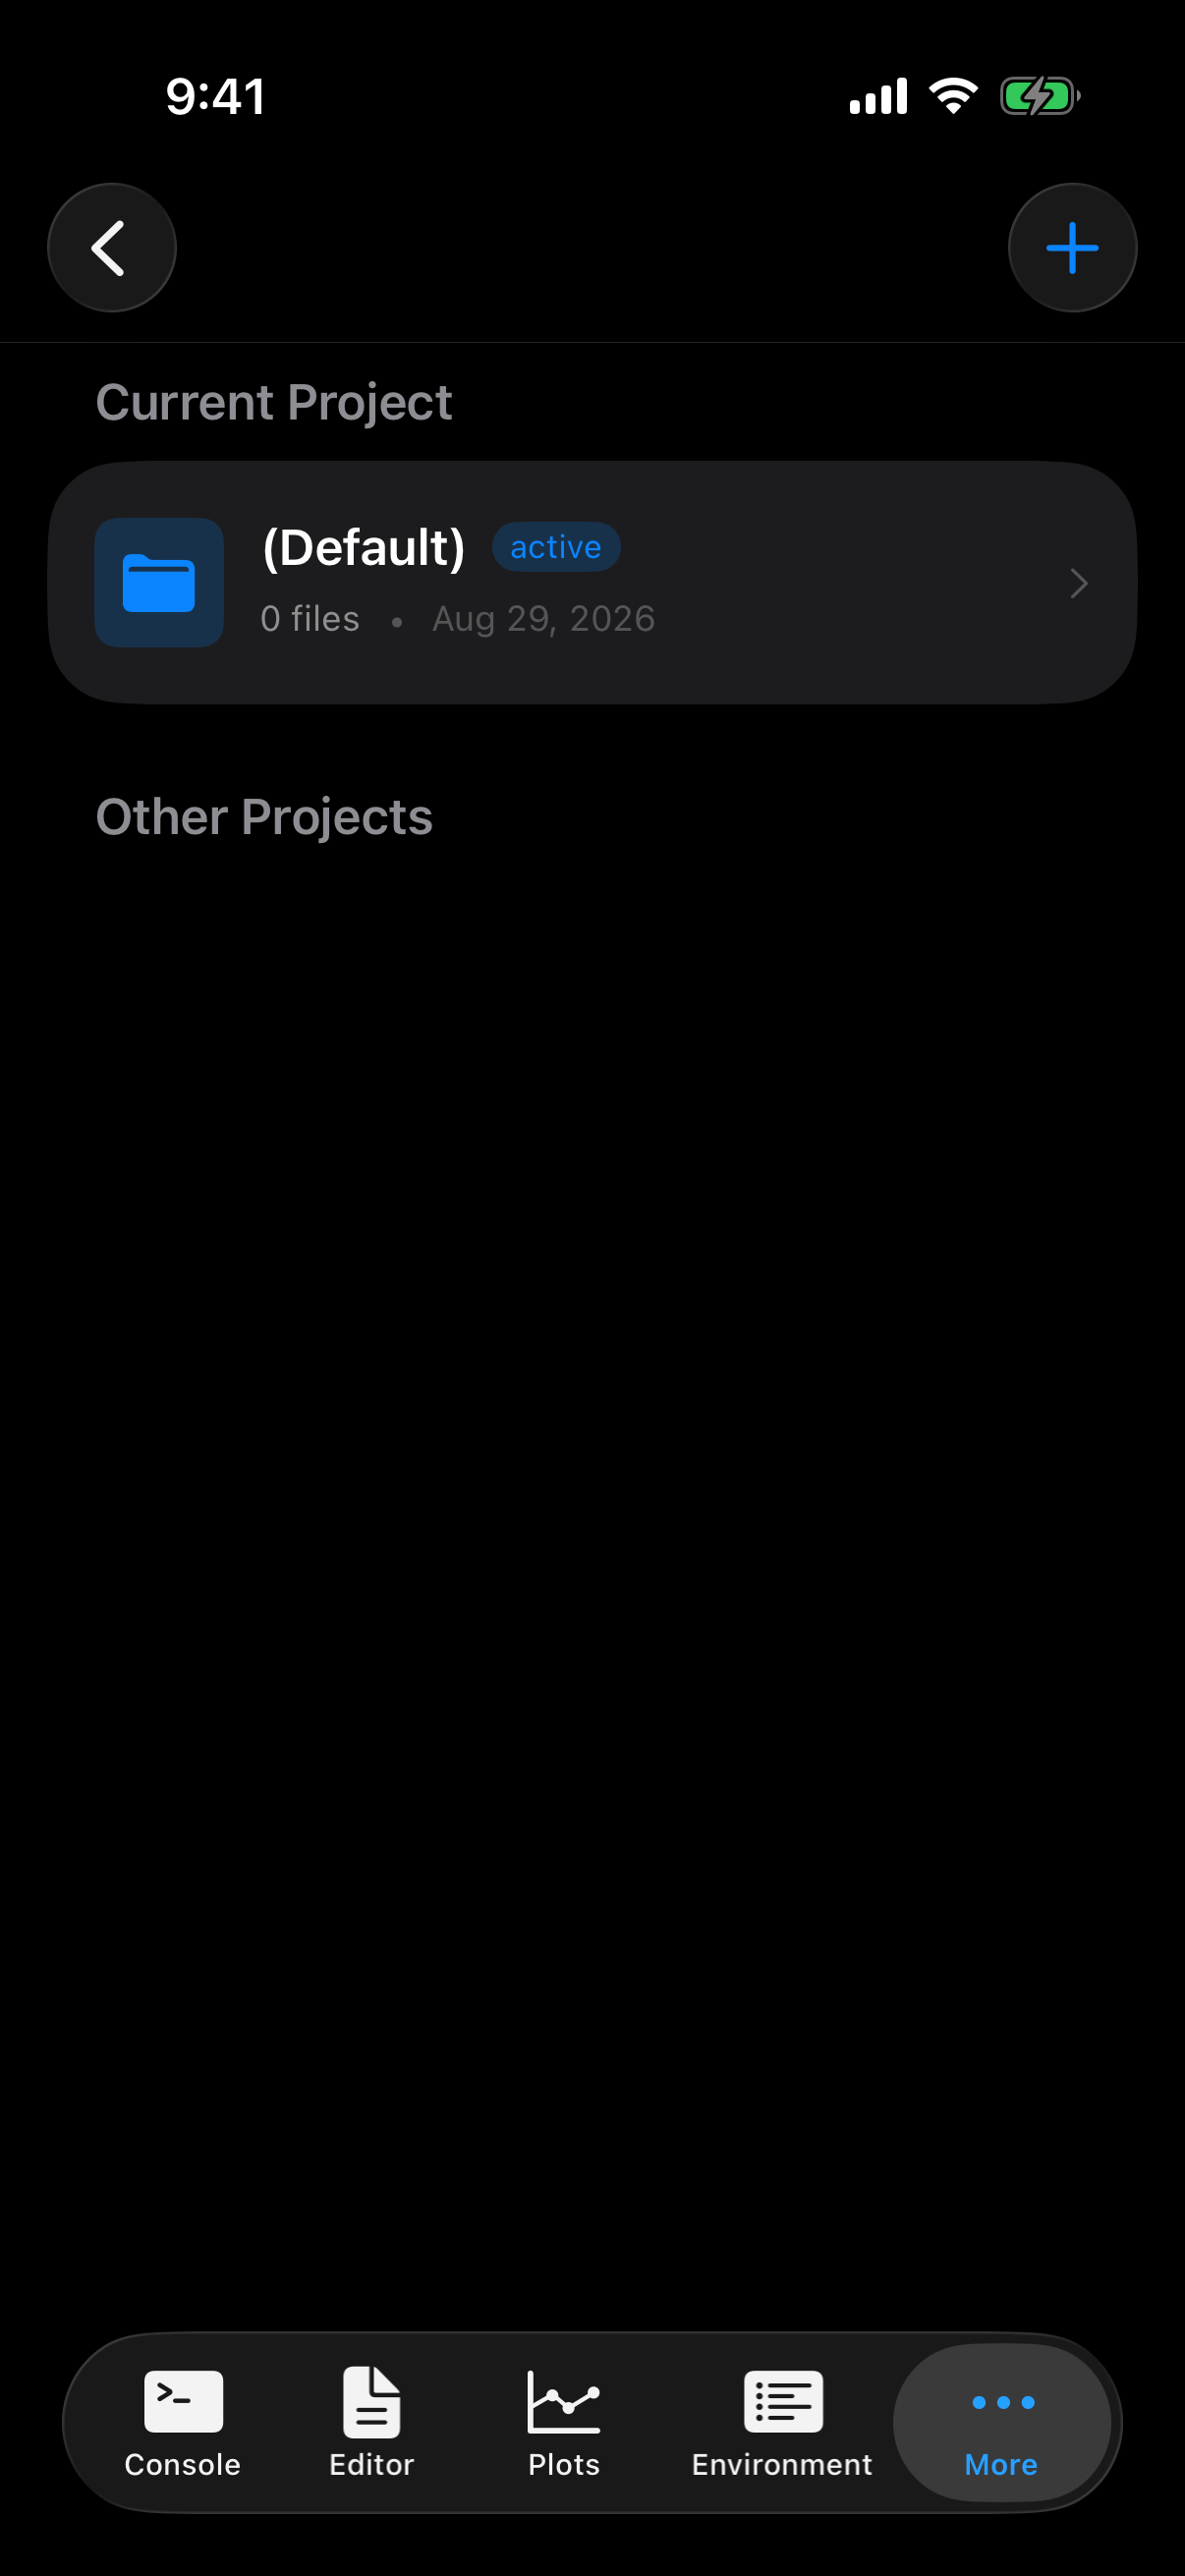
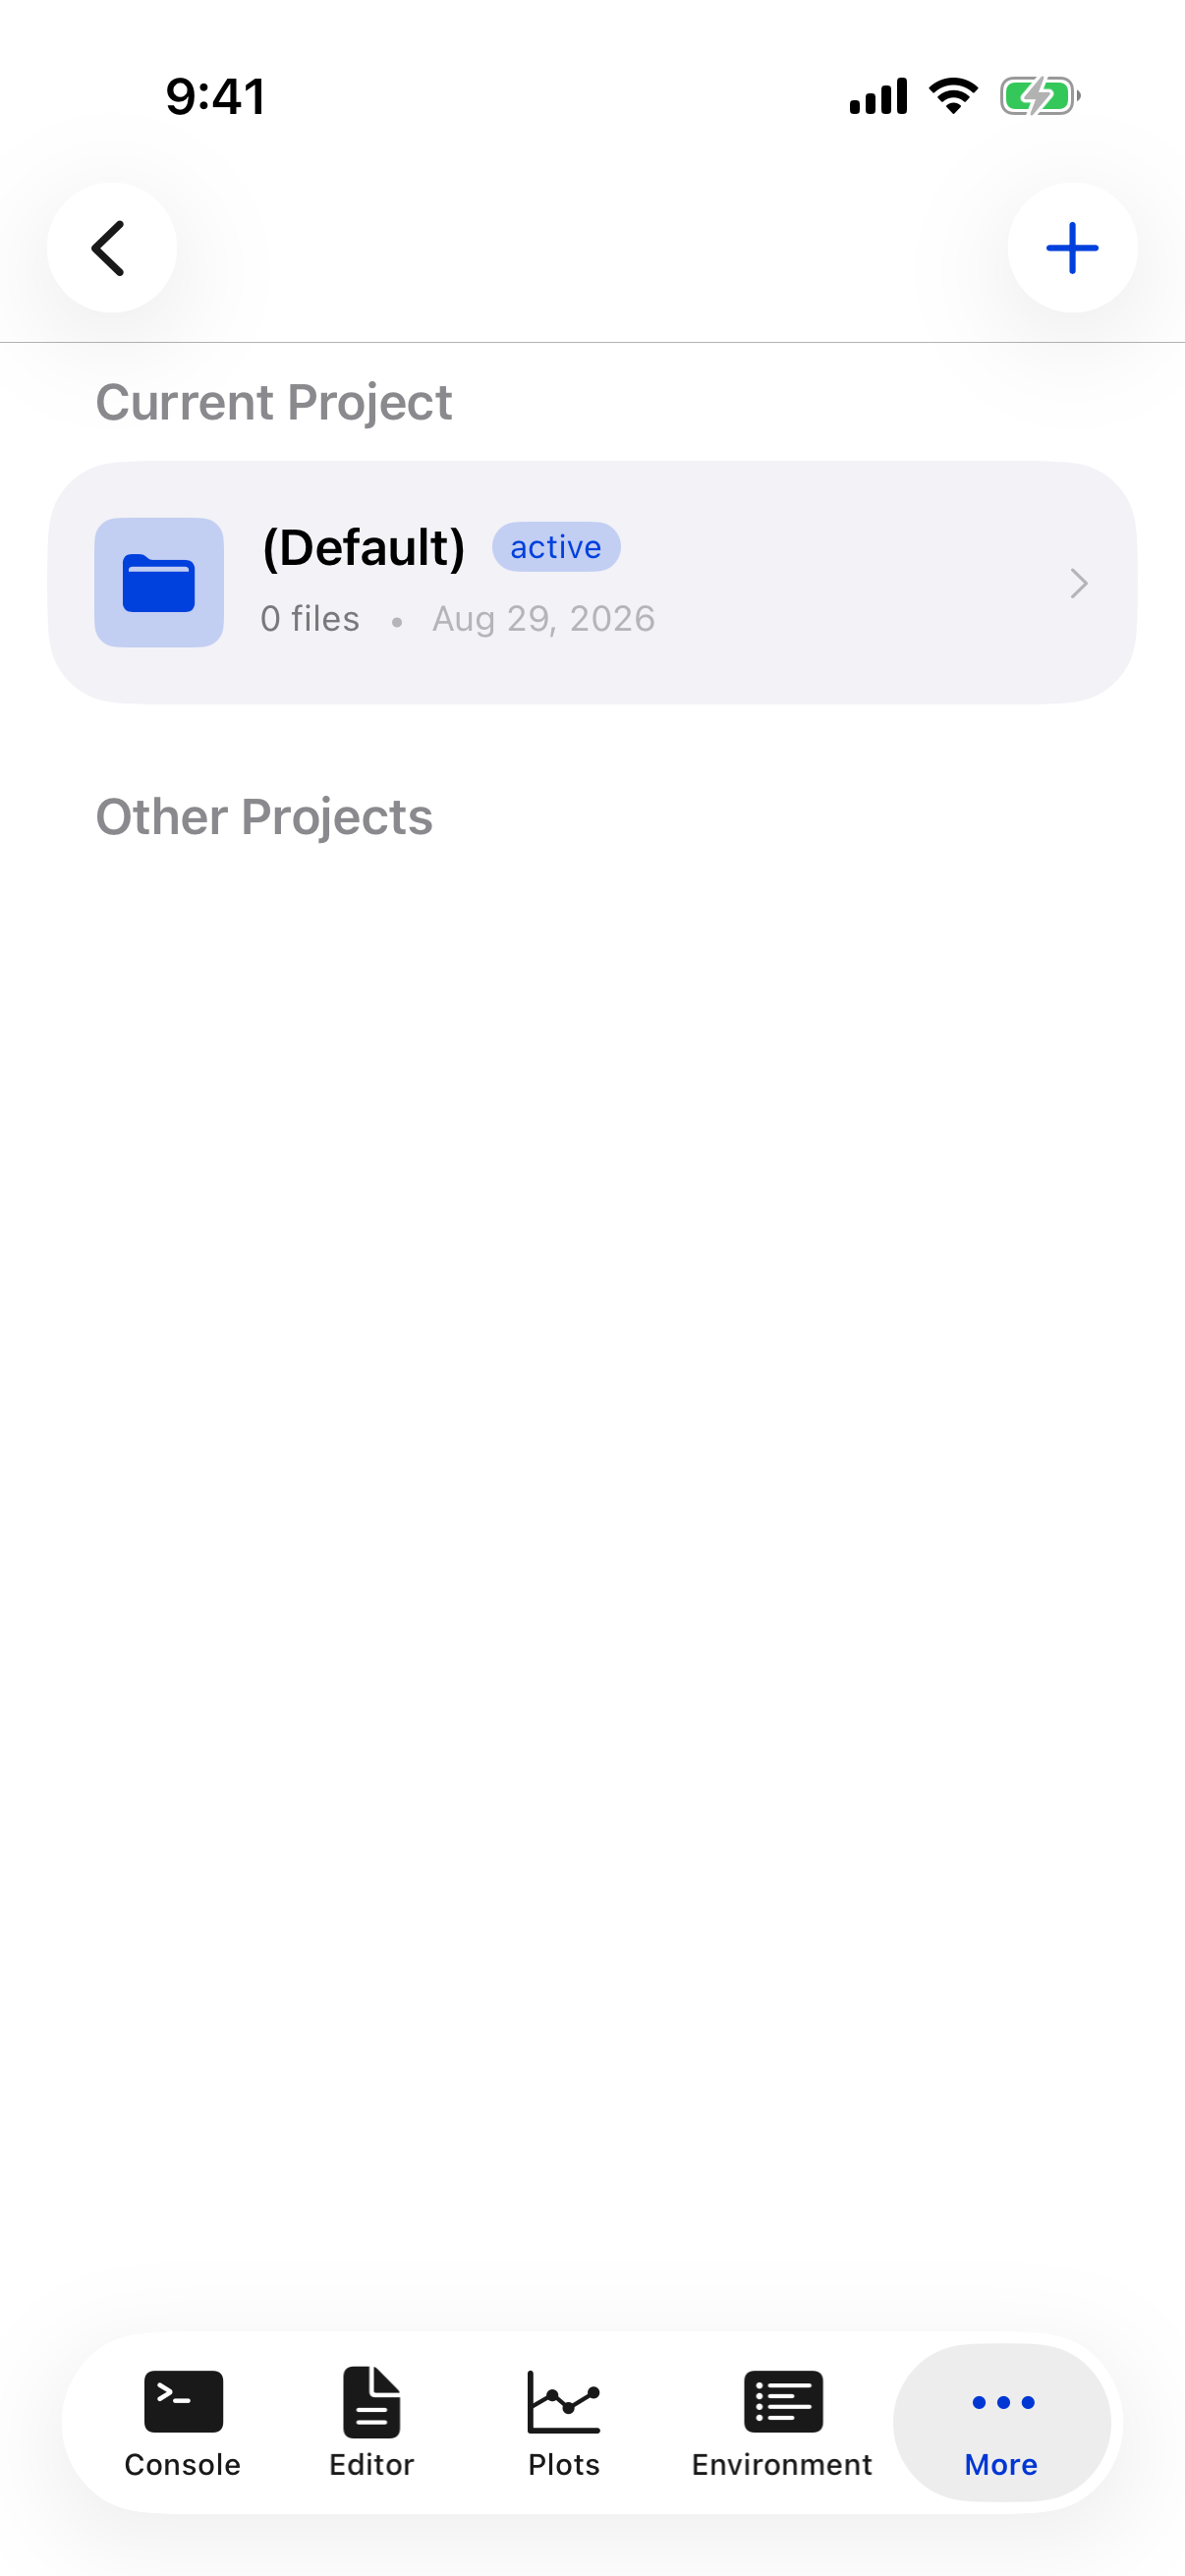
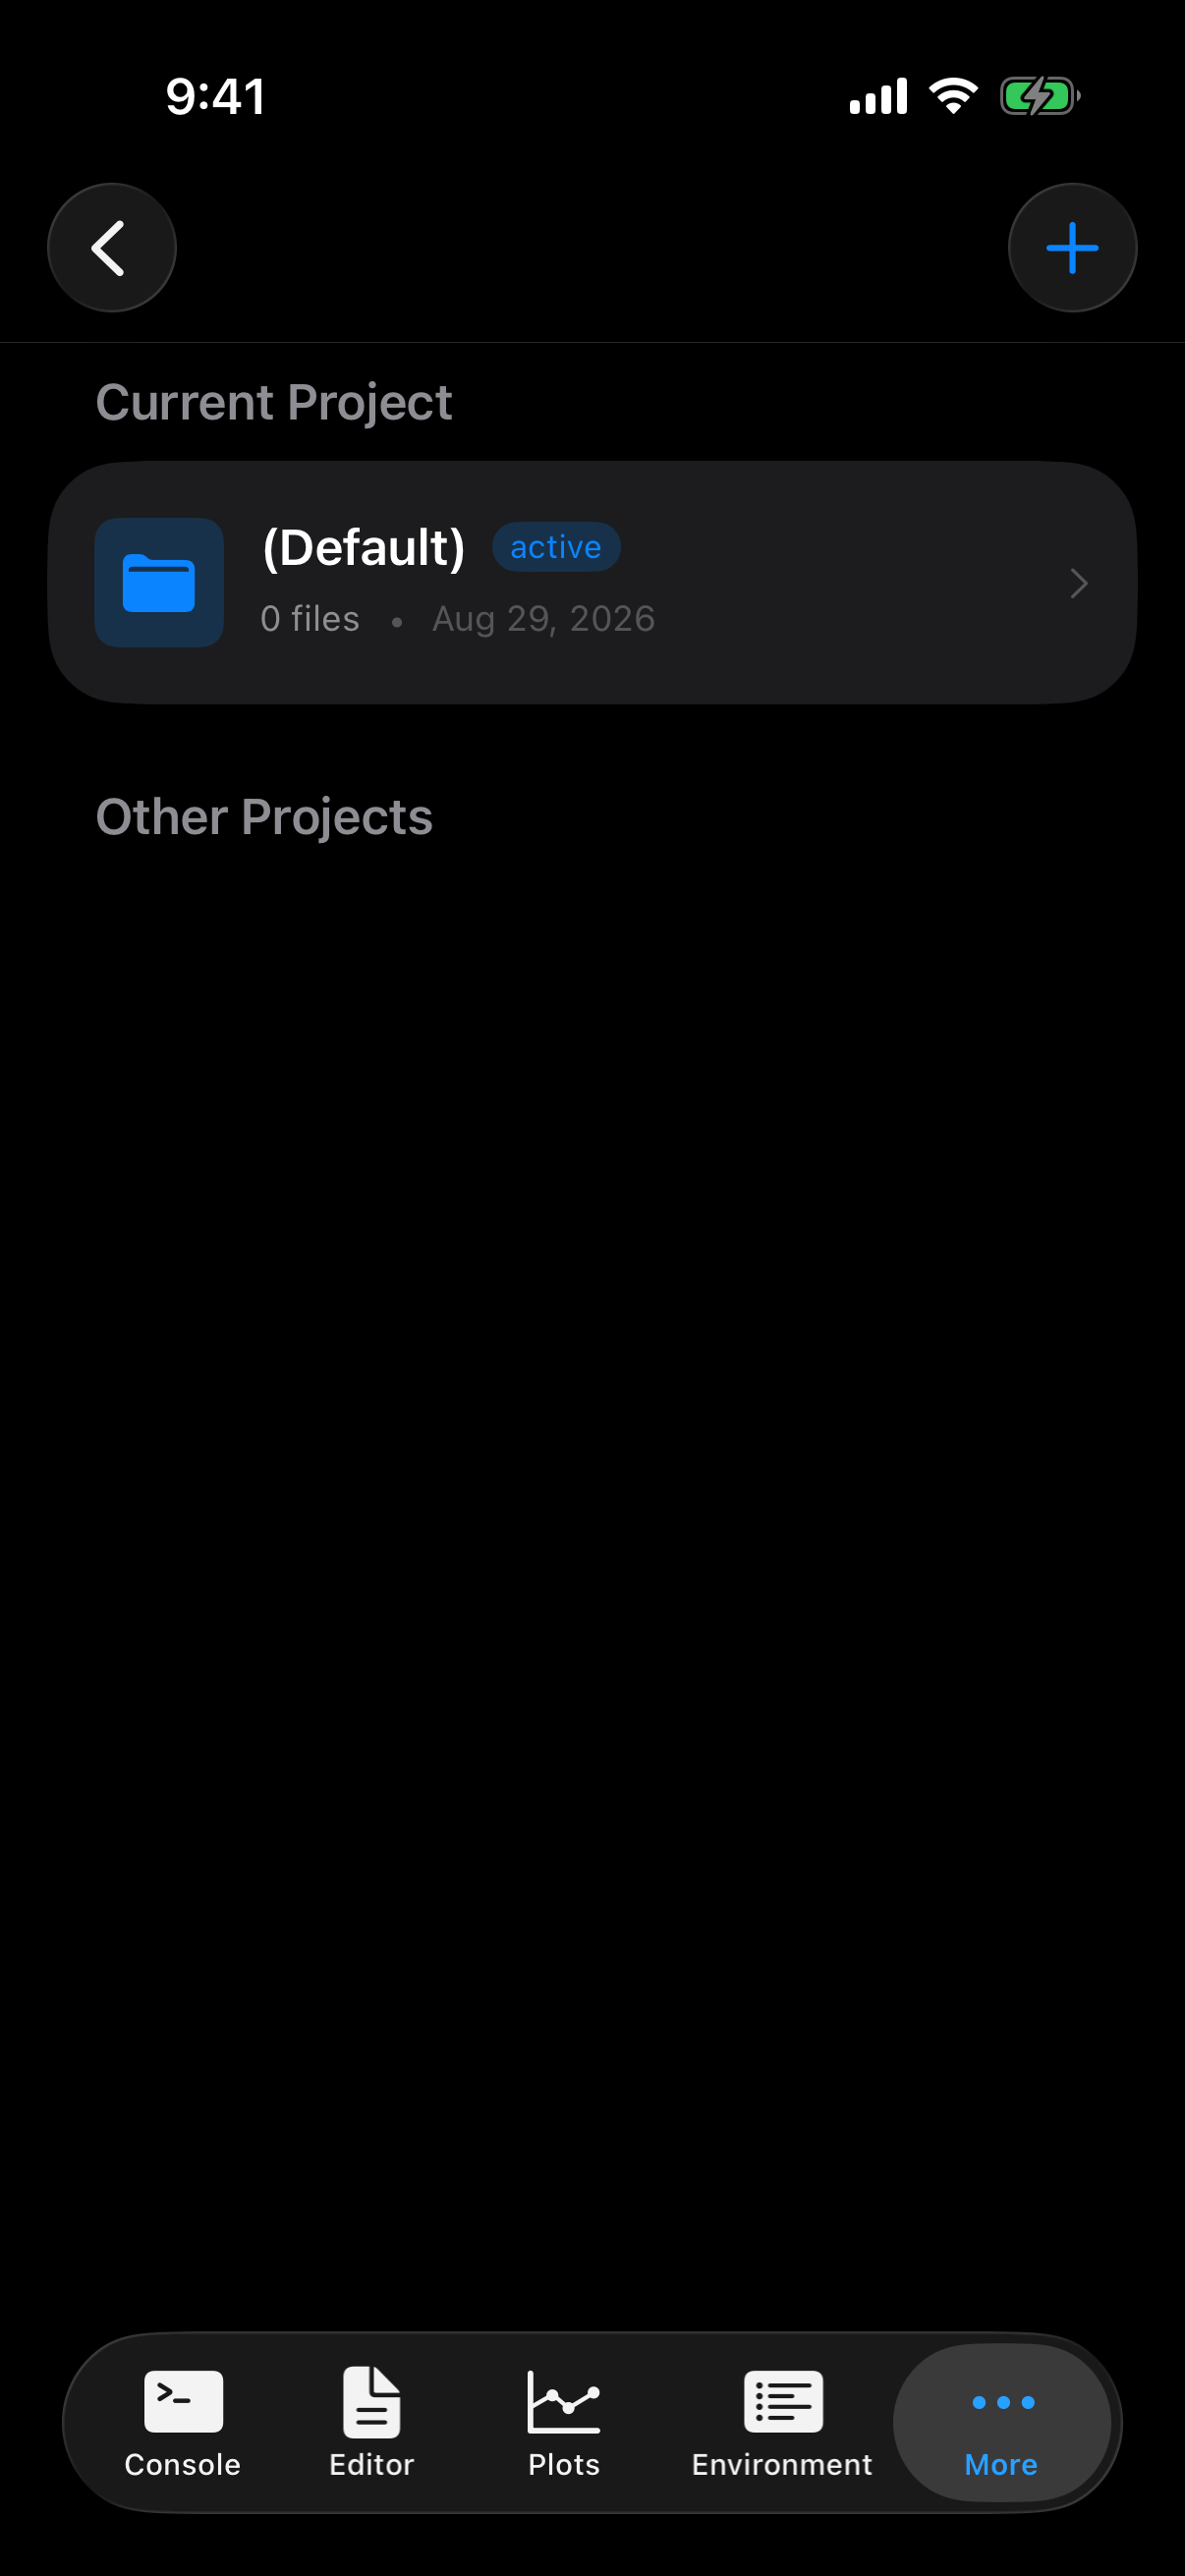
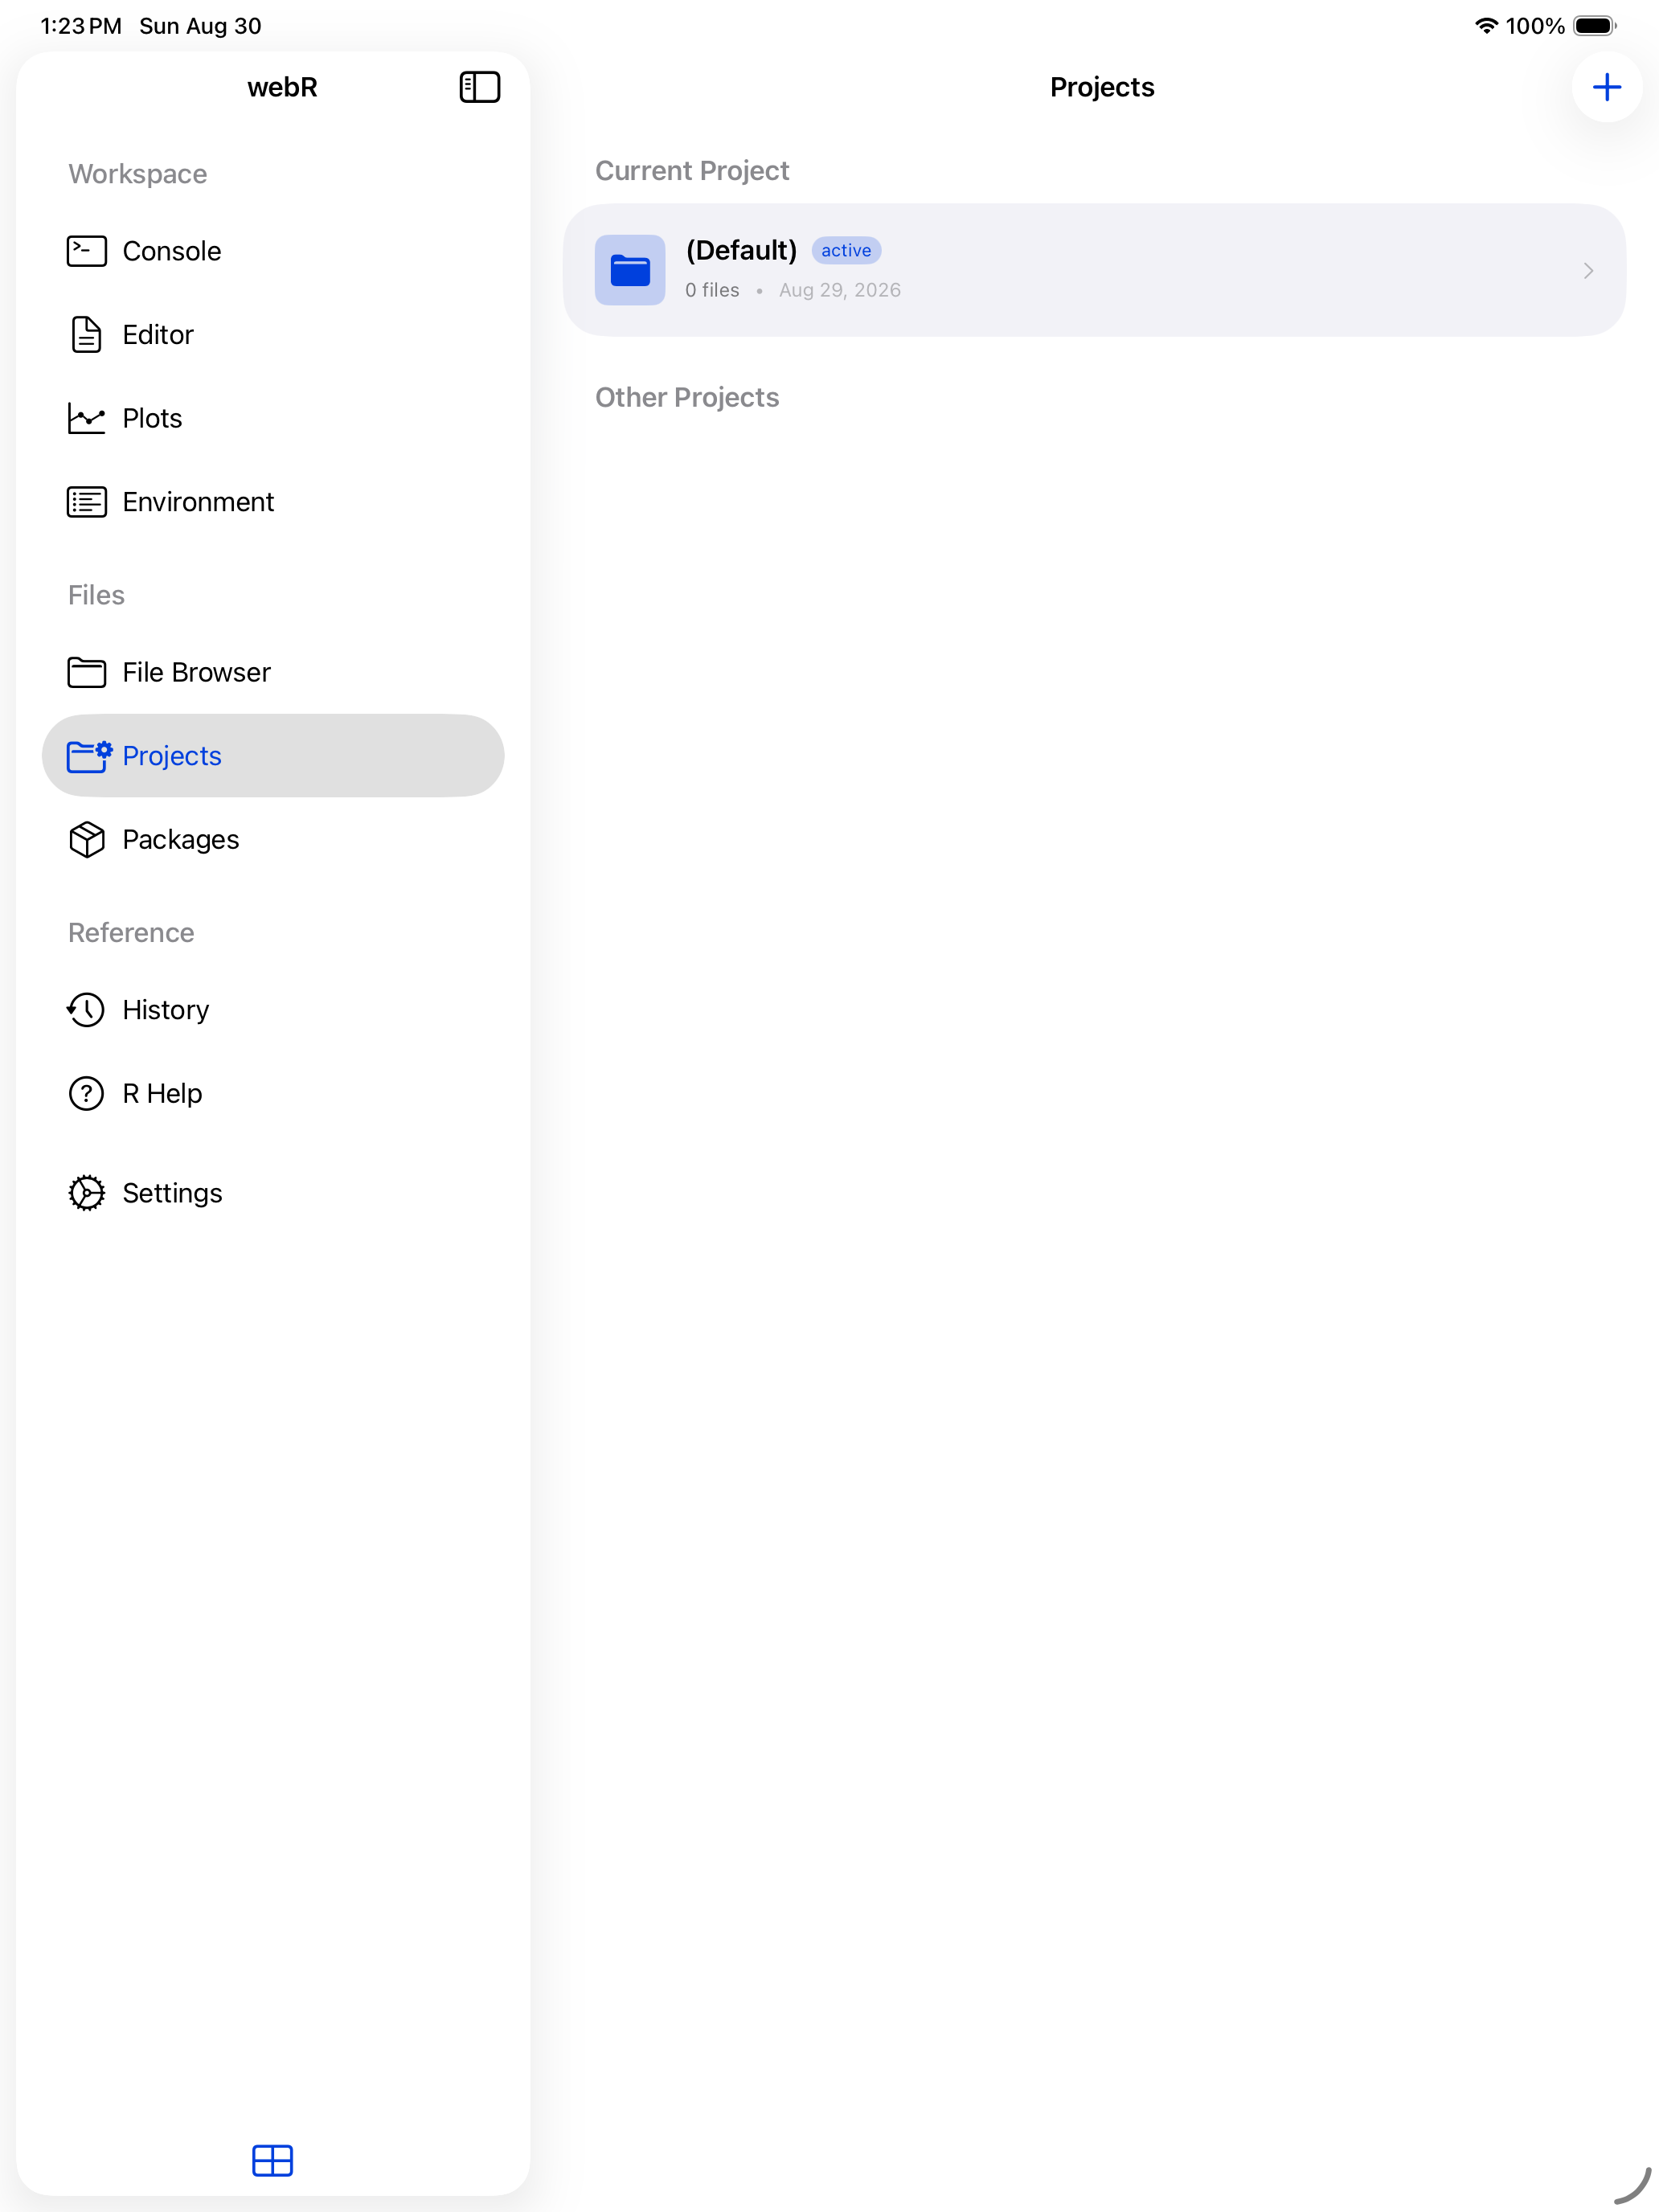
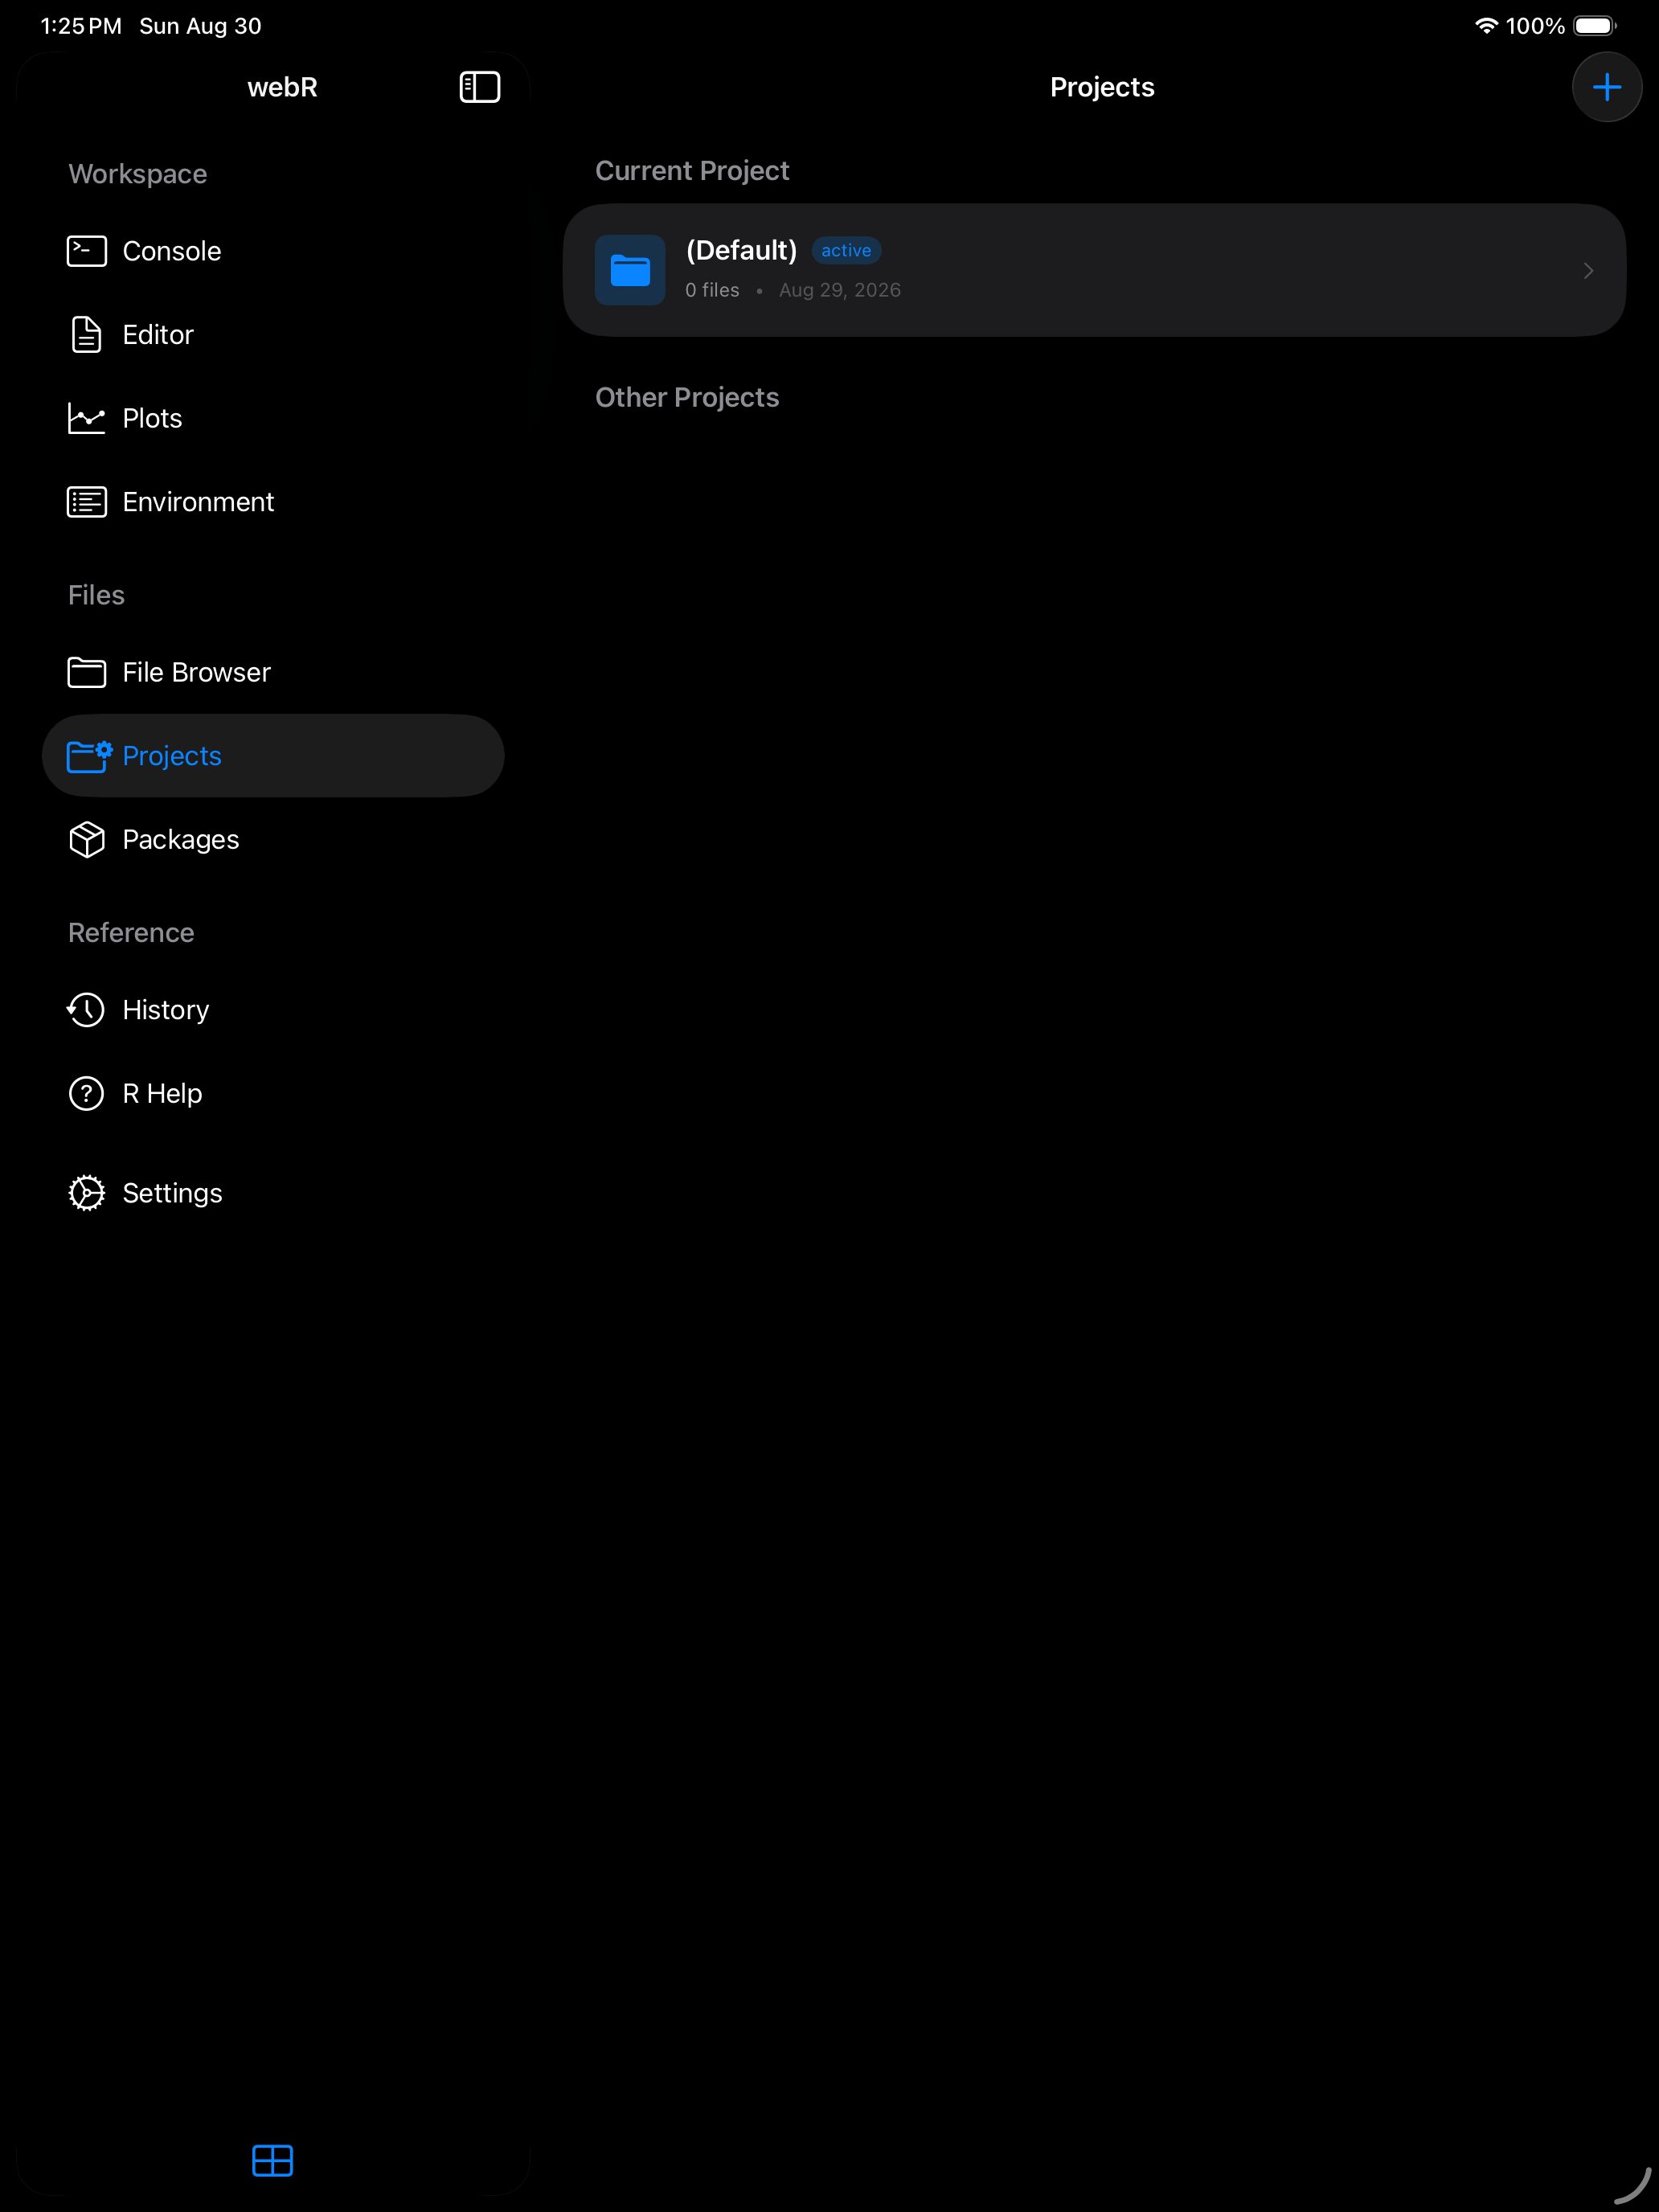
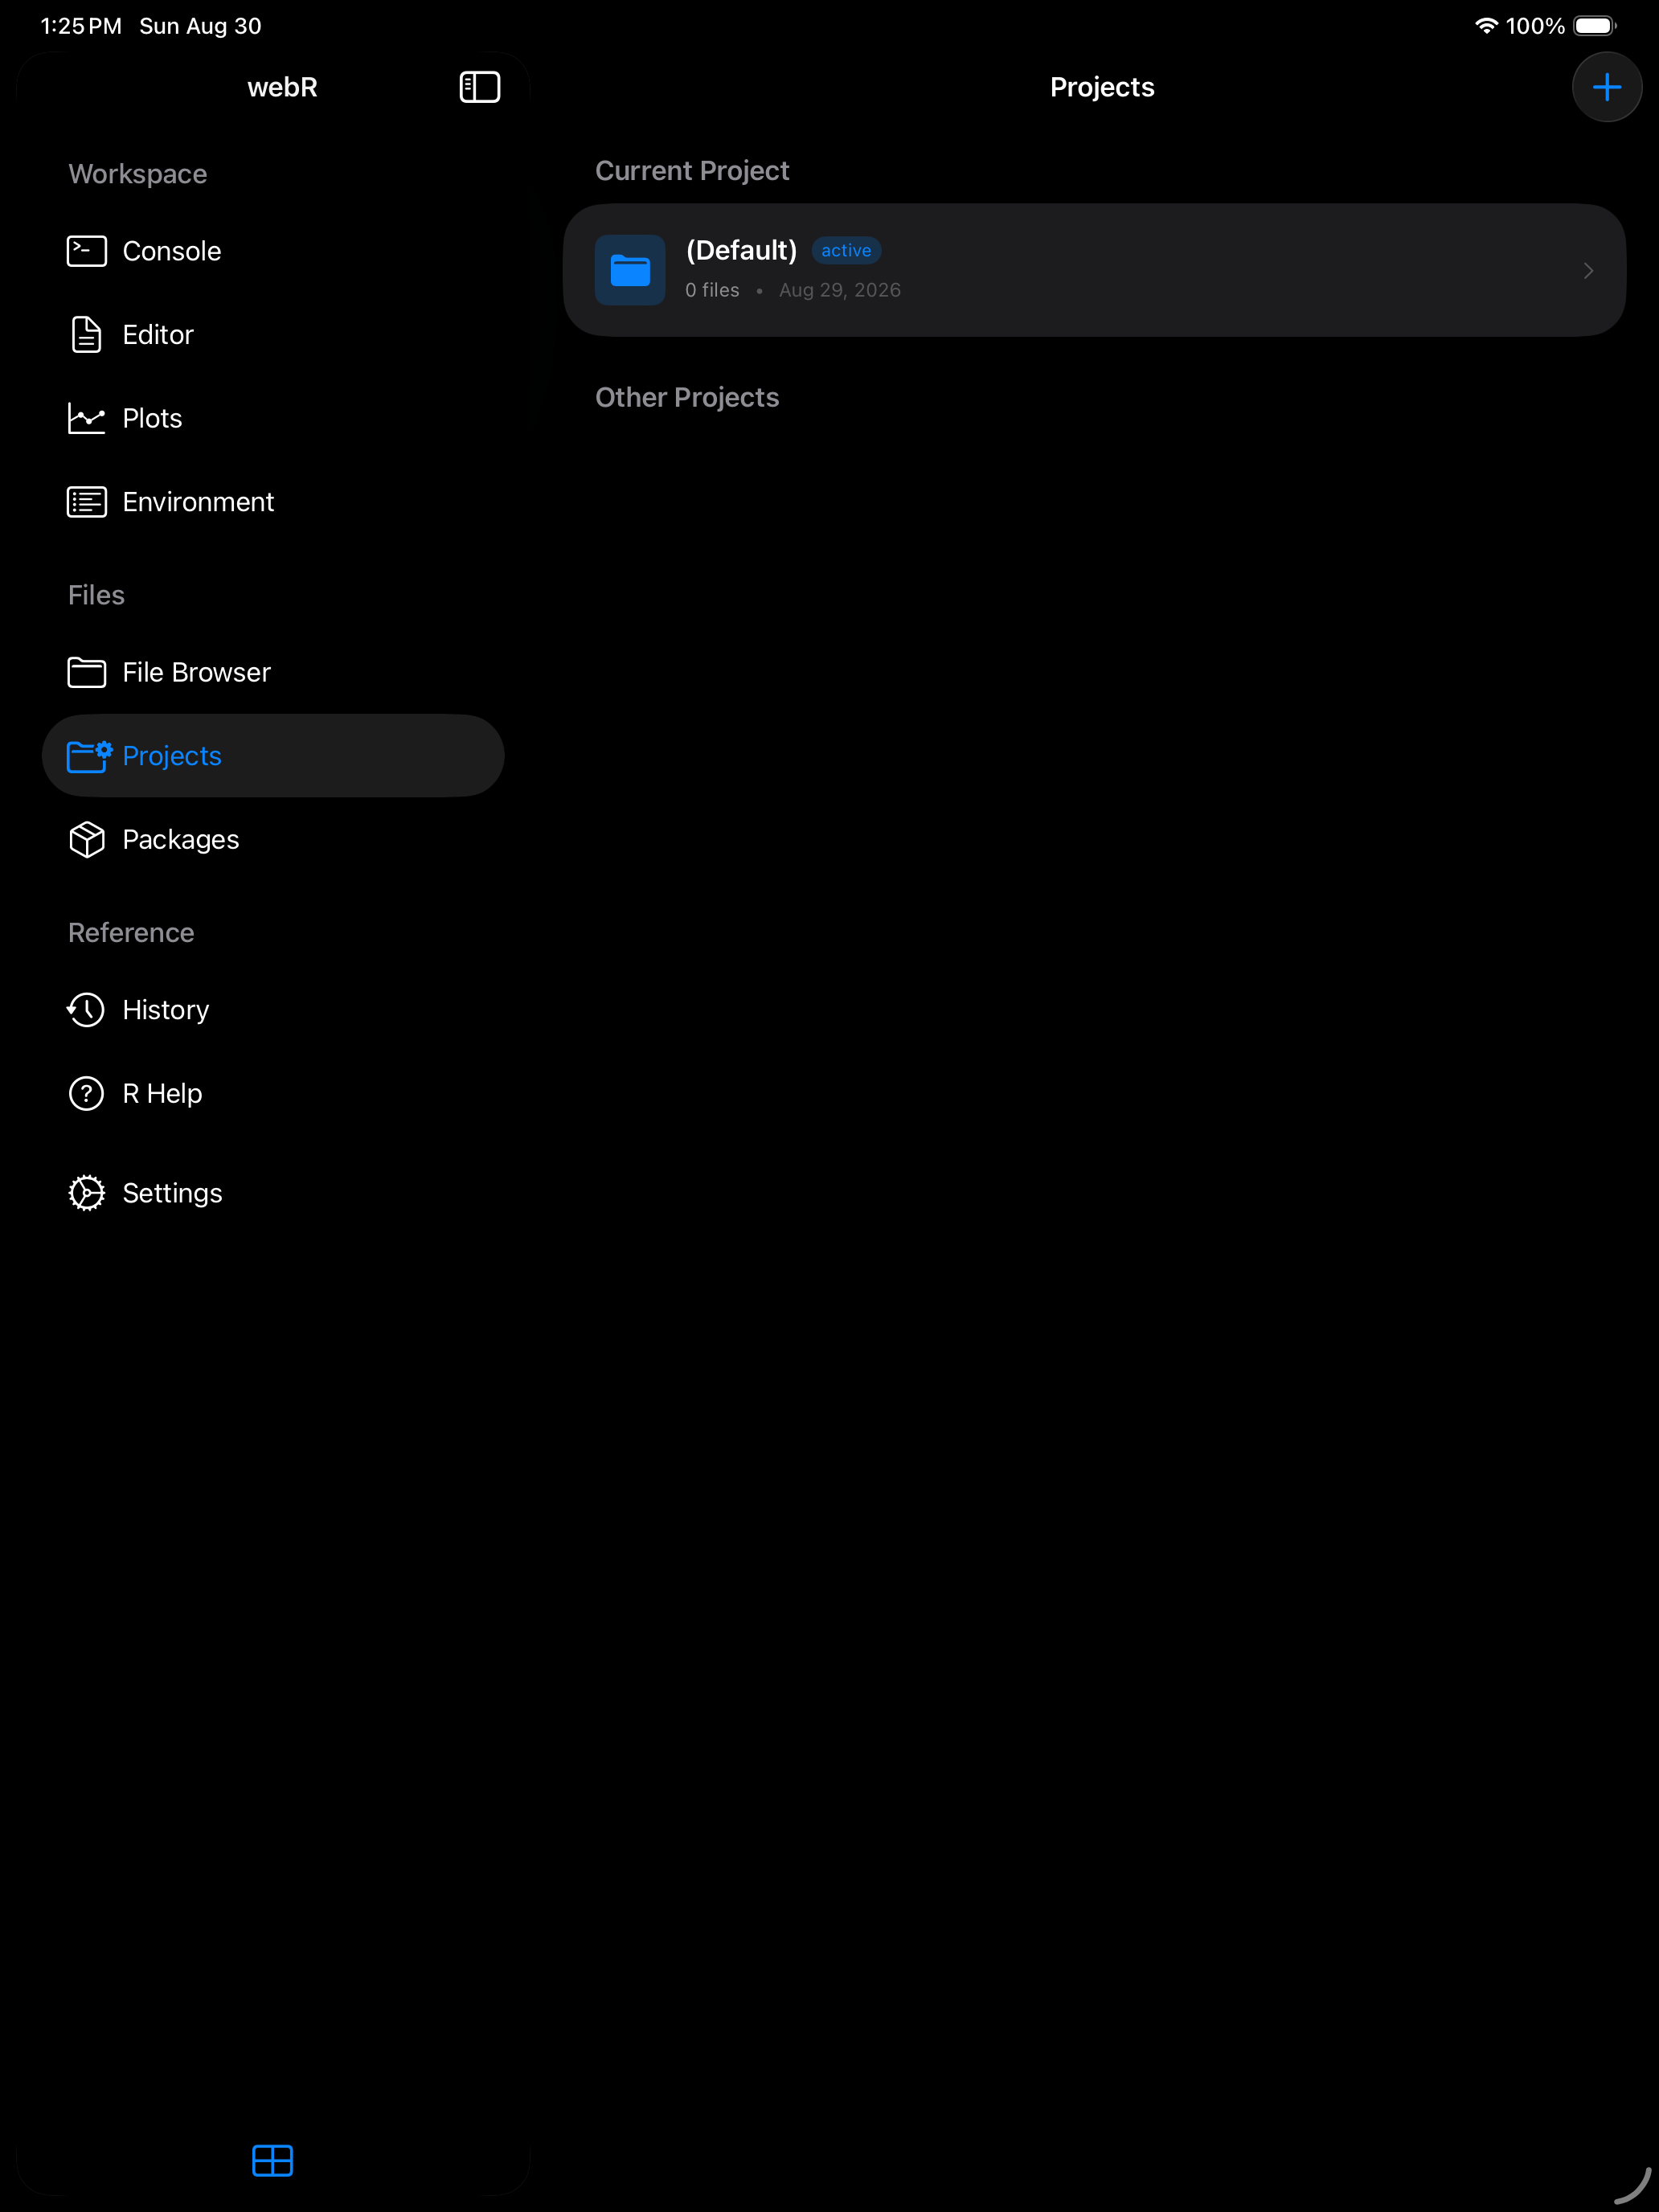
Your files live in projects inside Documents/Projects/. A (Default) project is created on first launch.
Switch to the Projects tab and tap + to create a new one. Each project gets its own folder, and the Editor header shows which project is active (visible in the Editor guide).
A folder you create under Projects/, here or in the iOS Files app, becomes a project automatically, named after the folder (with ” 2” added if that name is taken). Rename a project’s folder in Files and the project follows it, including when it is the current project.
Tap a project to see its Project Details. Its files can be opened, renamed, deleted and shared from a swipe or a long press, and New Script creates an empty script there and opens it in the Editor. Project rows have their own long-press menus too.
With Save Workspace on (Settings > R Session), switching projects also switches R: your variables are saved to the project you are leaving, cleared, and the new project’s saved workspace is loaded. Loaded packages, options and the working directory stay. If code is running, the switch waits for it to finish, and you can still stop it.
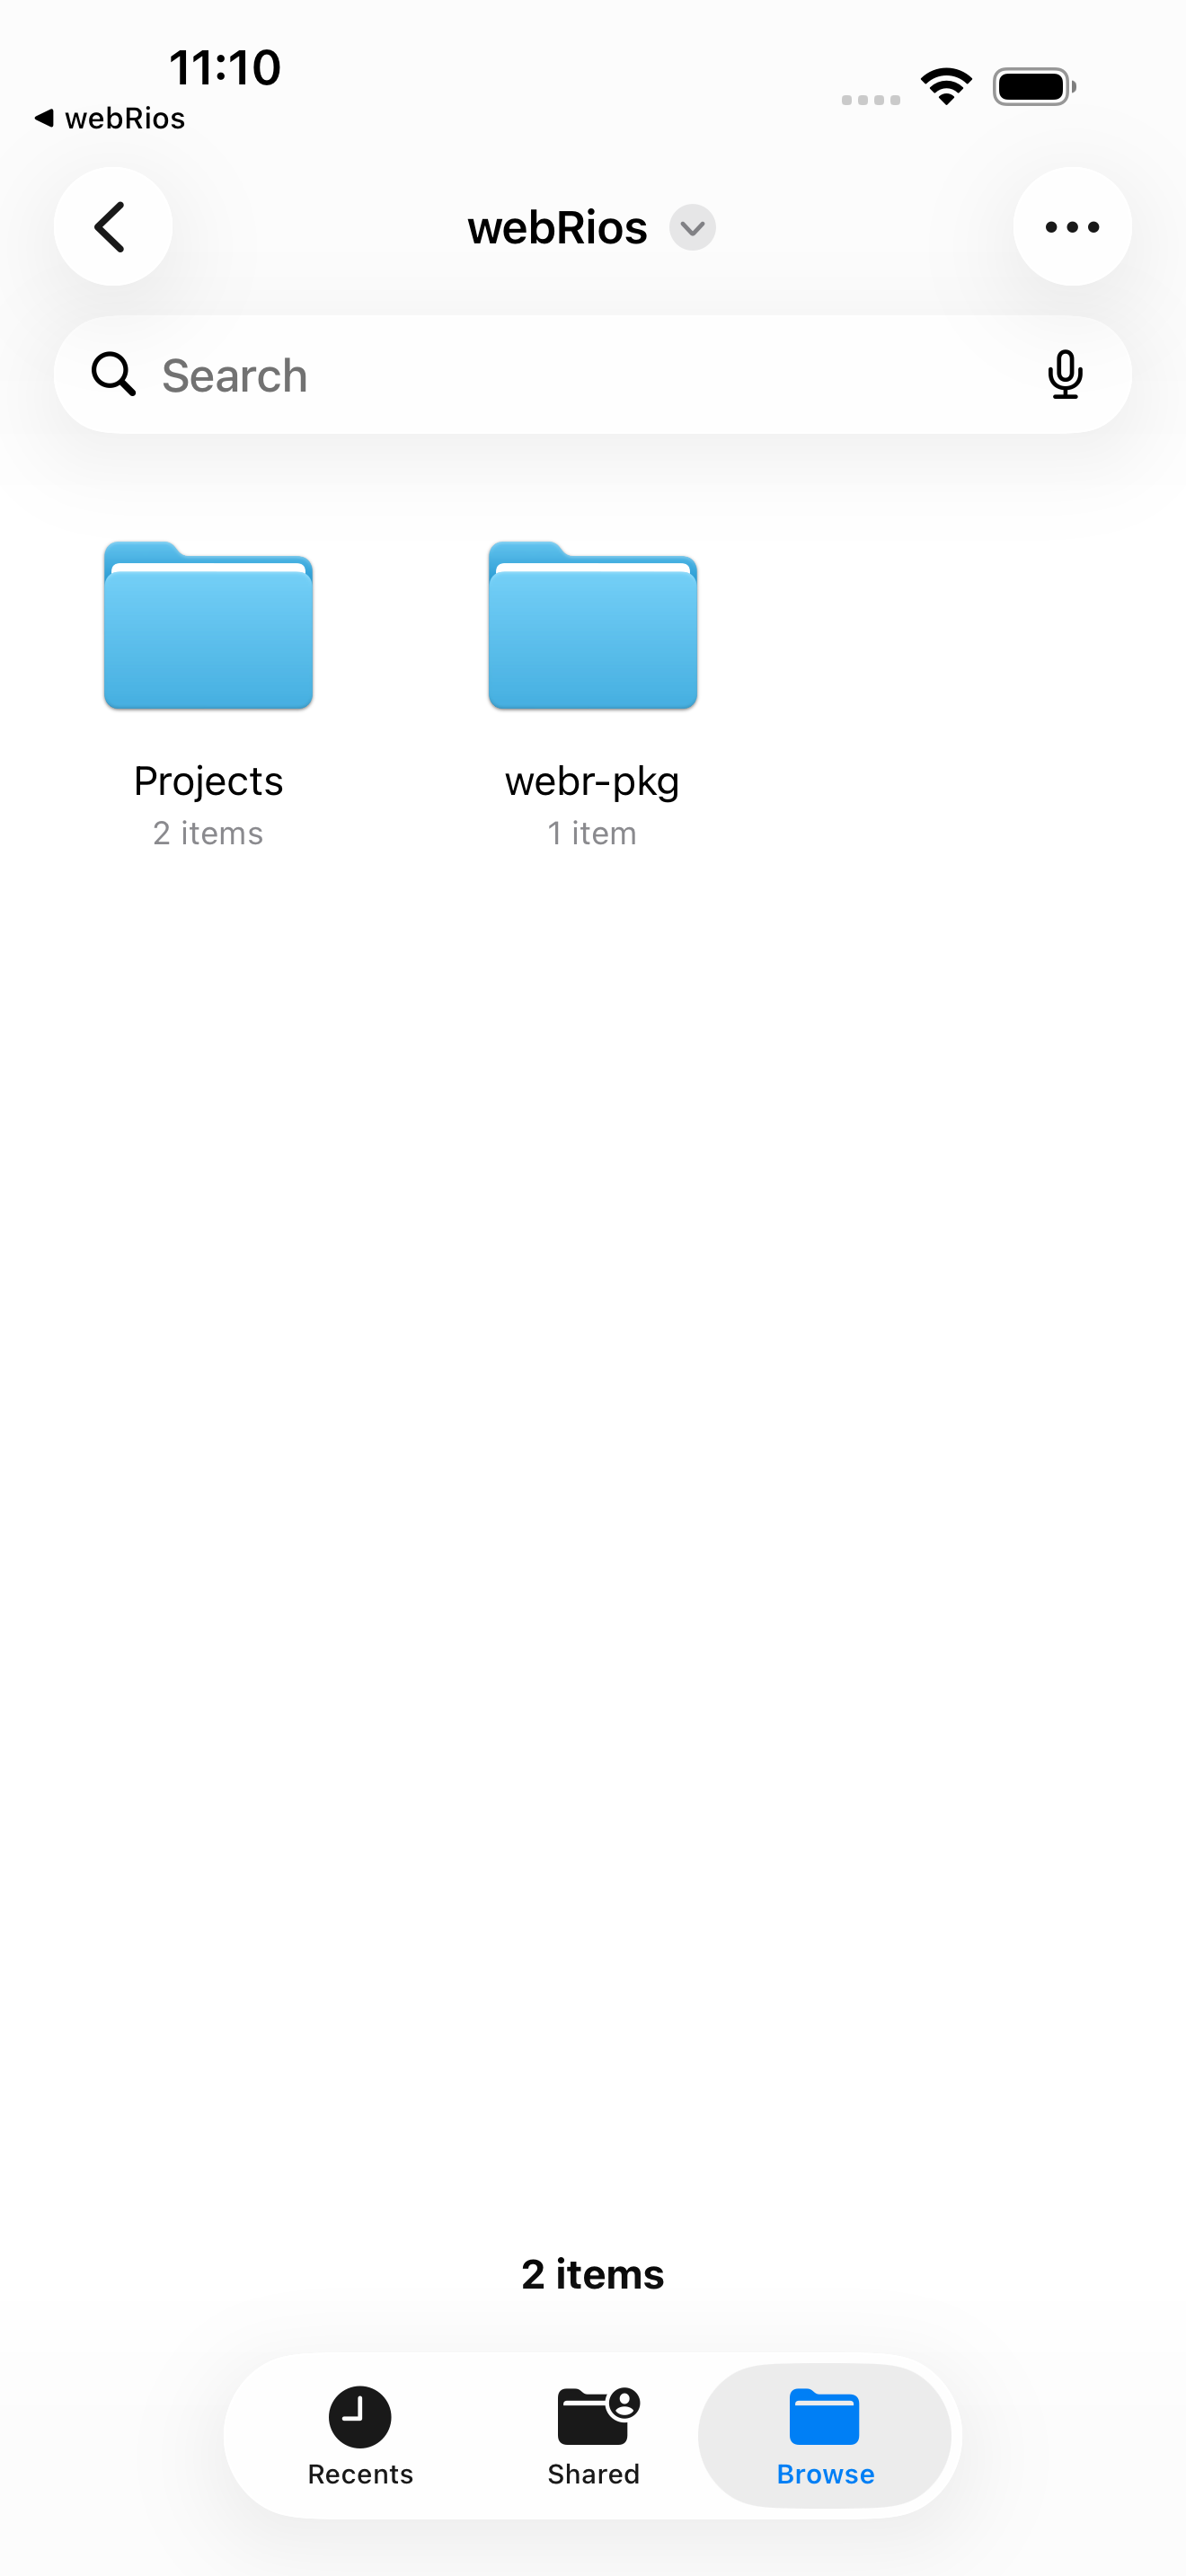
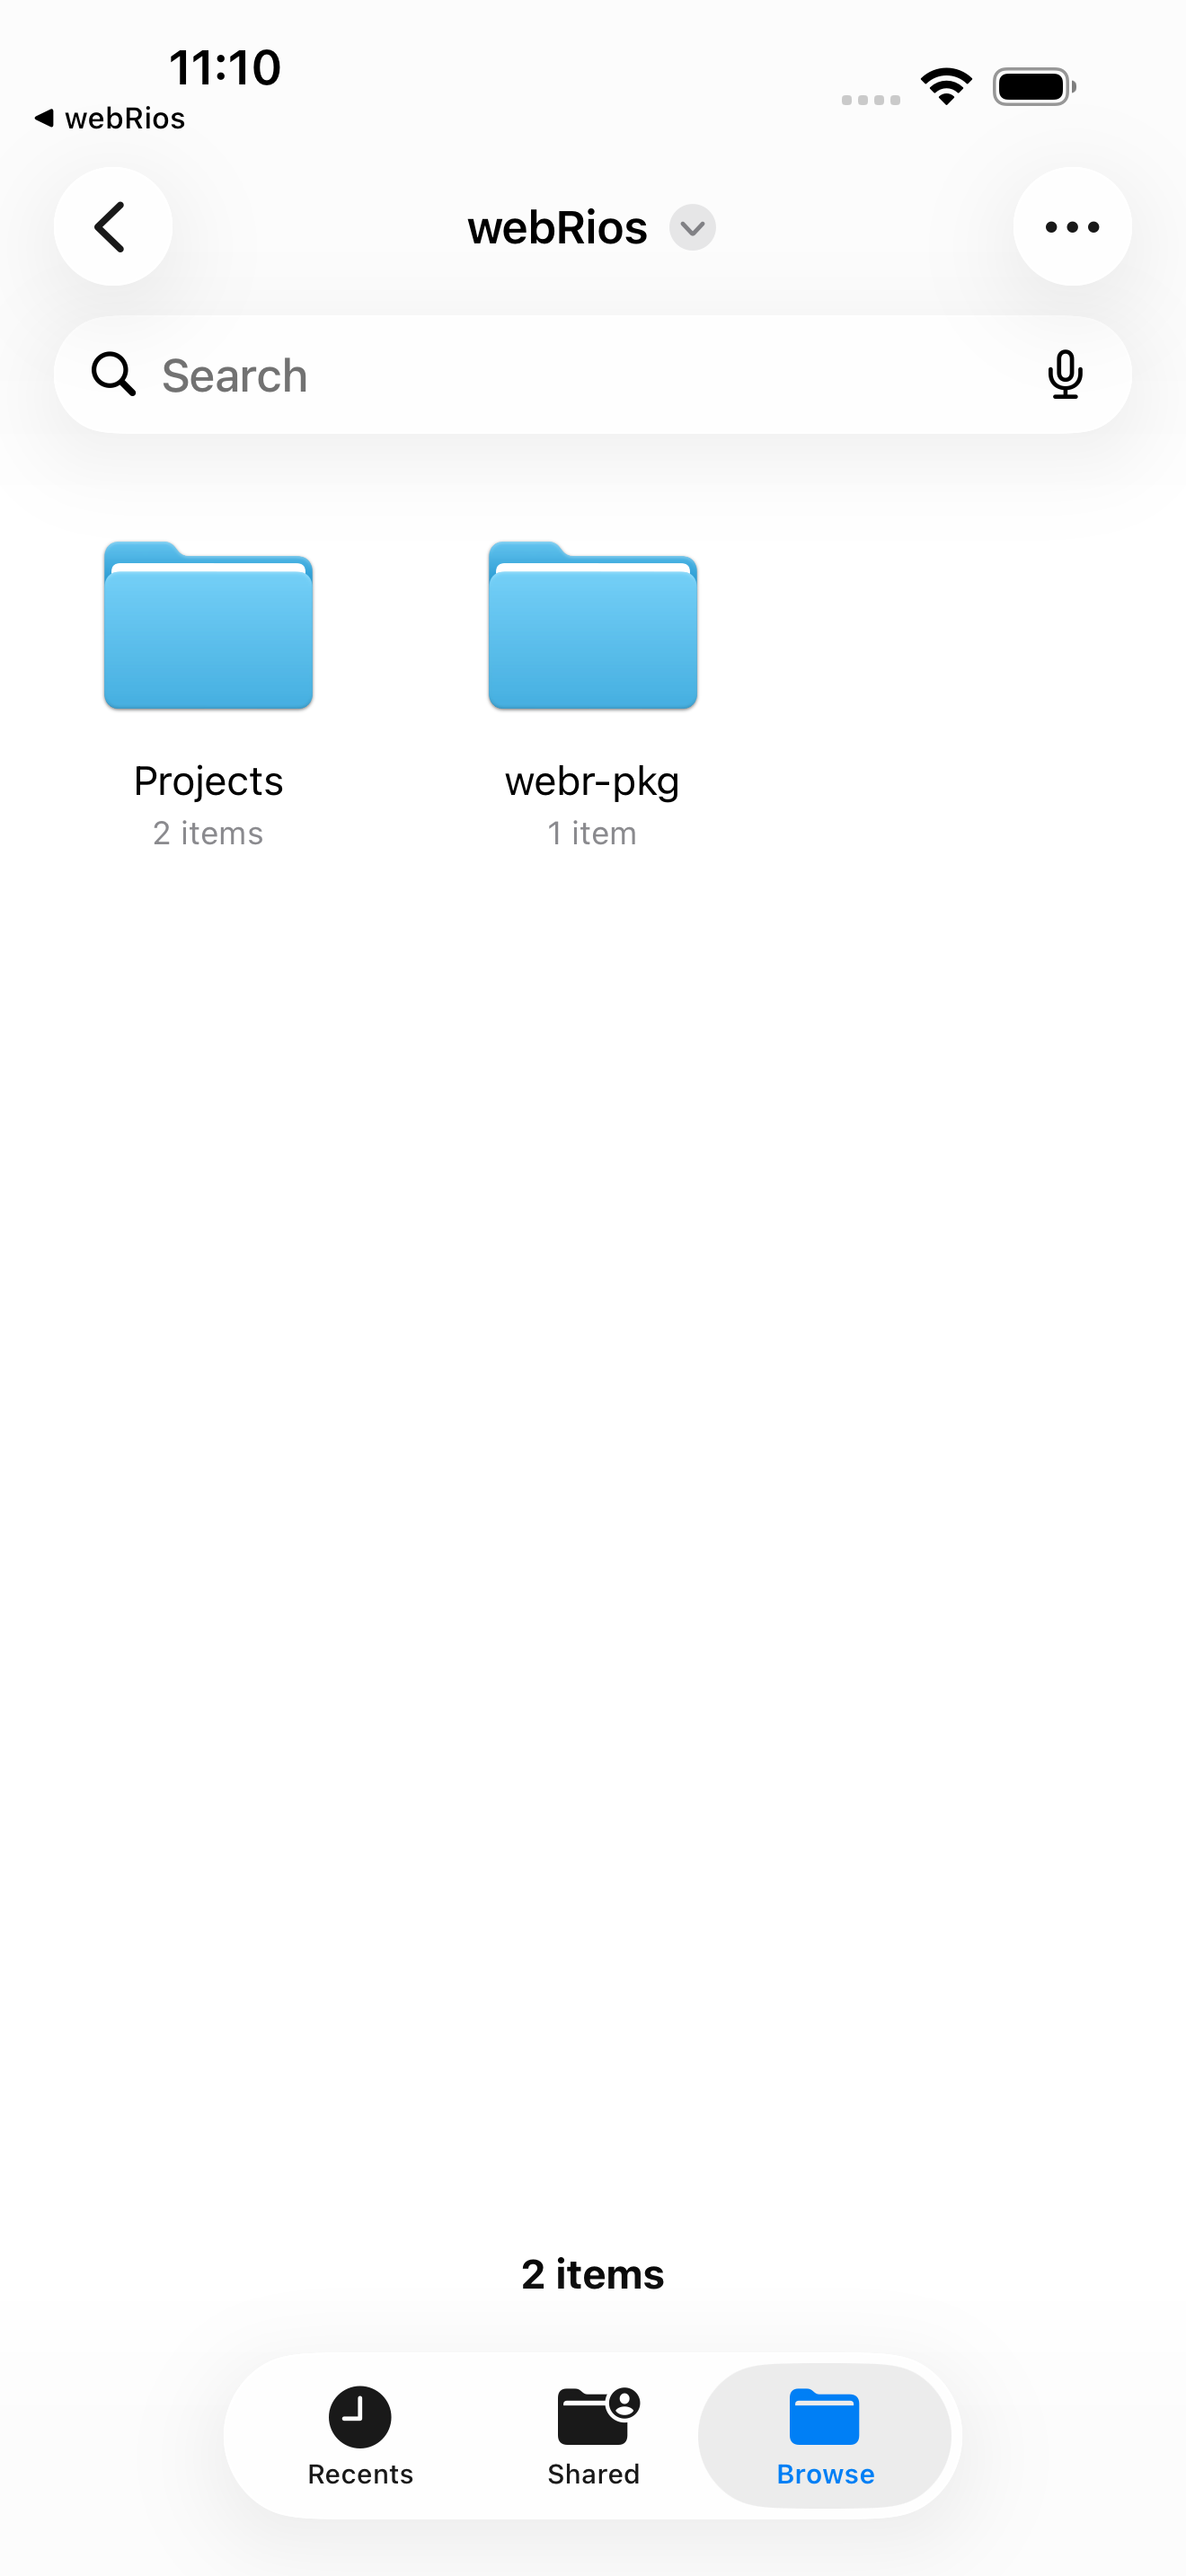
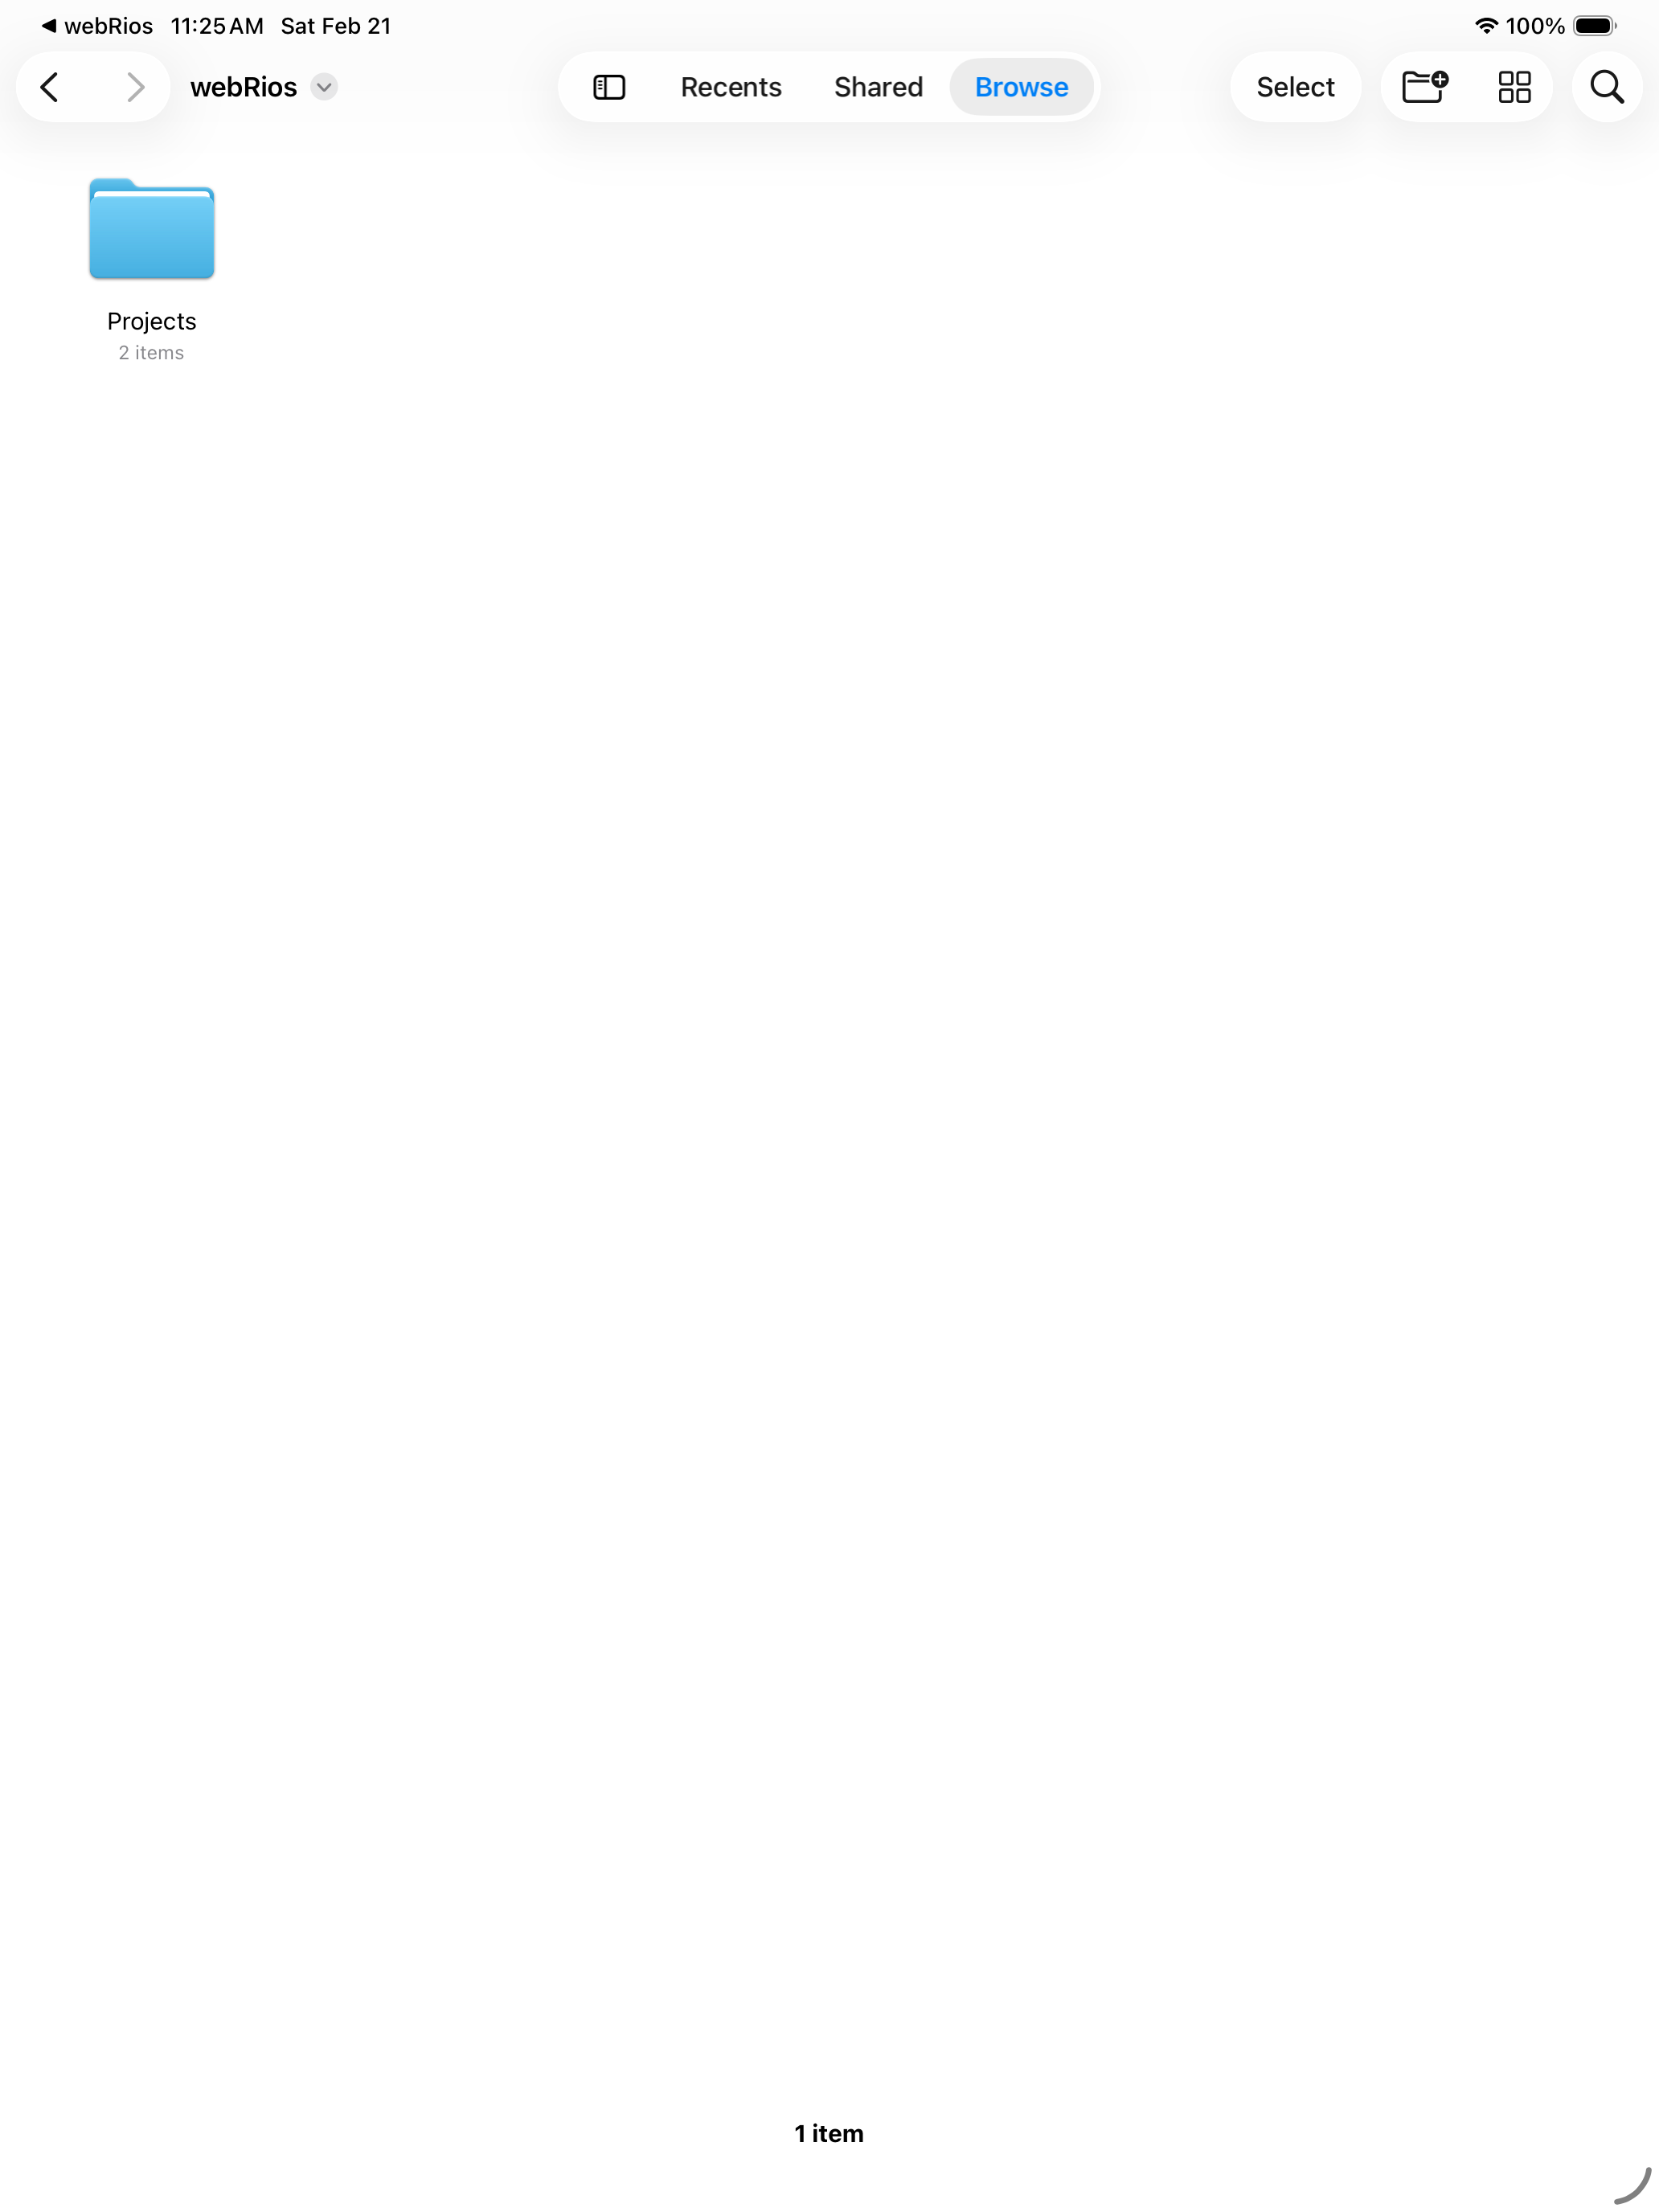
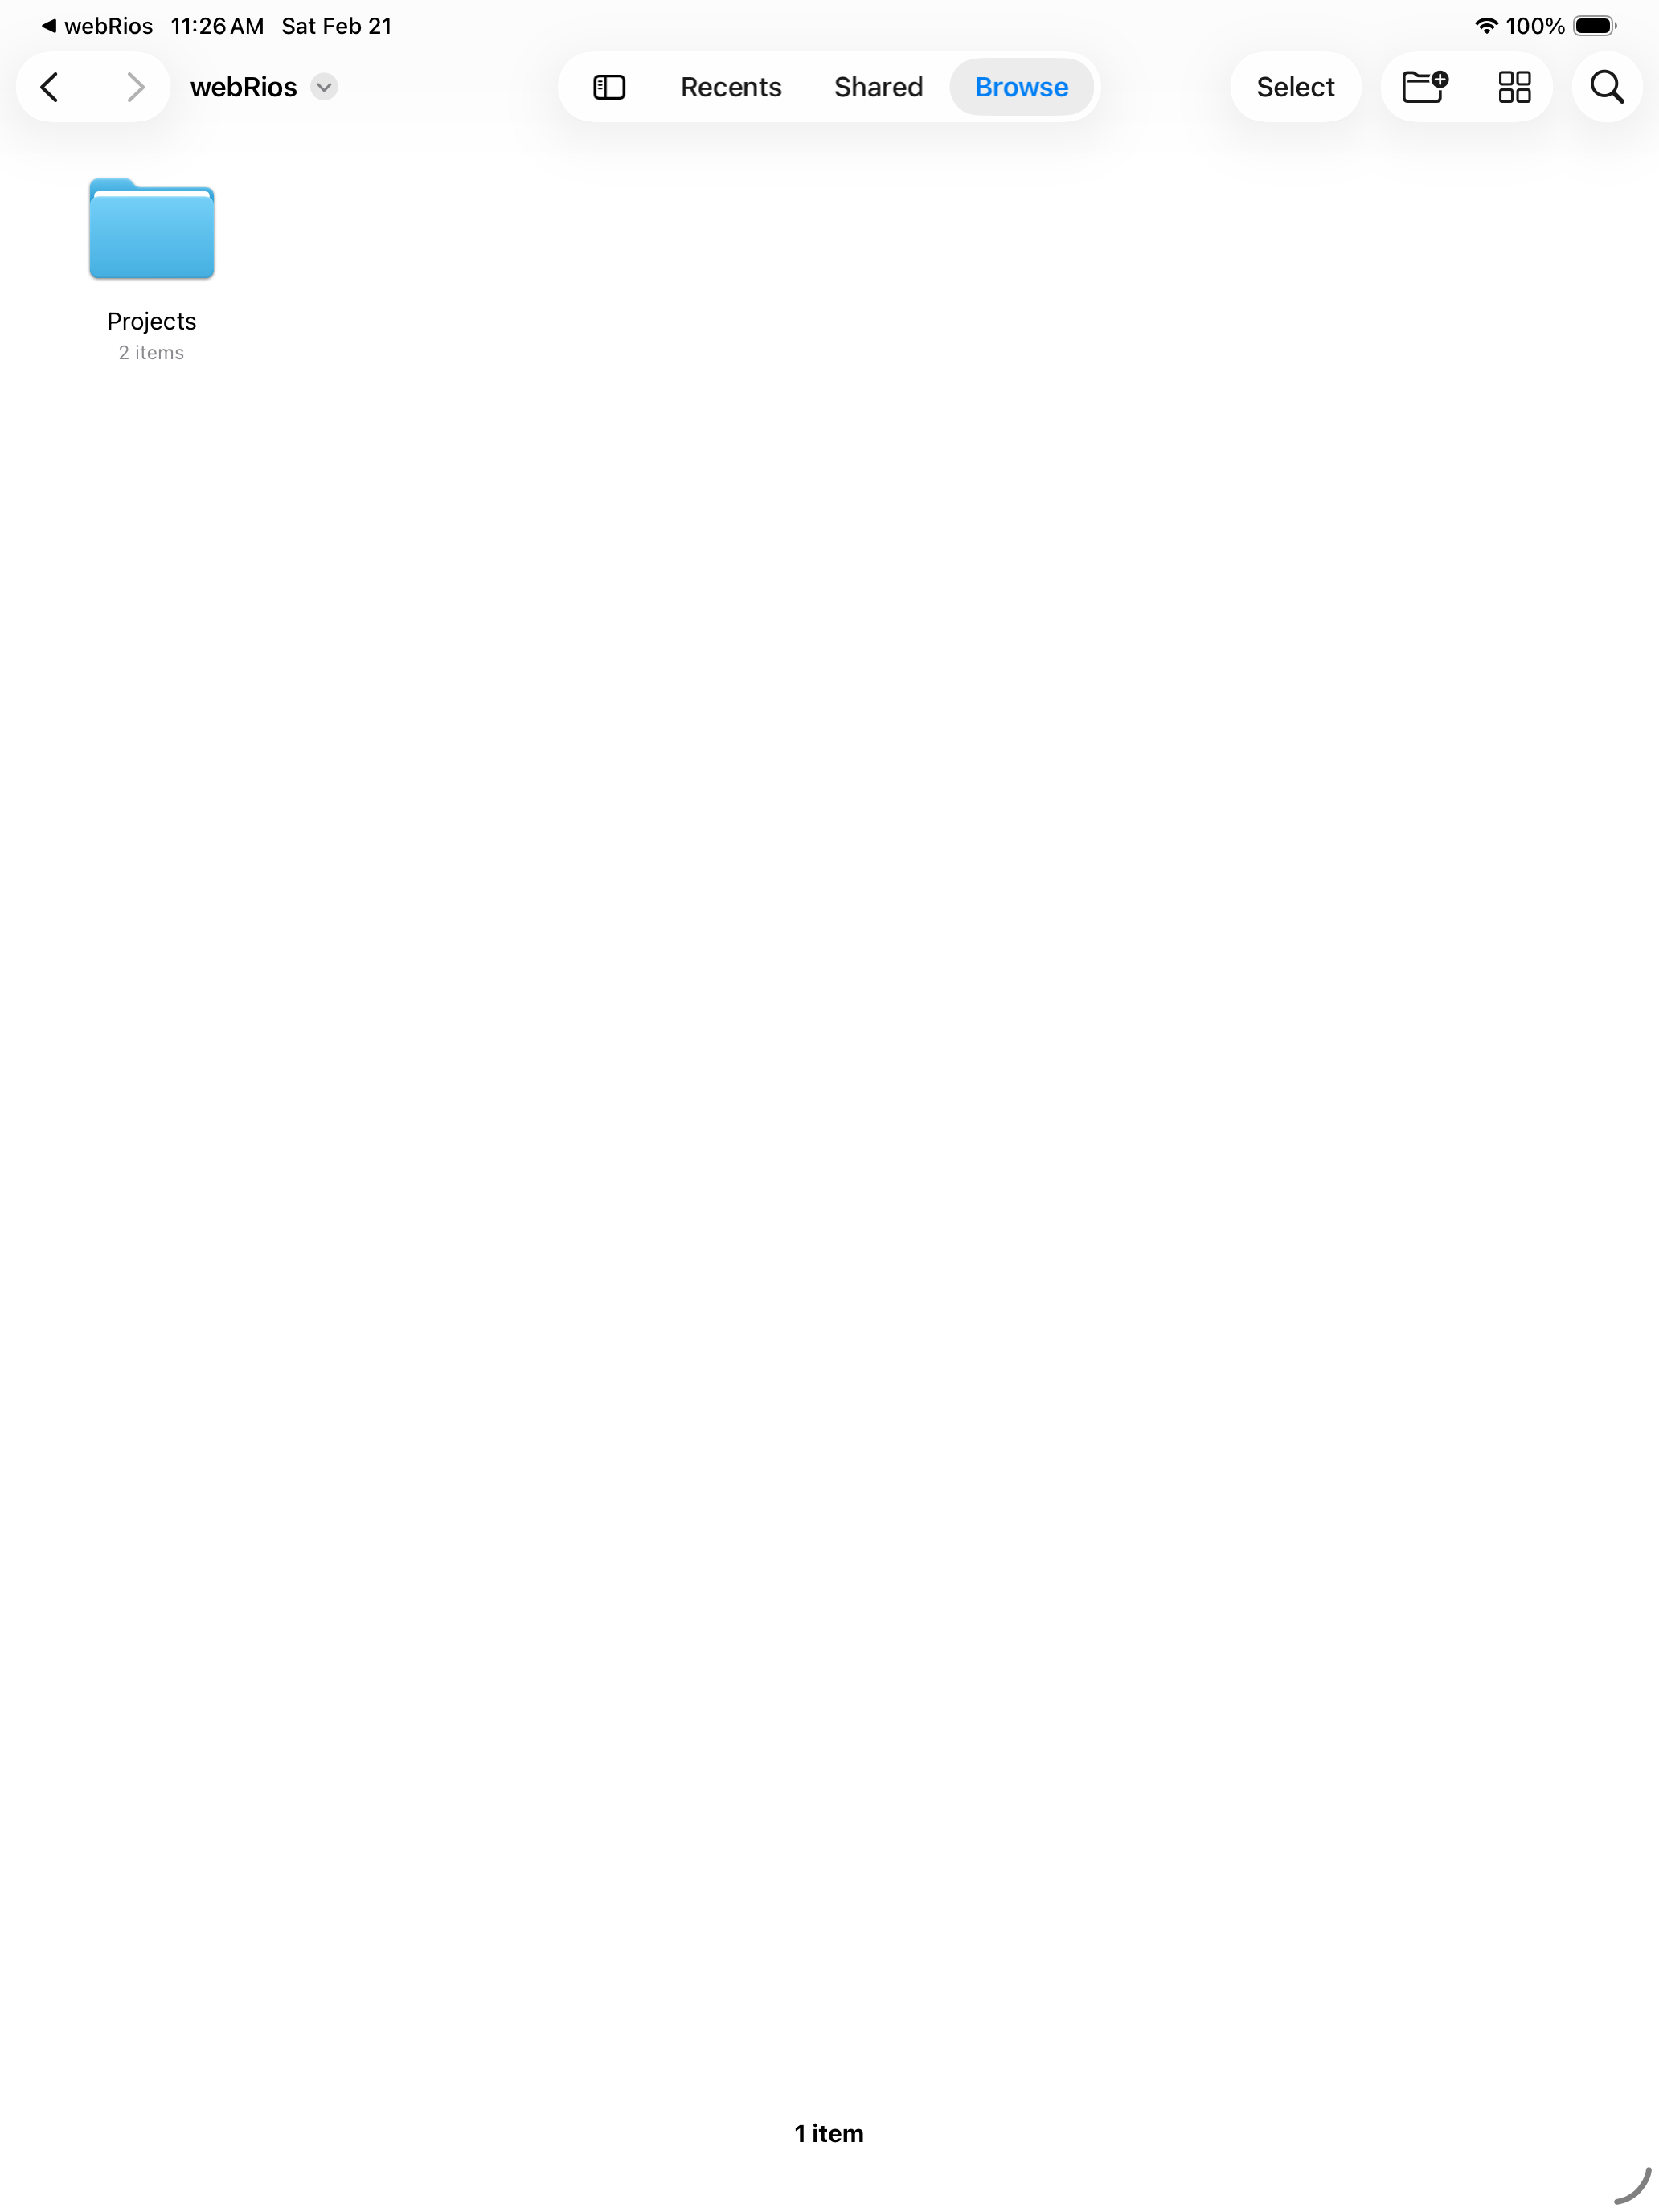
Projects are also visible in the iOS Files app under On My iPhone (or On My iPad) > webRios, so you can copy data in, share scripts via AirDrop, or back up to iCloud Drive.
Creating files and folders
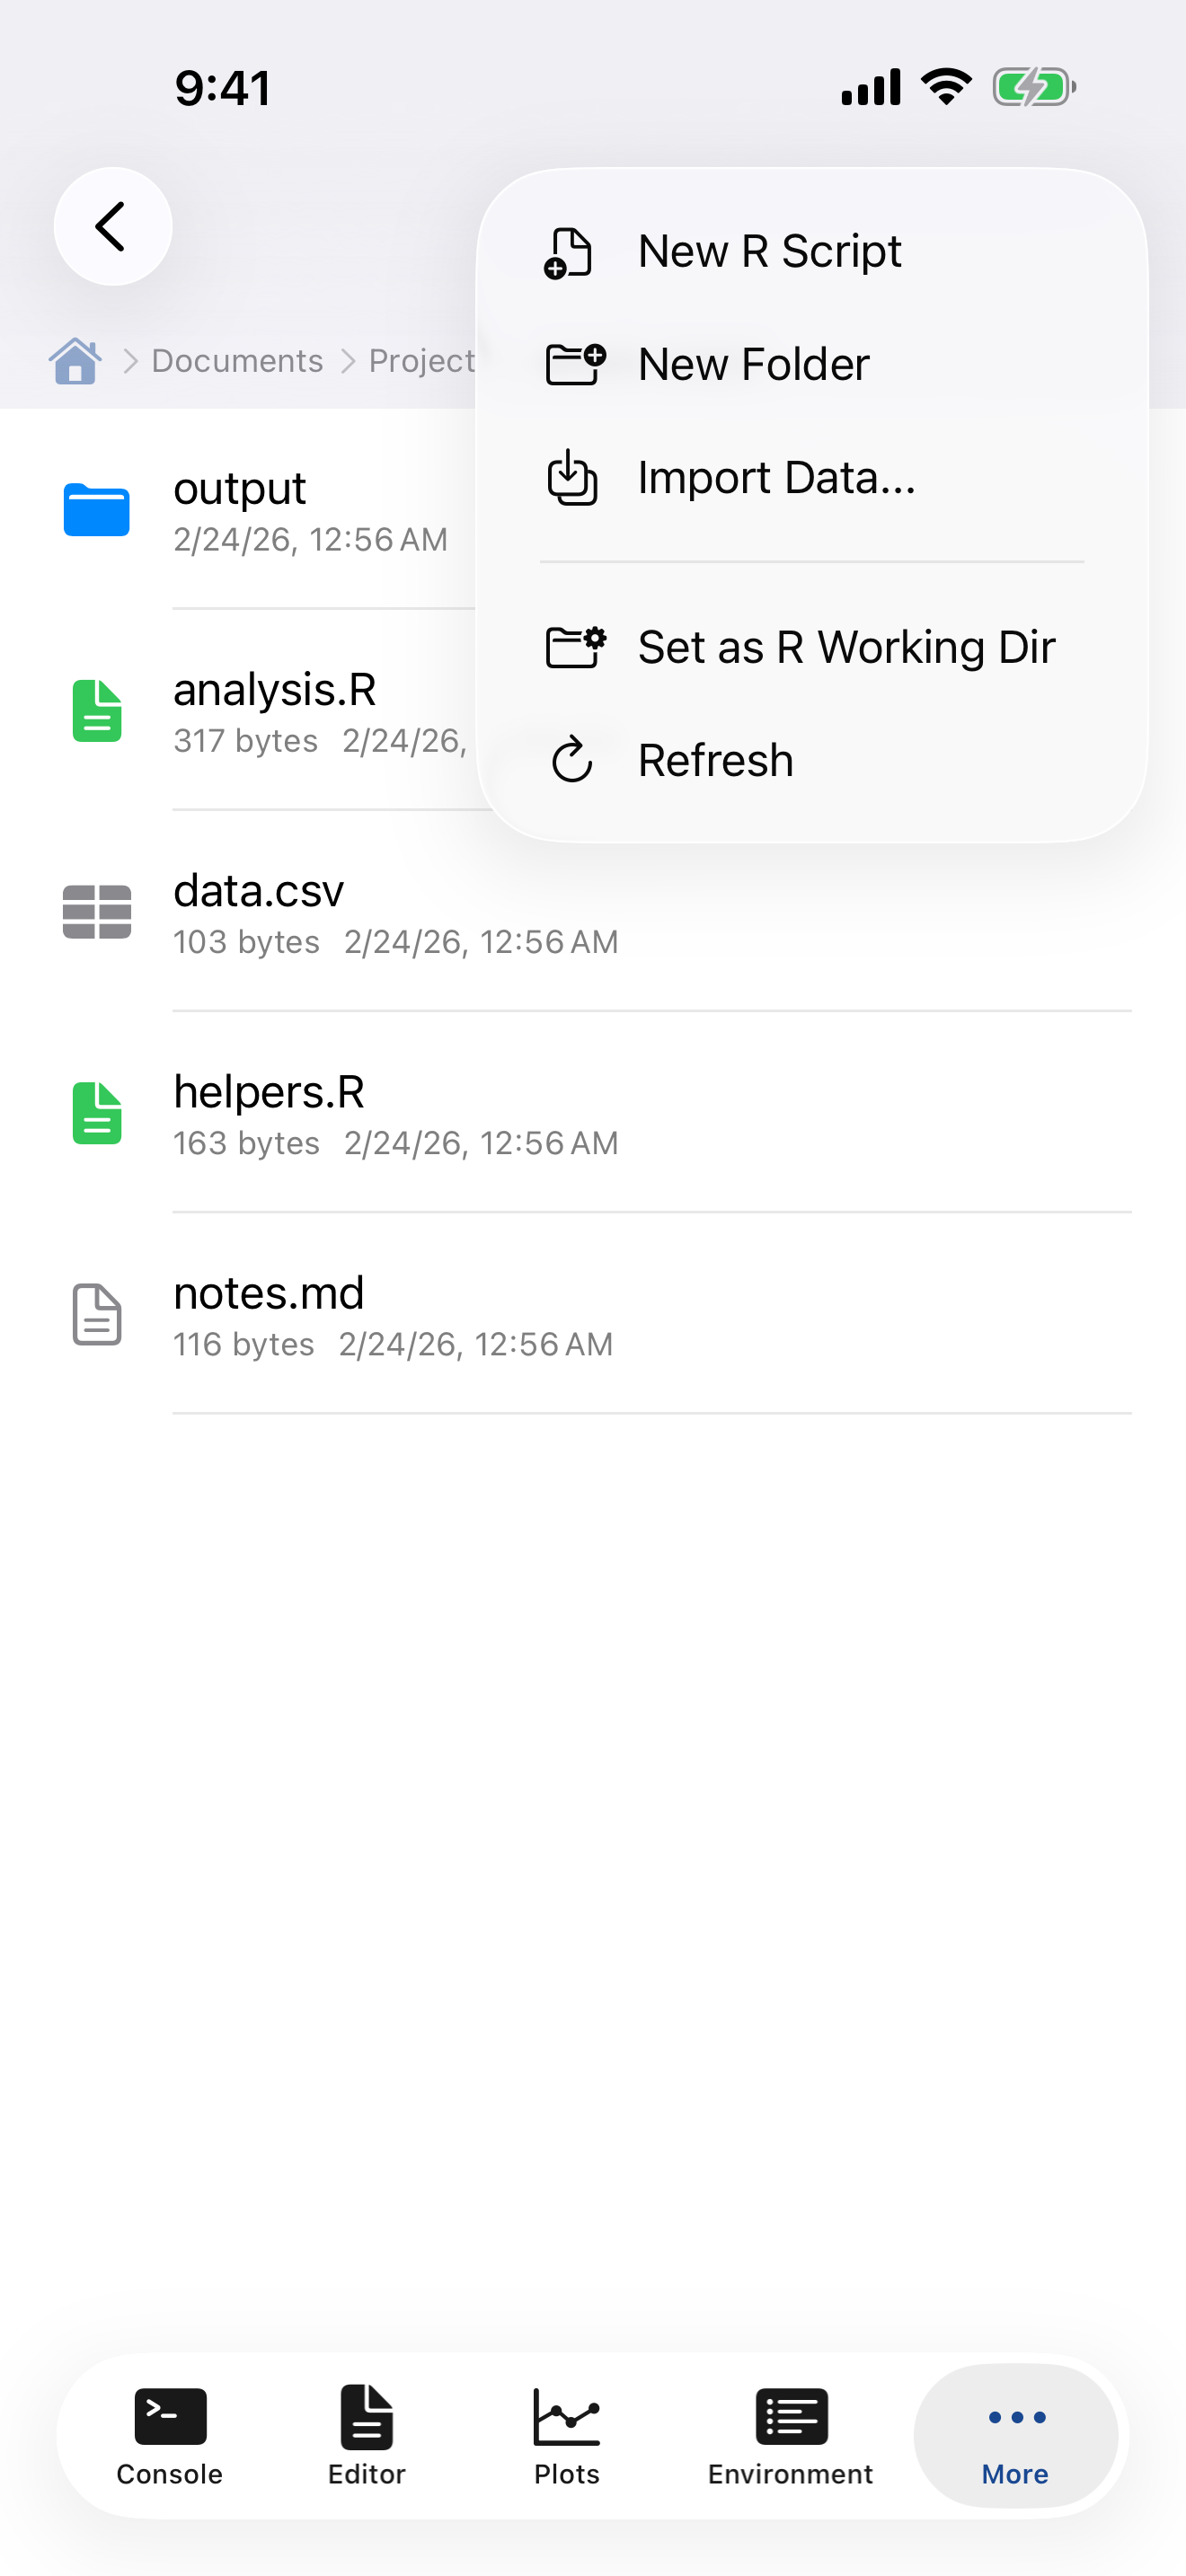
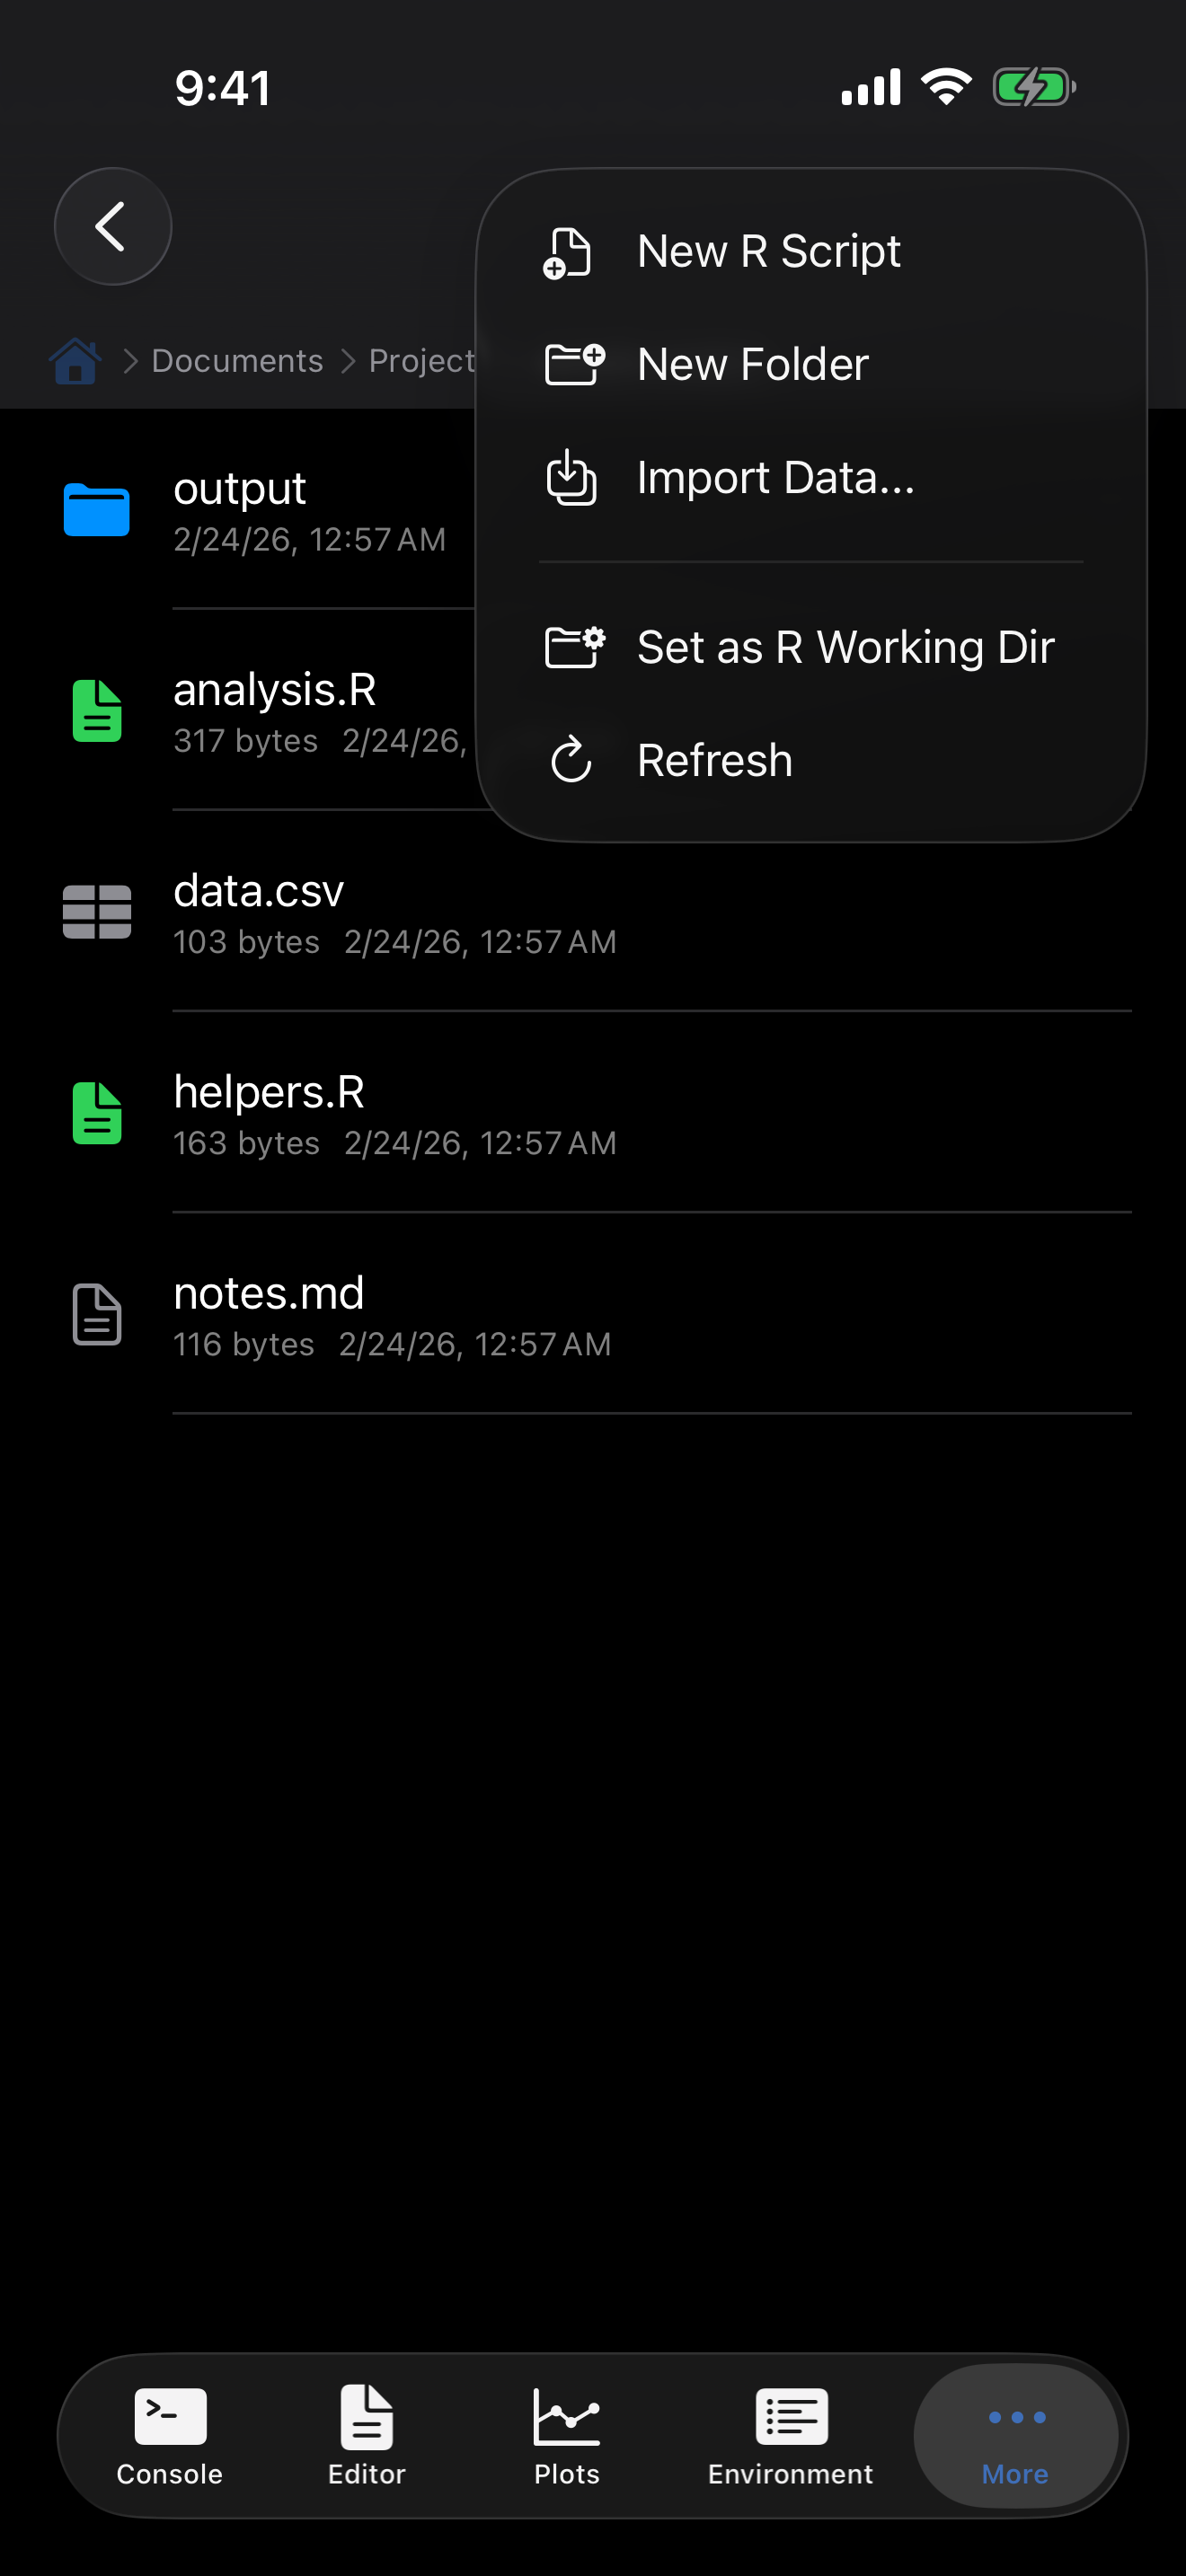
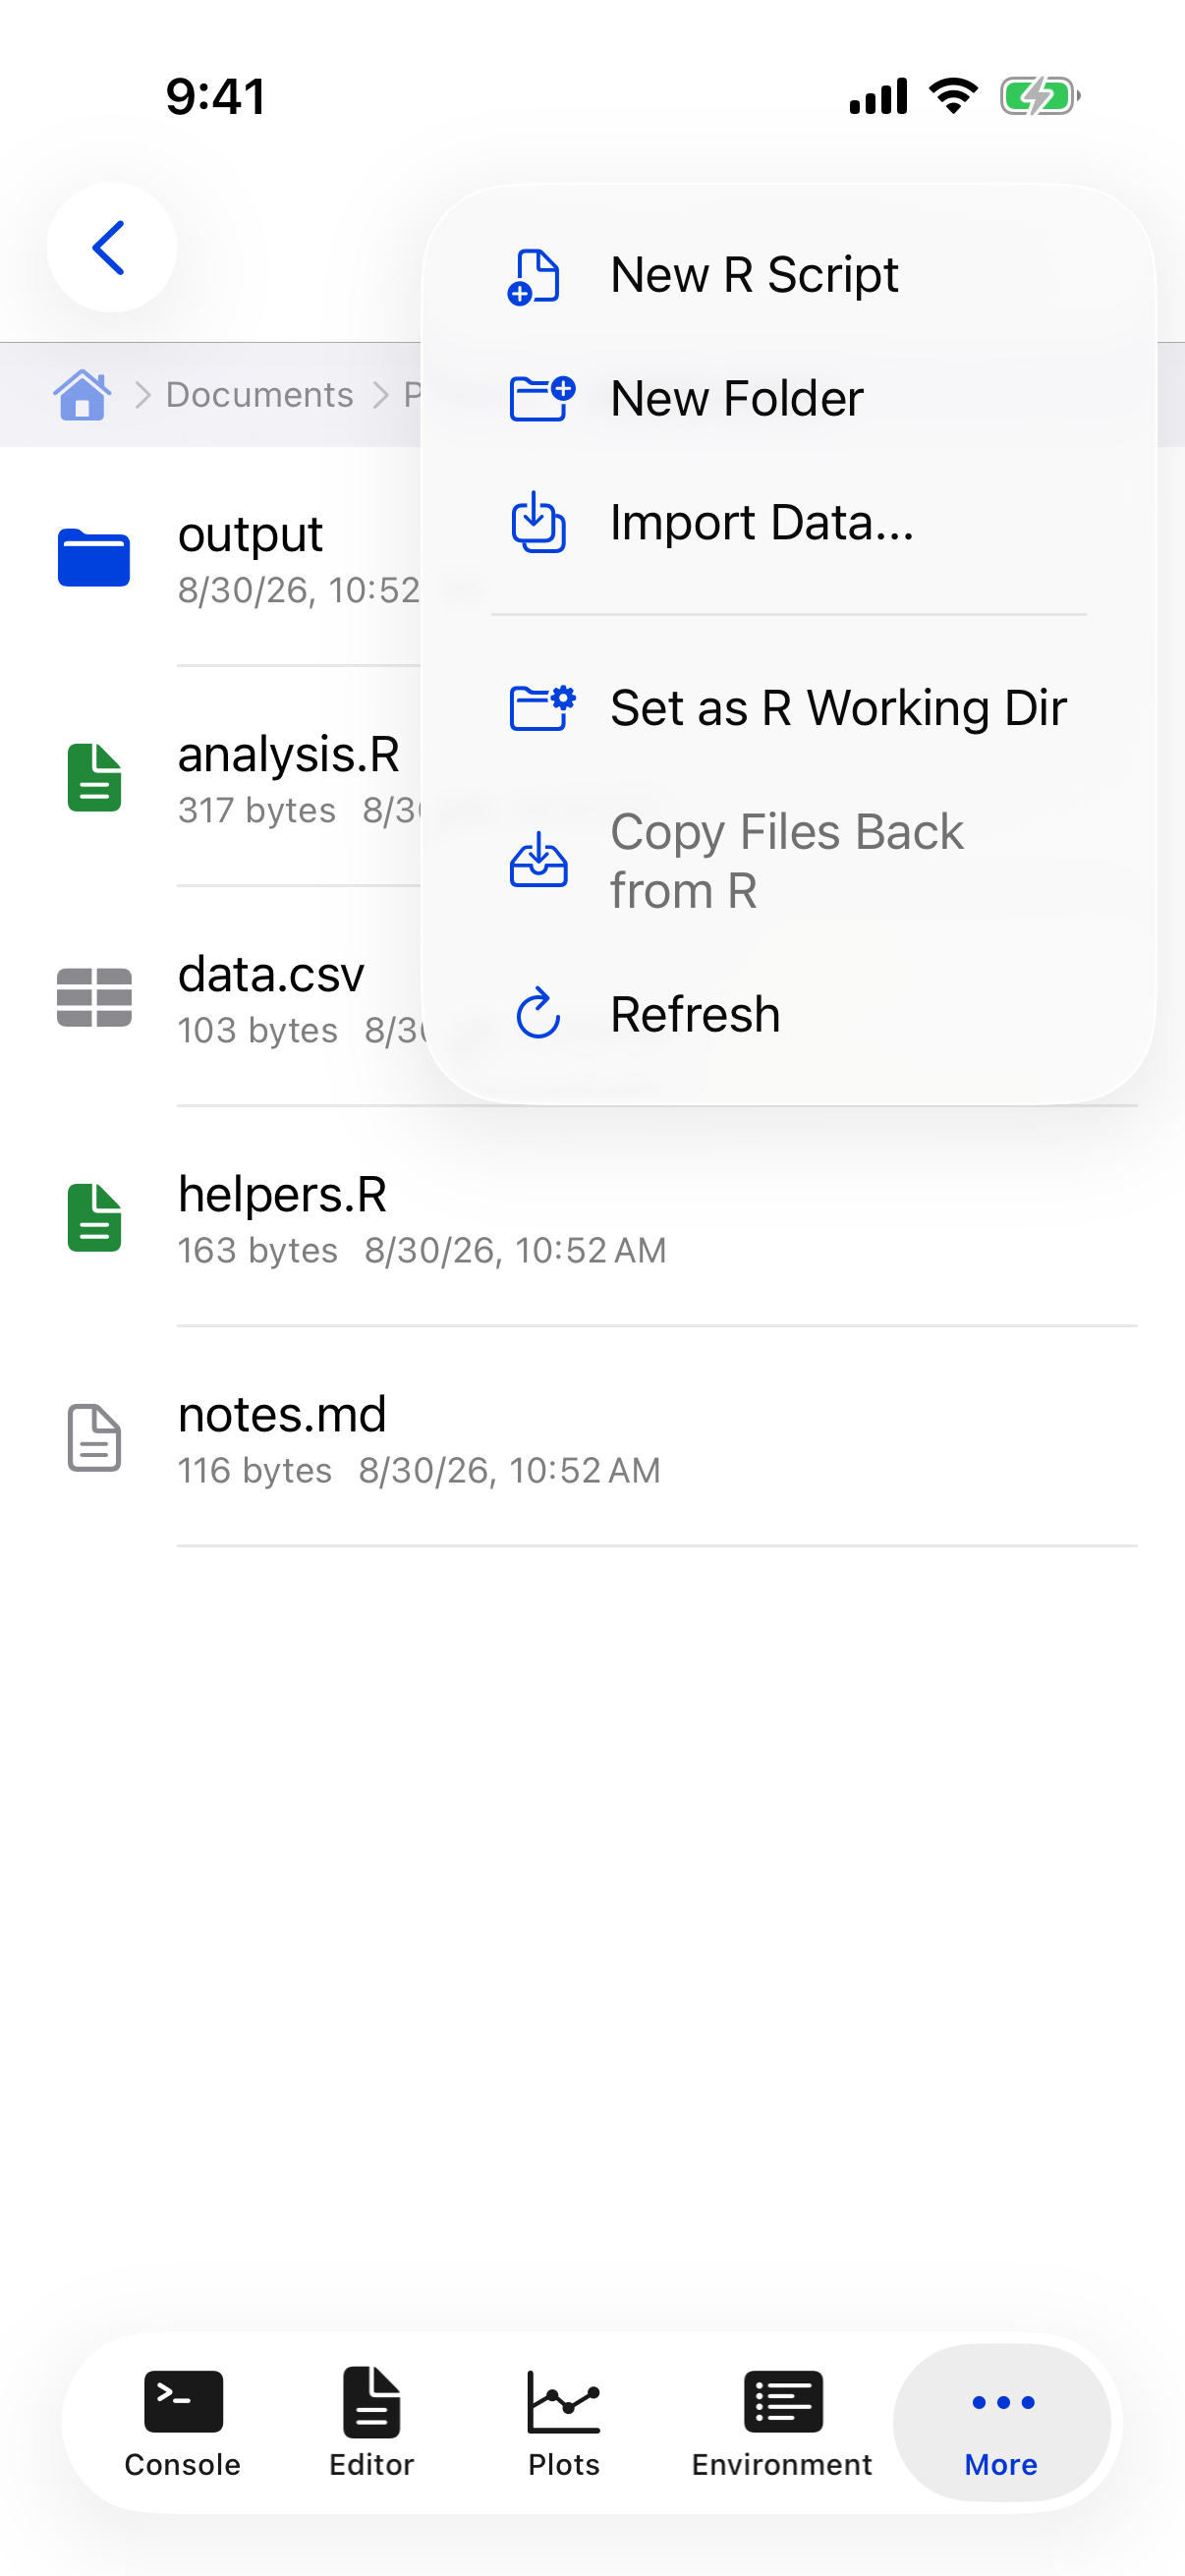
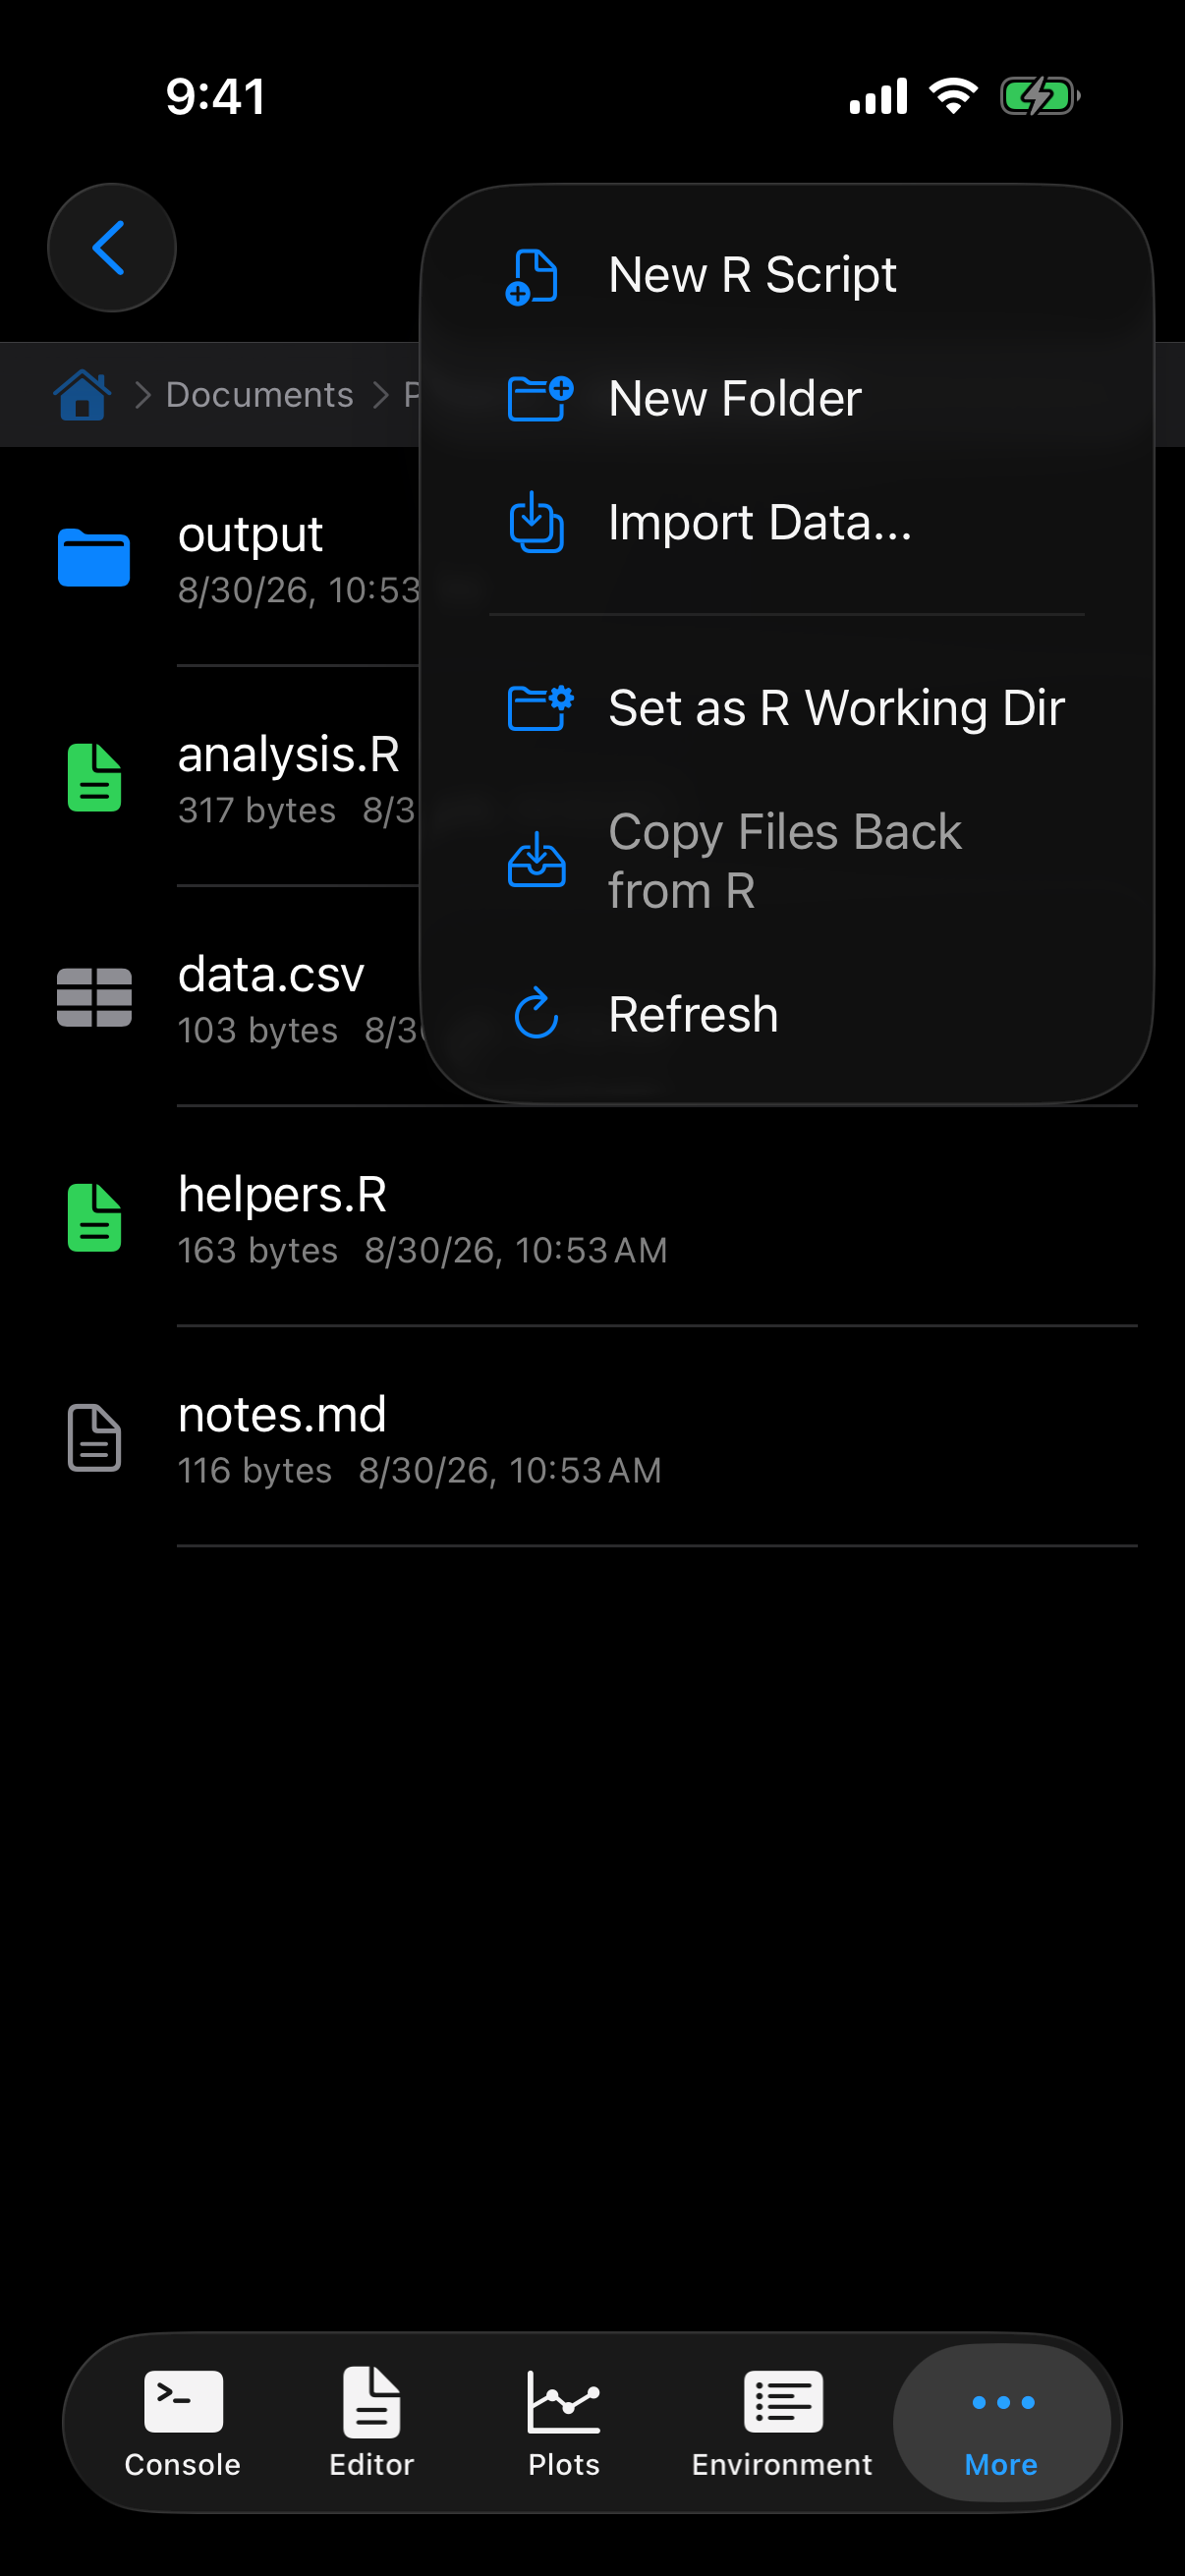
Tap the menu button (...) in the top-right corner to see your options:
- New R Script: creates a
.Rfile in the current folder. The extension is added automatically. - New Folder: creates a subfolder.
- Import Data: opens the data import wizard for CSV, TSV, and JSON files.
- Set as R Working Dir: copies this folder’s files into R’s workspace and sets it as the working directory. See Setting the R working directory below.
- Copy Files Back from R: copies changed files from R’s workspace back into the folder you set as the working directory (not the folder you are currently browsing). Disabled until you have set a working directory.
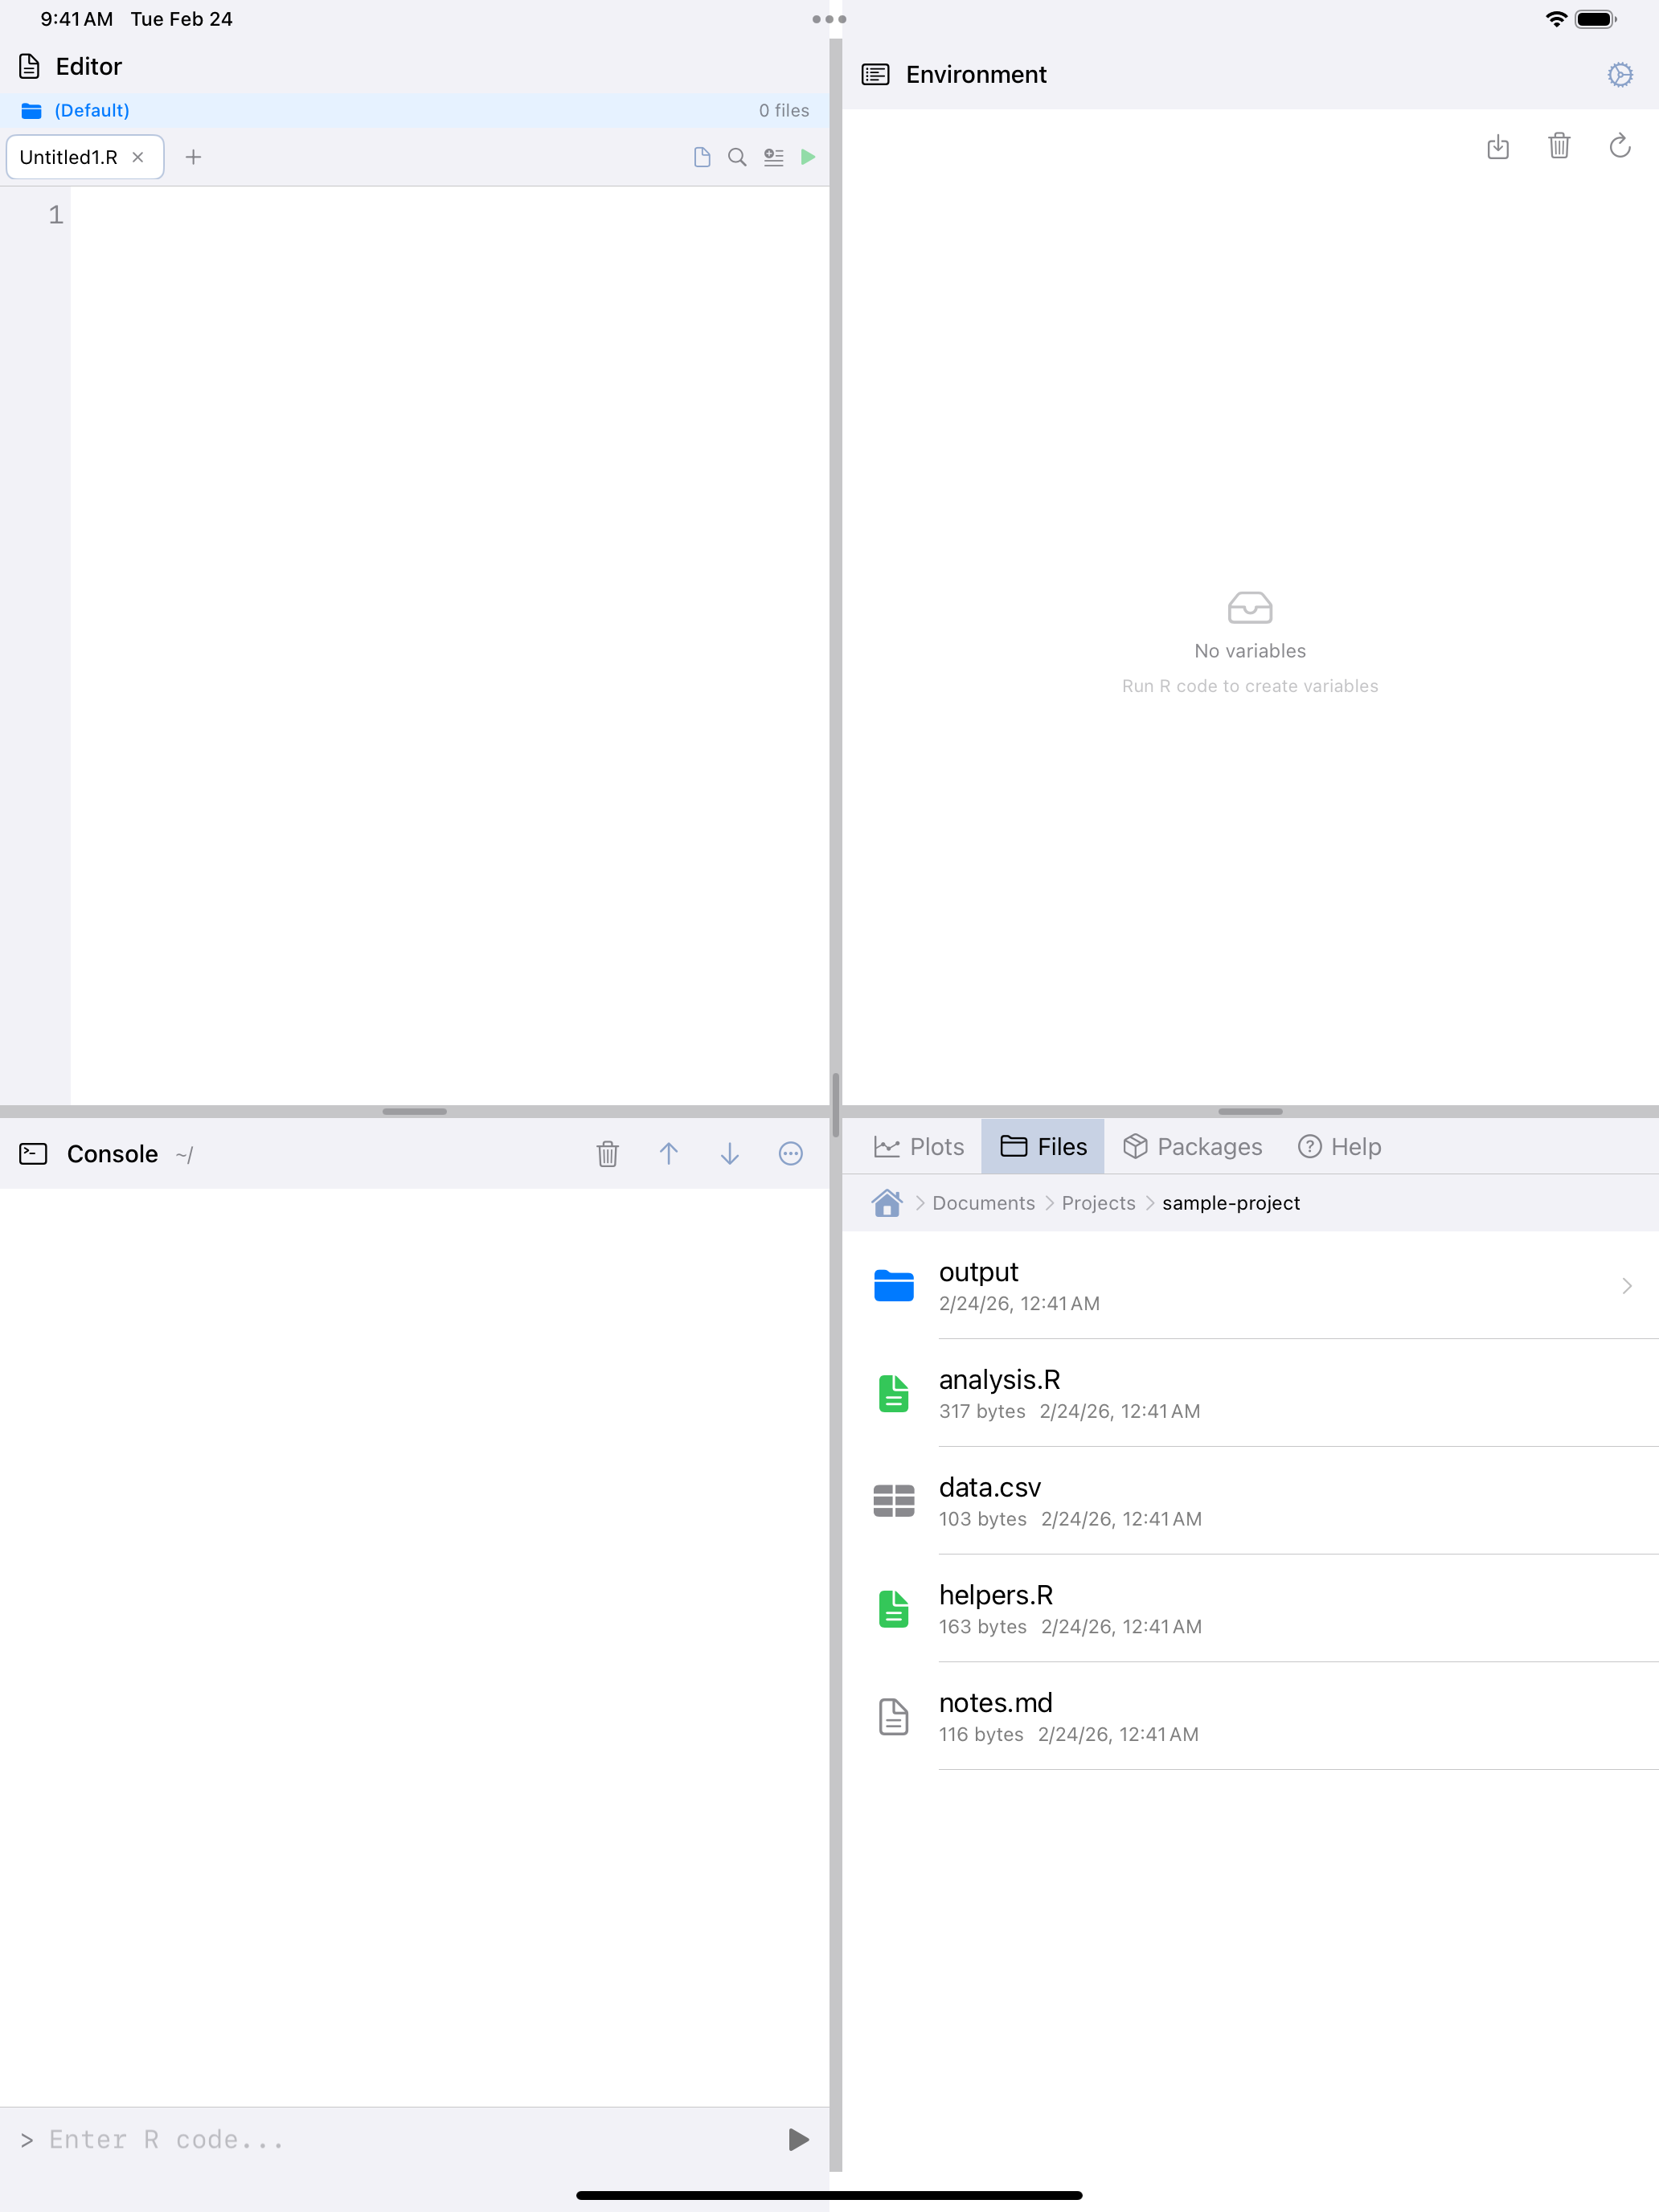
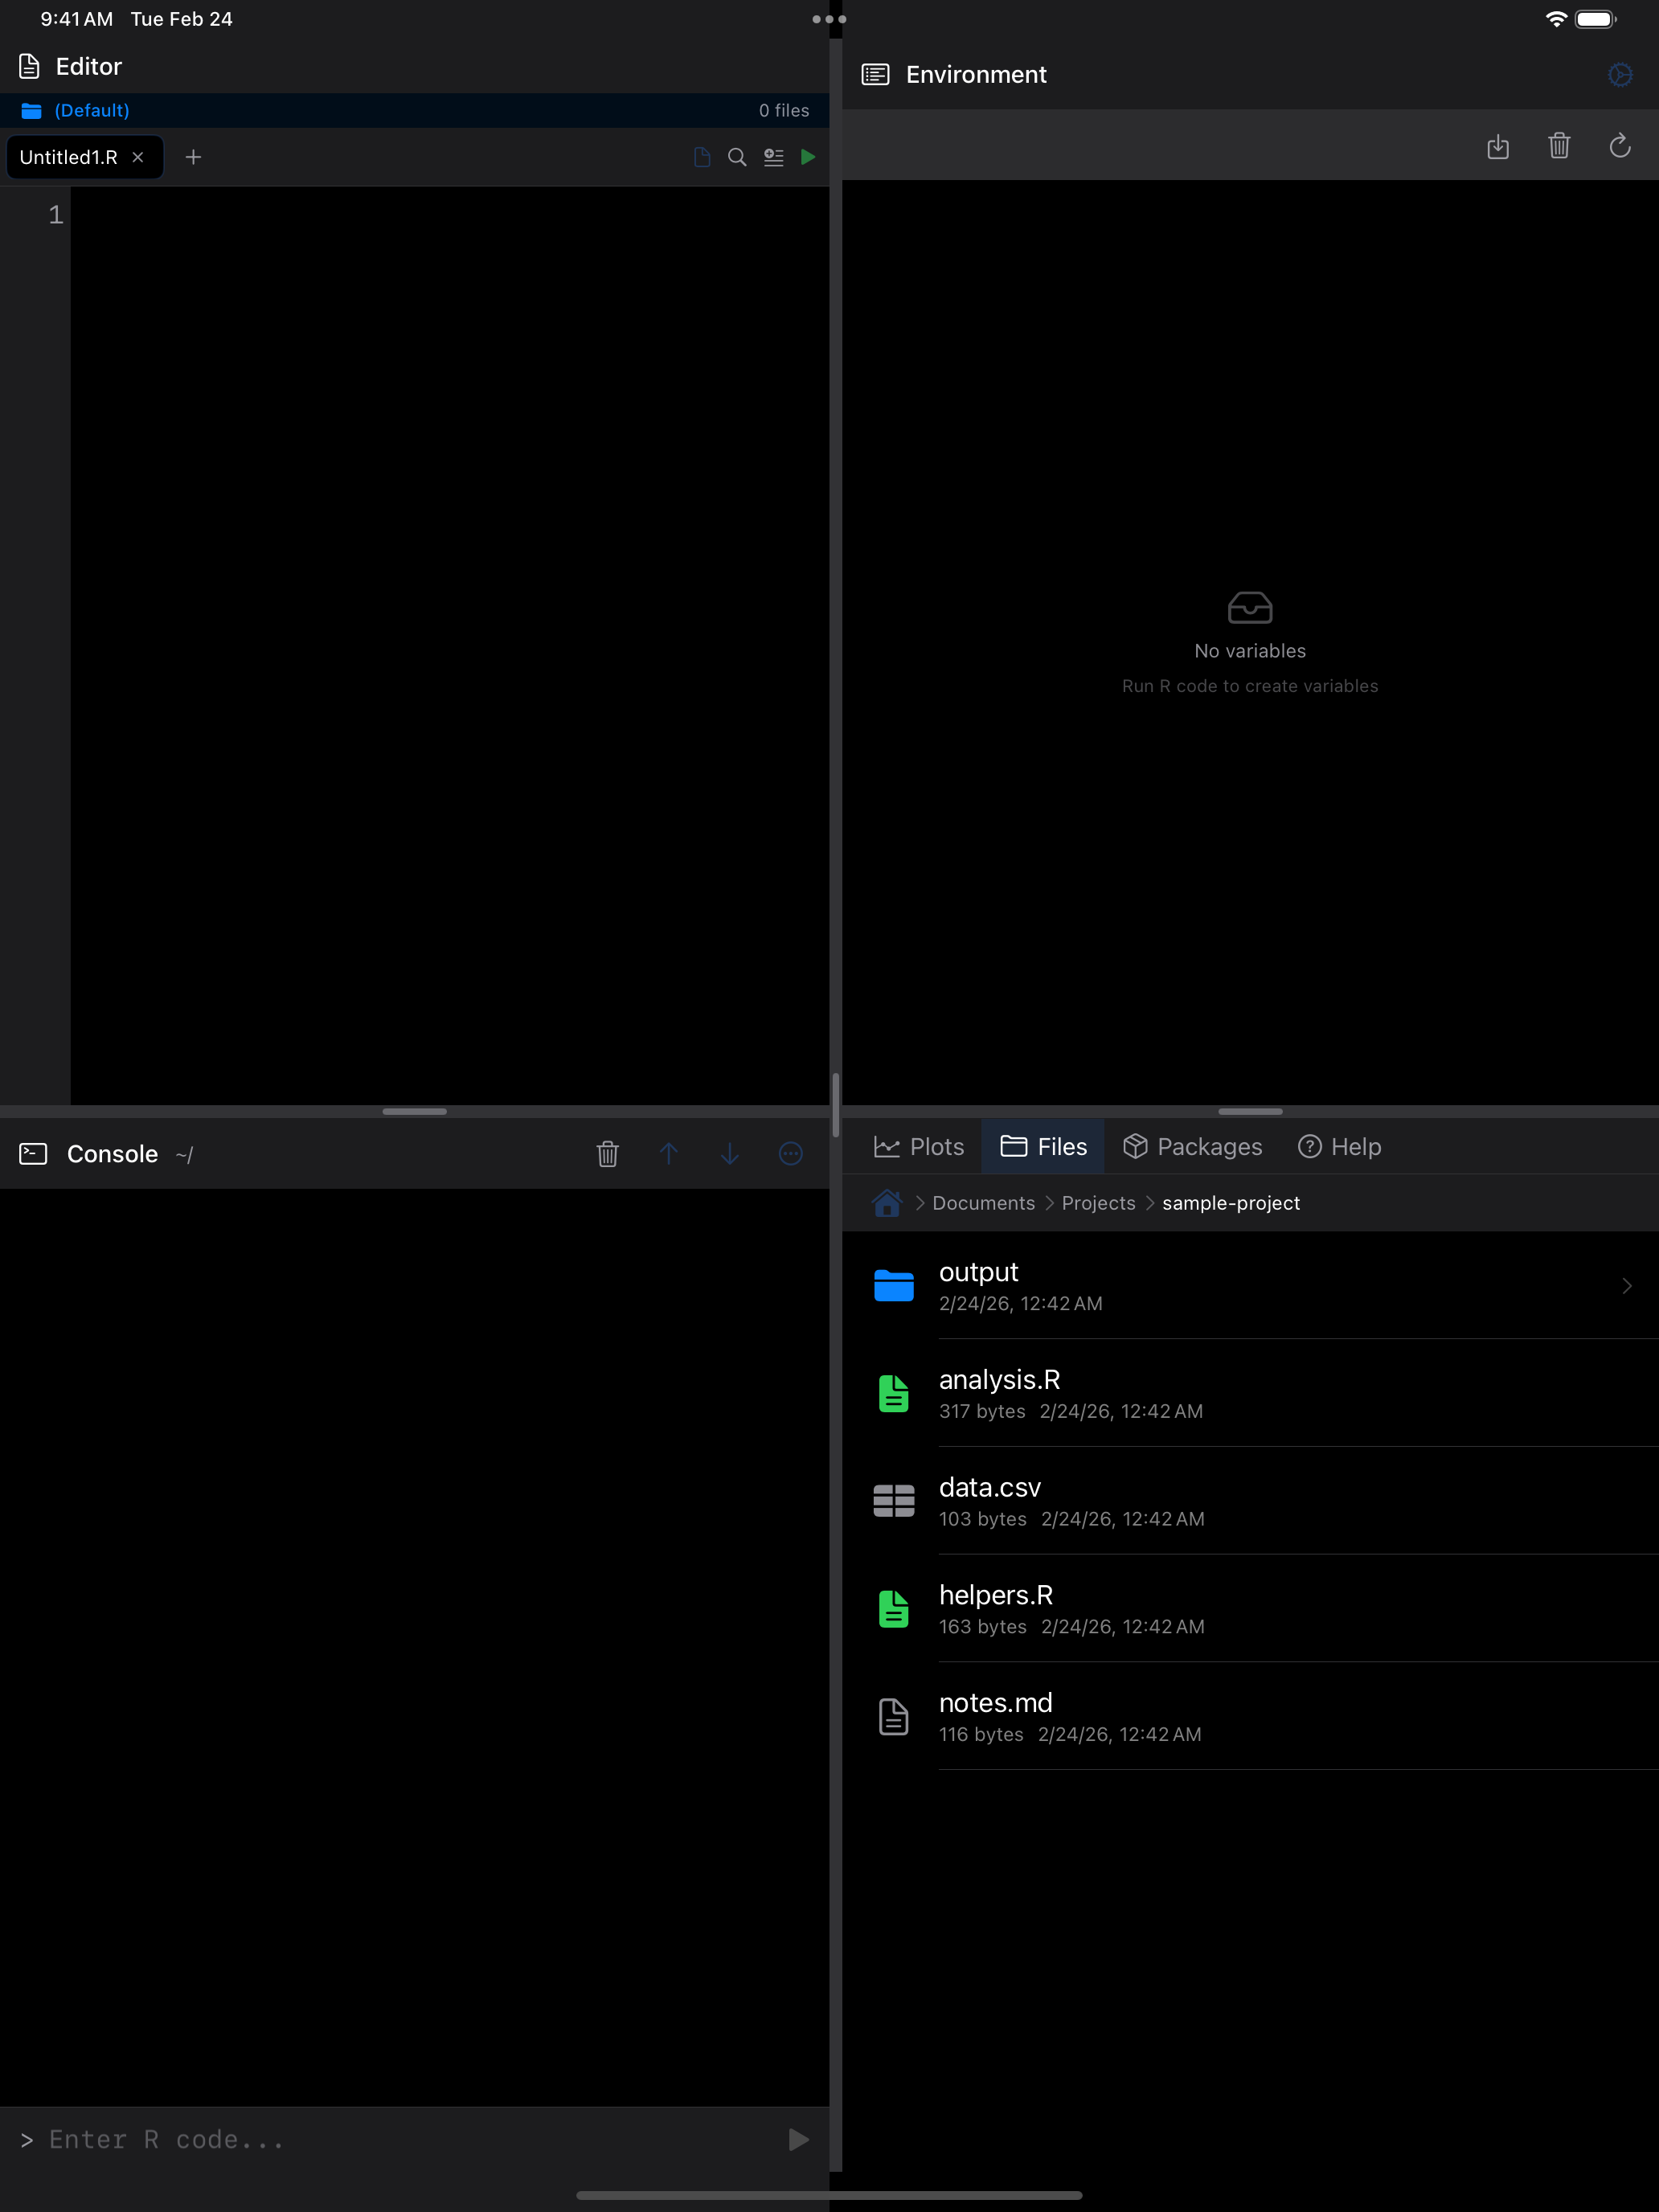
Once you create a new script, it opens in the built-in editor right away so you can start writing code. If a file with that name already exists, webRios says so instead of replacing it.
Data Import Wizard
The Import Data option in the create menu opens a guided wizard that walks you through importing a data file into your R session. It supports CSV, TSV, and JSON files.
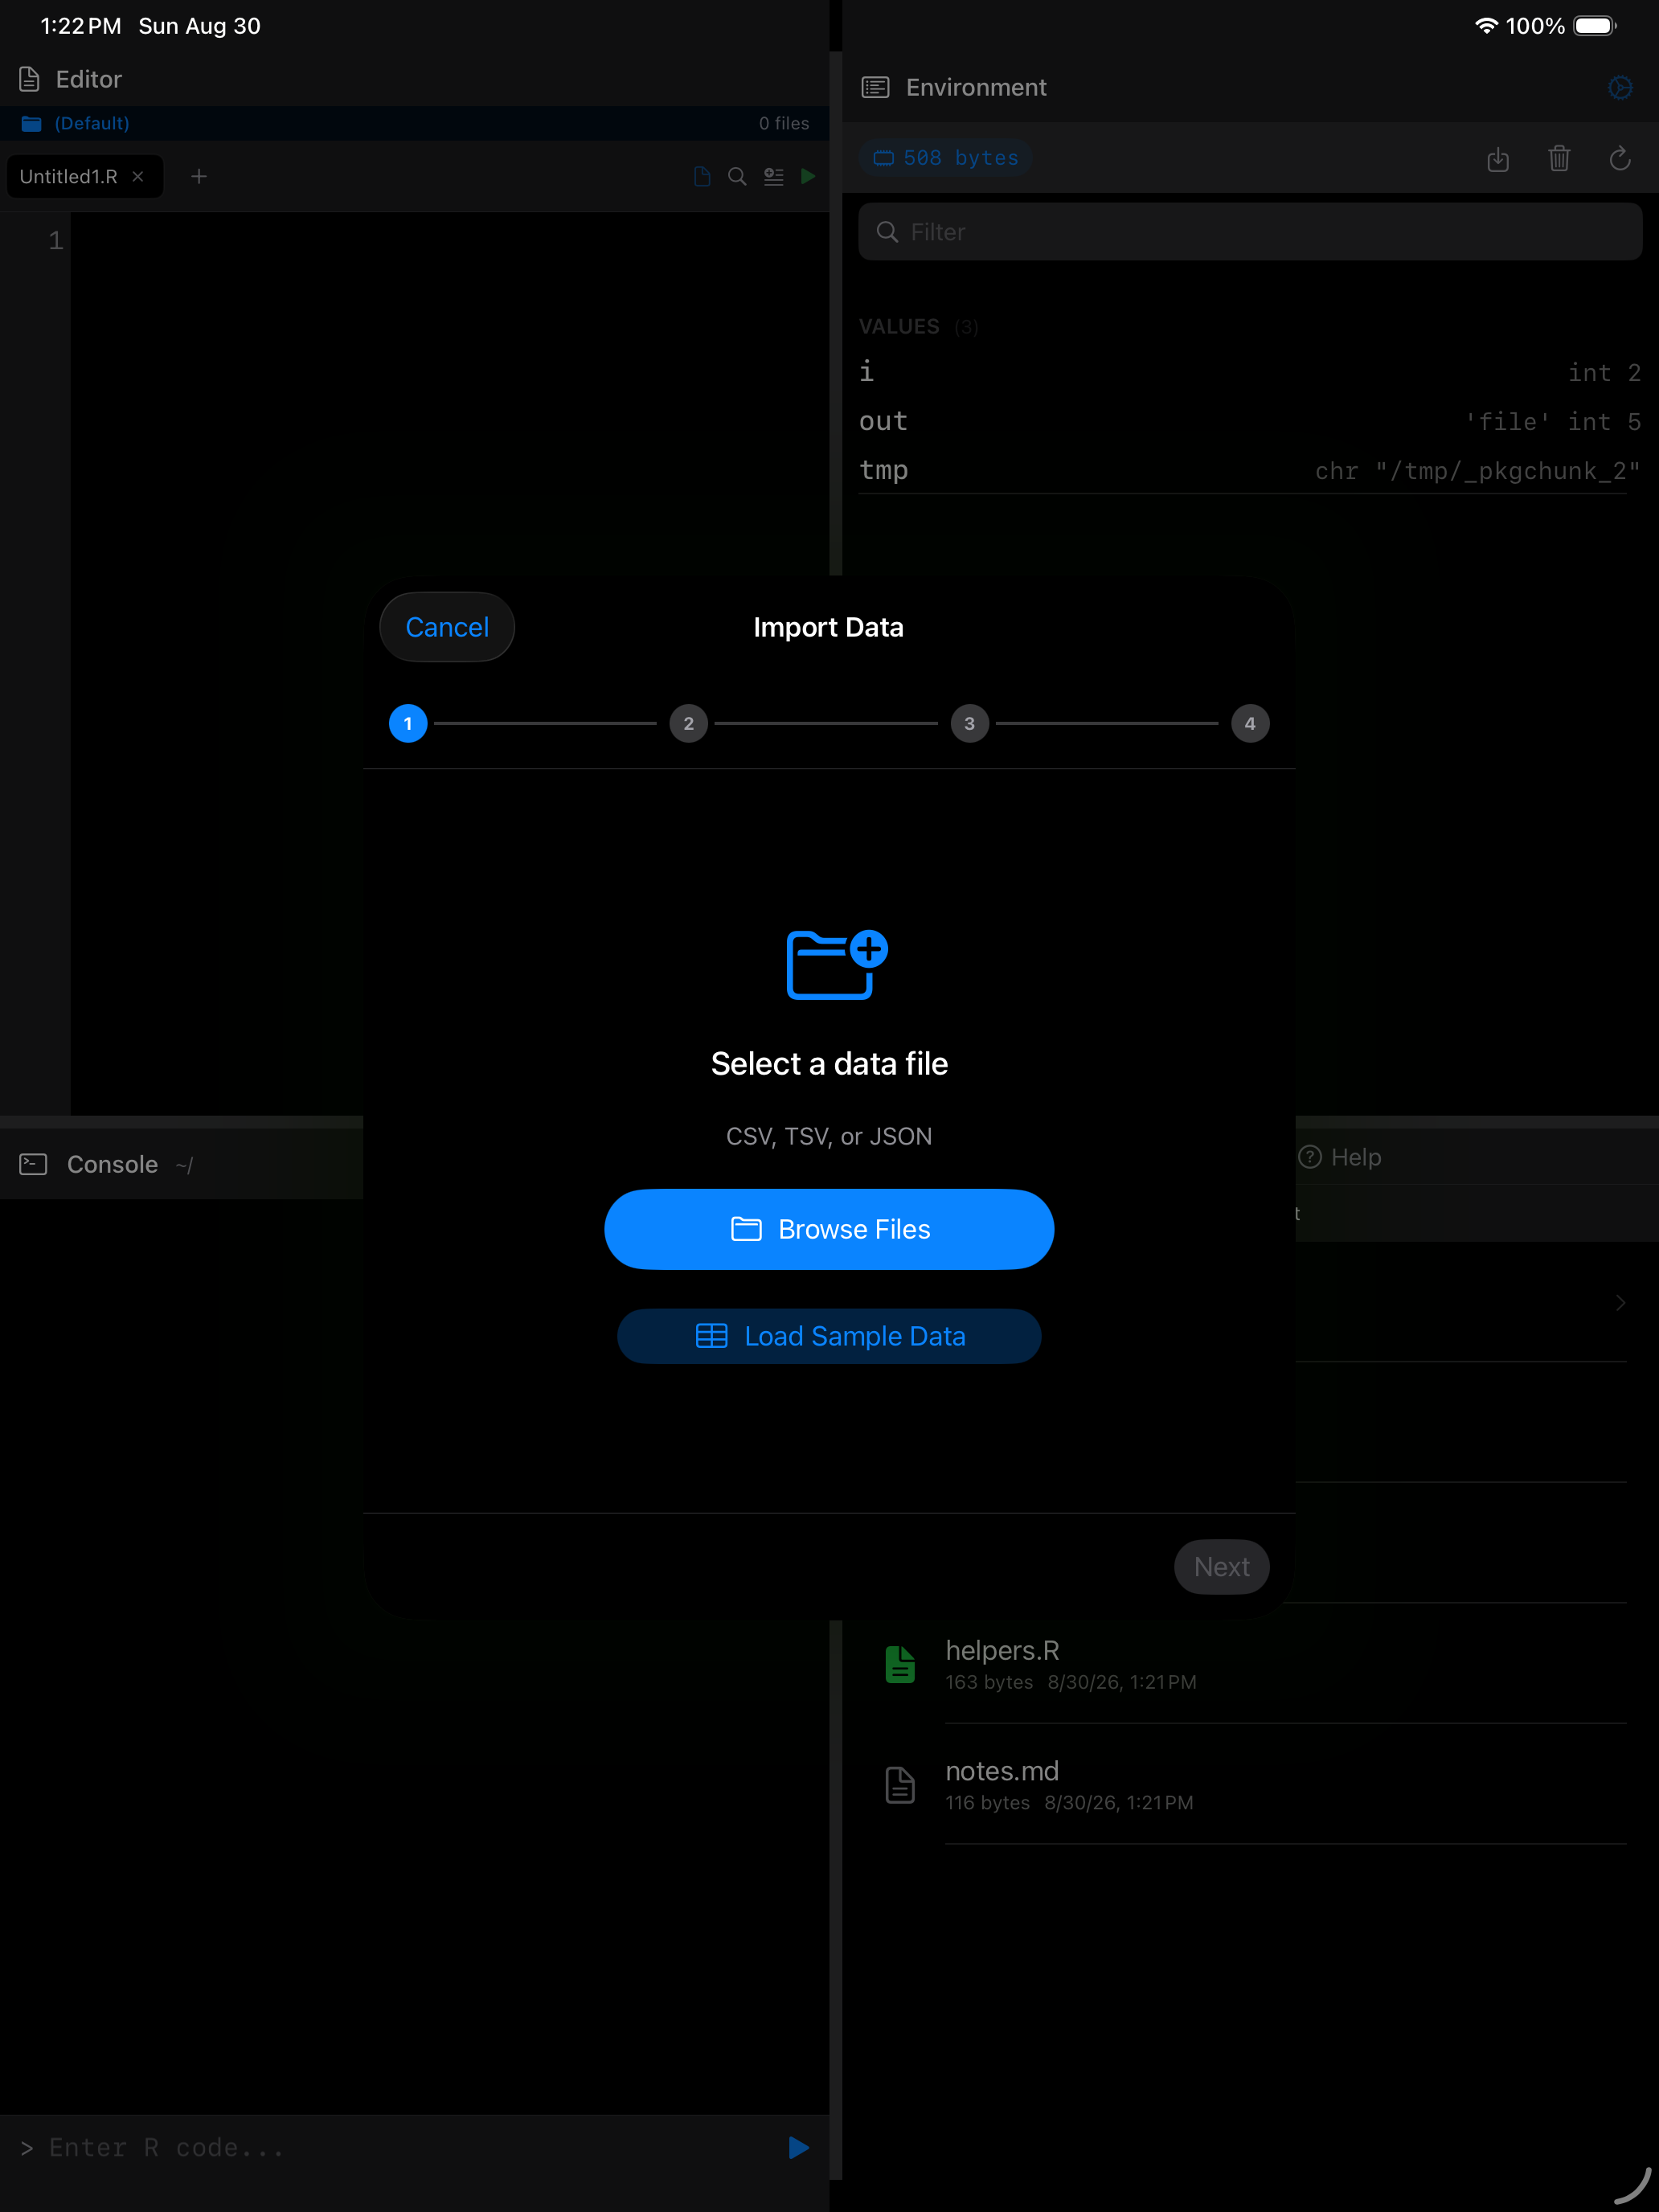
Step 1: Select a file
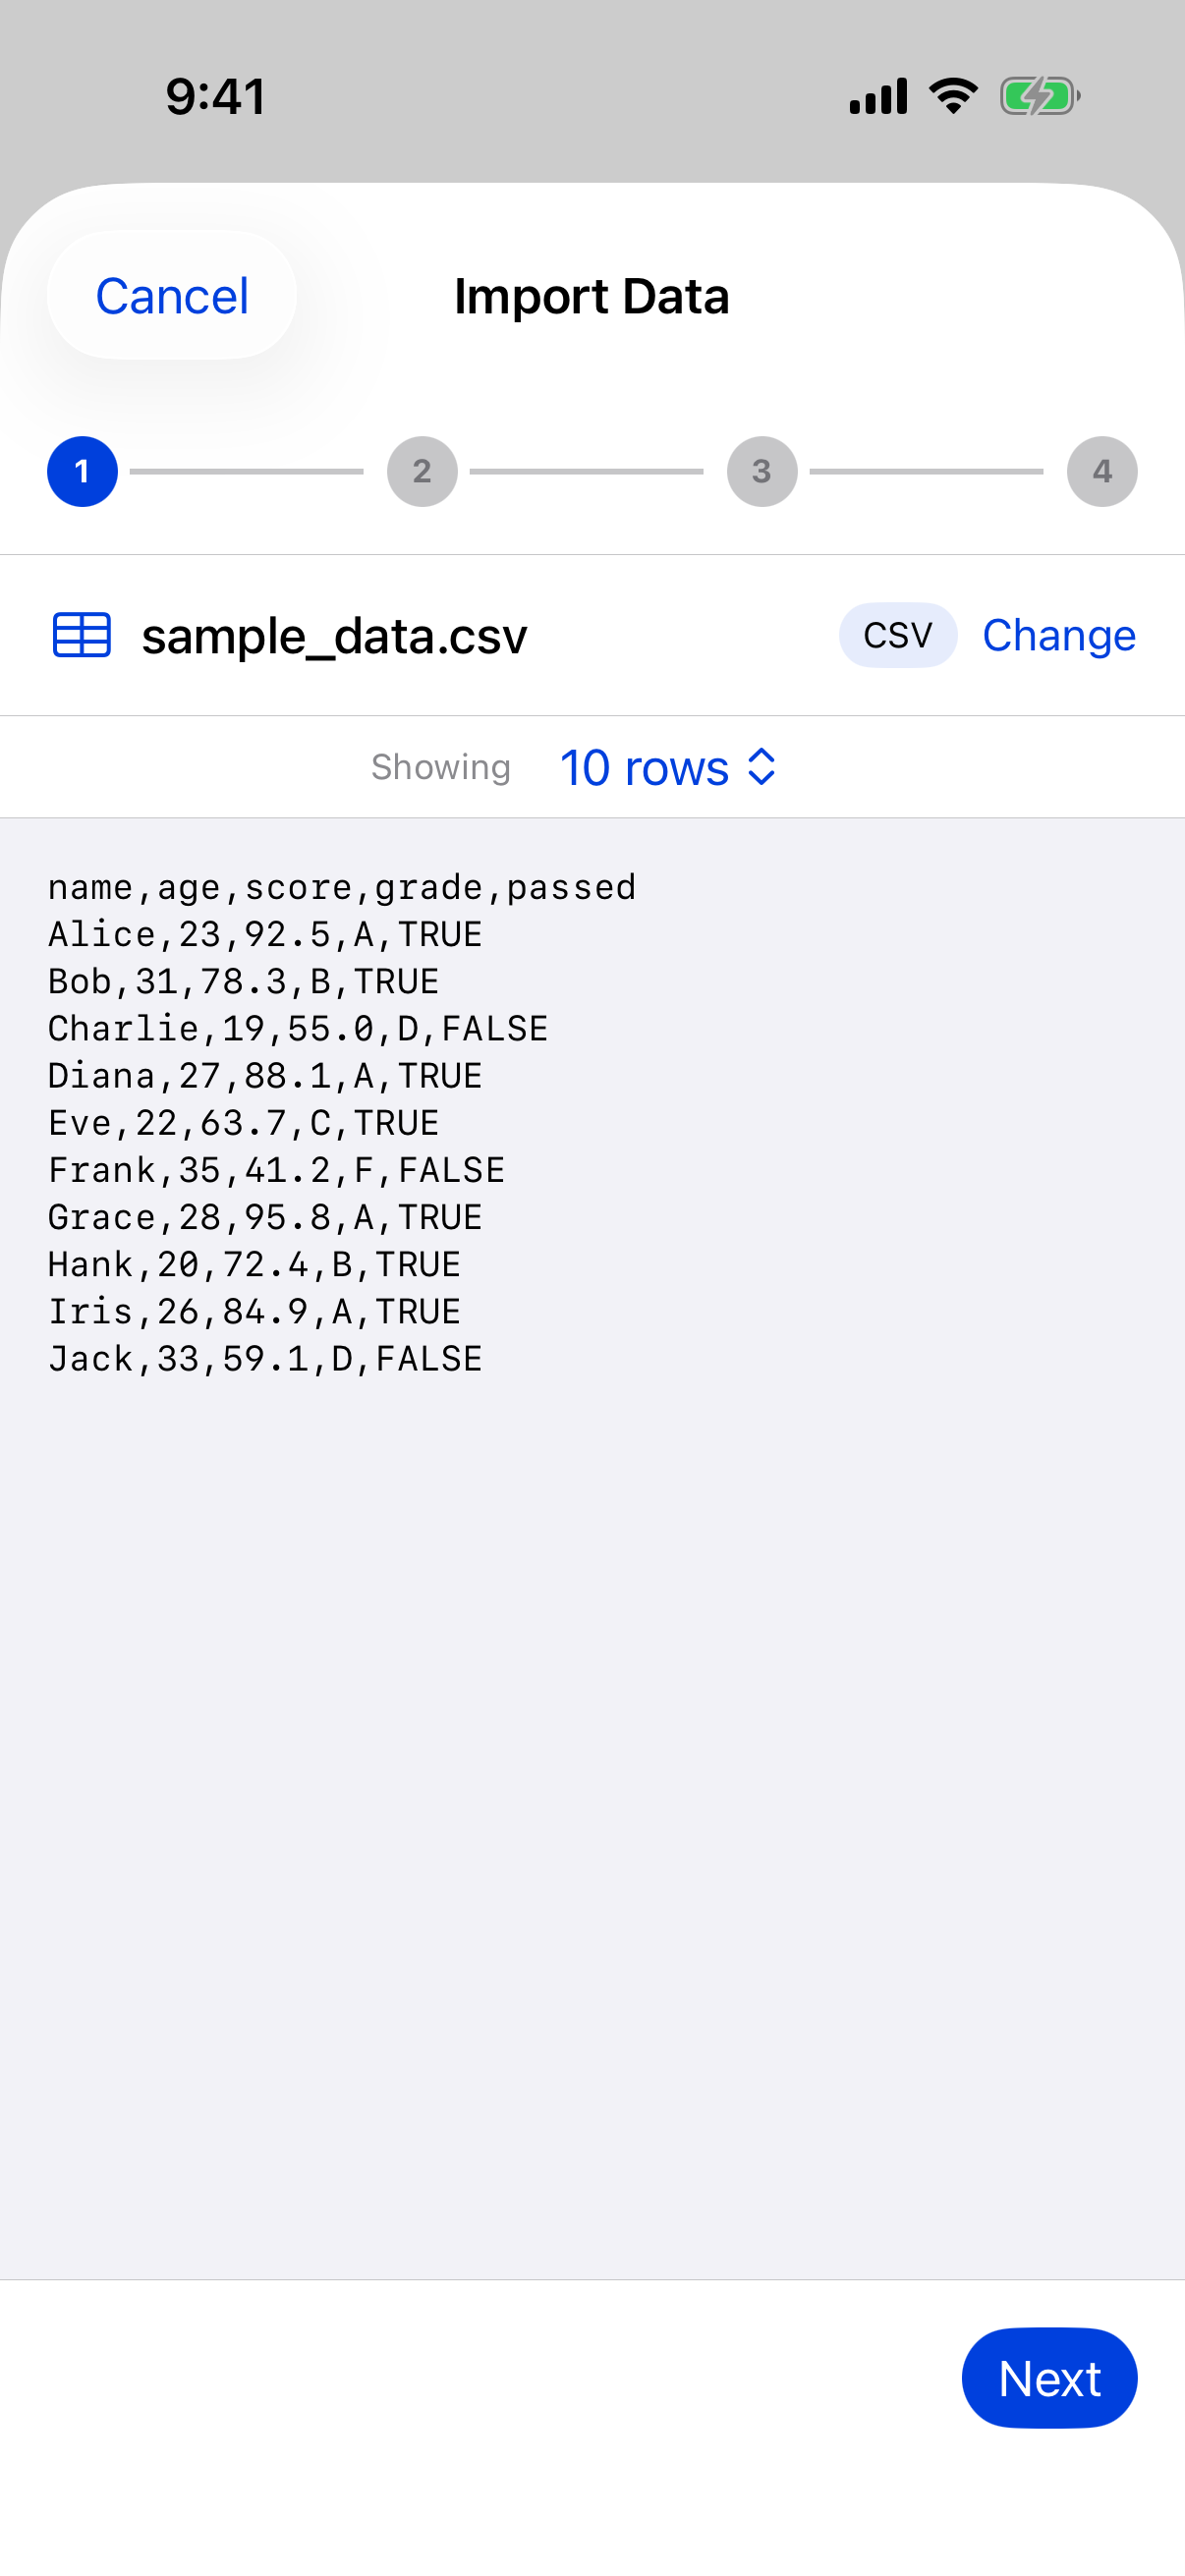
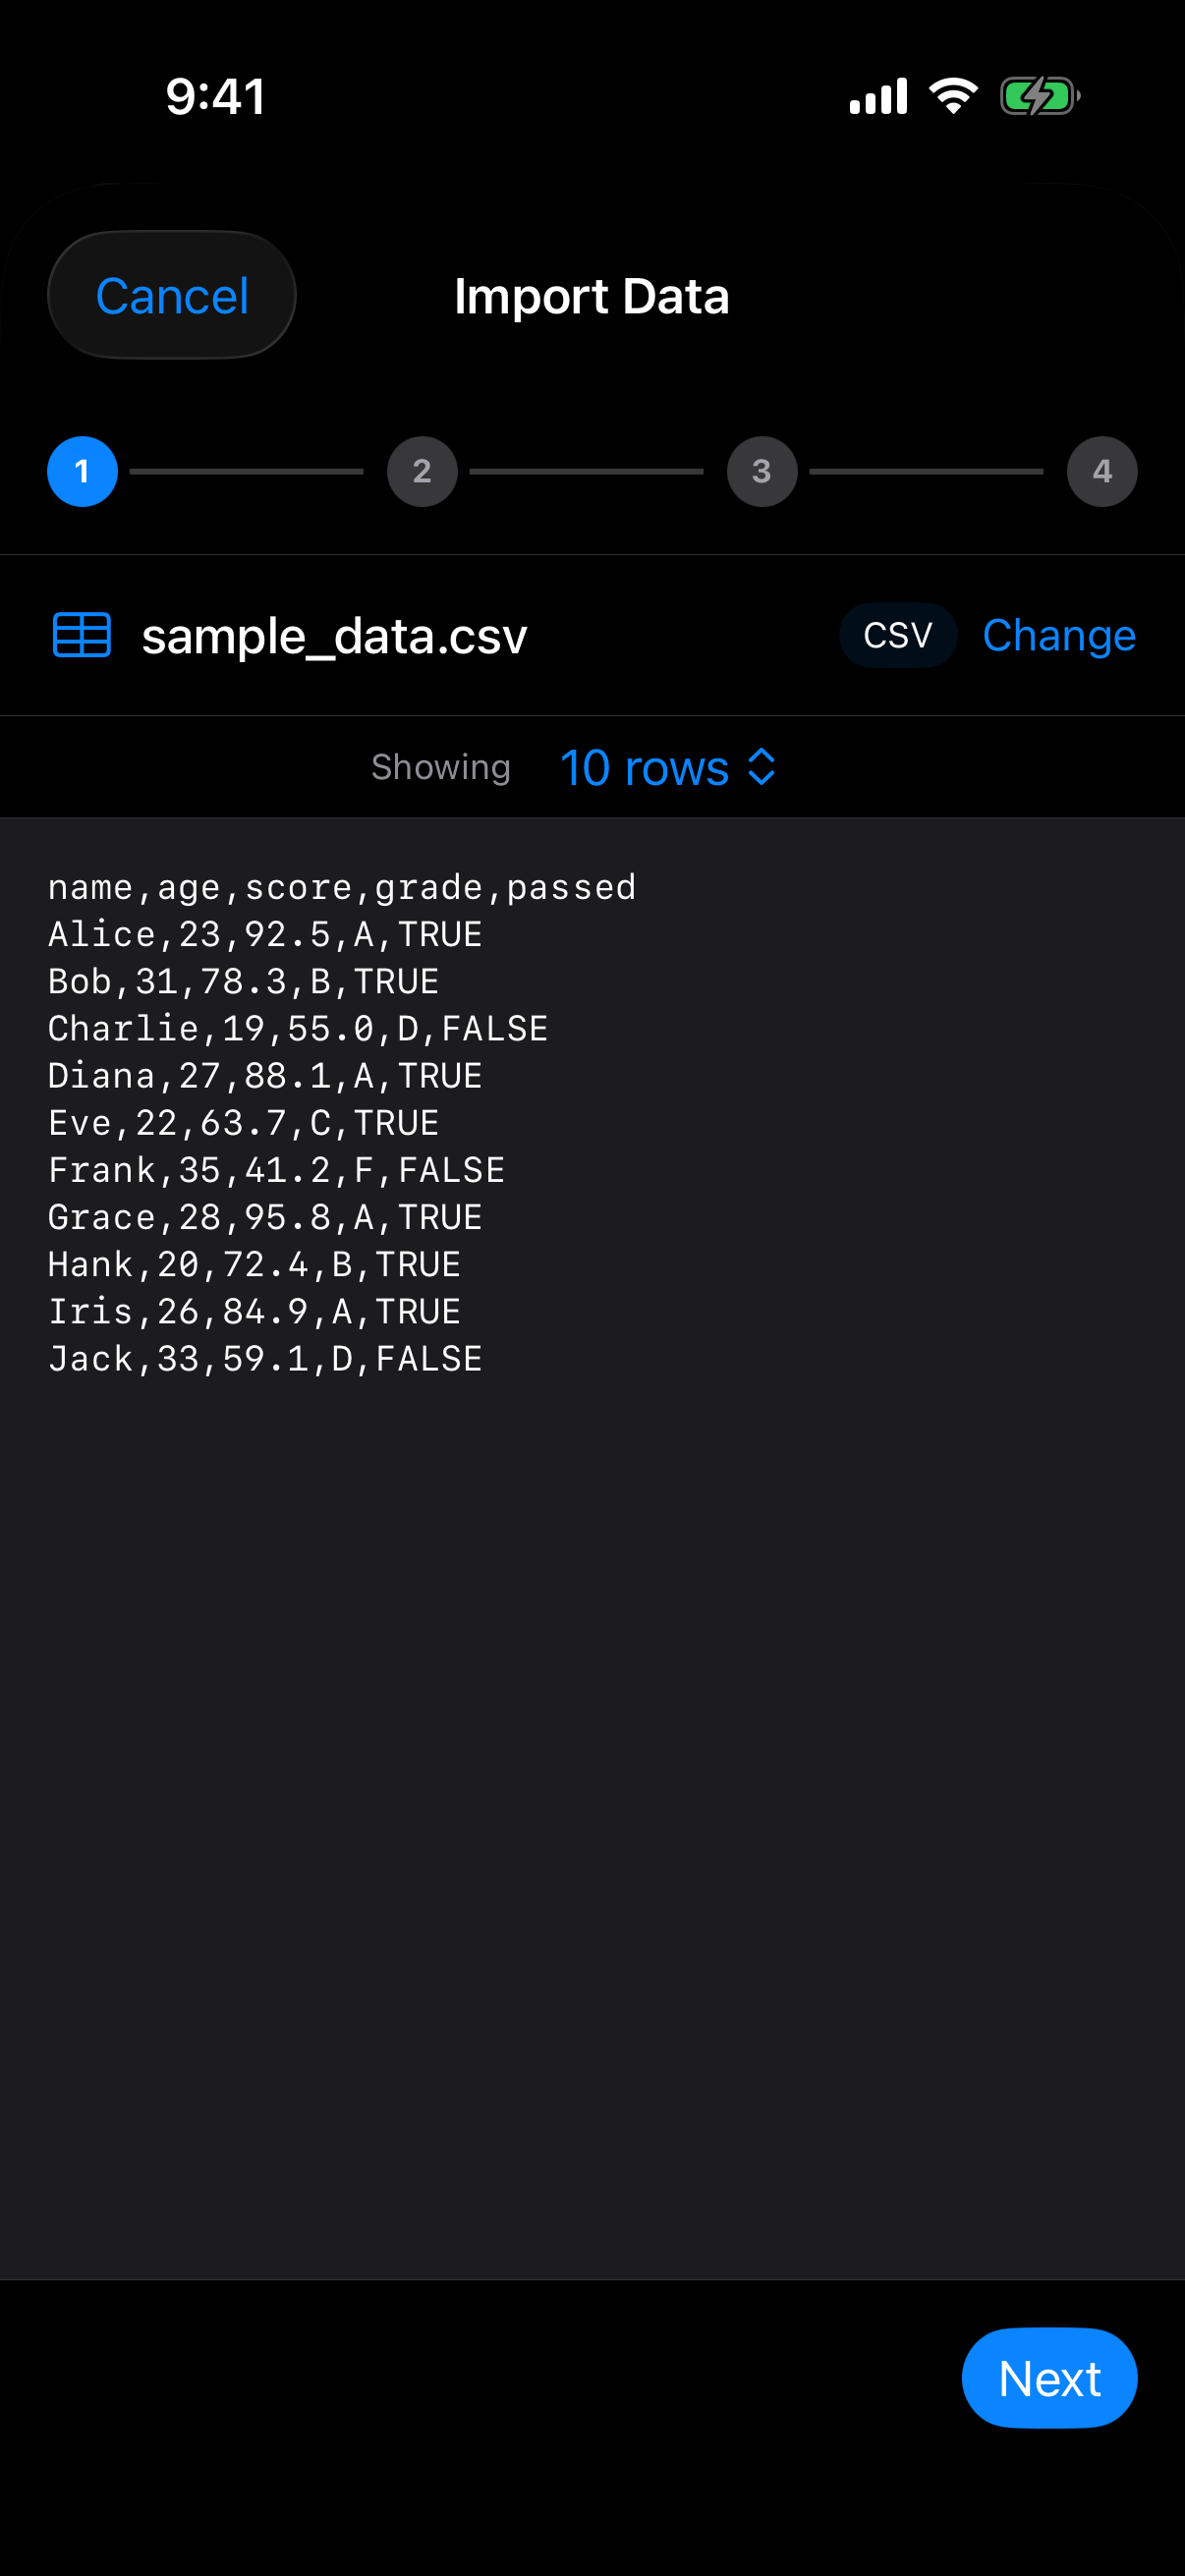
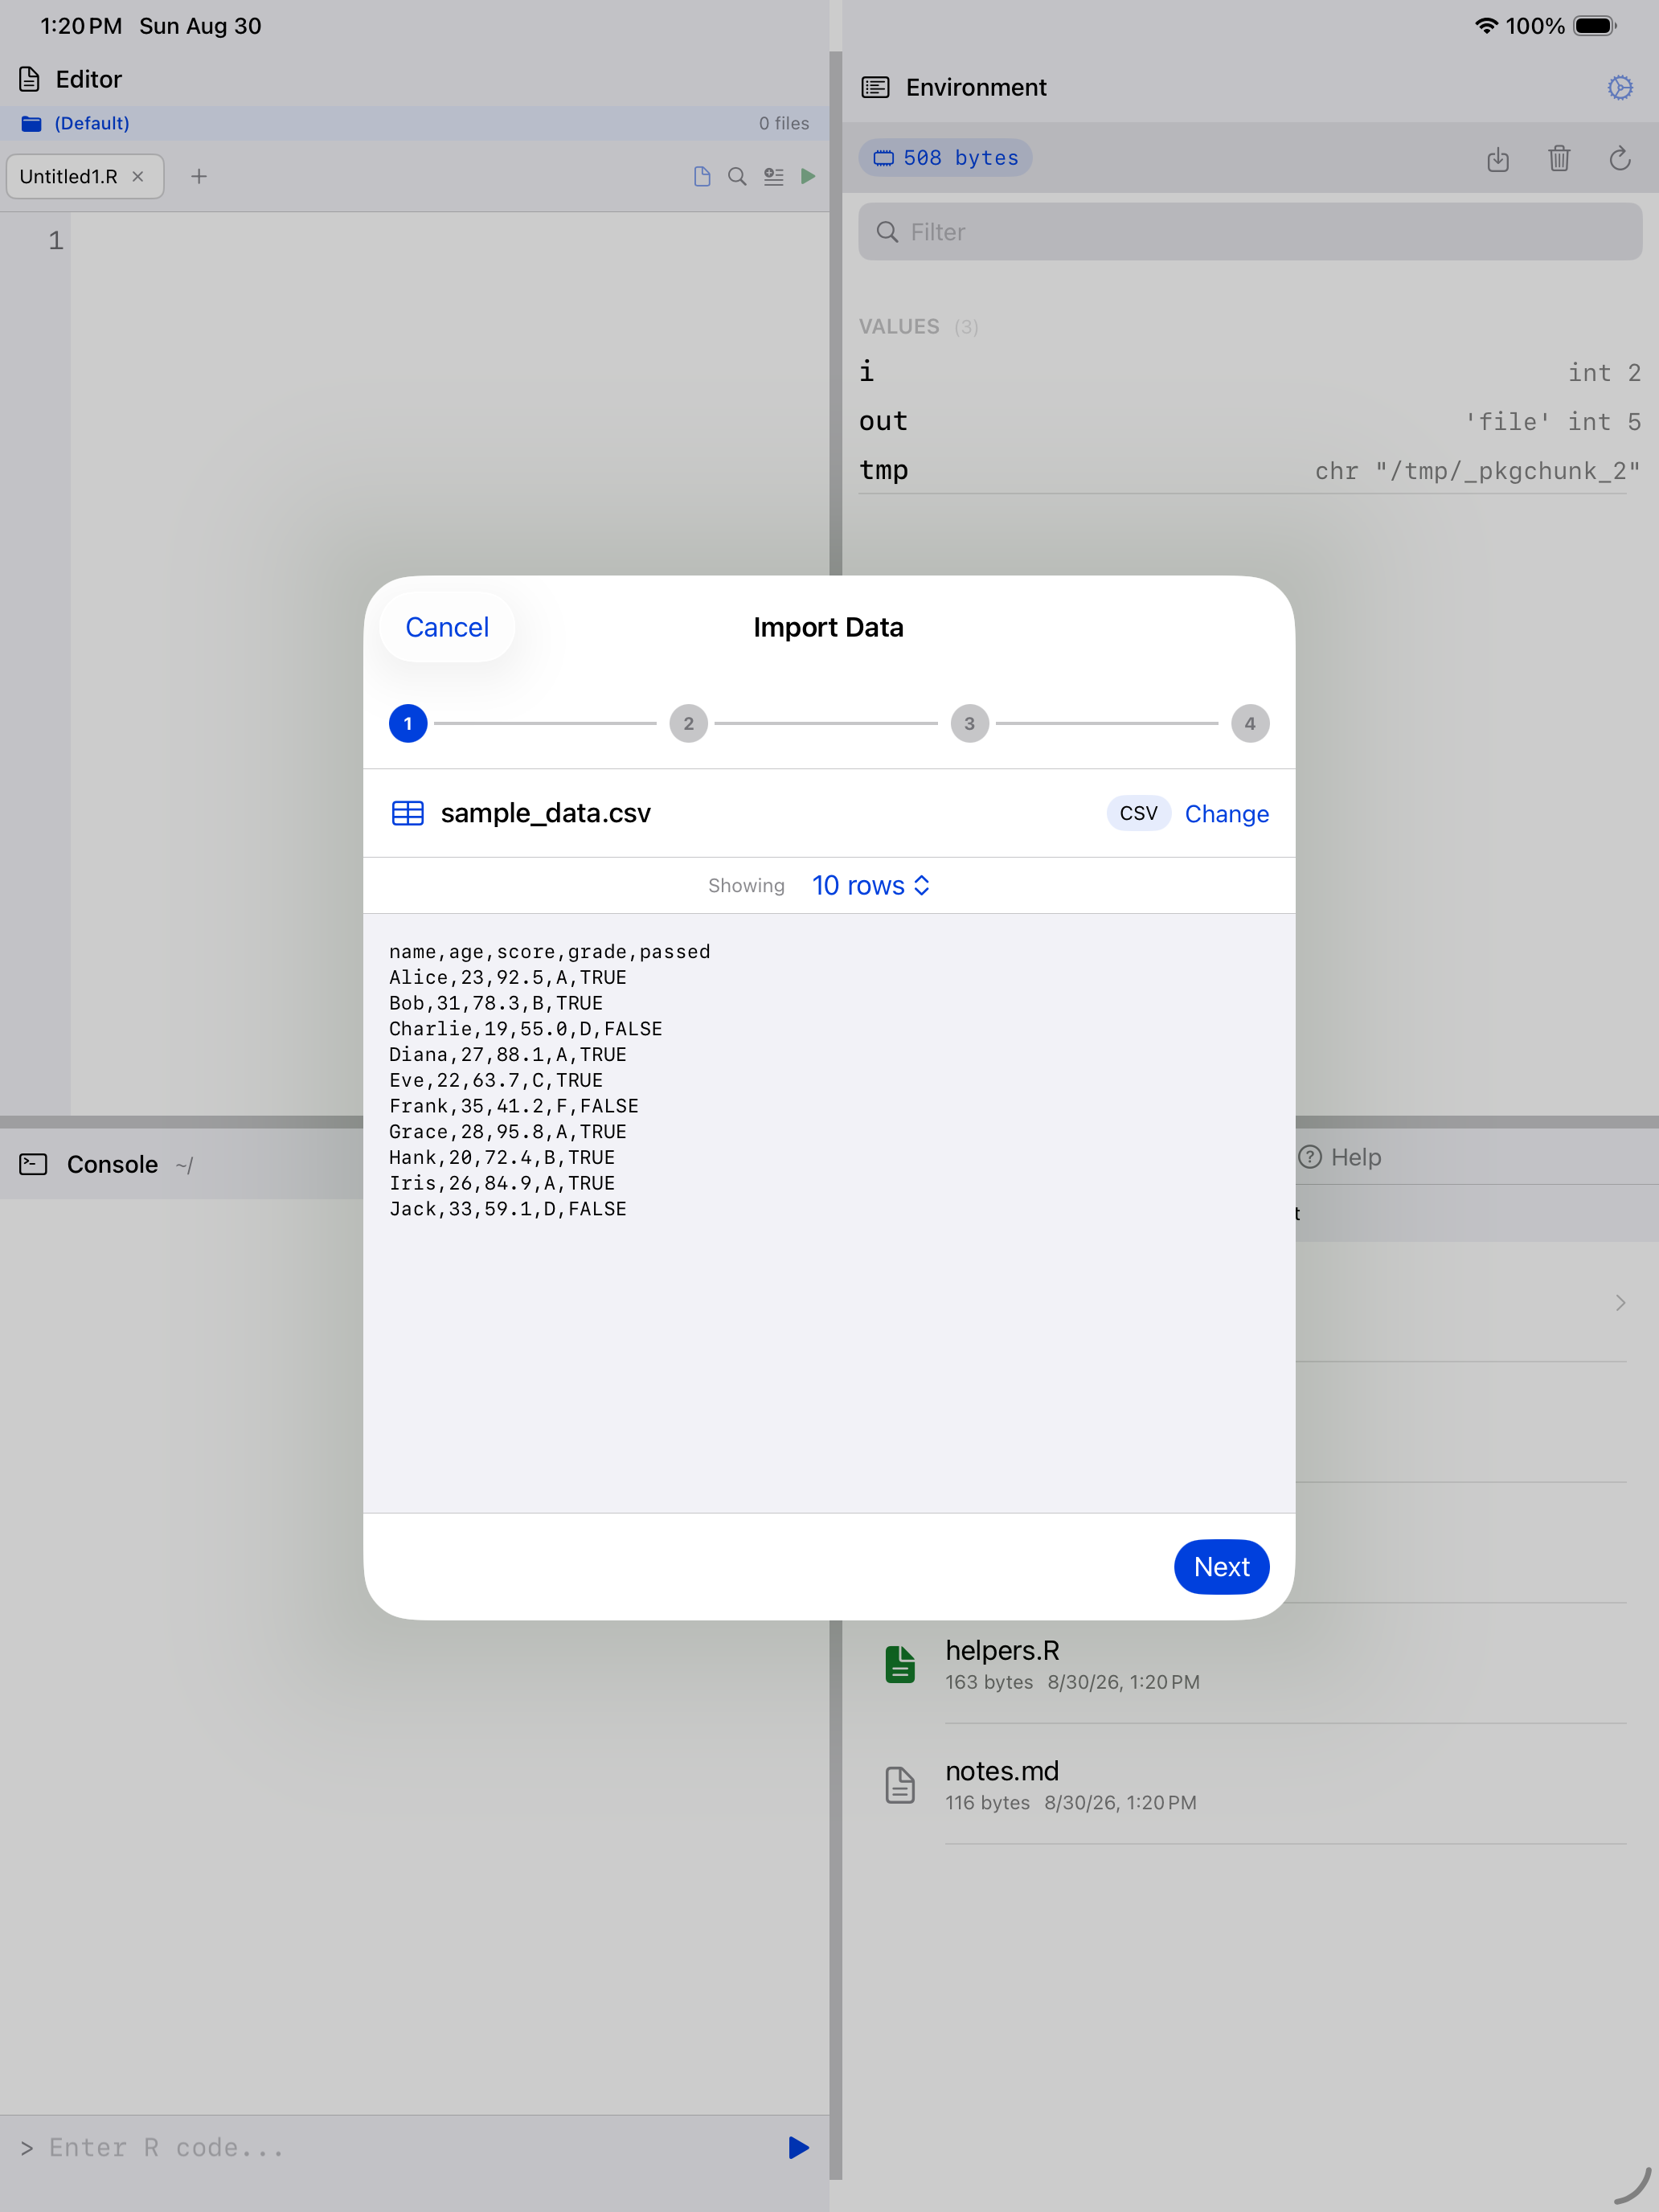
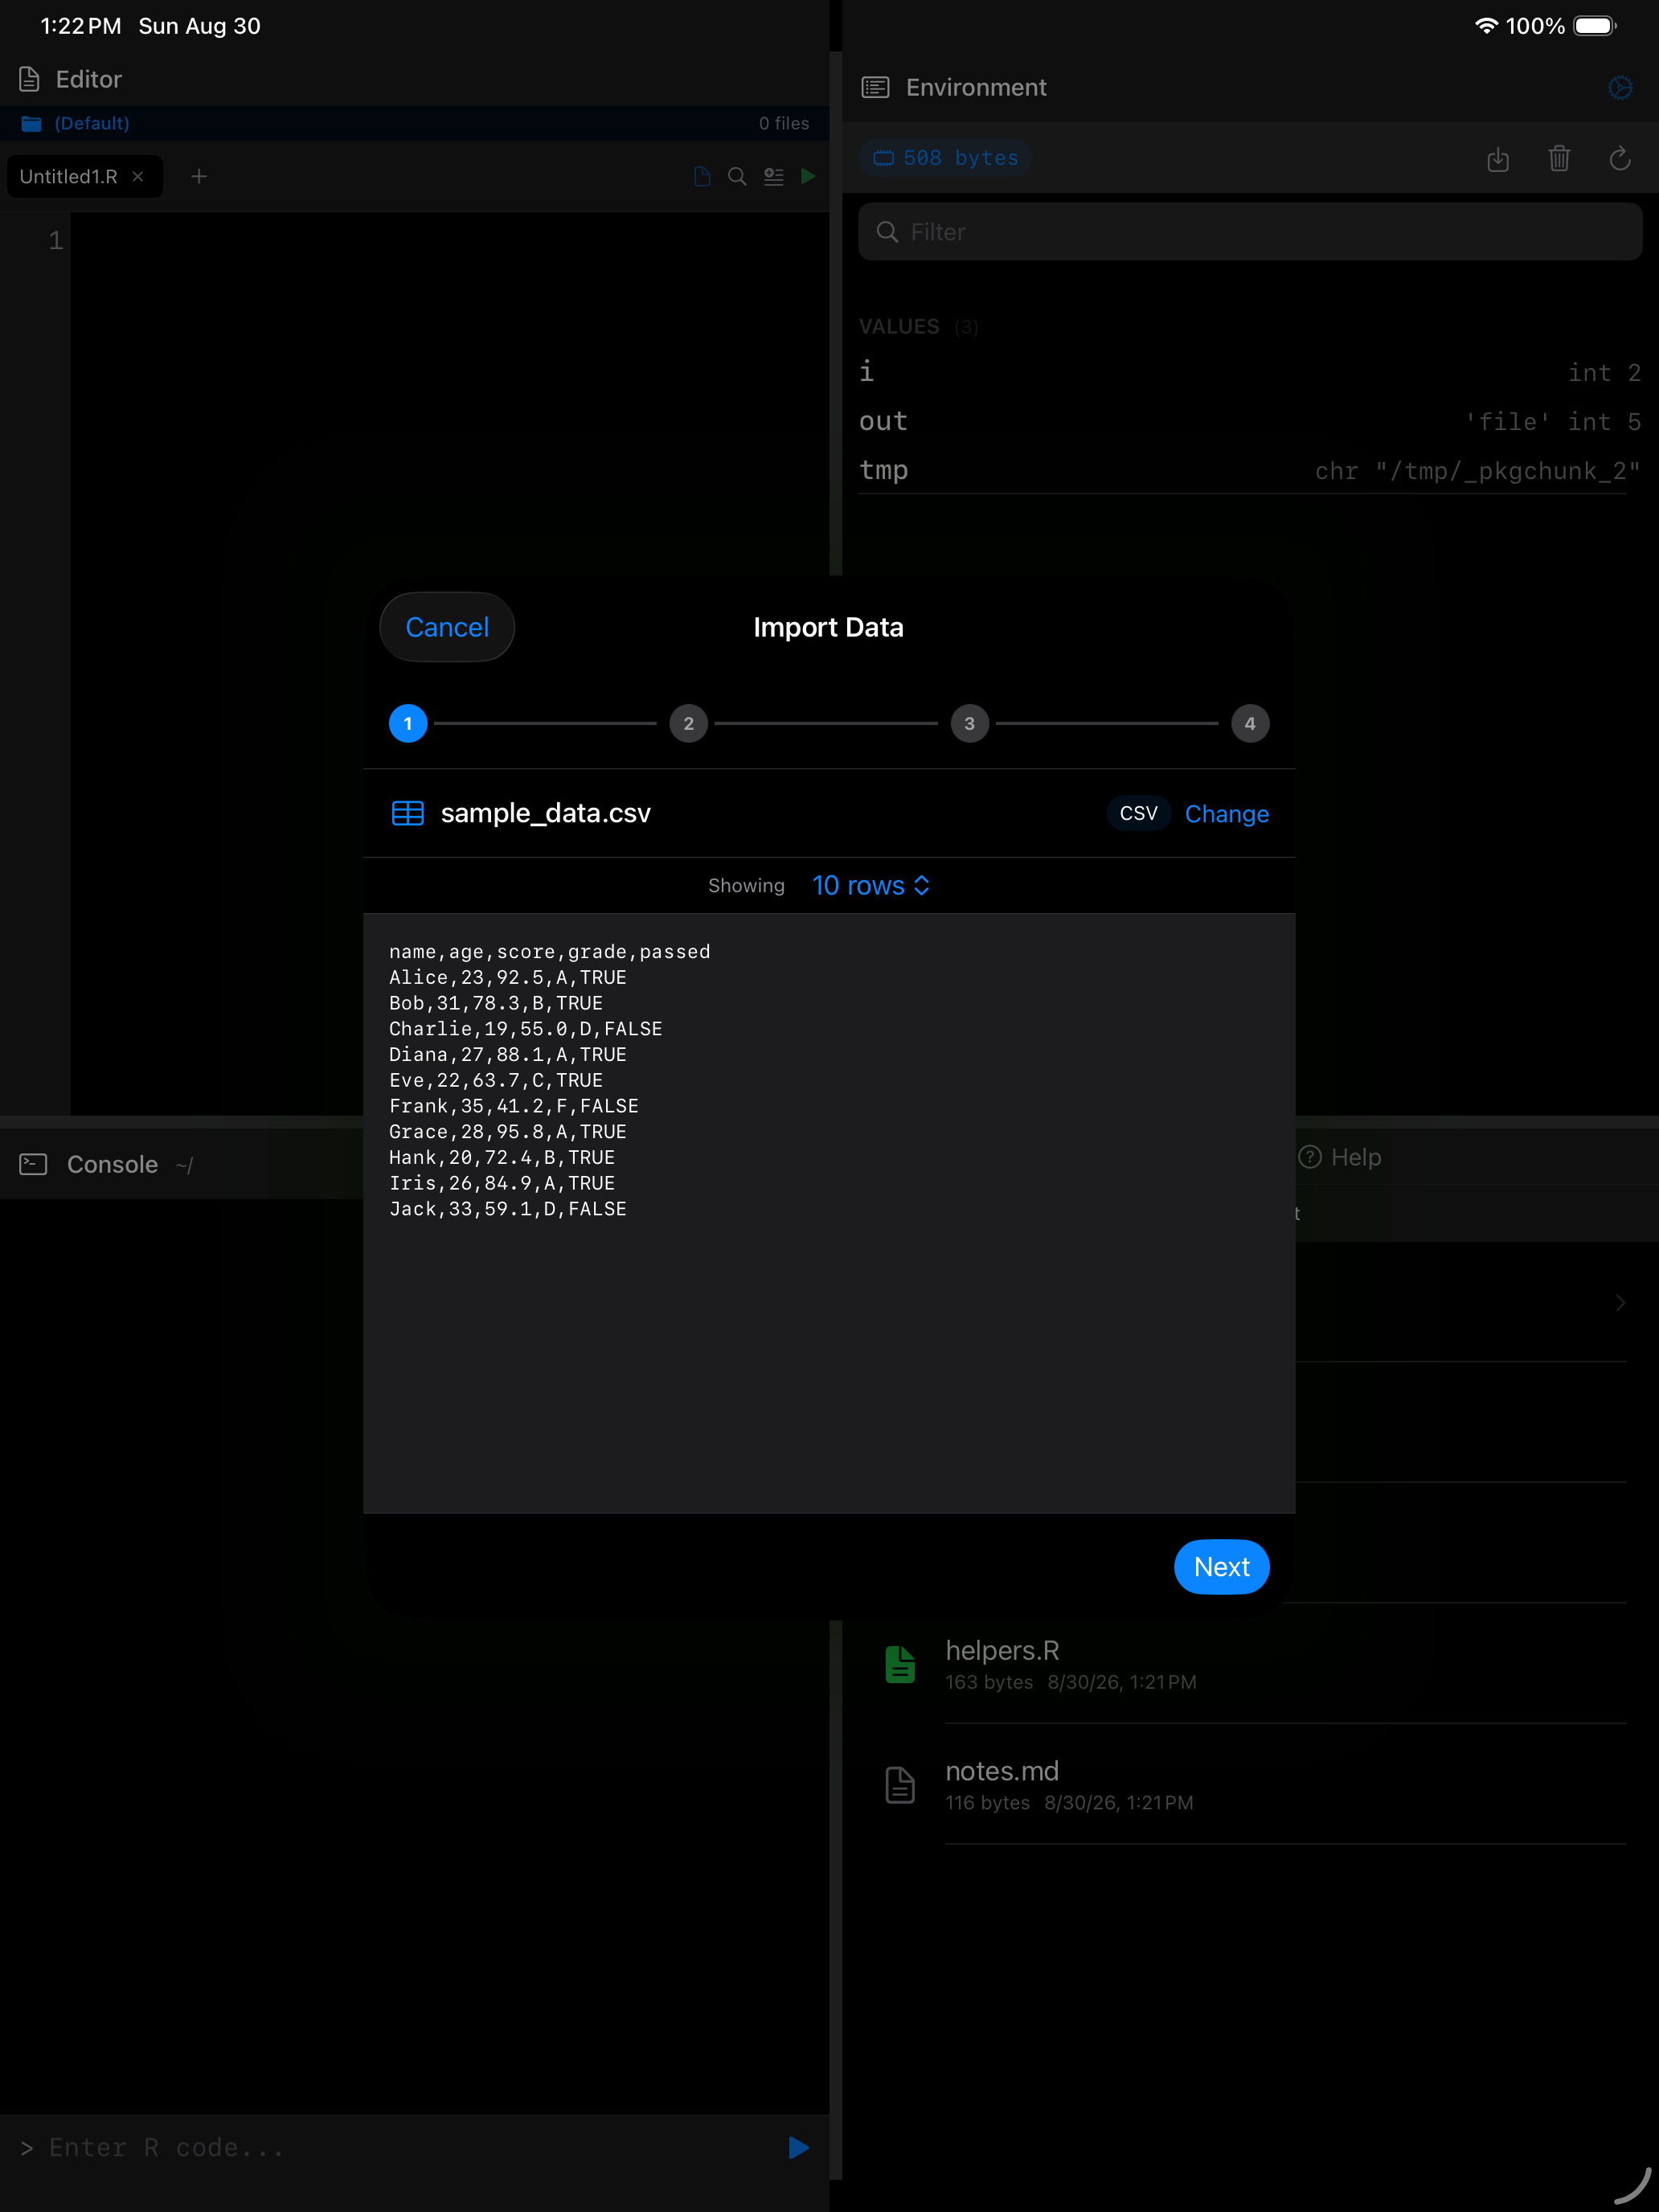
Choose Browse Files to pick a file from your device, or Load Sample Data to try the wizard with a built-in dataset. Once loaded, you will see the detected format, row count, and a raw preview of the file contents.
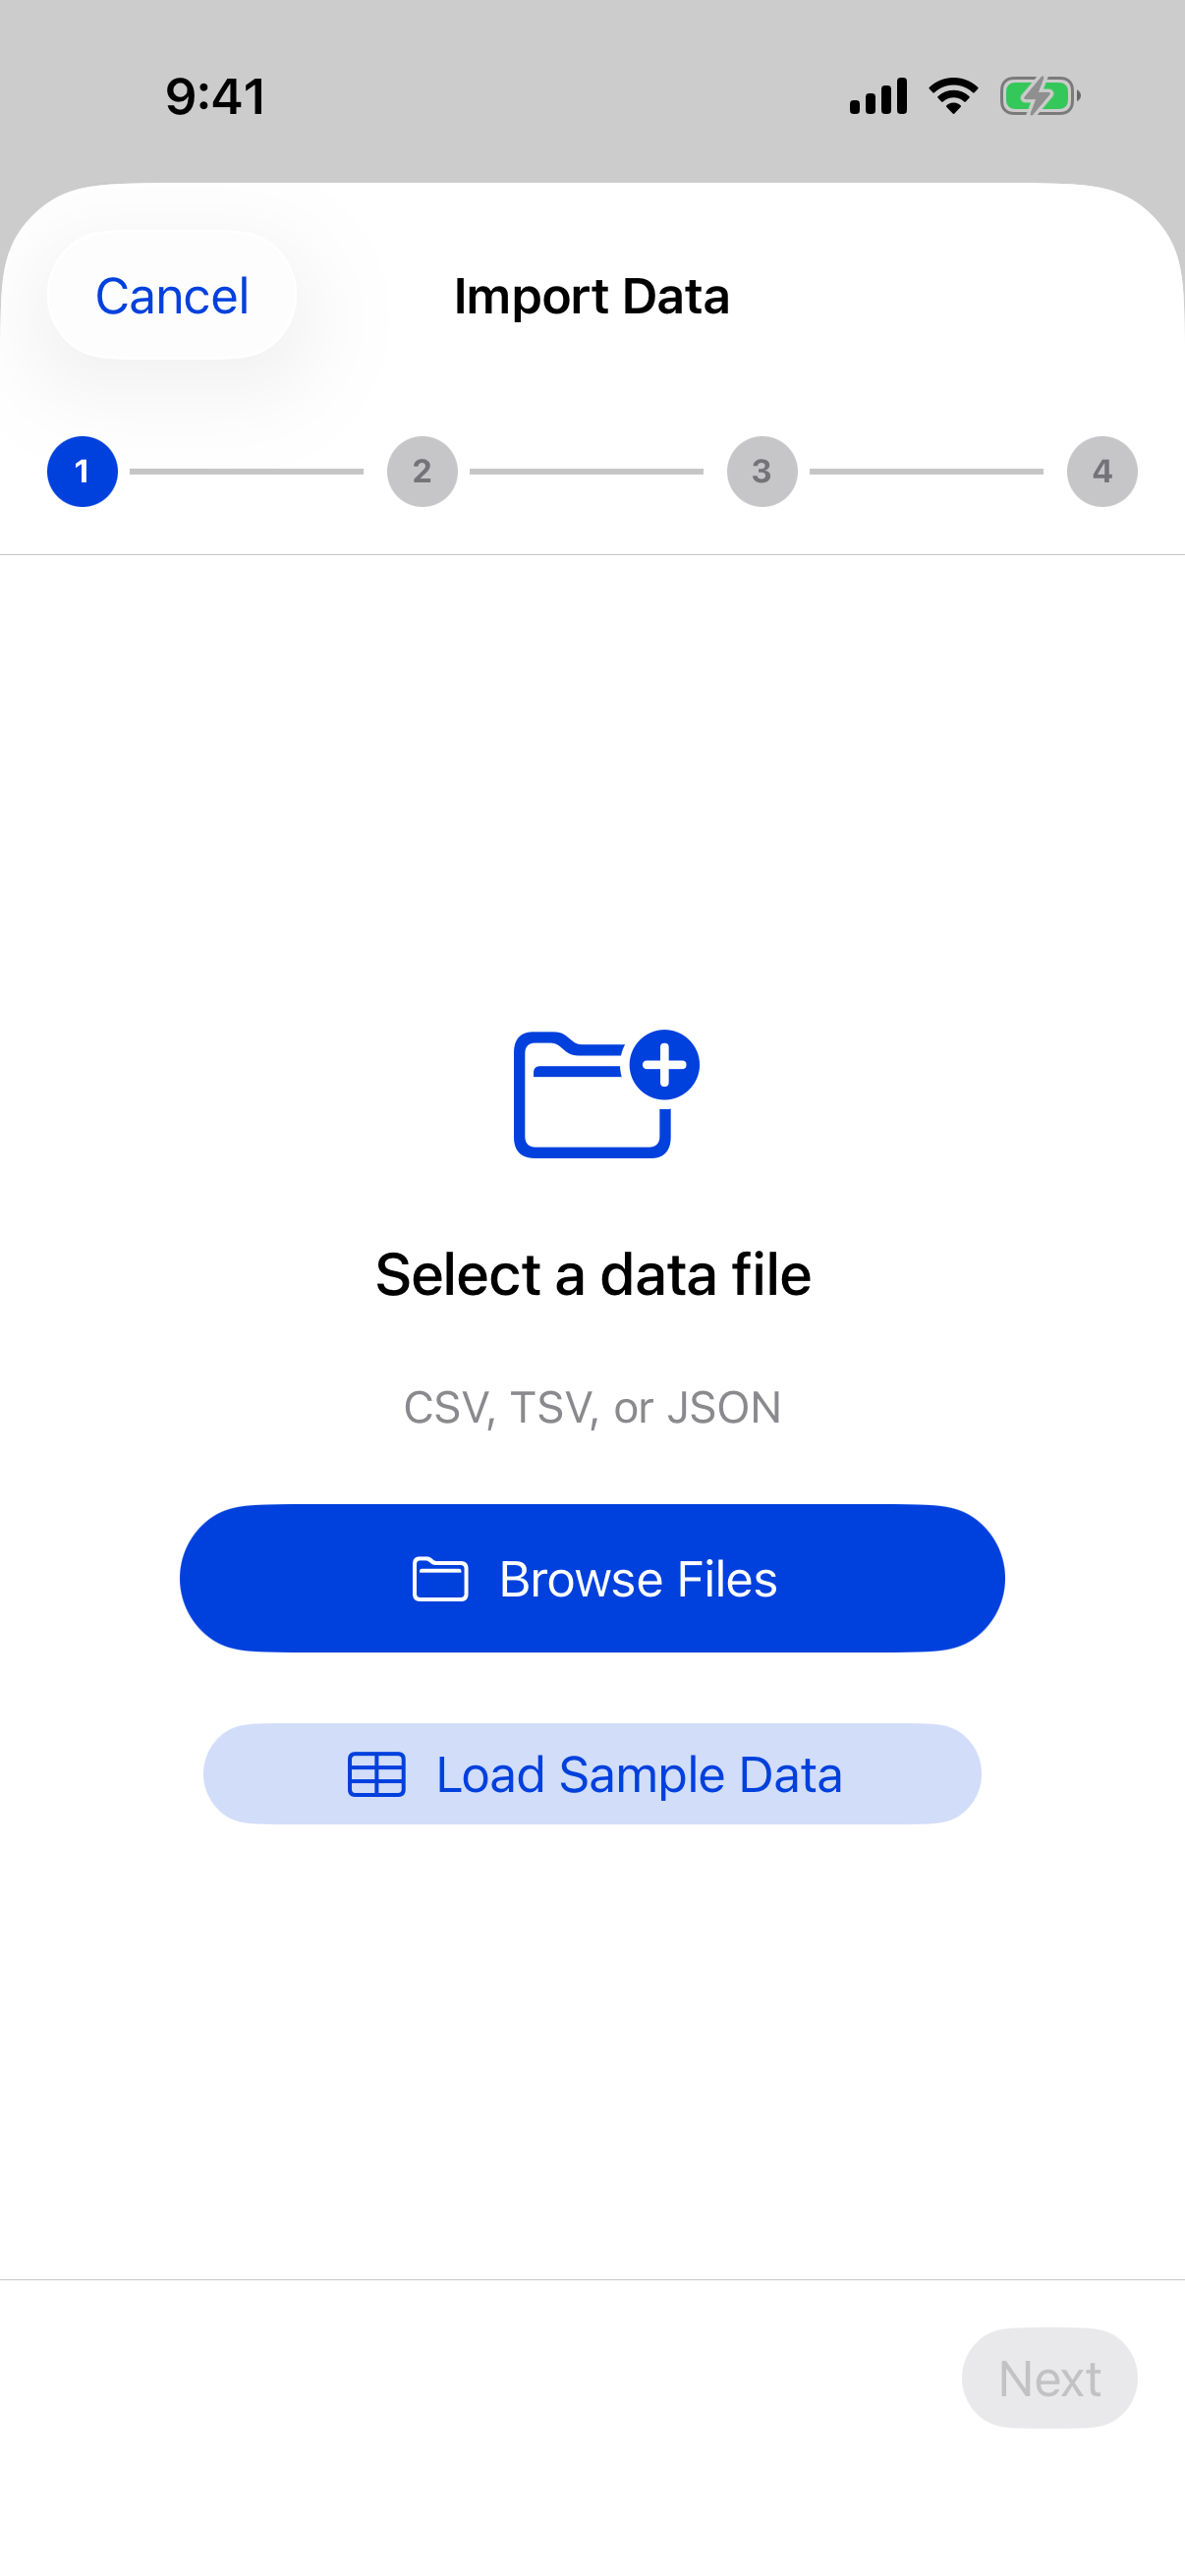
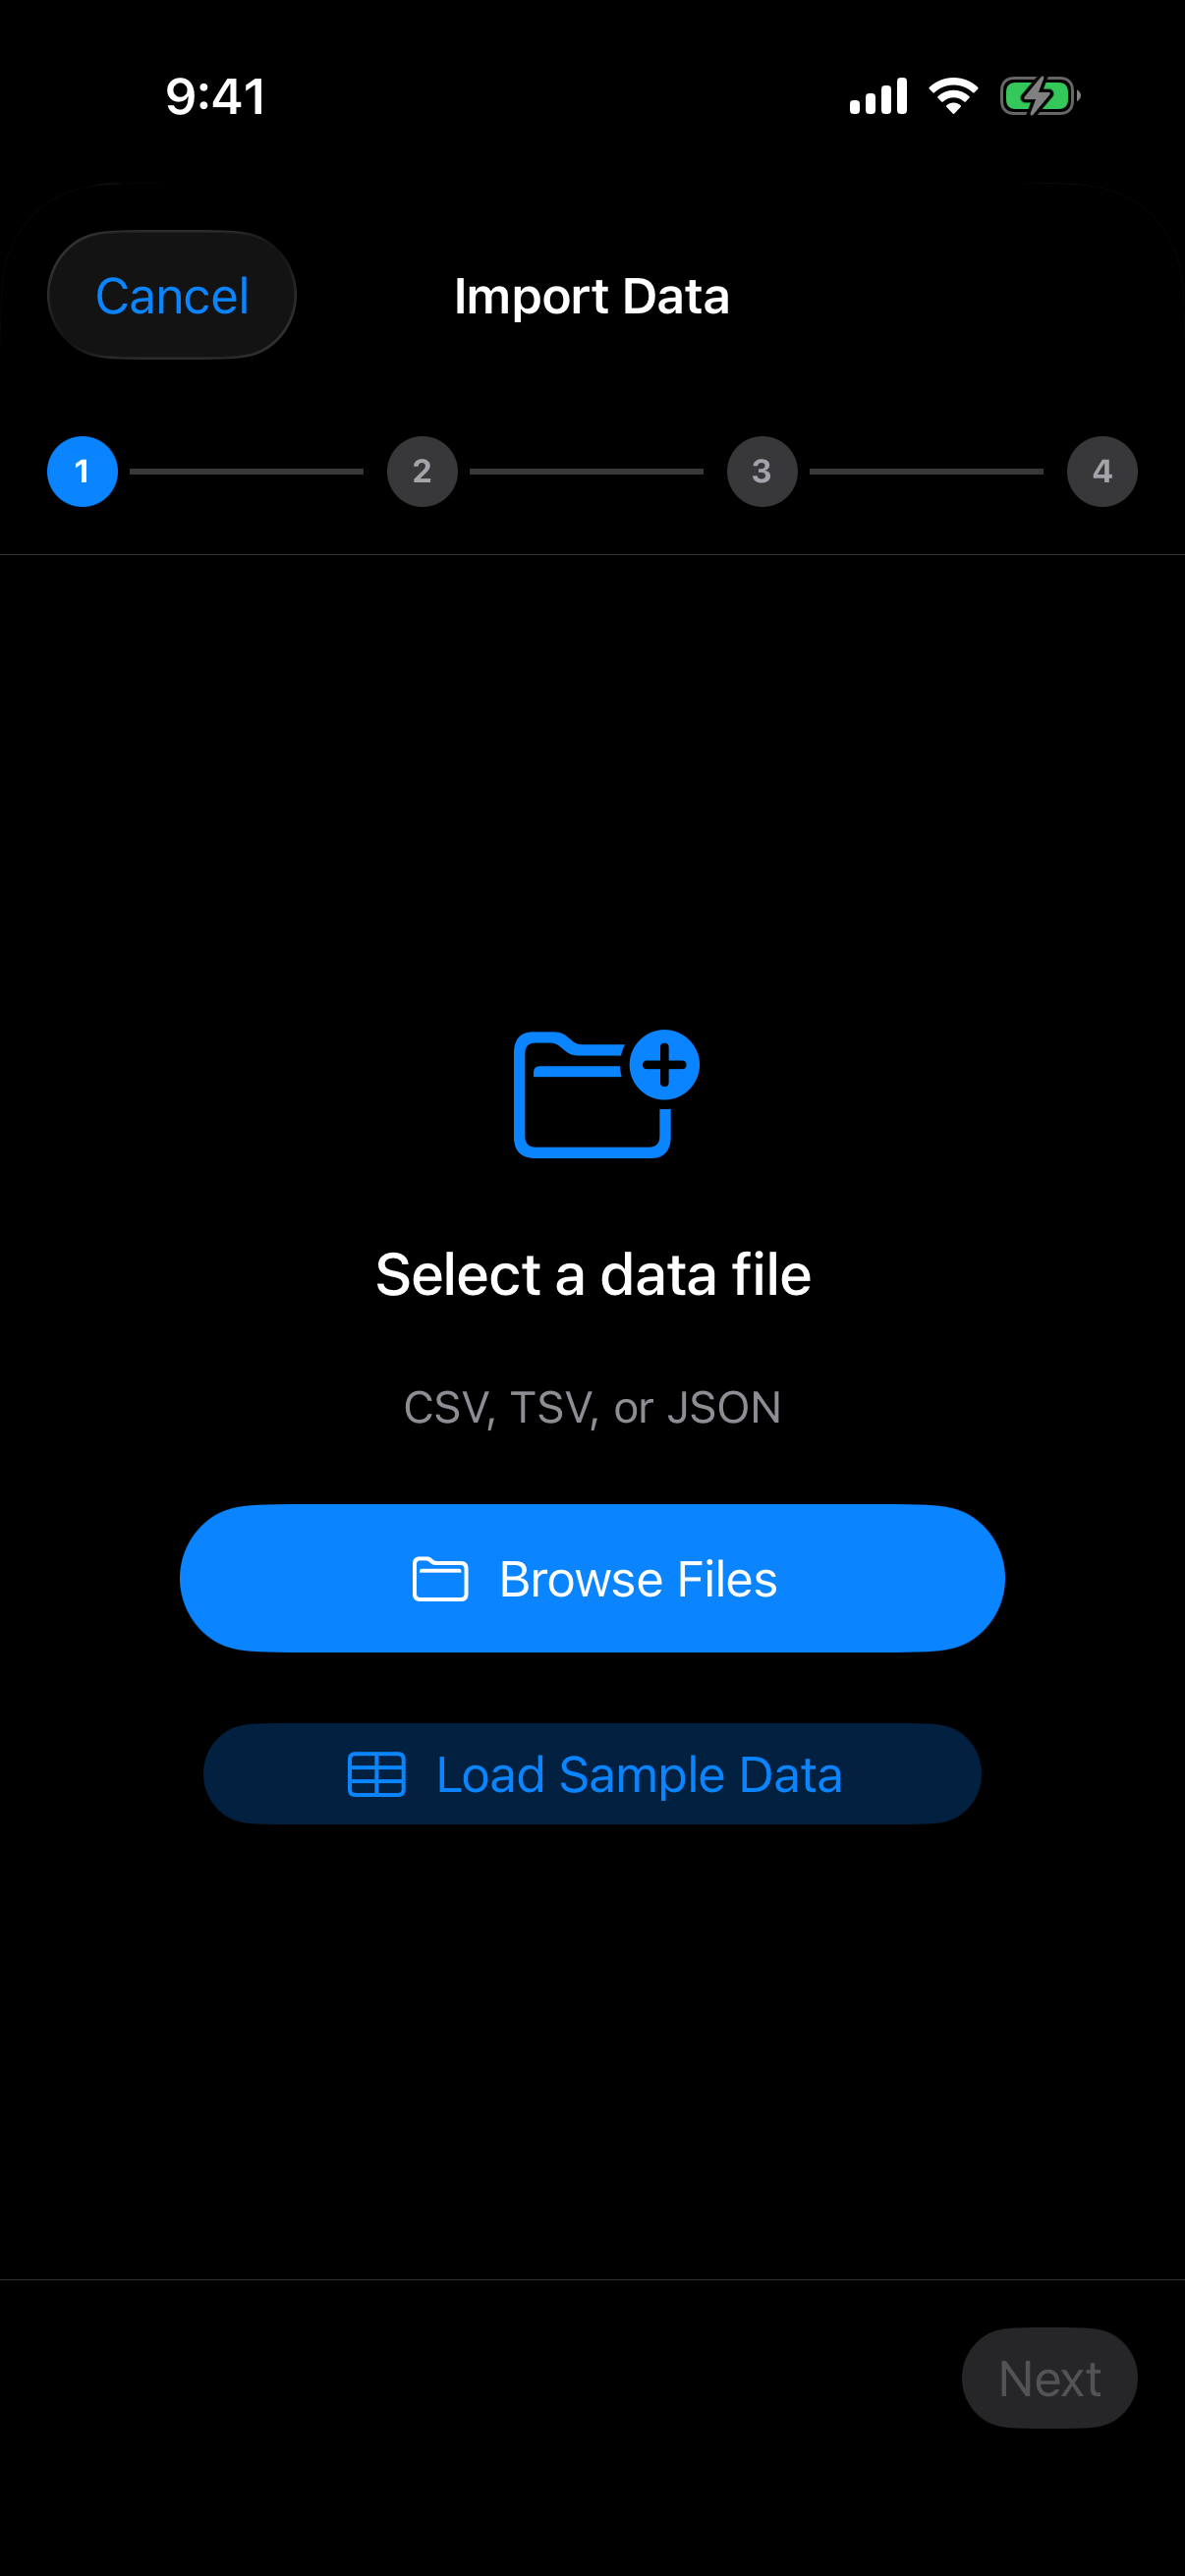
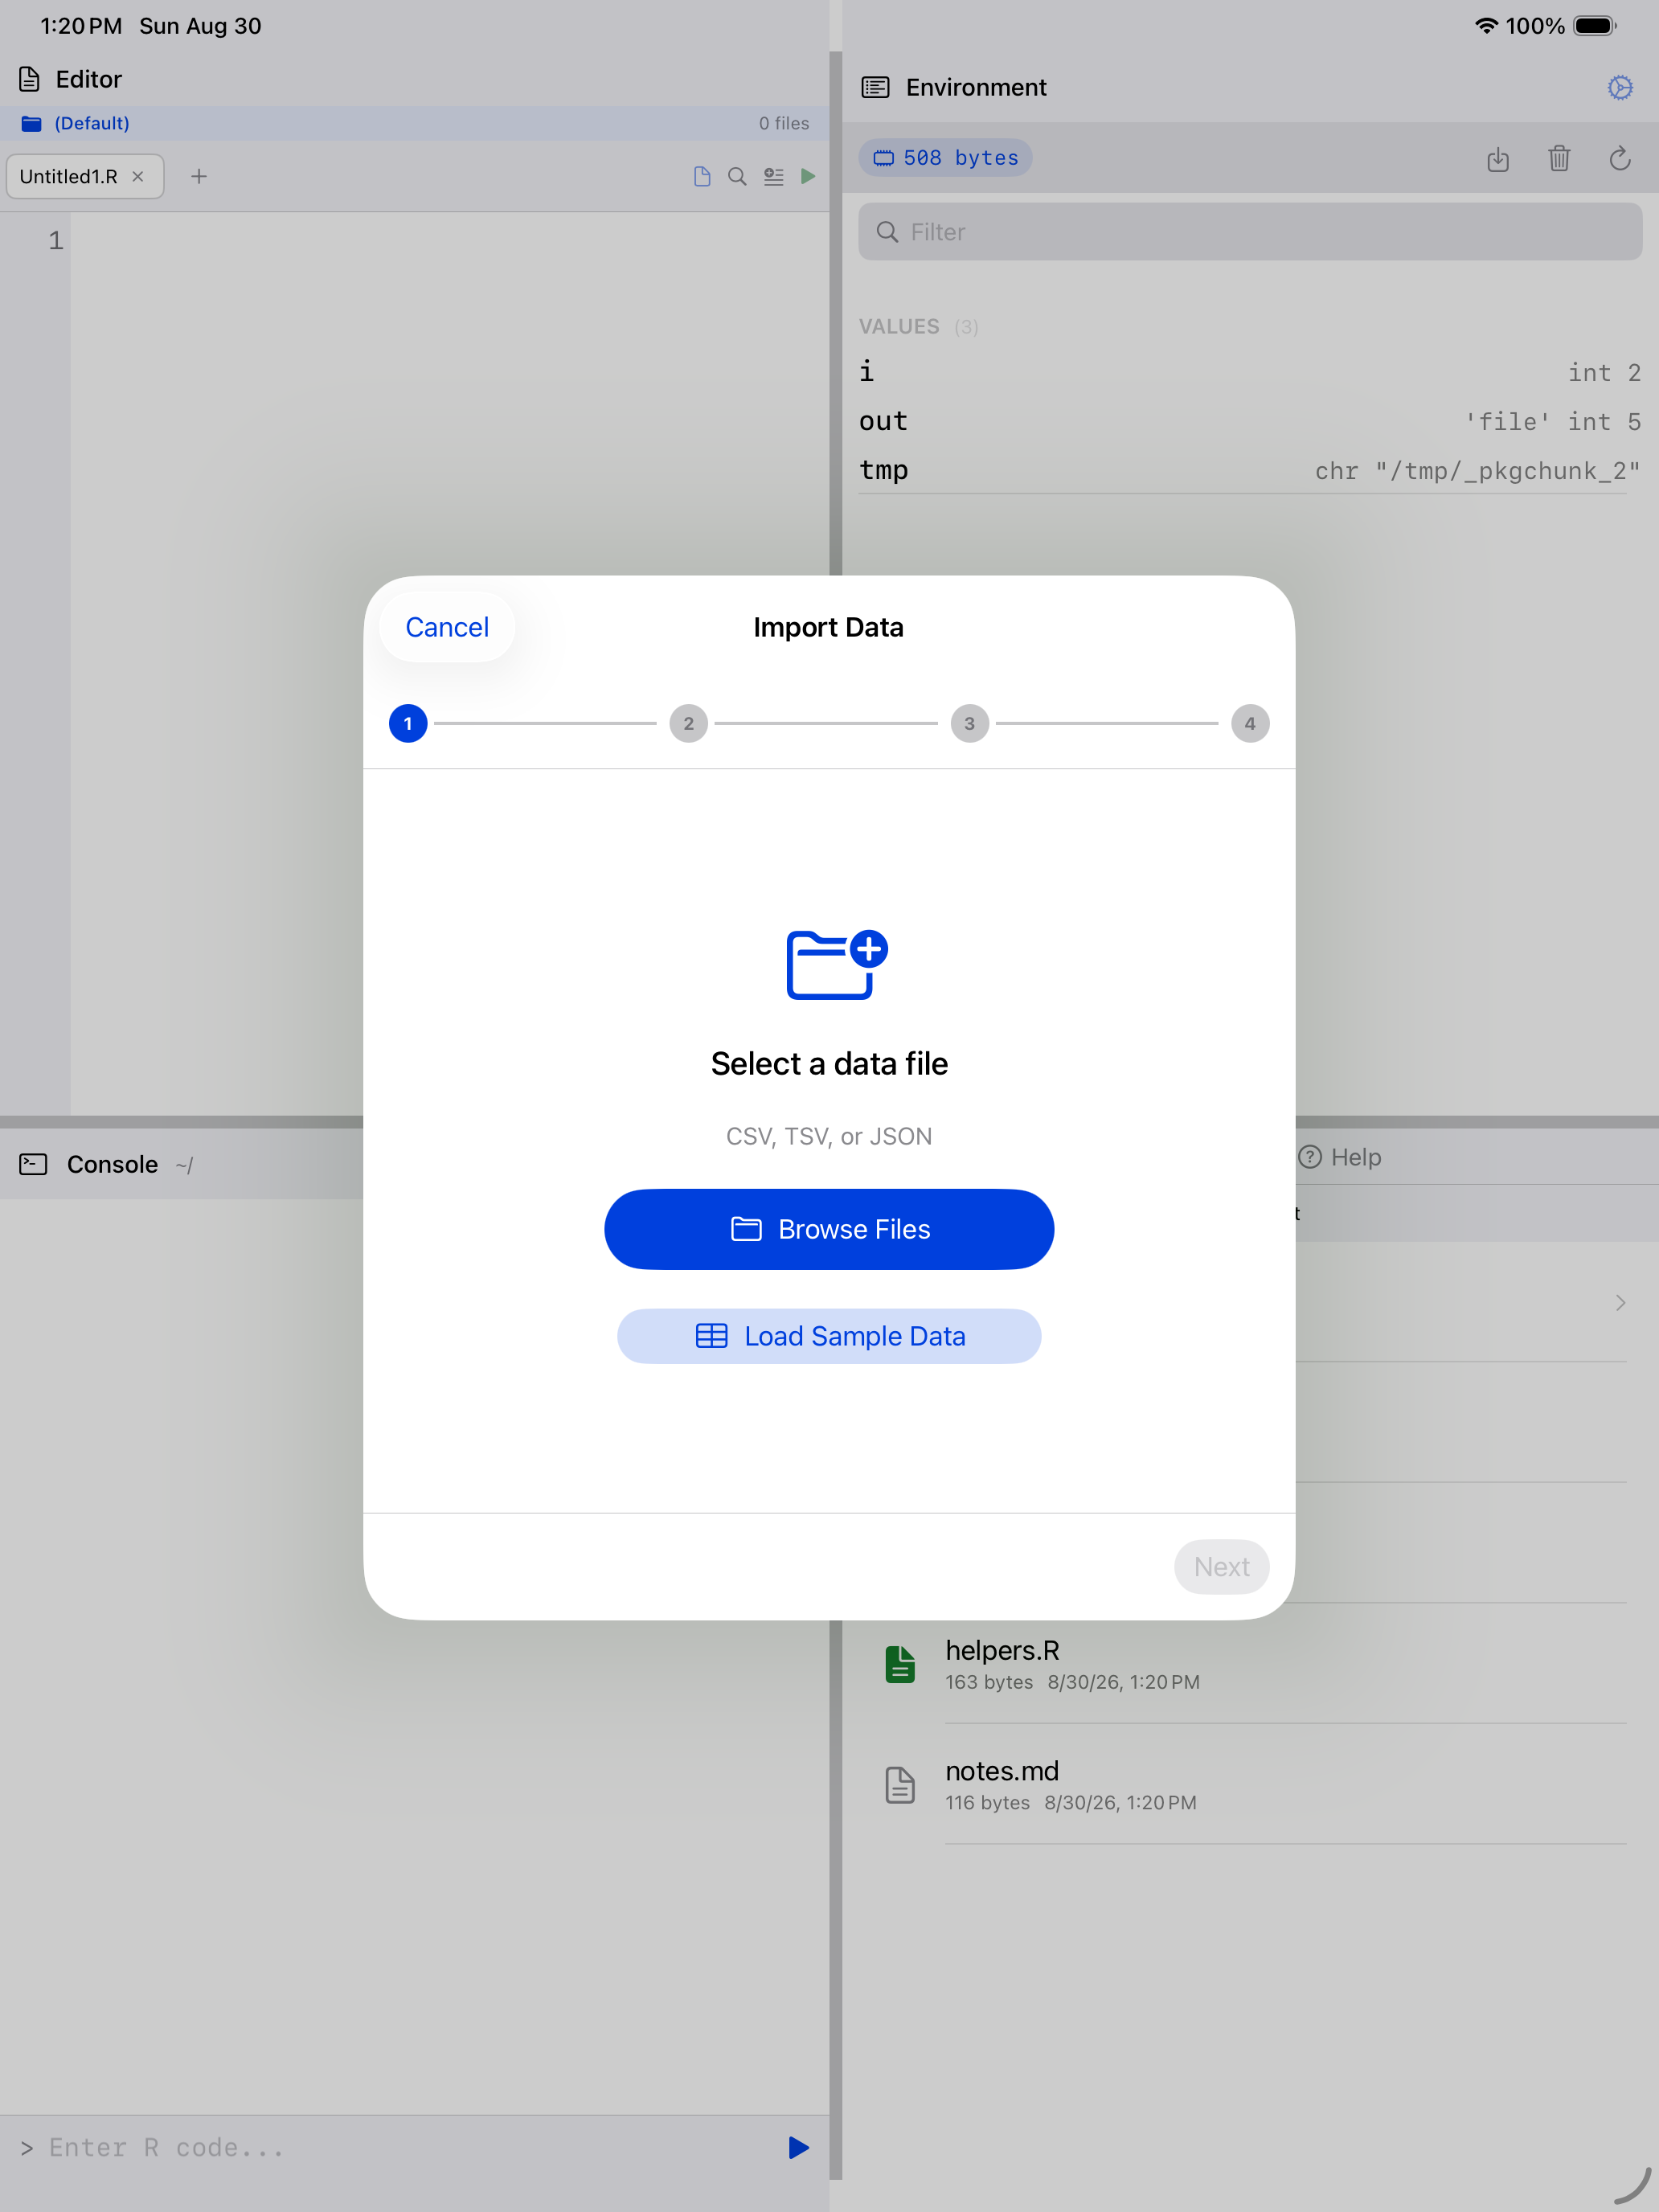
With a file loaded, the same step reports what it found:
Step 2: Configure parsing options
For CSV and TSV files, you can adjust how the data is parsed:
| Option | Choices | Description |
|---|---|---|
| Name | (text field) | The R variable name for the imported data. Must be a valid R identifier; if it isn’t, a note under the field explains the rule and Next stays disabled. |
| Heading | Yes / No | Whether the first row contains column names. |
| Separator | Comma, Semicolon, Tab, Pipe | The delimiter between fields. |
| Decimal Mark | Period, Comma | How decimal numbers are written (varies by locale). |
| Quote Character | Double, Single, None | Character used to quote text fields. |
| Comment Character | None, #, %, ! |
Lines starting with this character are skipped. |
| na.strings | (text field) | Text that should be treated as NA. |
| Strings as factors | On / Off | Whether text columns become factors instead of character vectors. |
A live data preview updates as you change settings, so you can confirm the parsing looks right before importing.
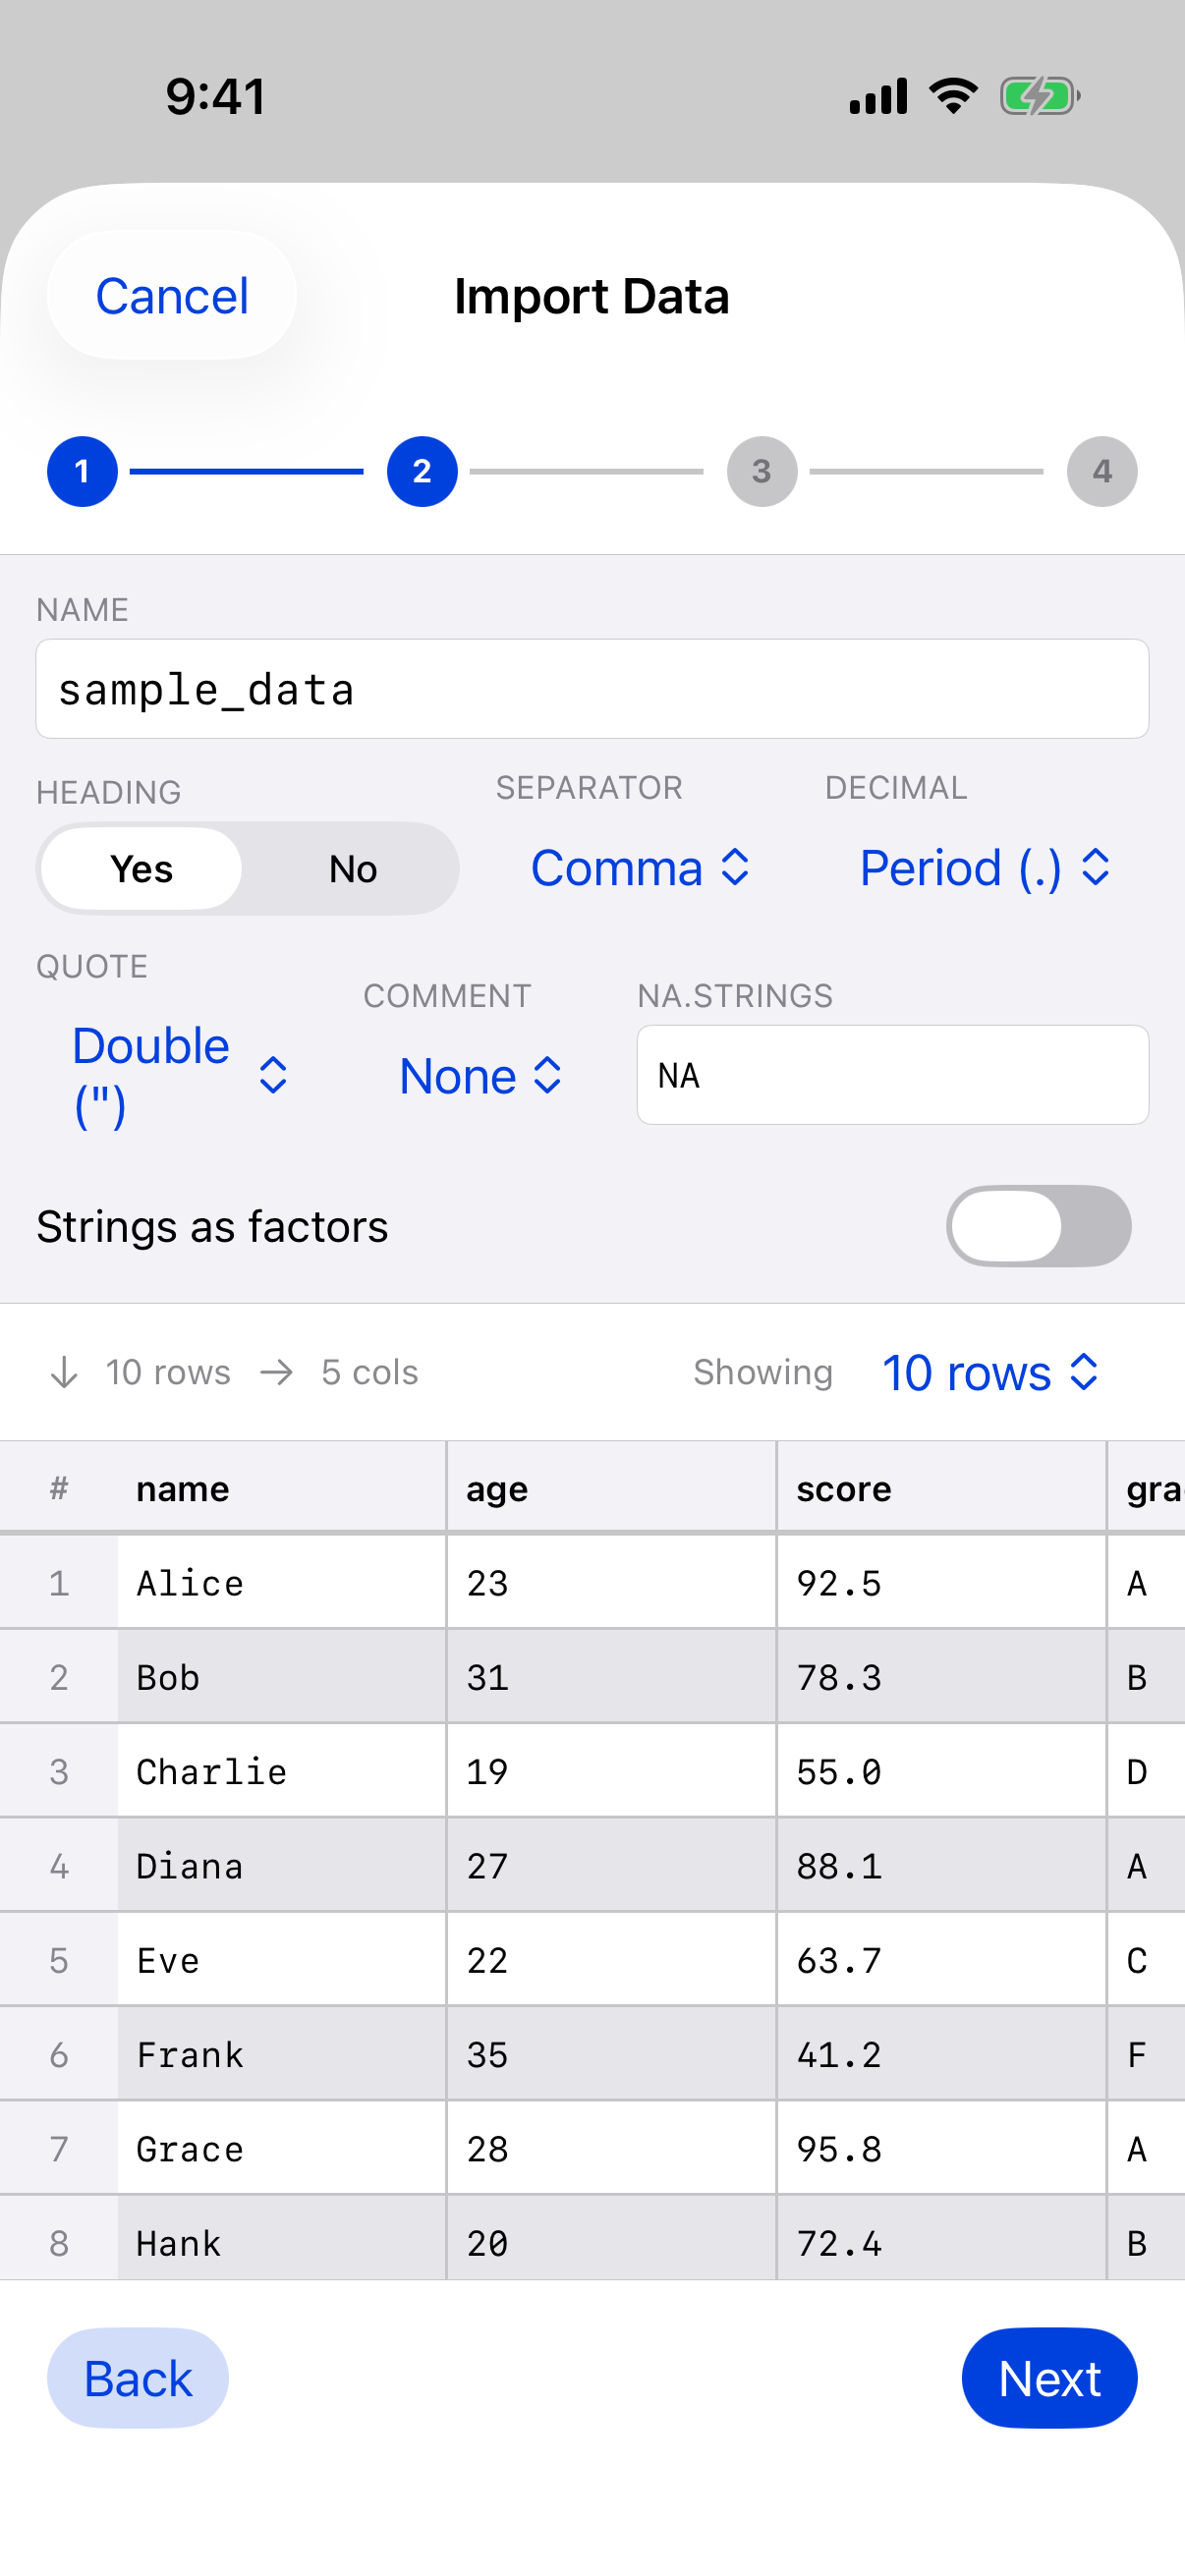
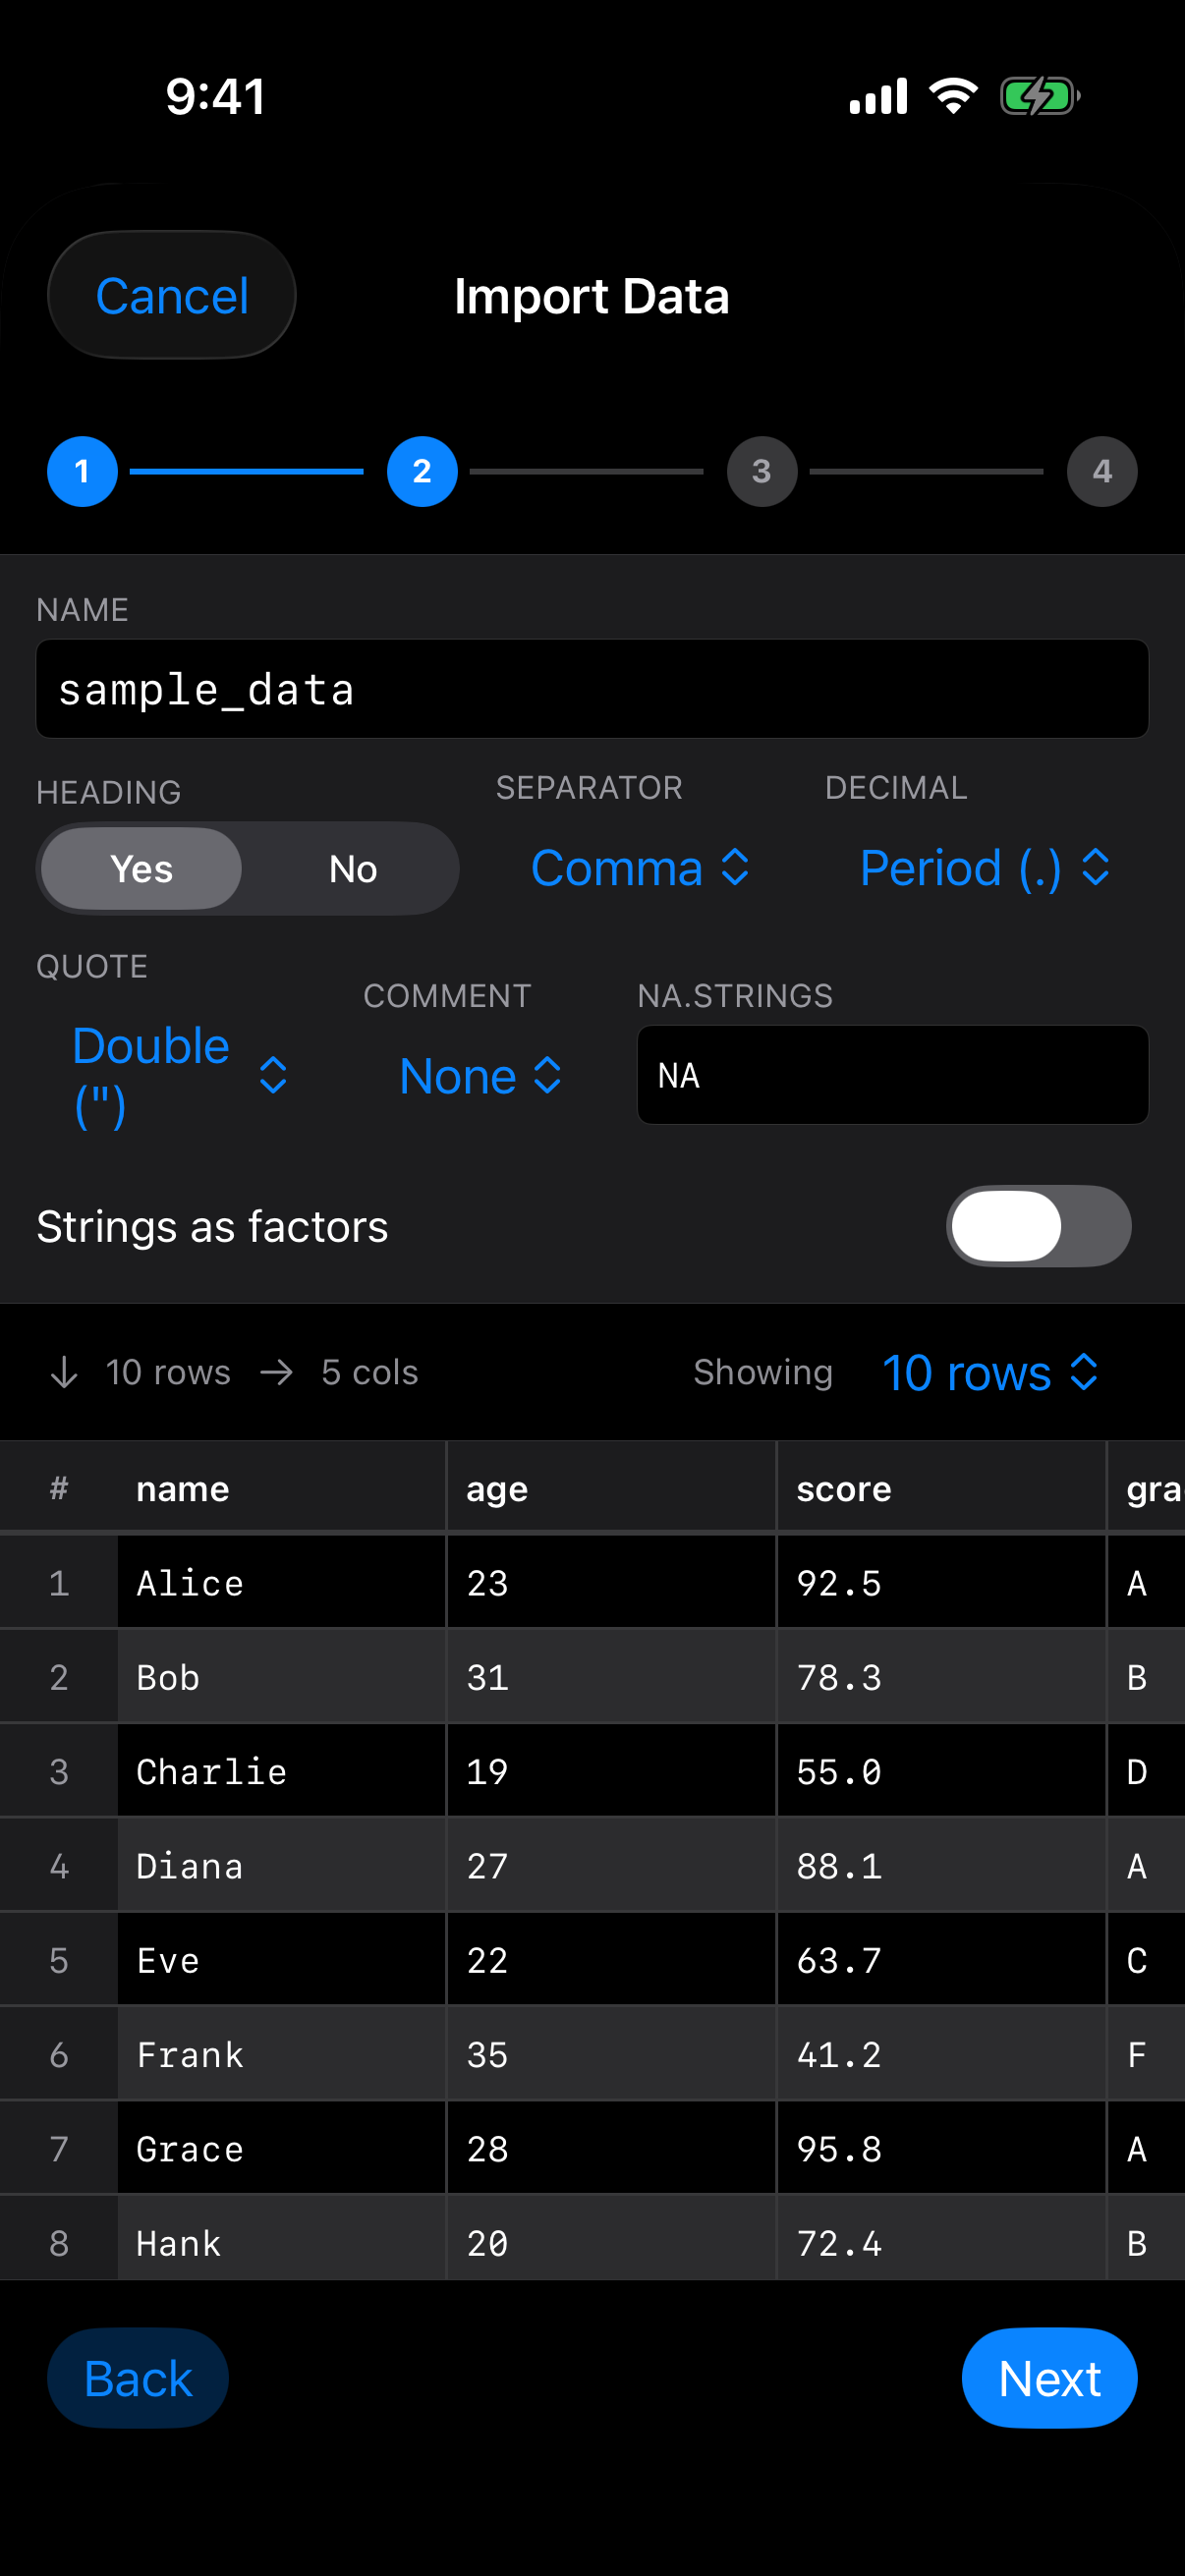
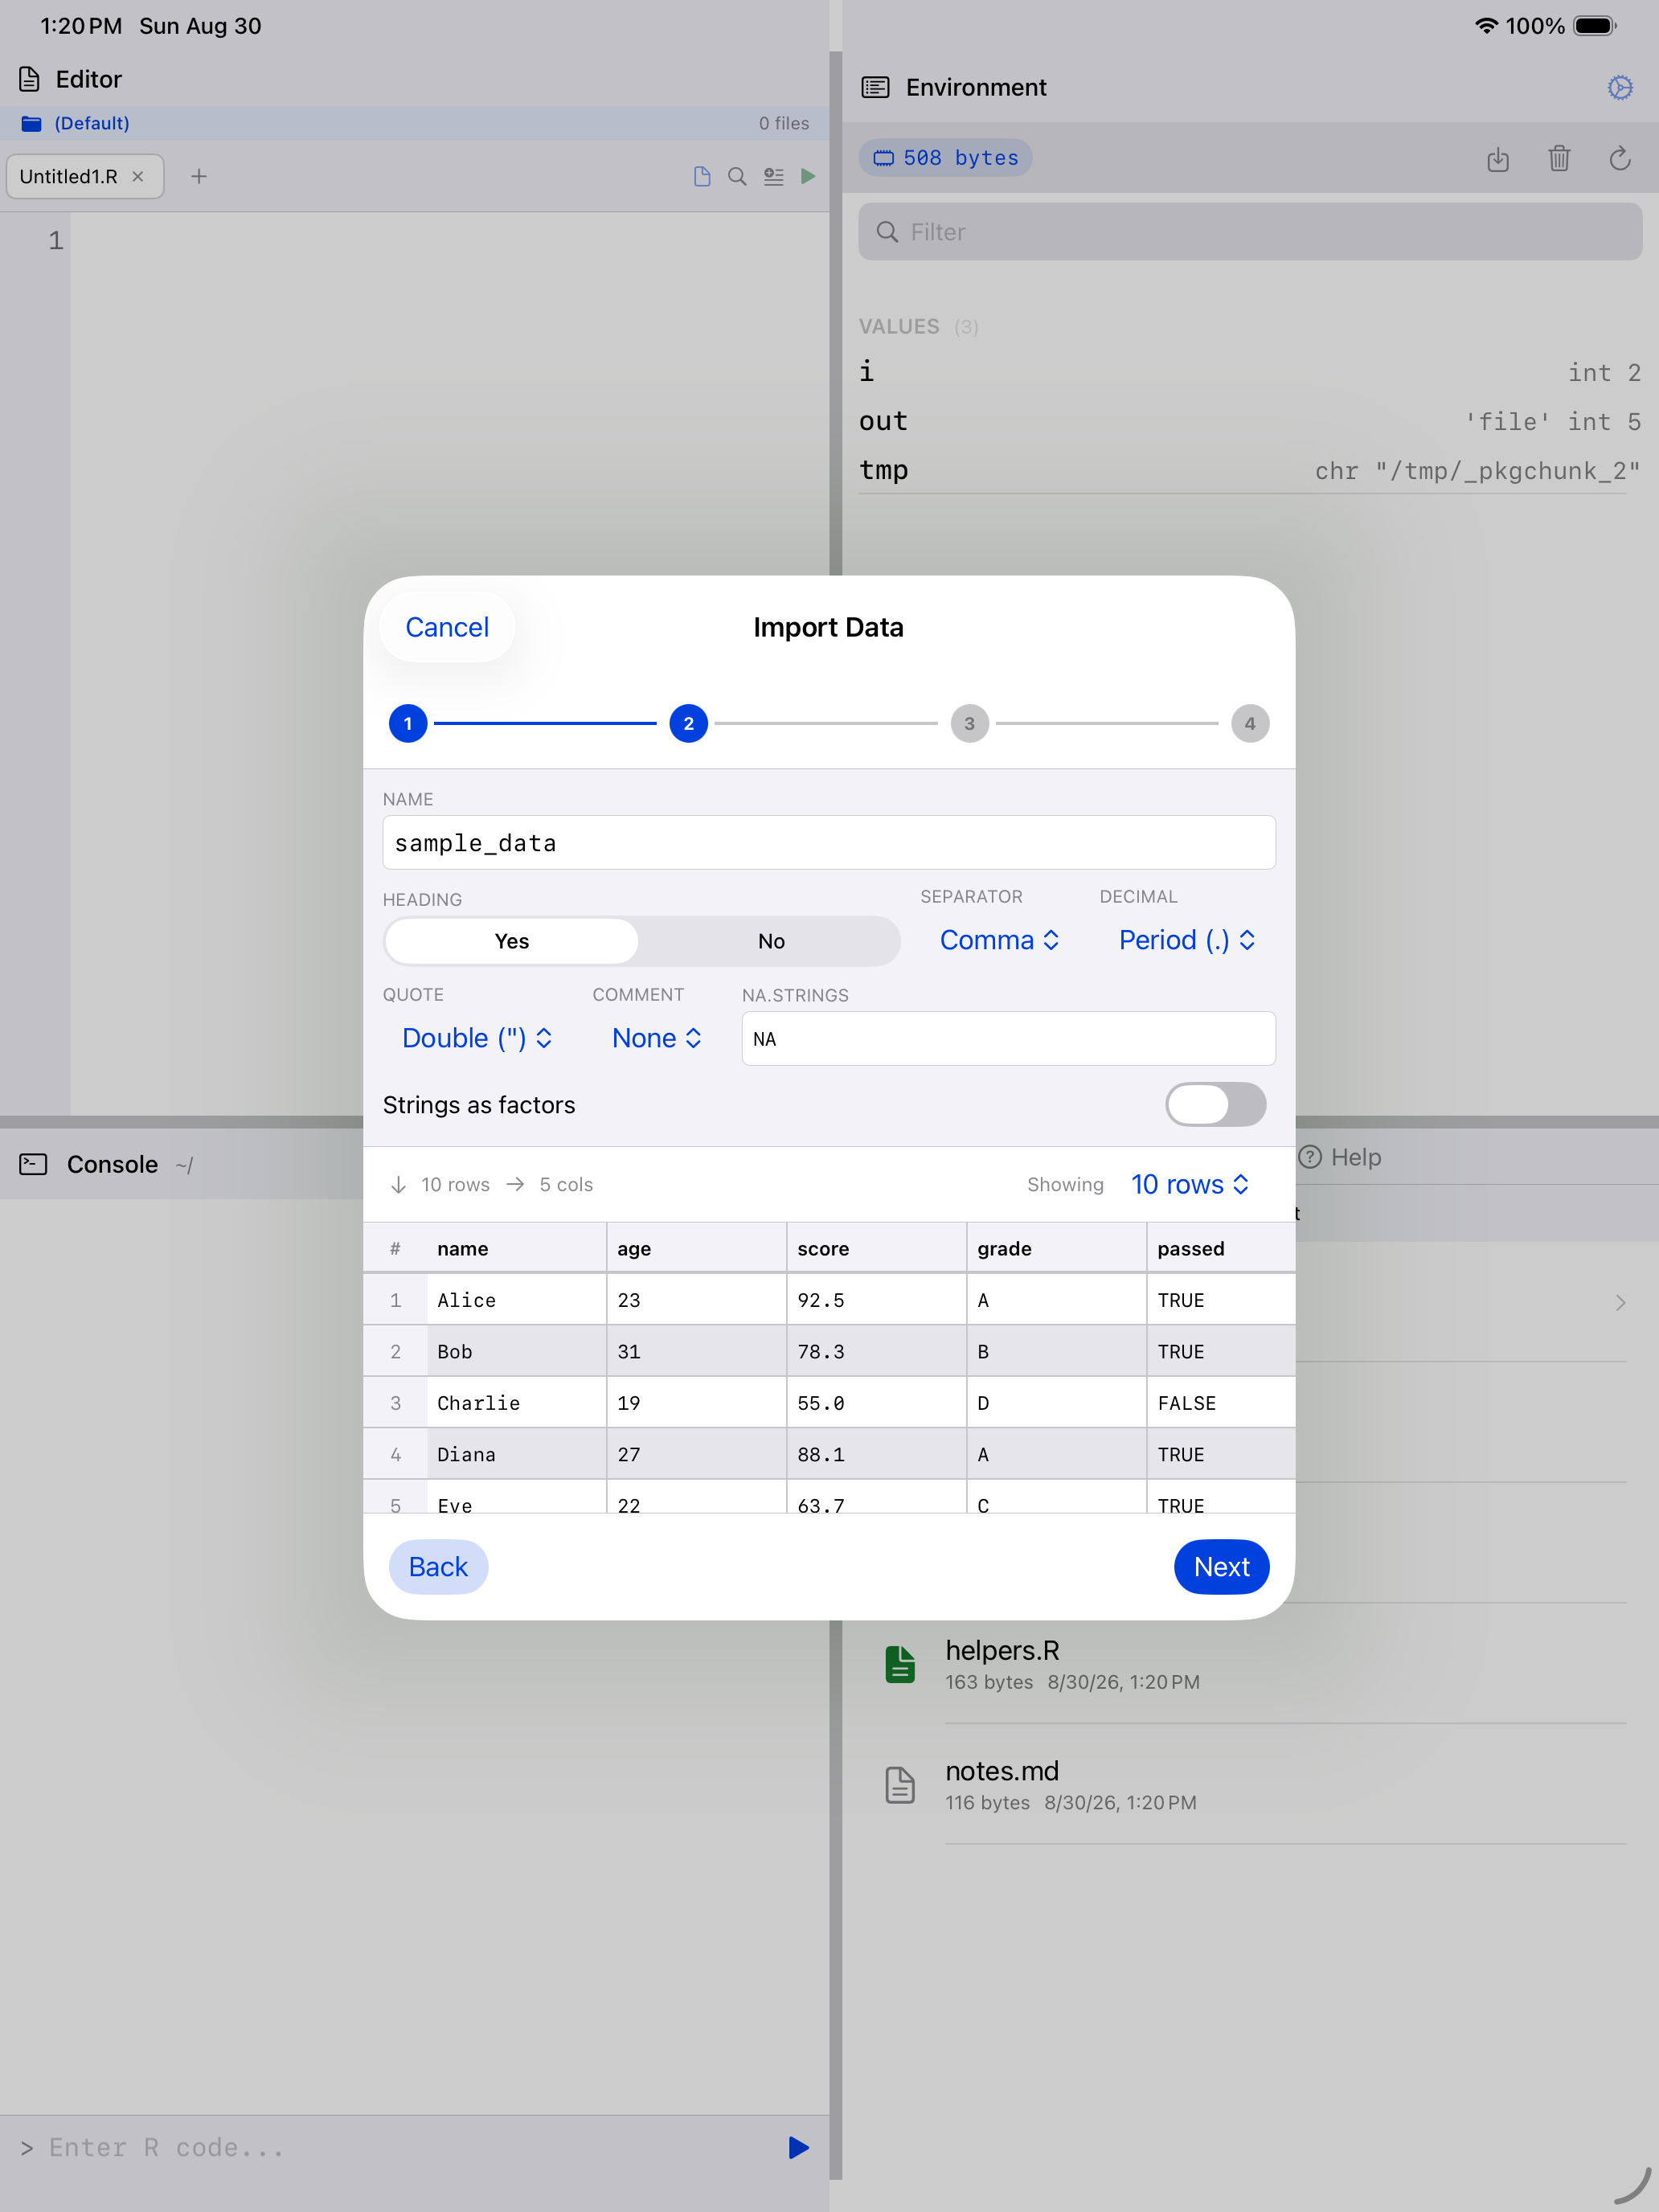
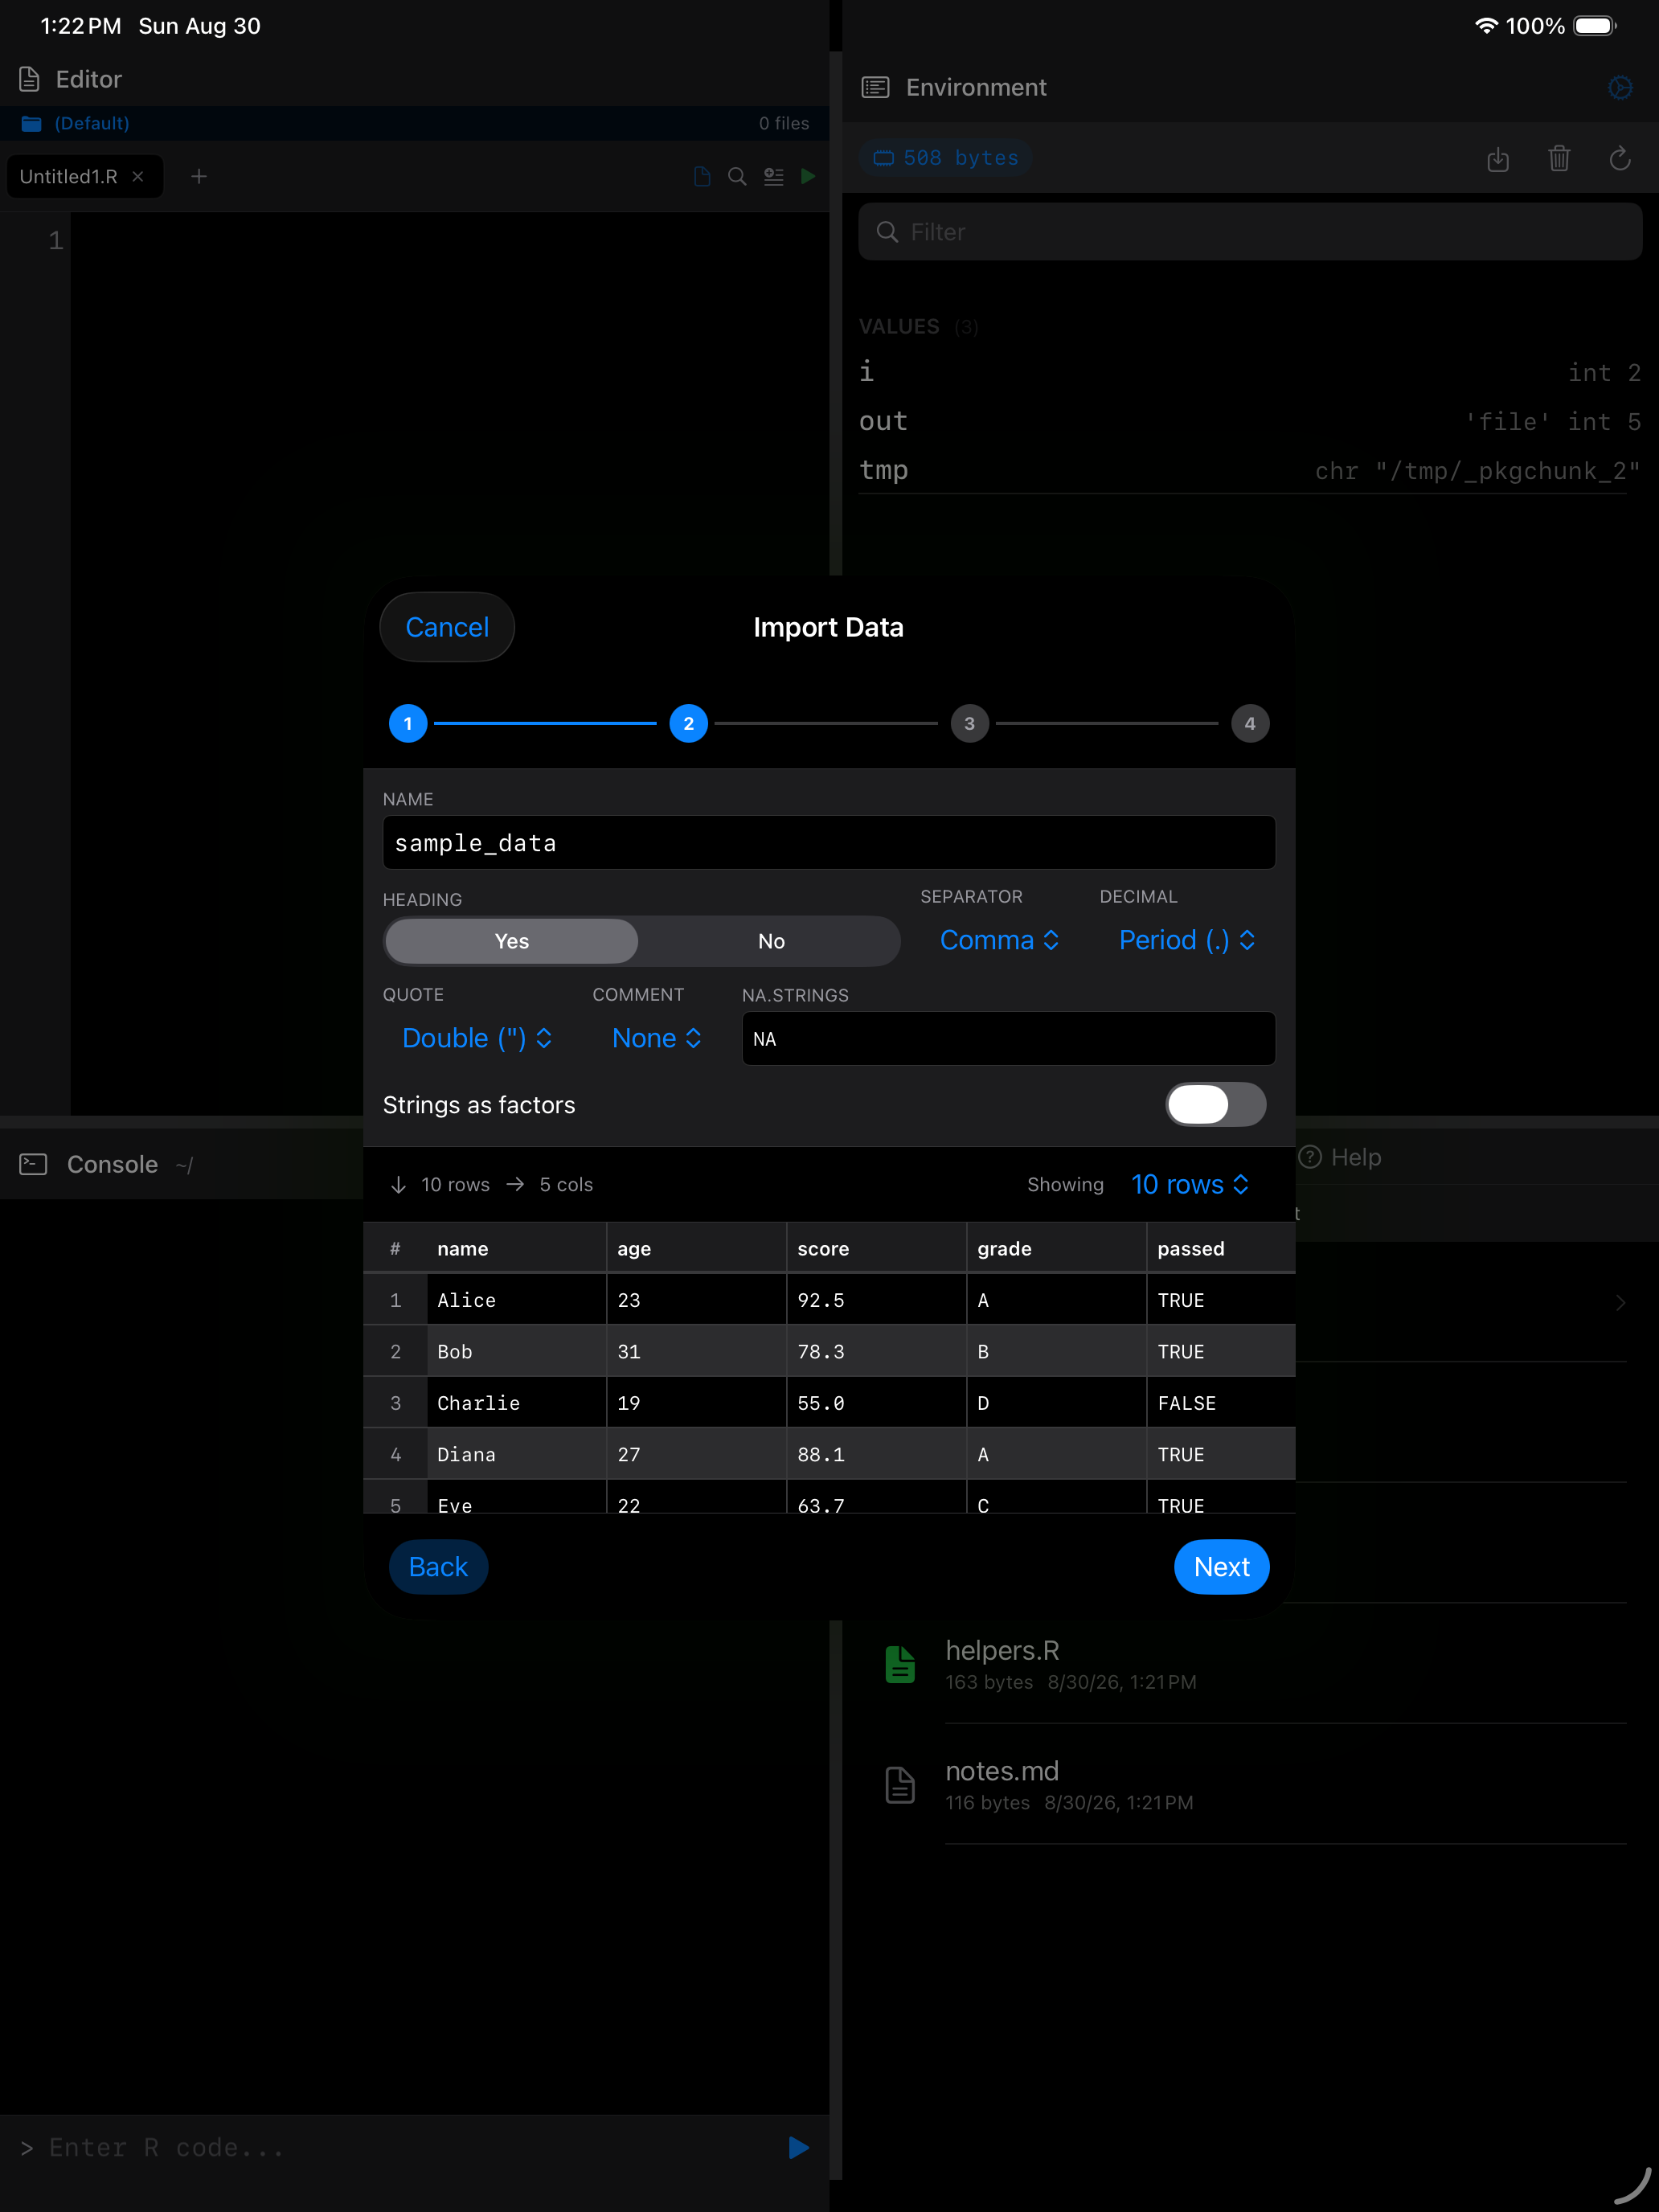
For JSON files, only the variable name is configurable (the file must contain an array of objects). JSON import uses the jsonlite package; if it isn’t installed, the wizard offers to install it first.
The separator and decimal mark start from what the wizard detects in the file, so a semicolon-separated file with decimal commas imports correctly without changes. Files in other text encodings, such as a CSV saved by Excel on Windows, are read correctly and handed to R as UTF-8.
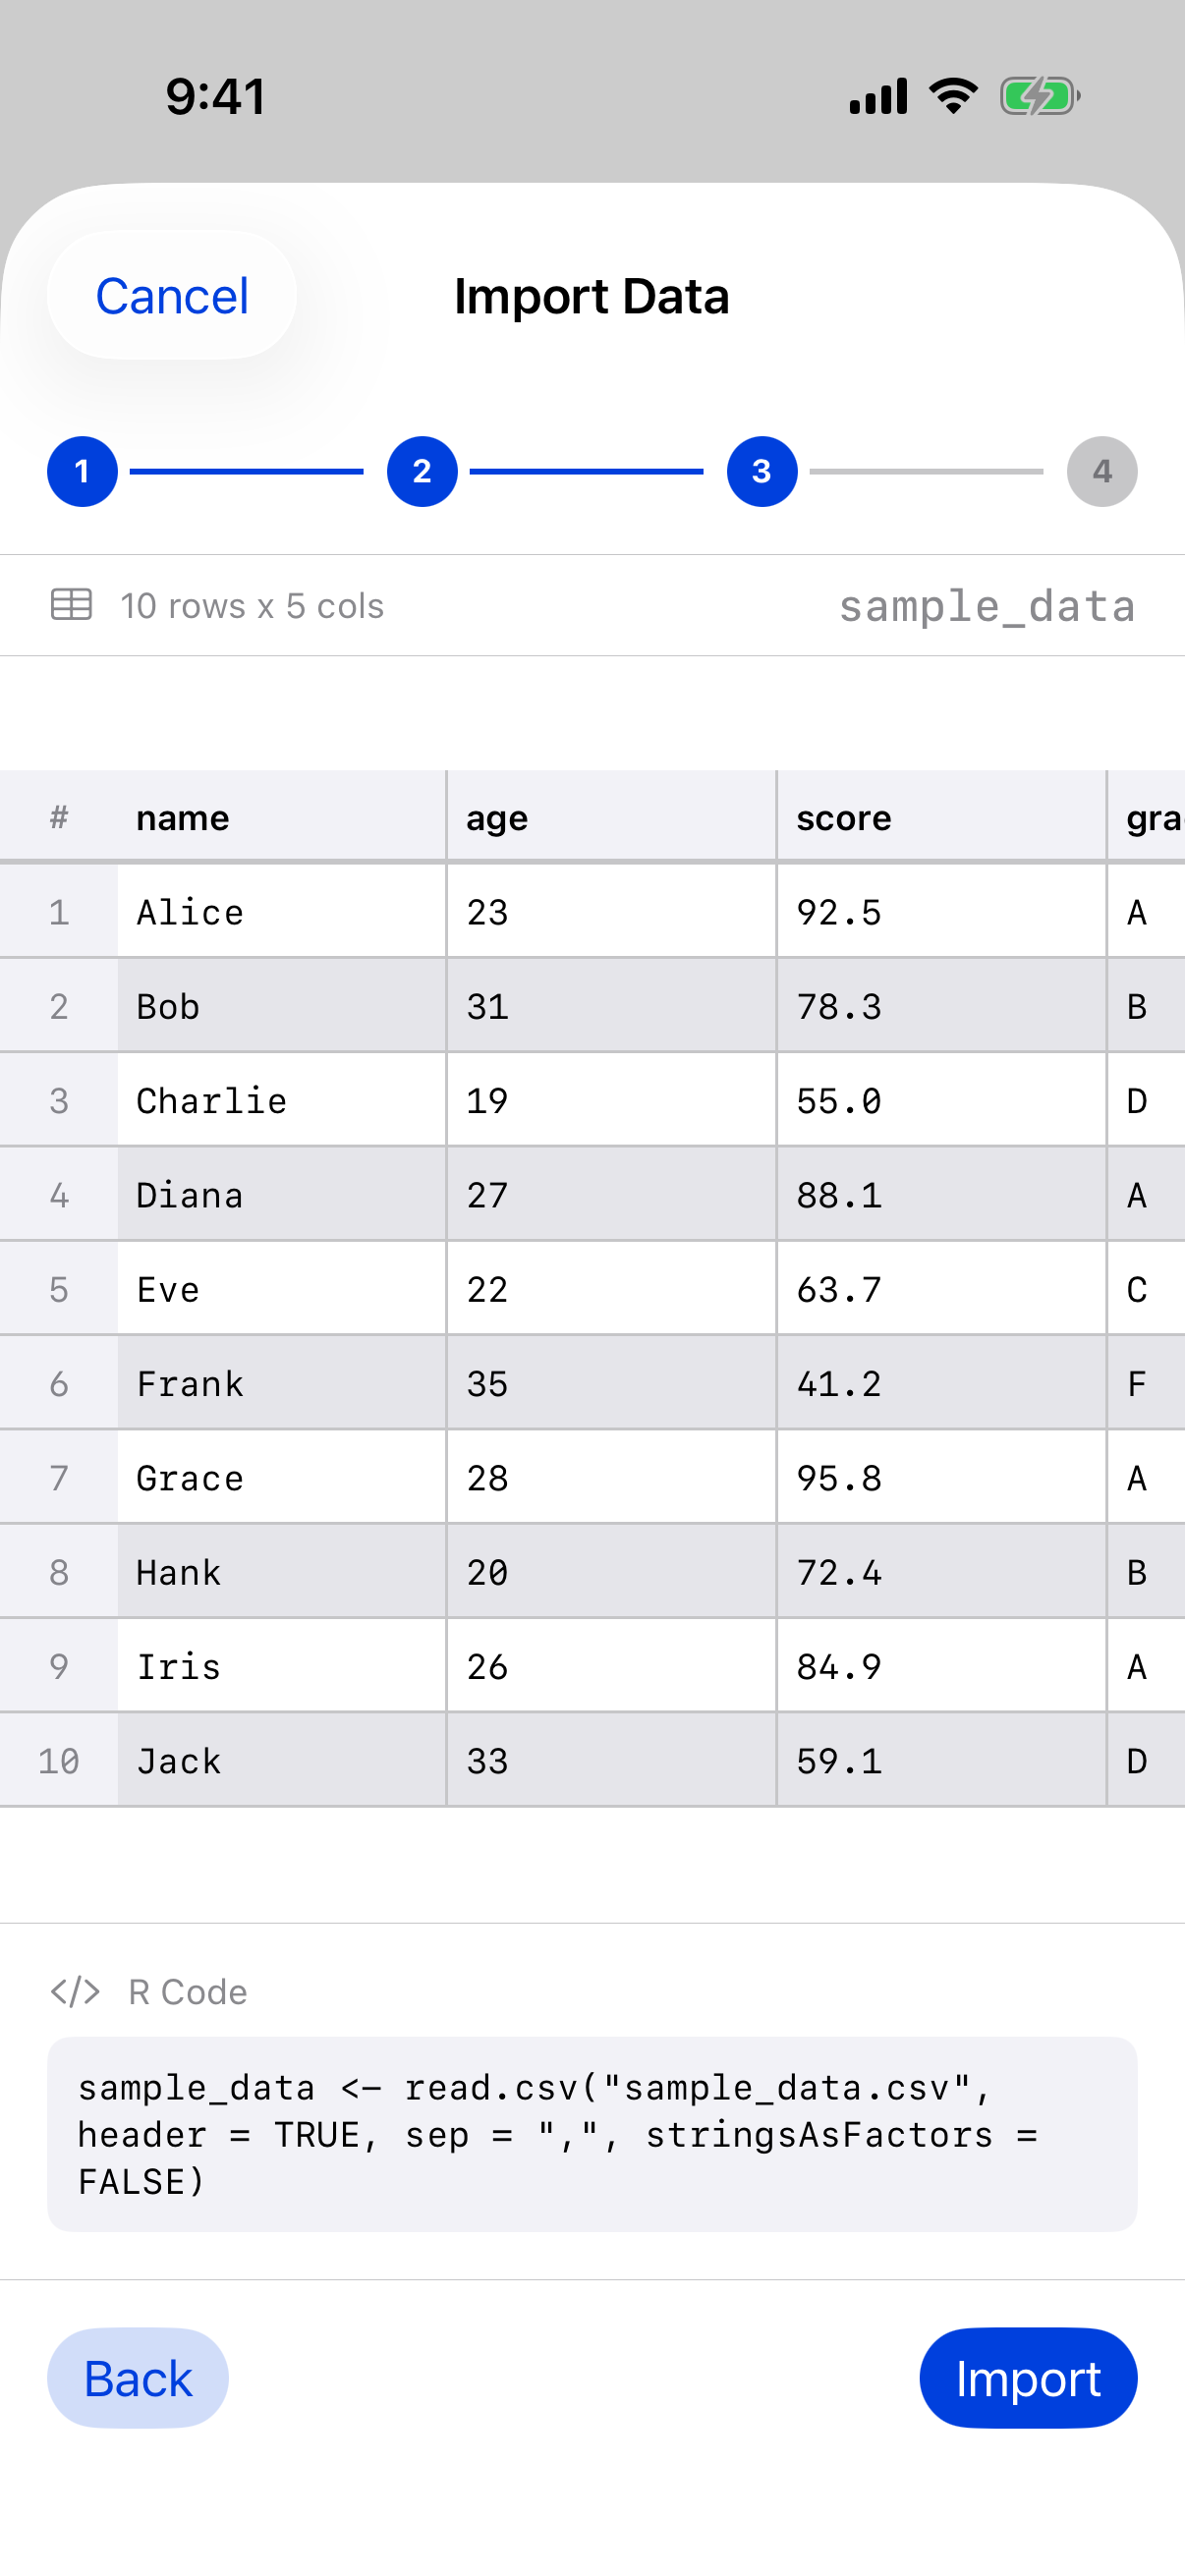
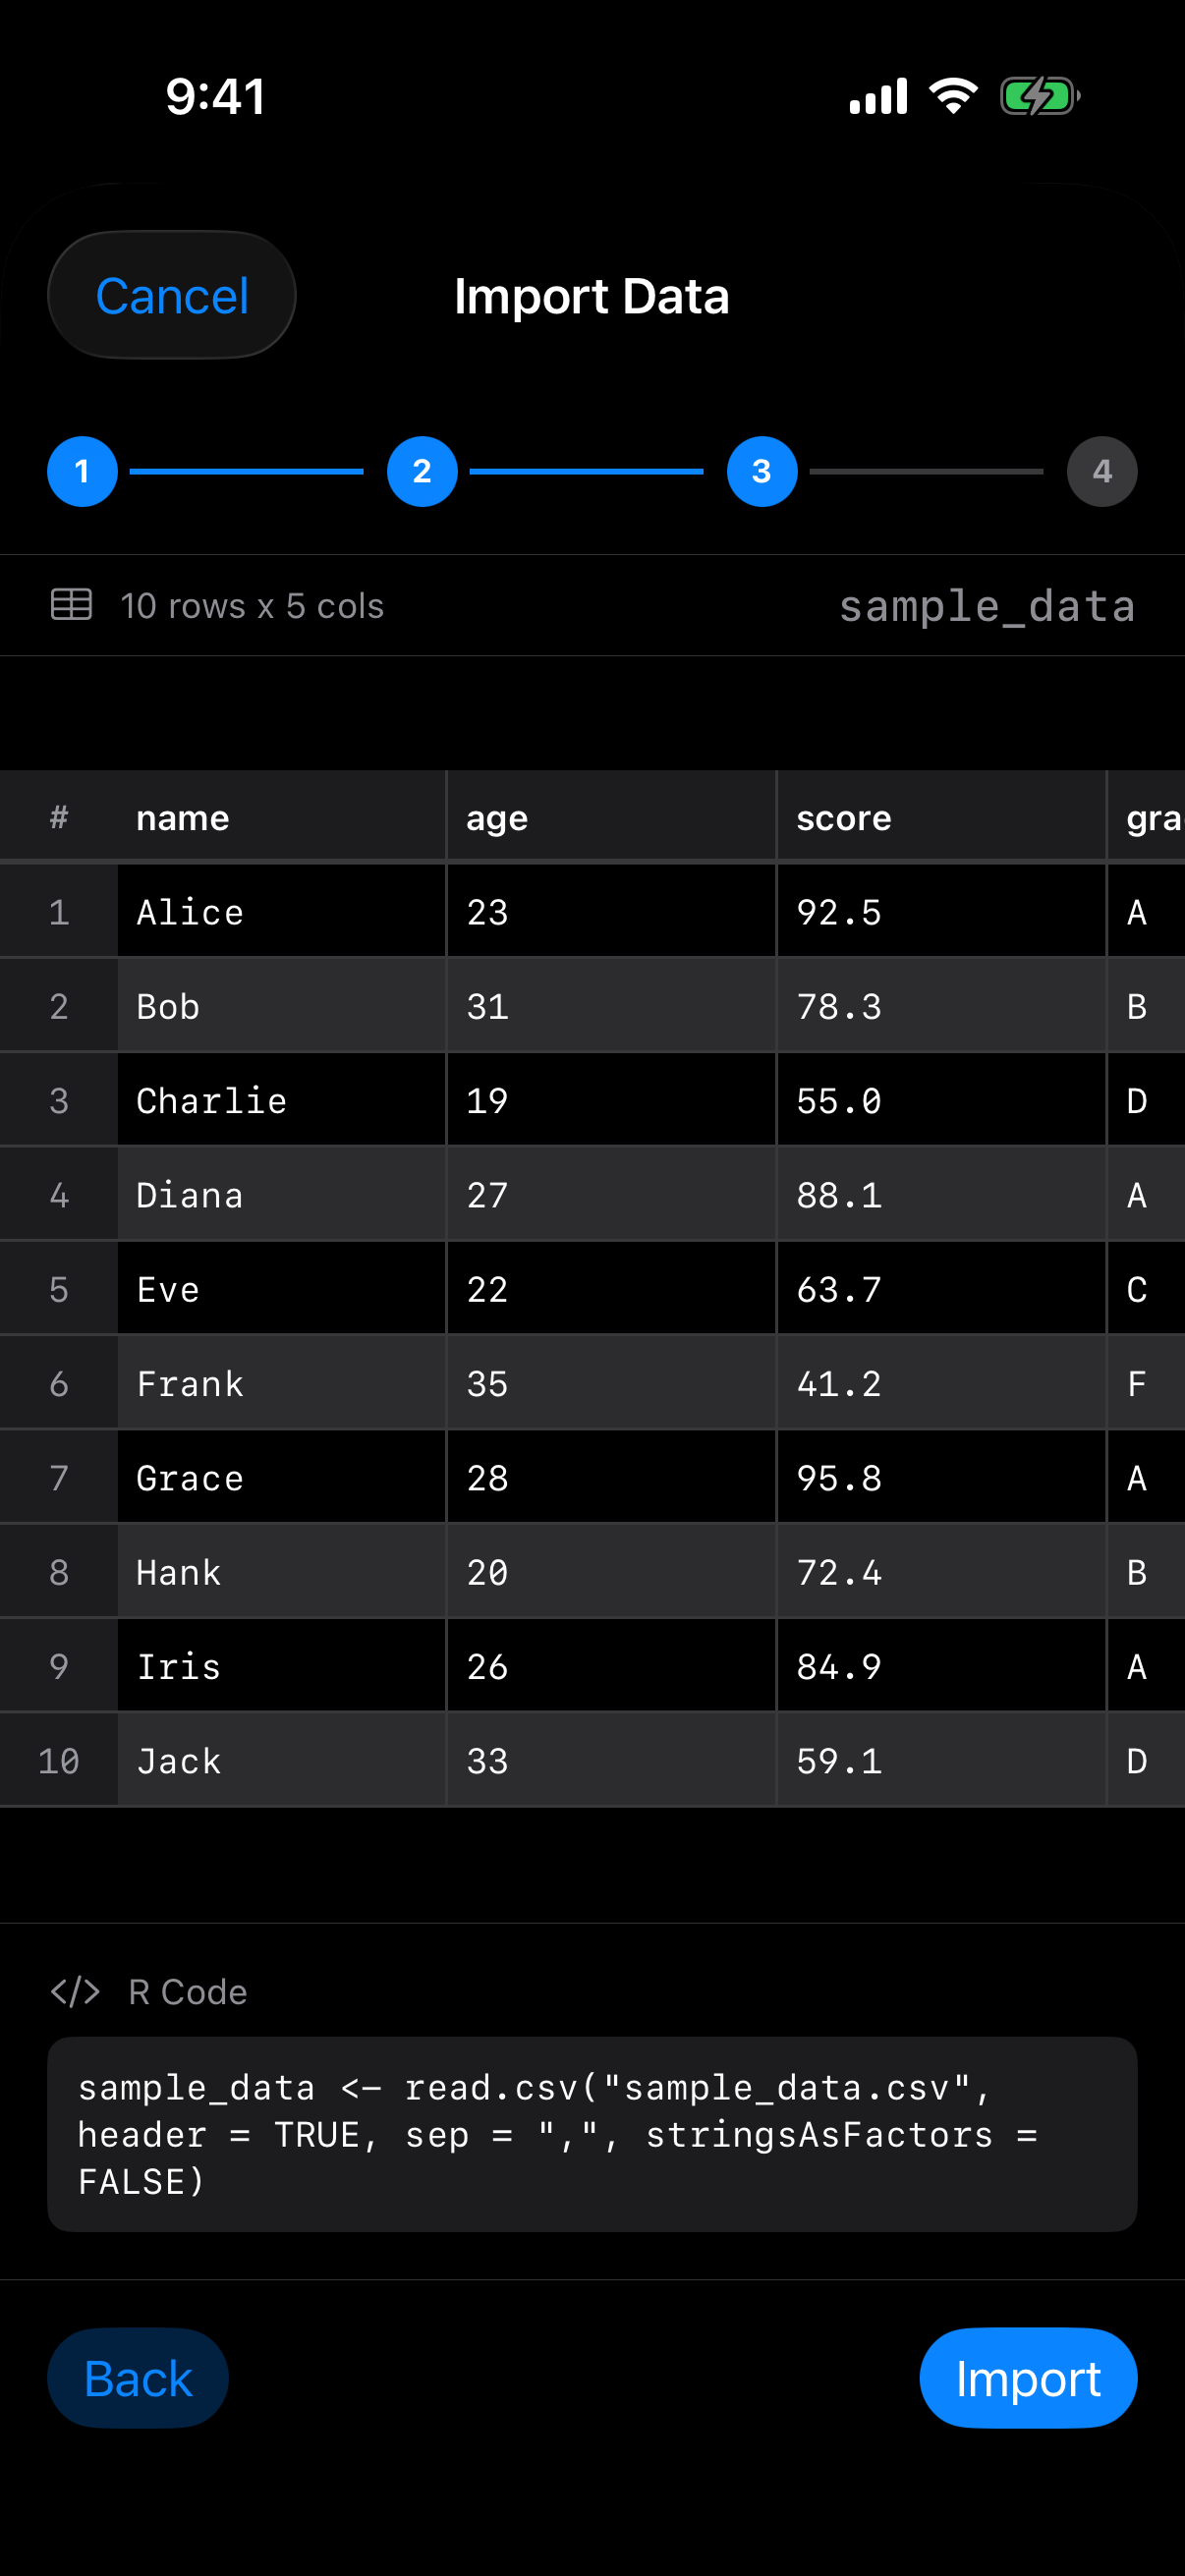
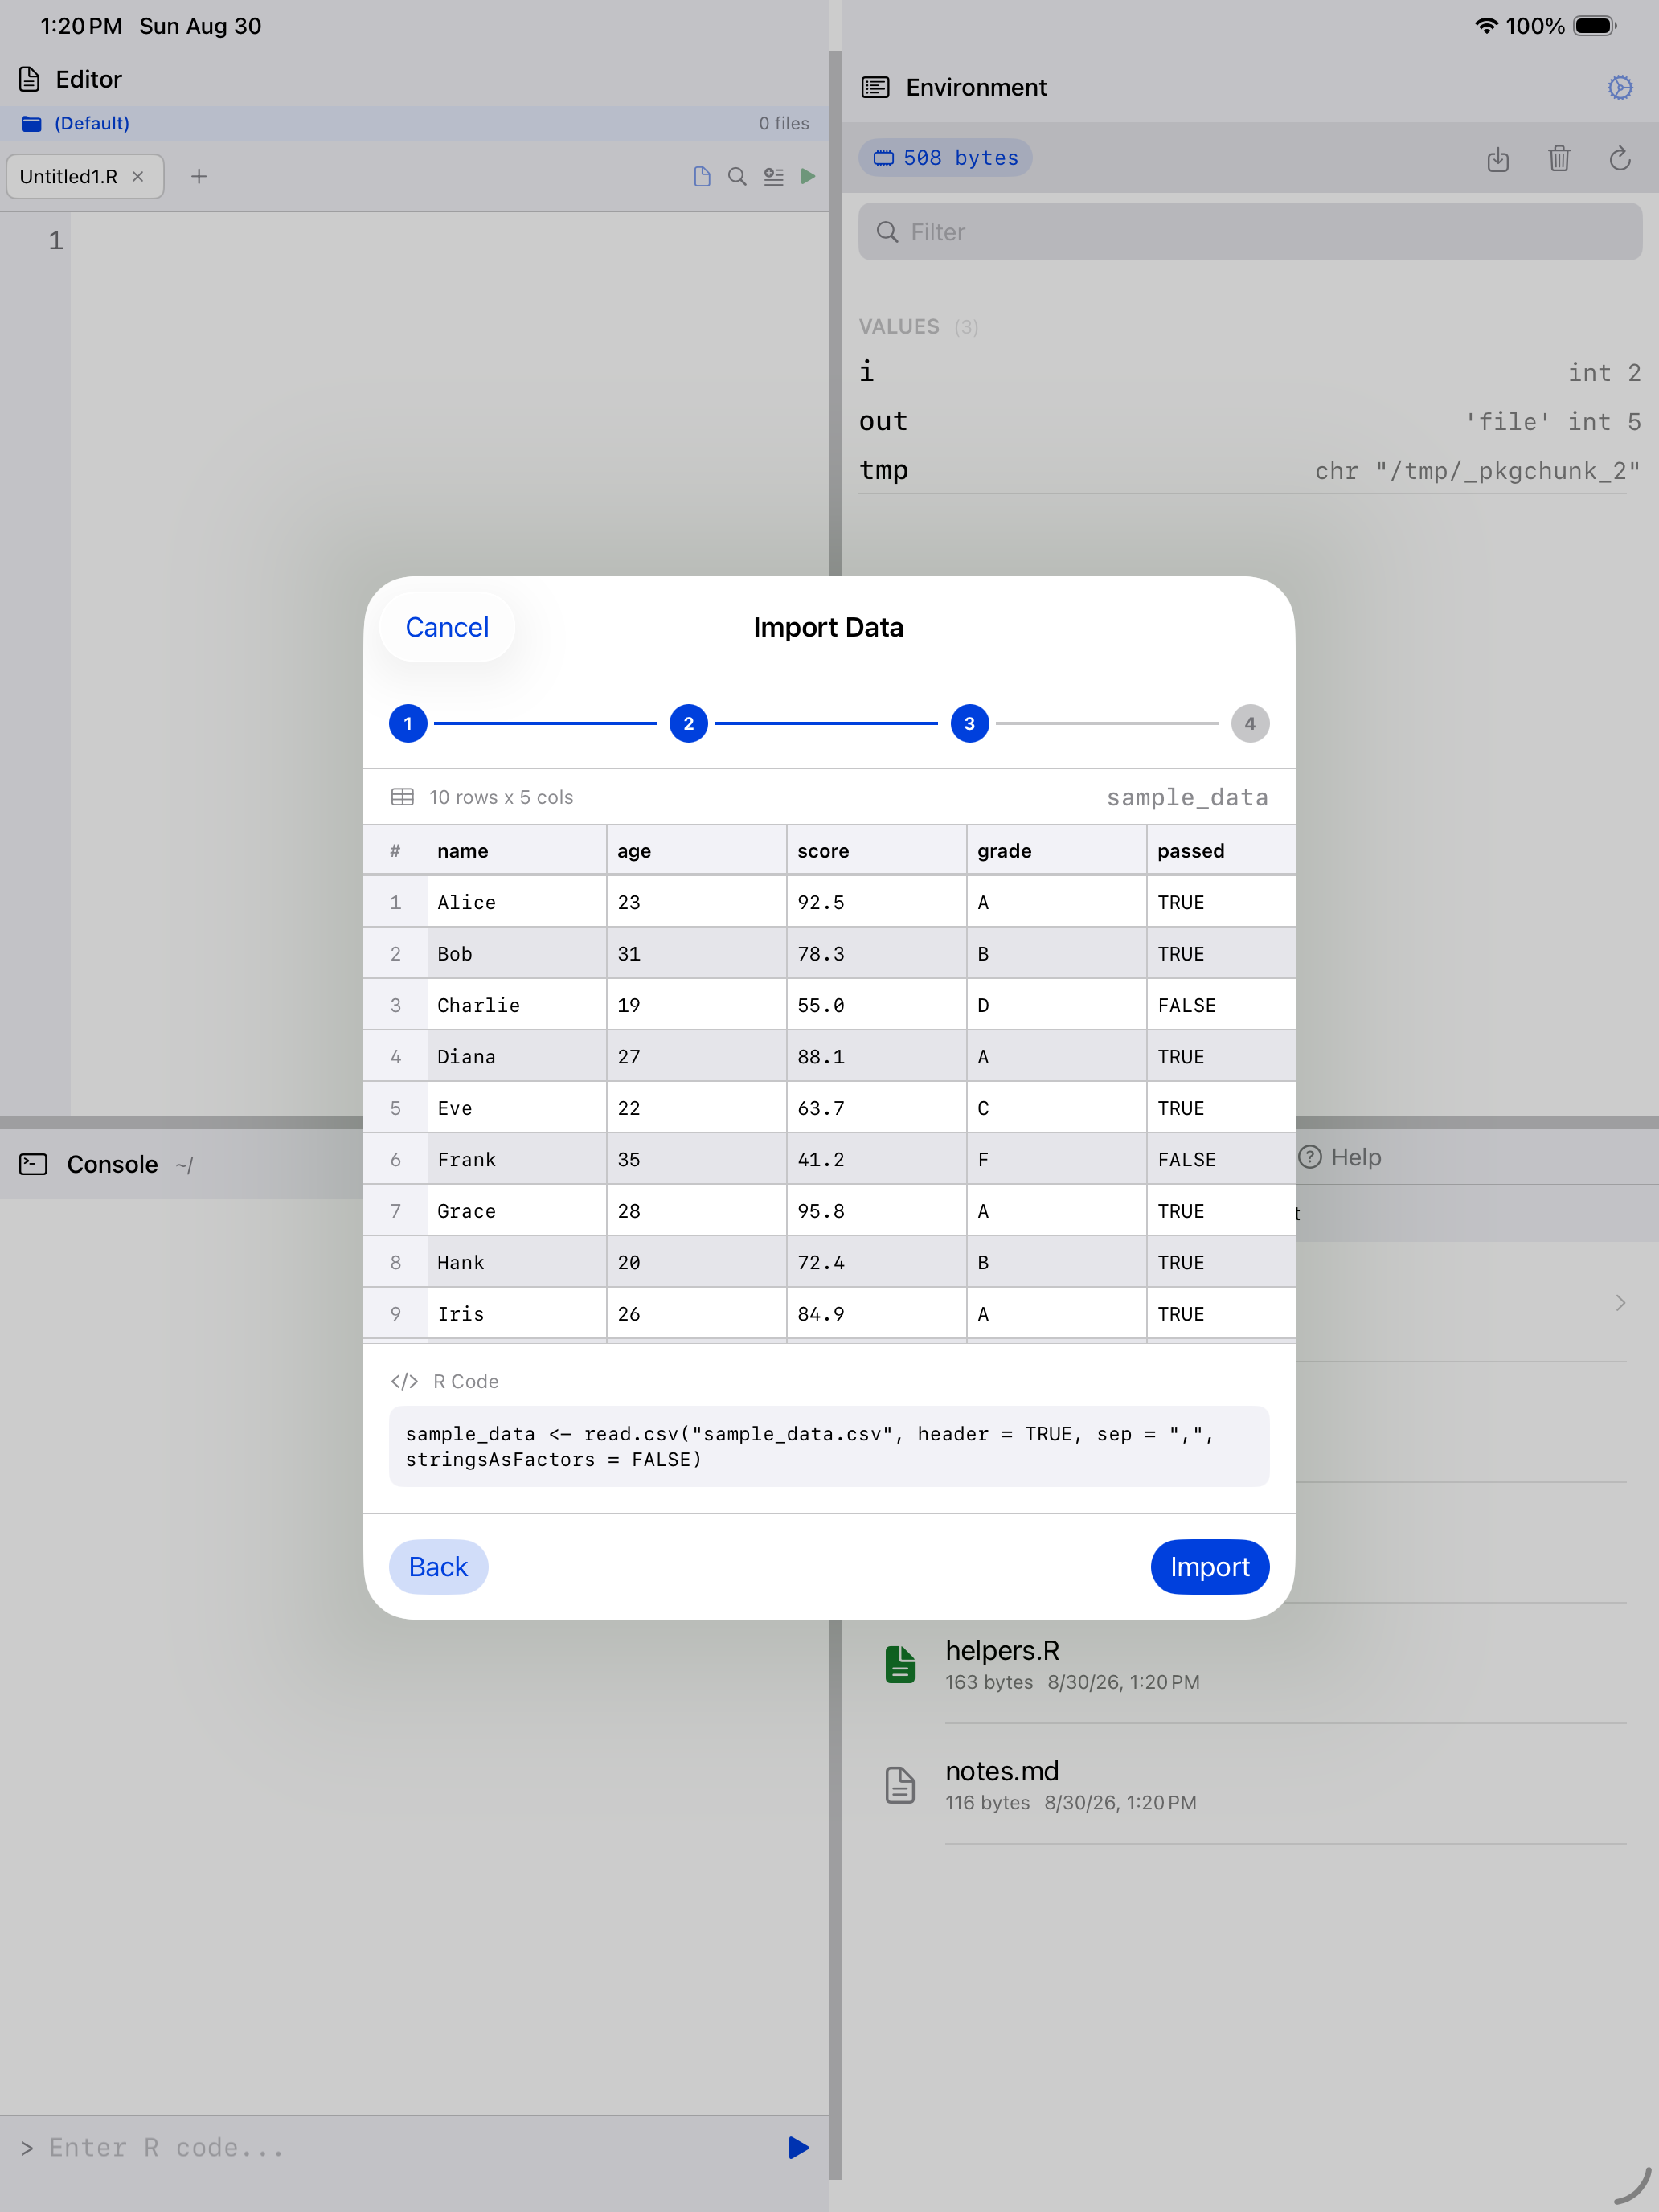
Step 3: Review
See the final data preview along with the exact read.csv() or fromJSON() R code that will be executed. The generated code is displayed in a monospaced box and is copyable if you want to use it in your own scripts.
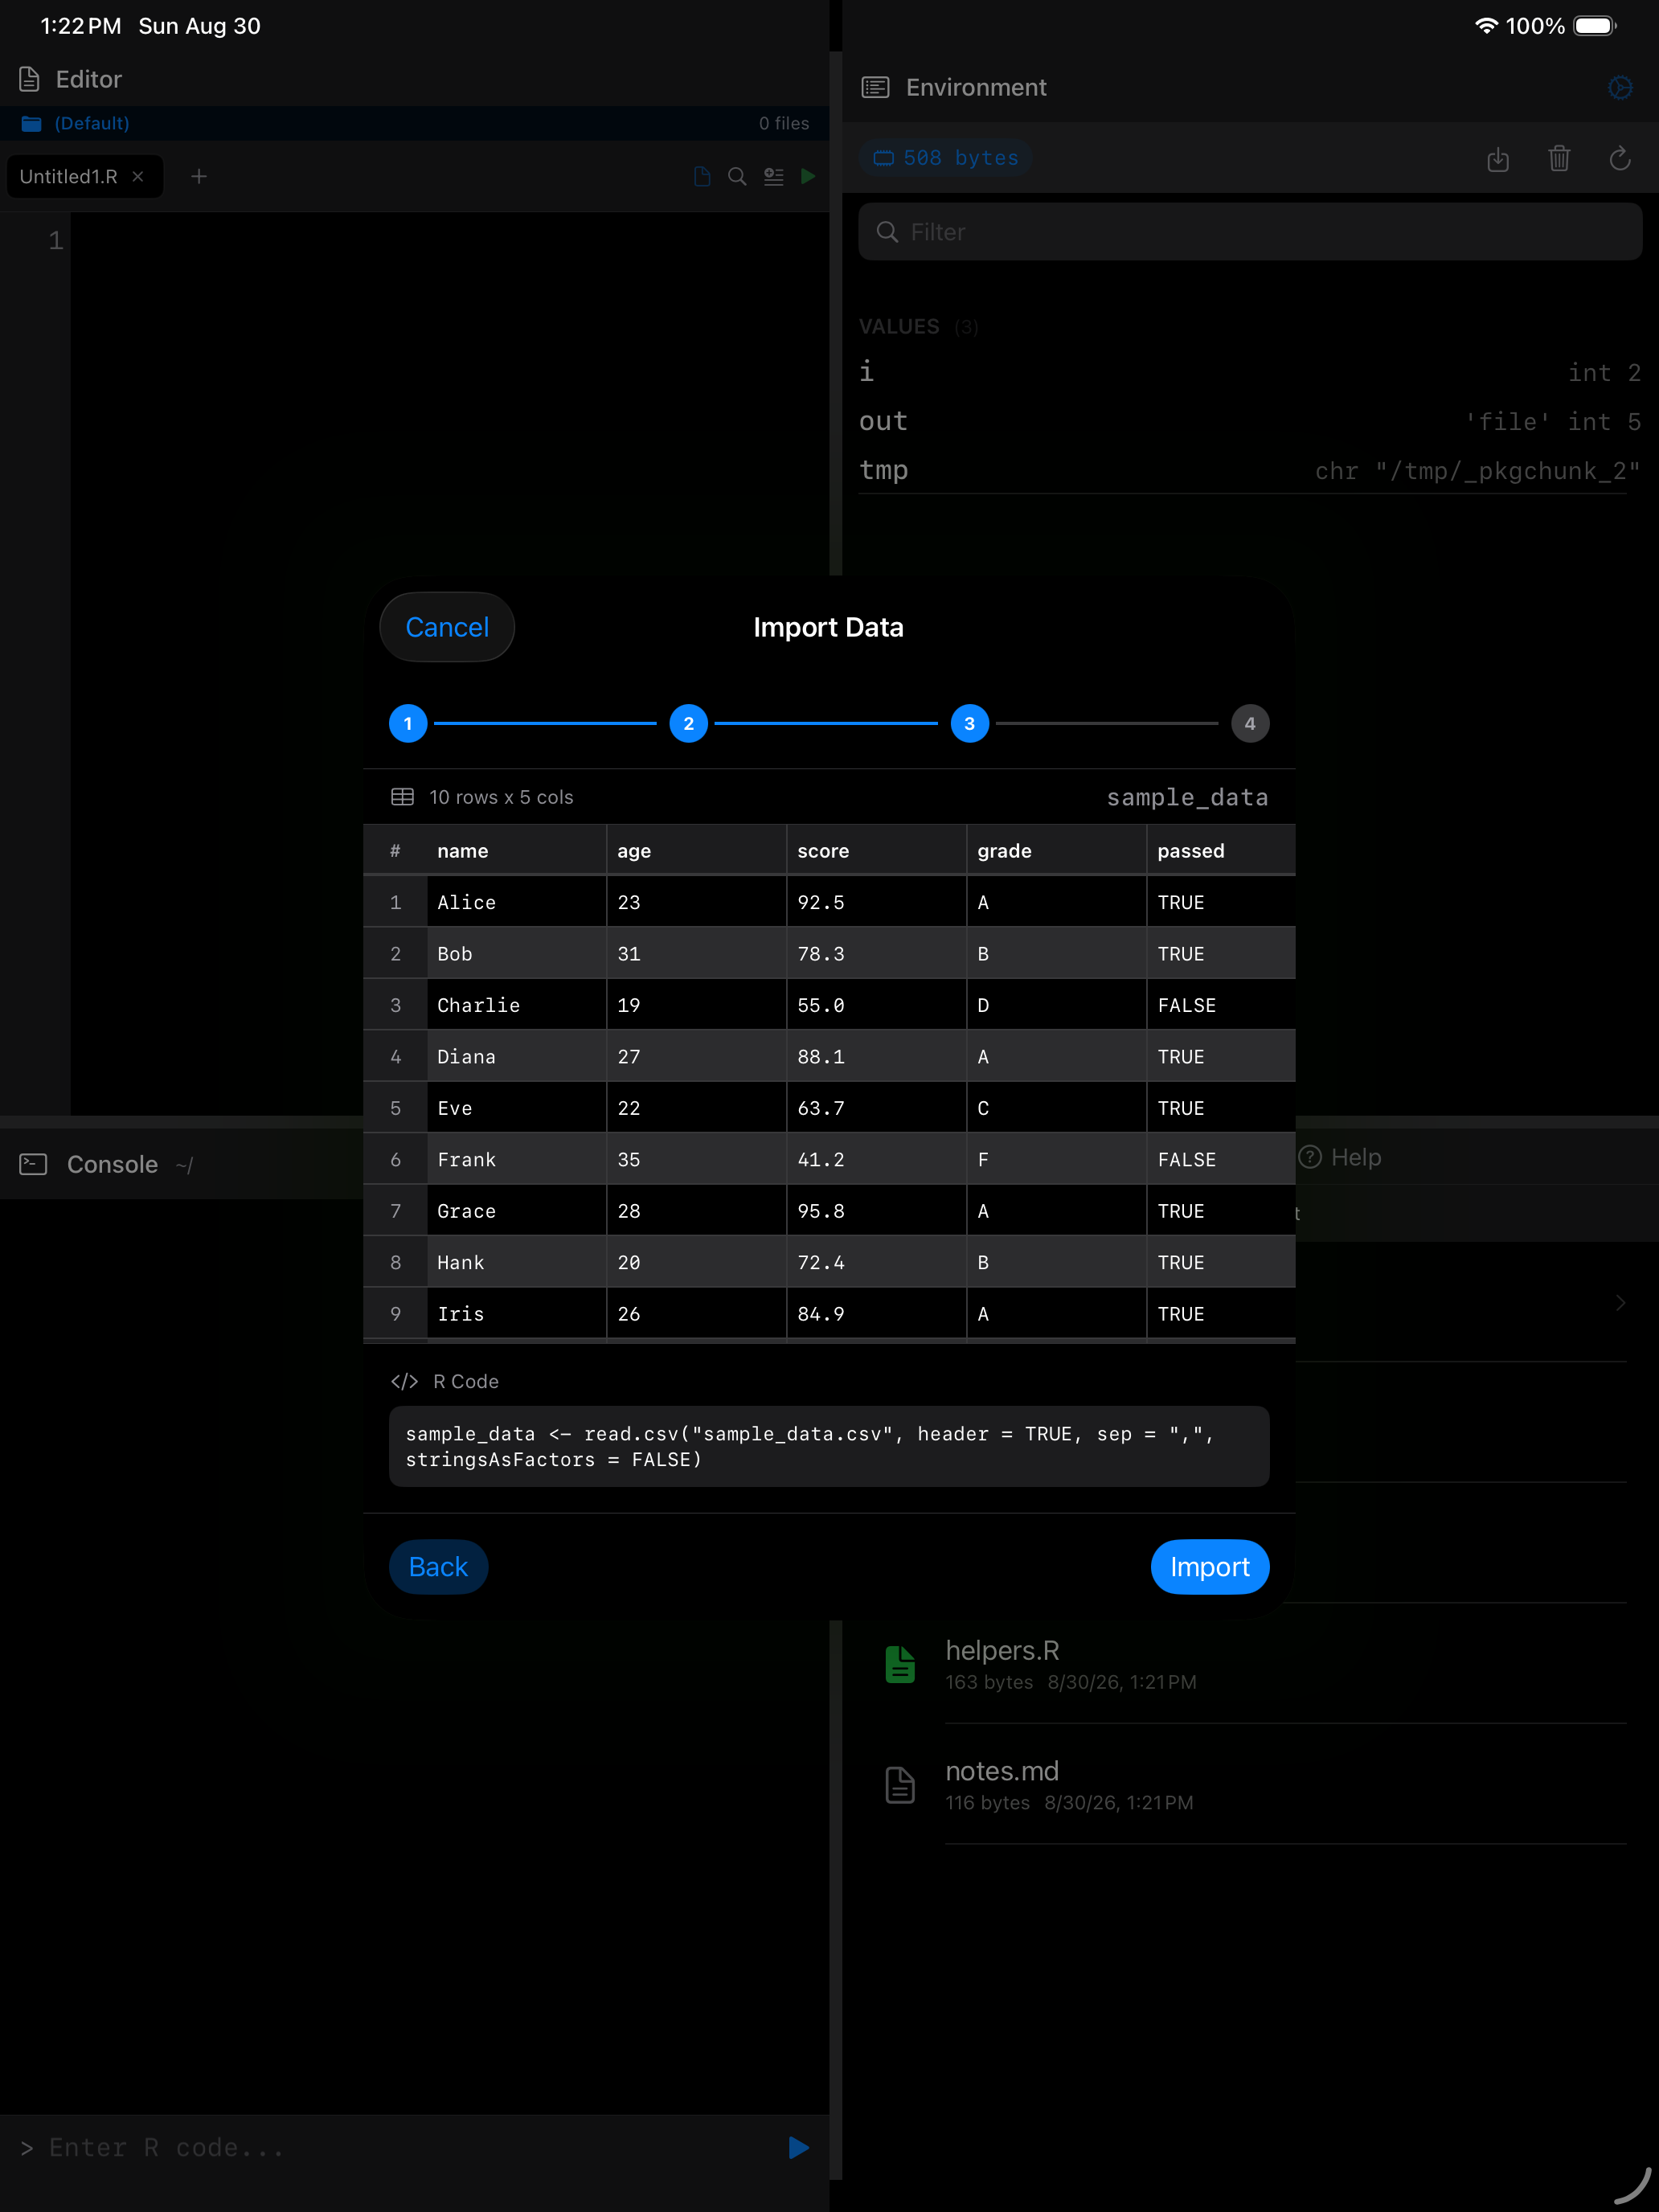
Step 4: Import
Tap Import and the wizard runs the generated R code. On success, you can tap View Data to open the result directly in the Data Frame Viewer. If the import fails, Back returns you to the Review step with every option as you left it.
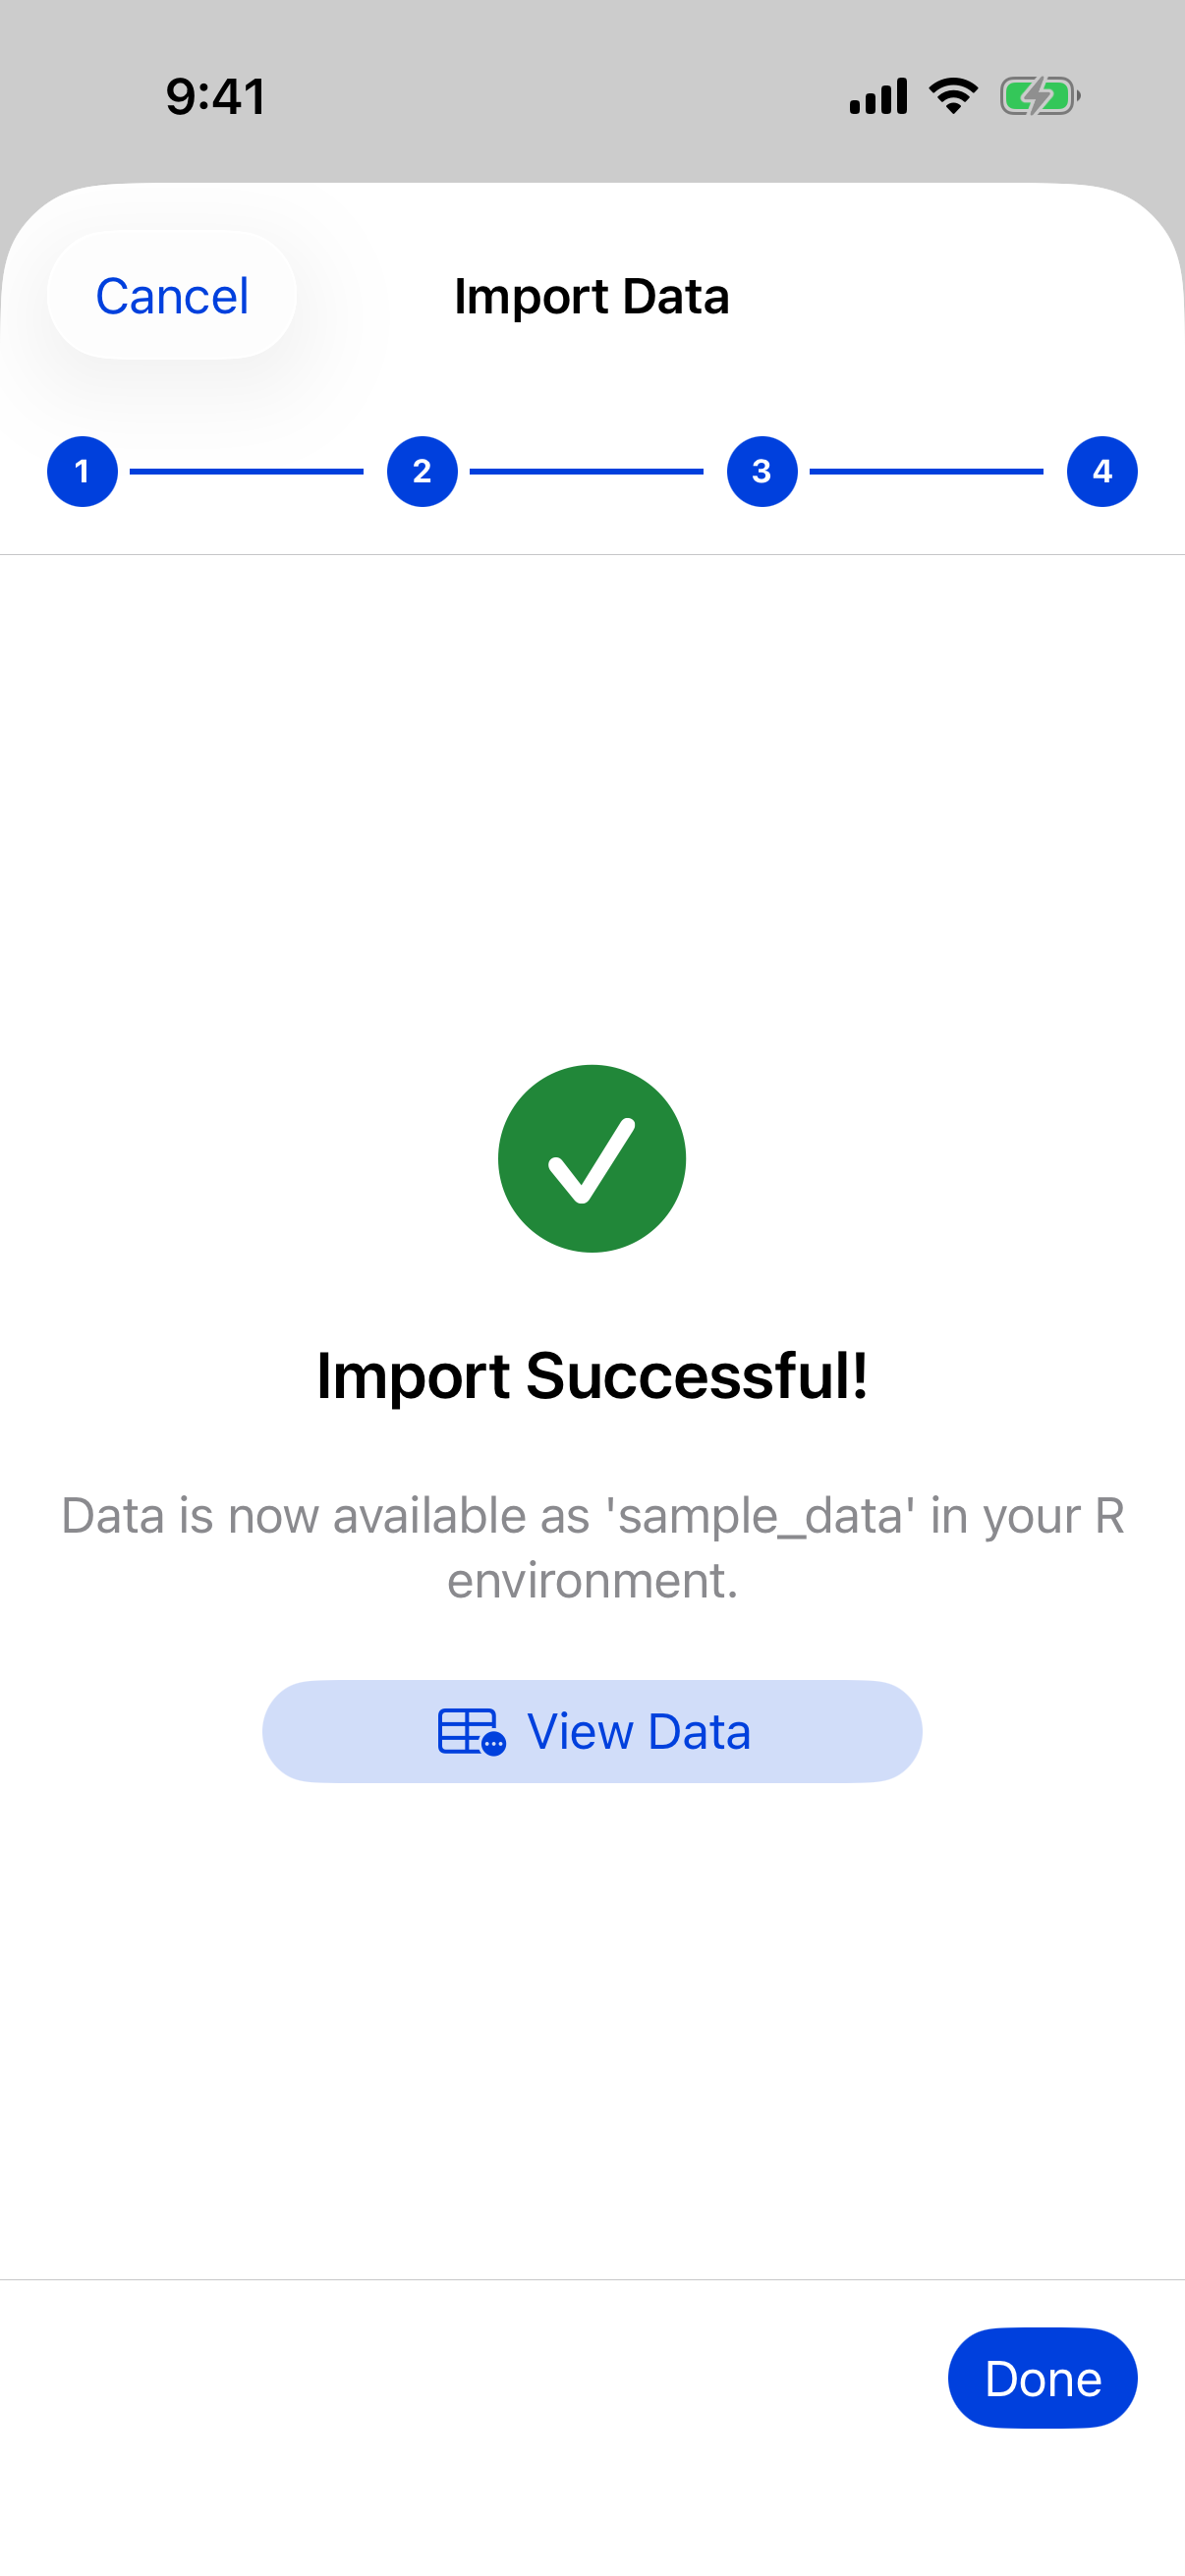
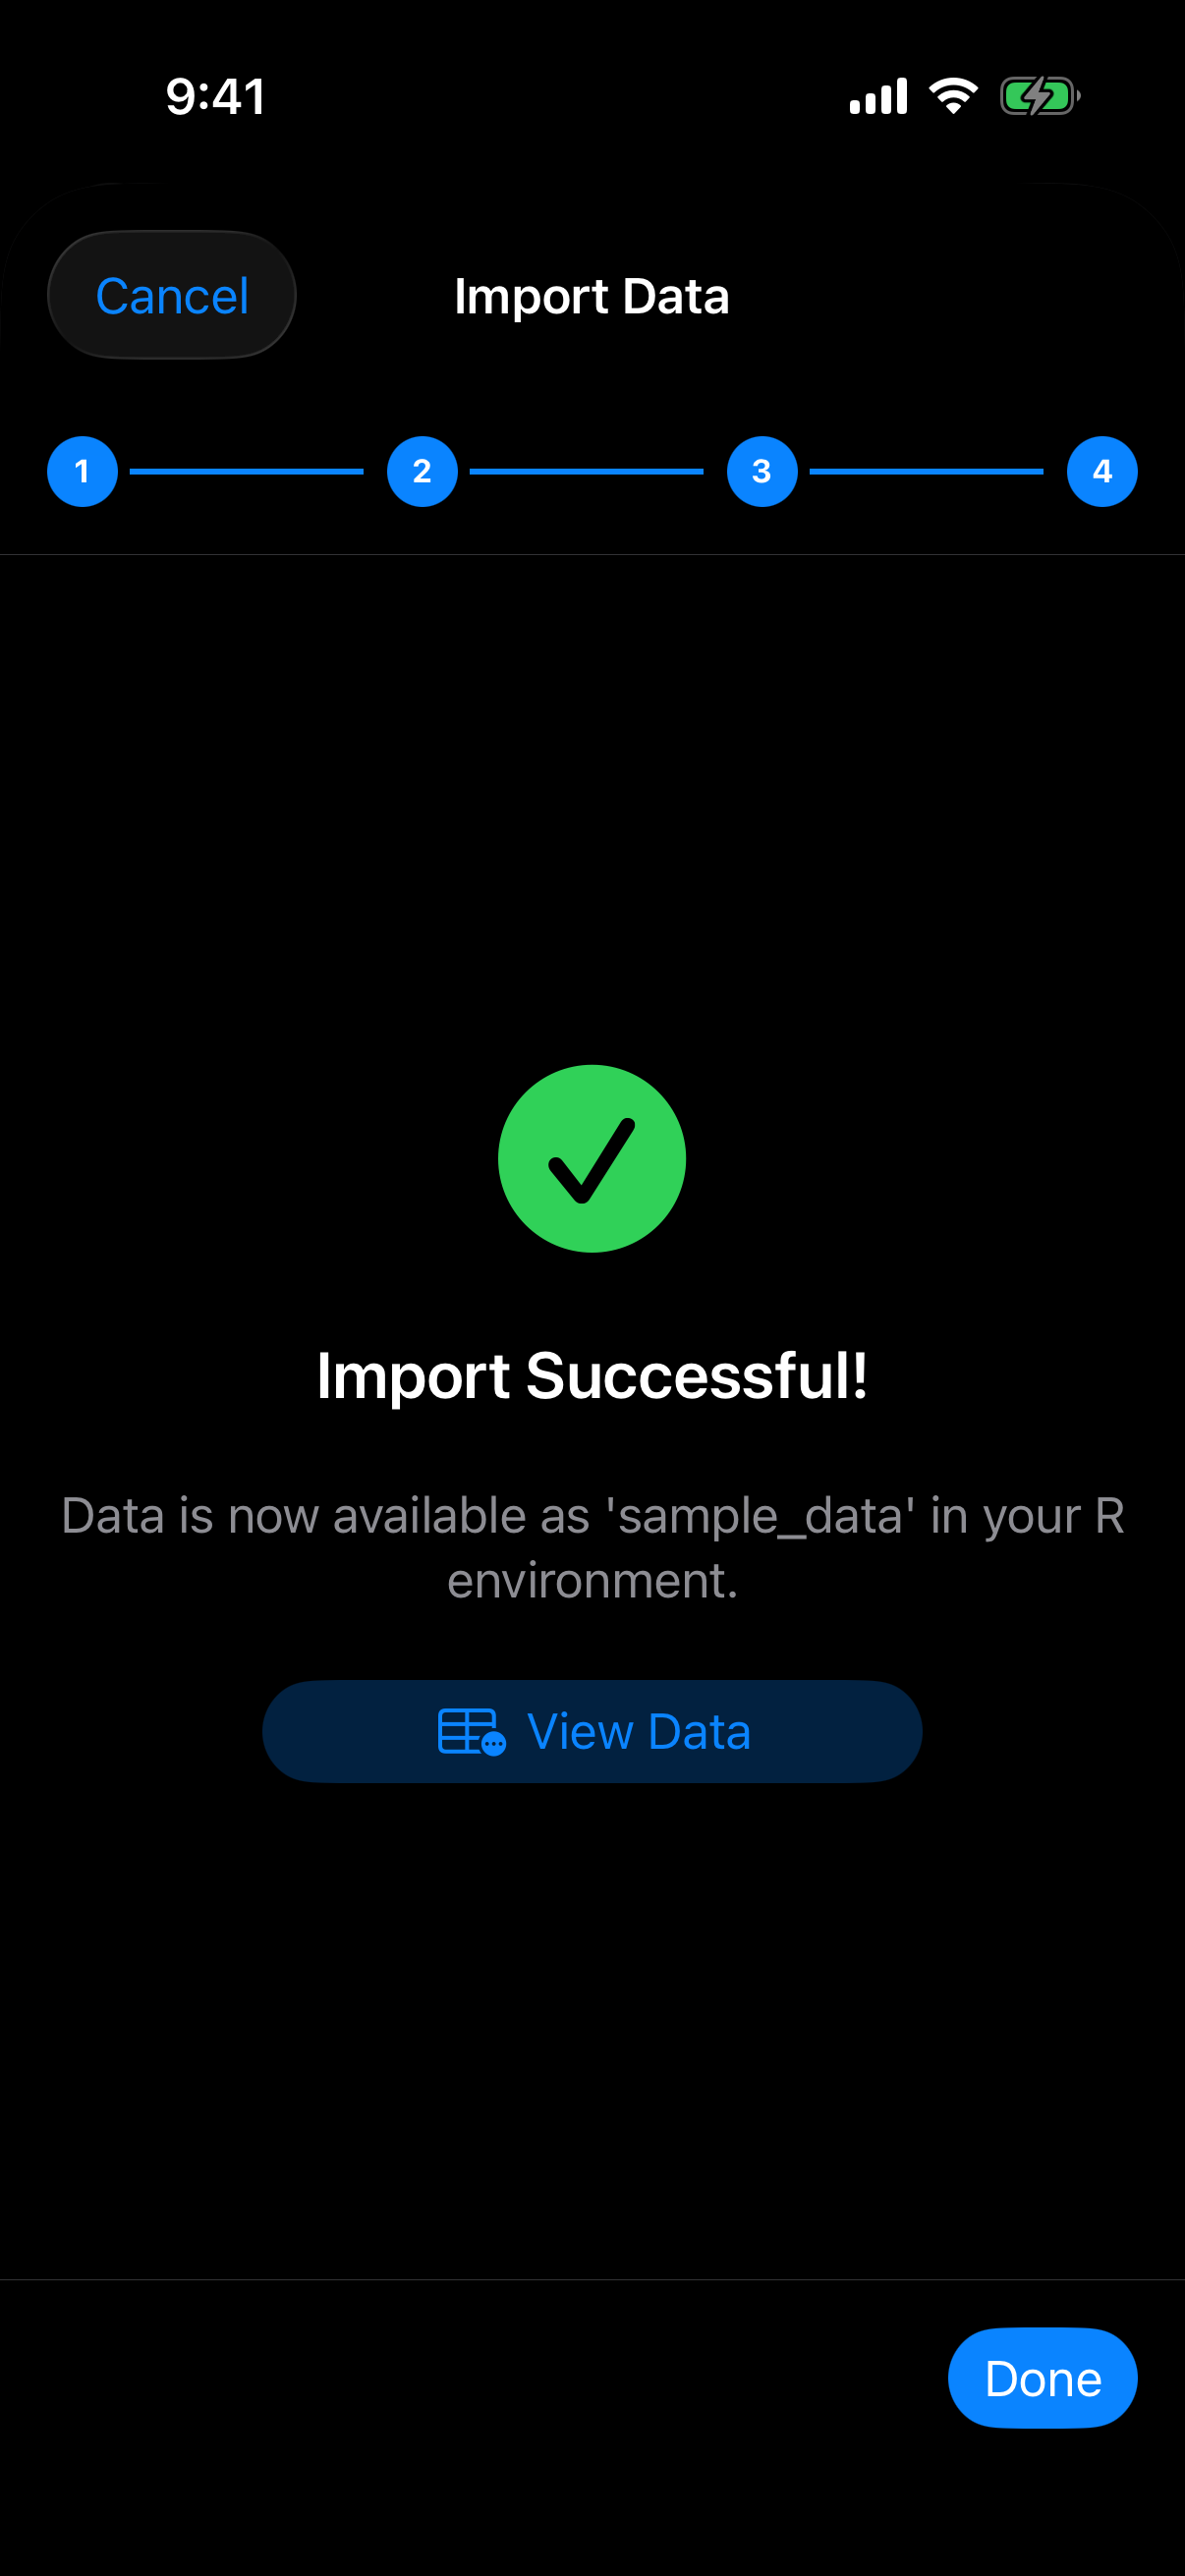
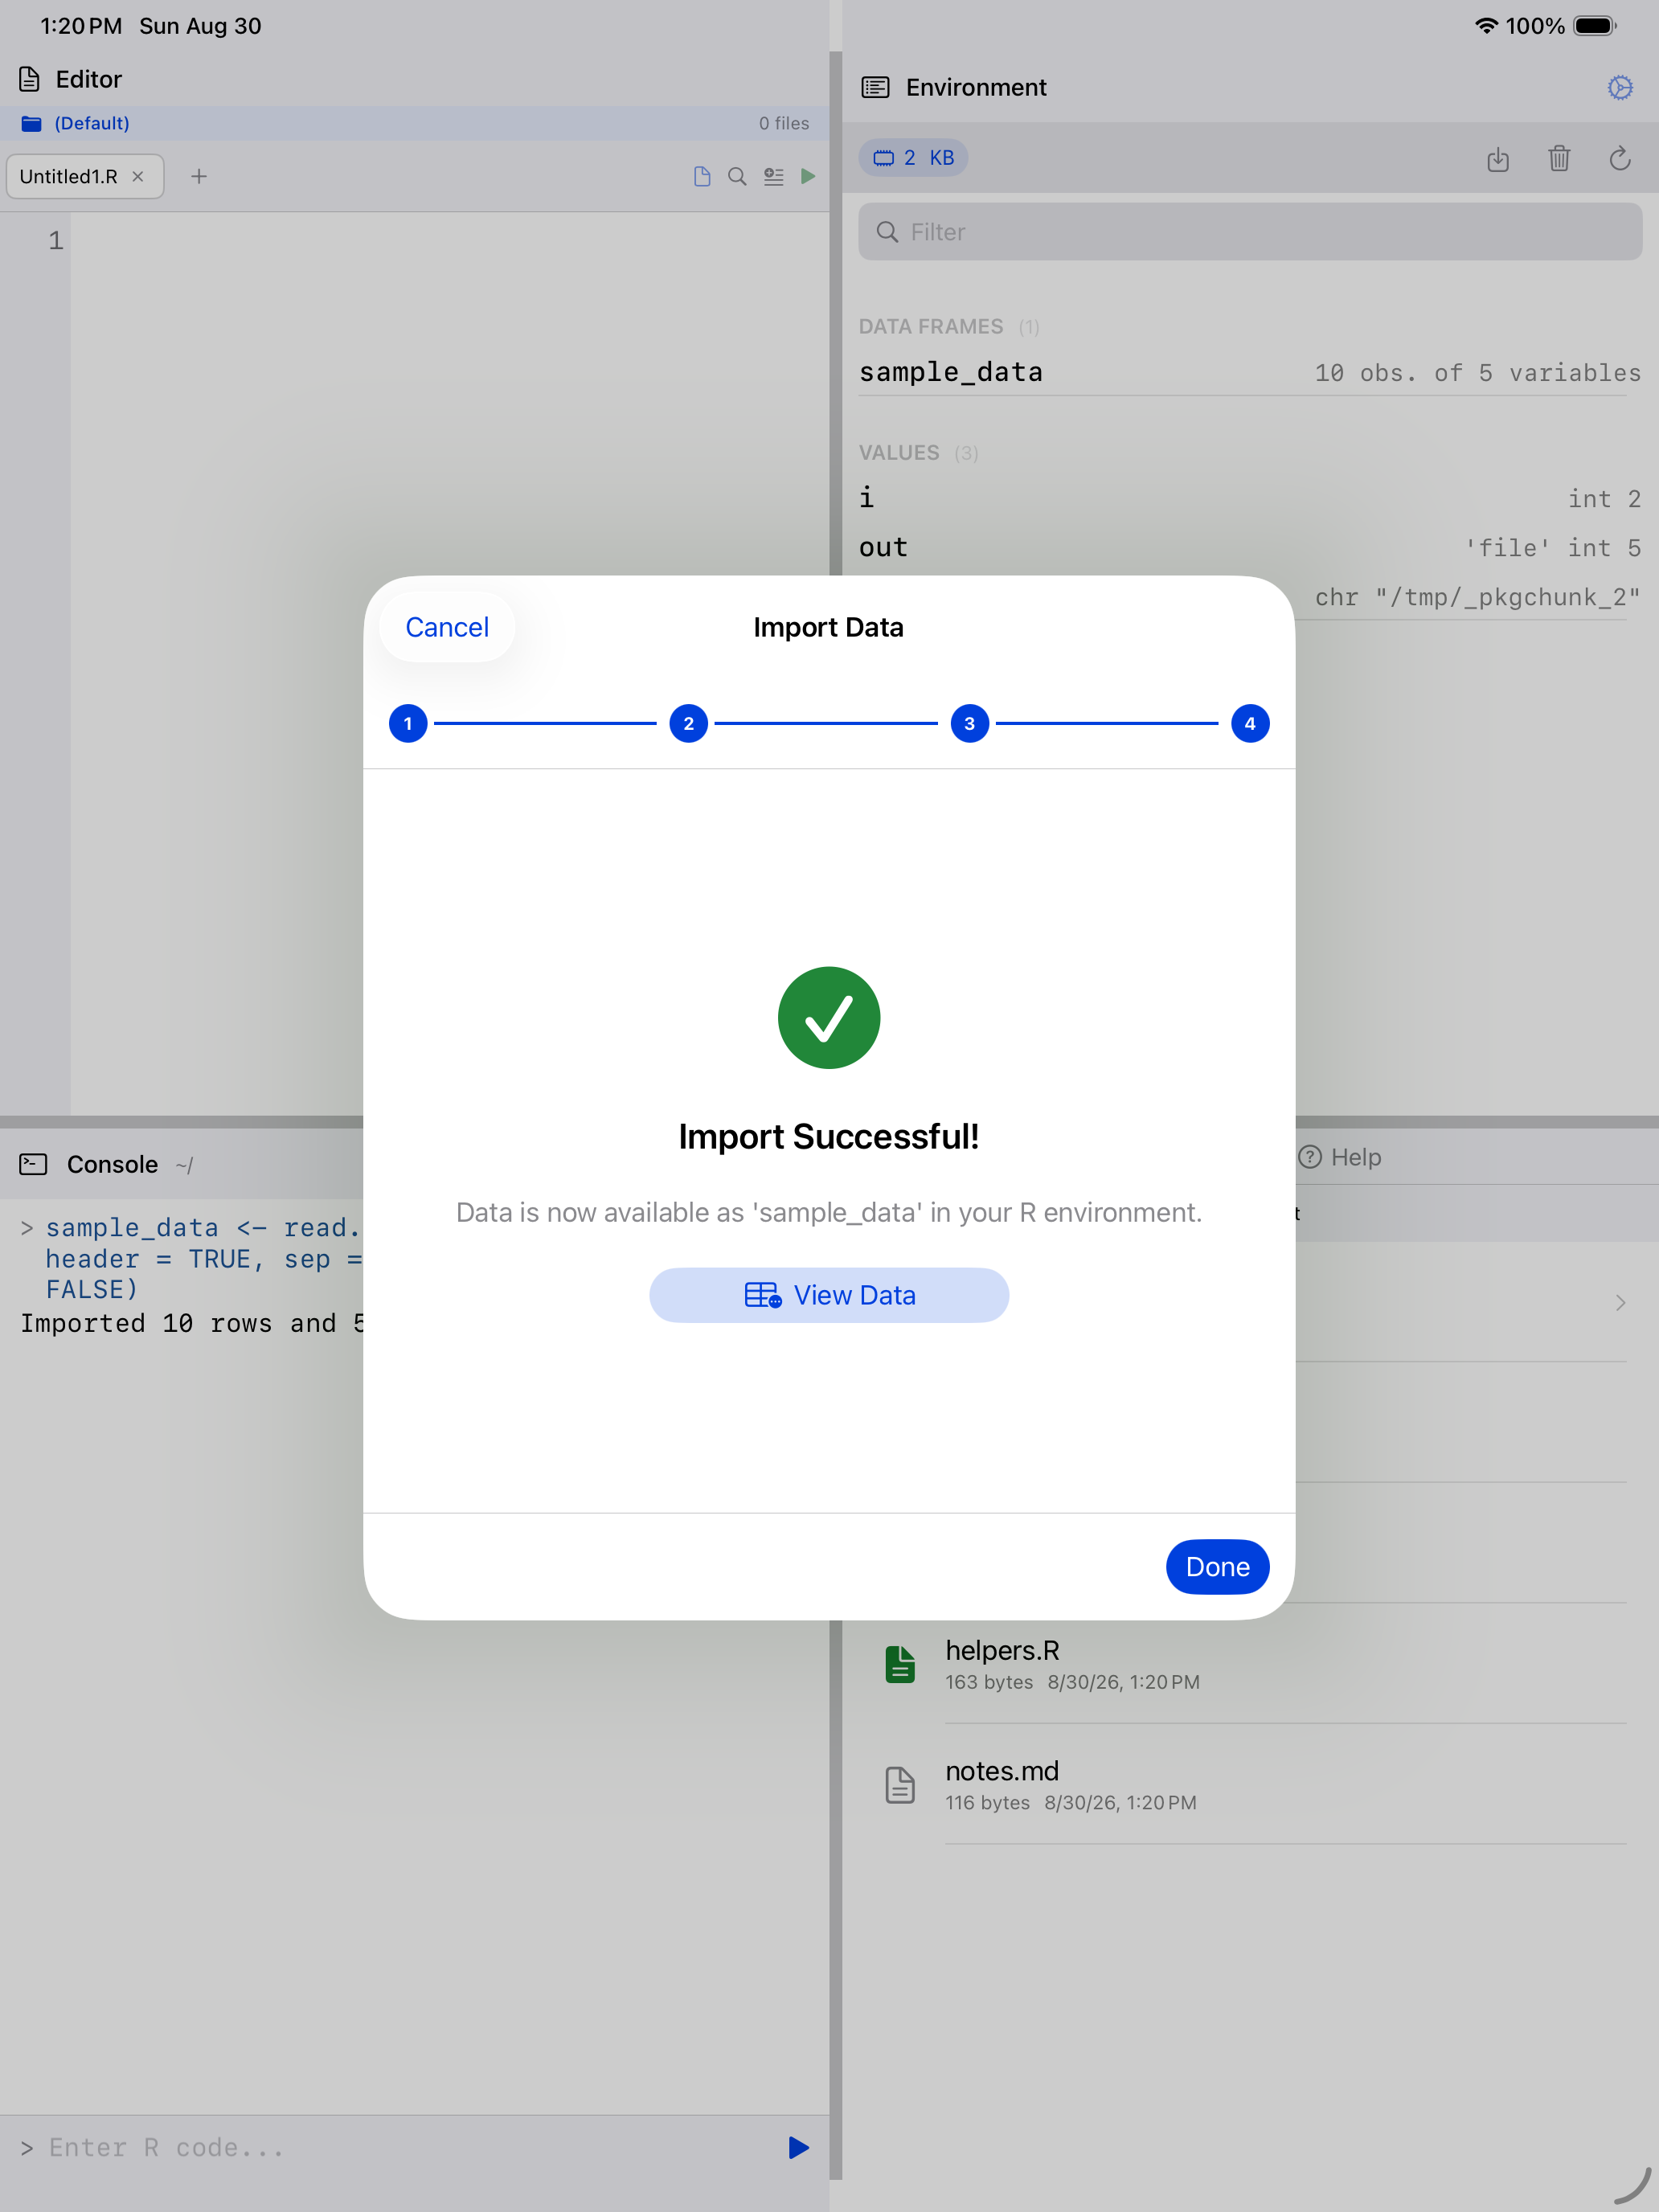
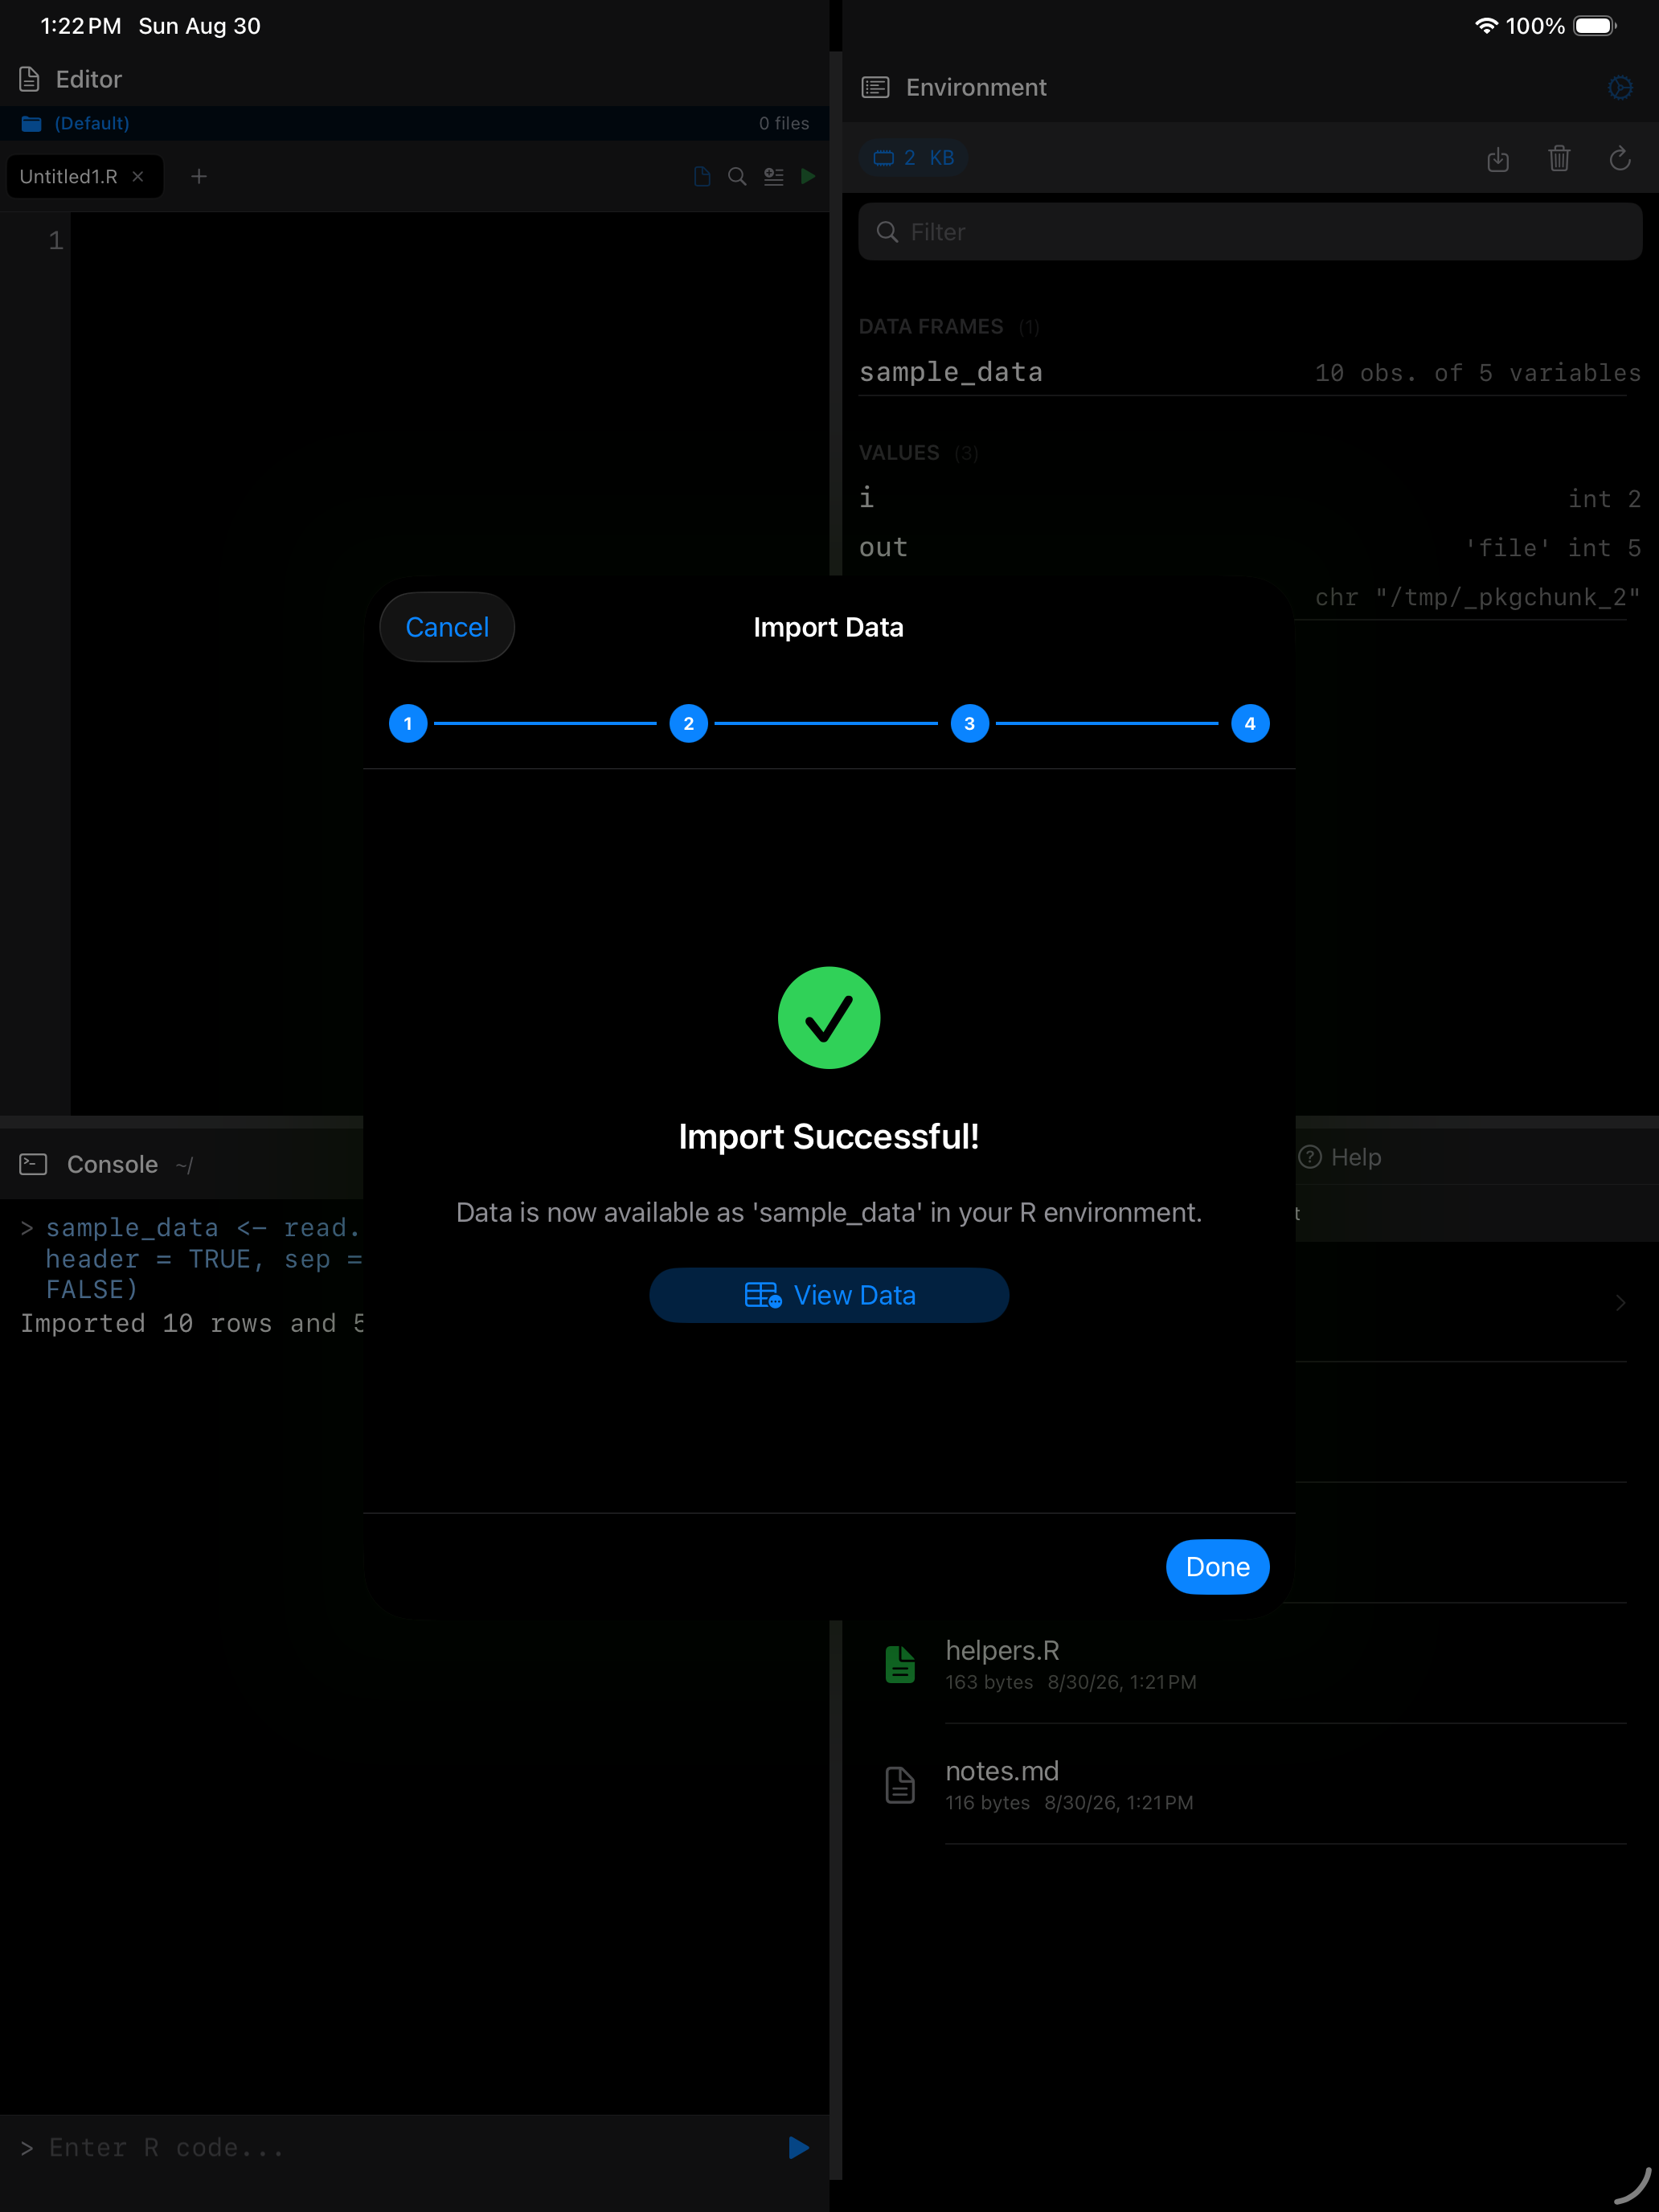
The wizard generates standard R code. For more control (e.g., read.csv2() or readr functions), import manually from the Console.
Editing text files
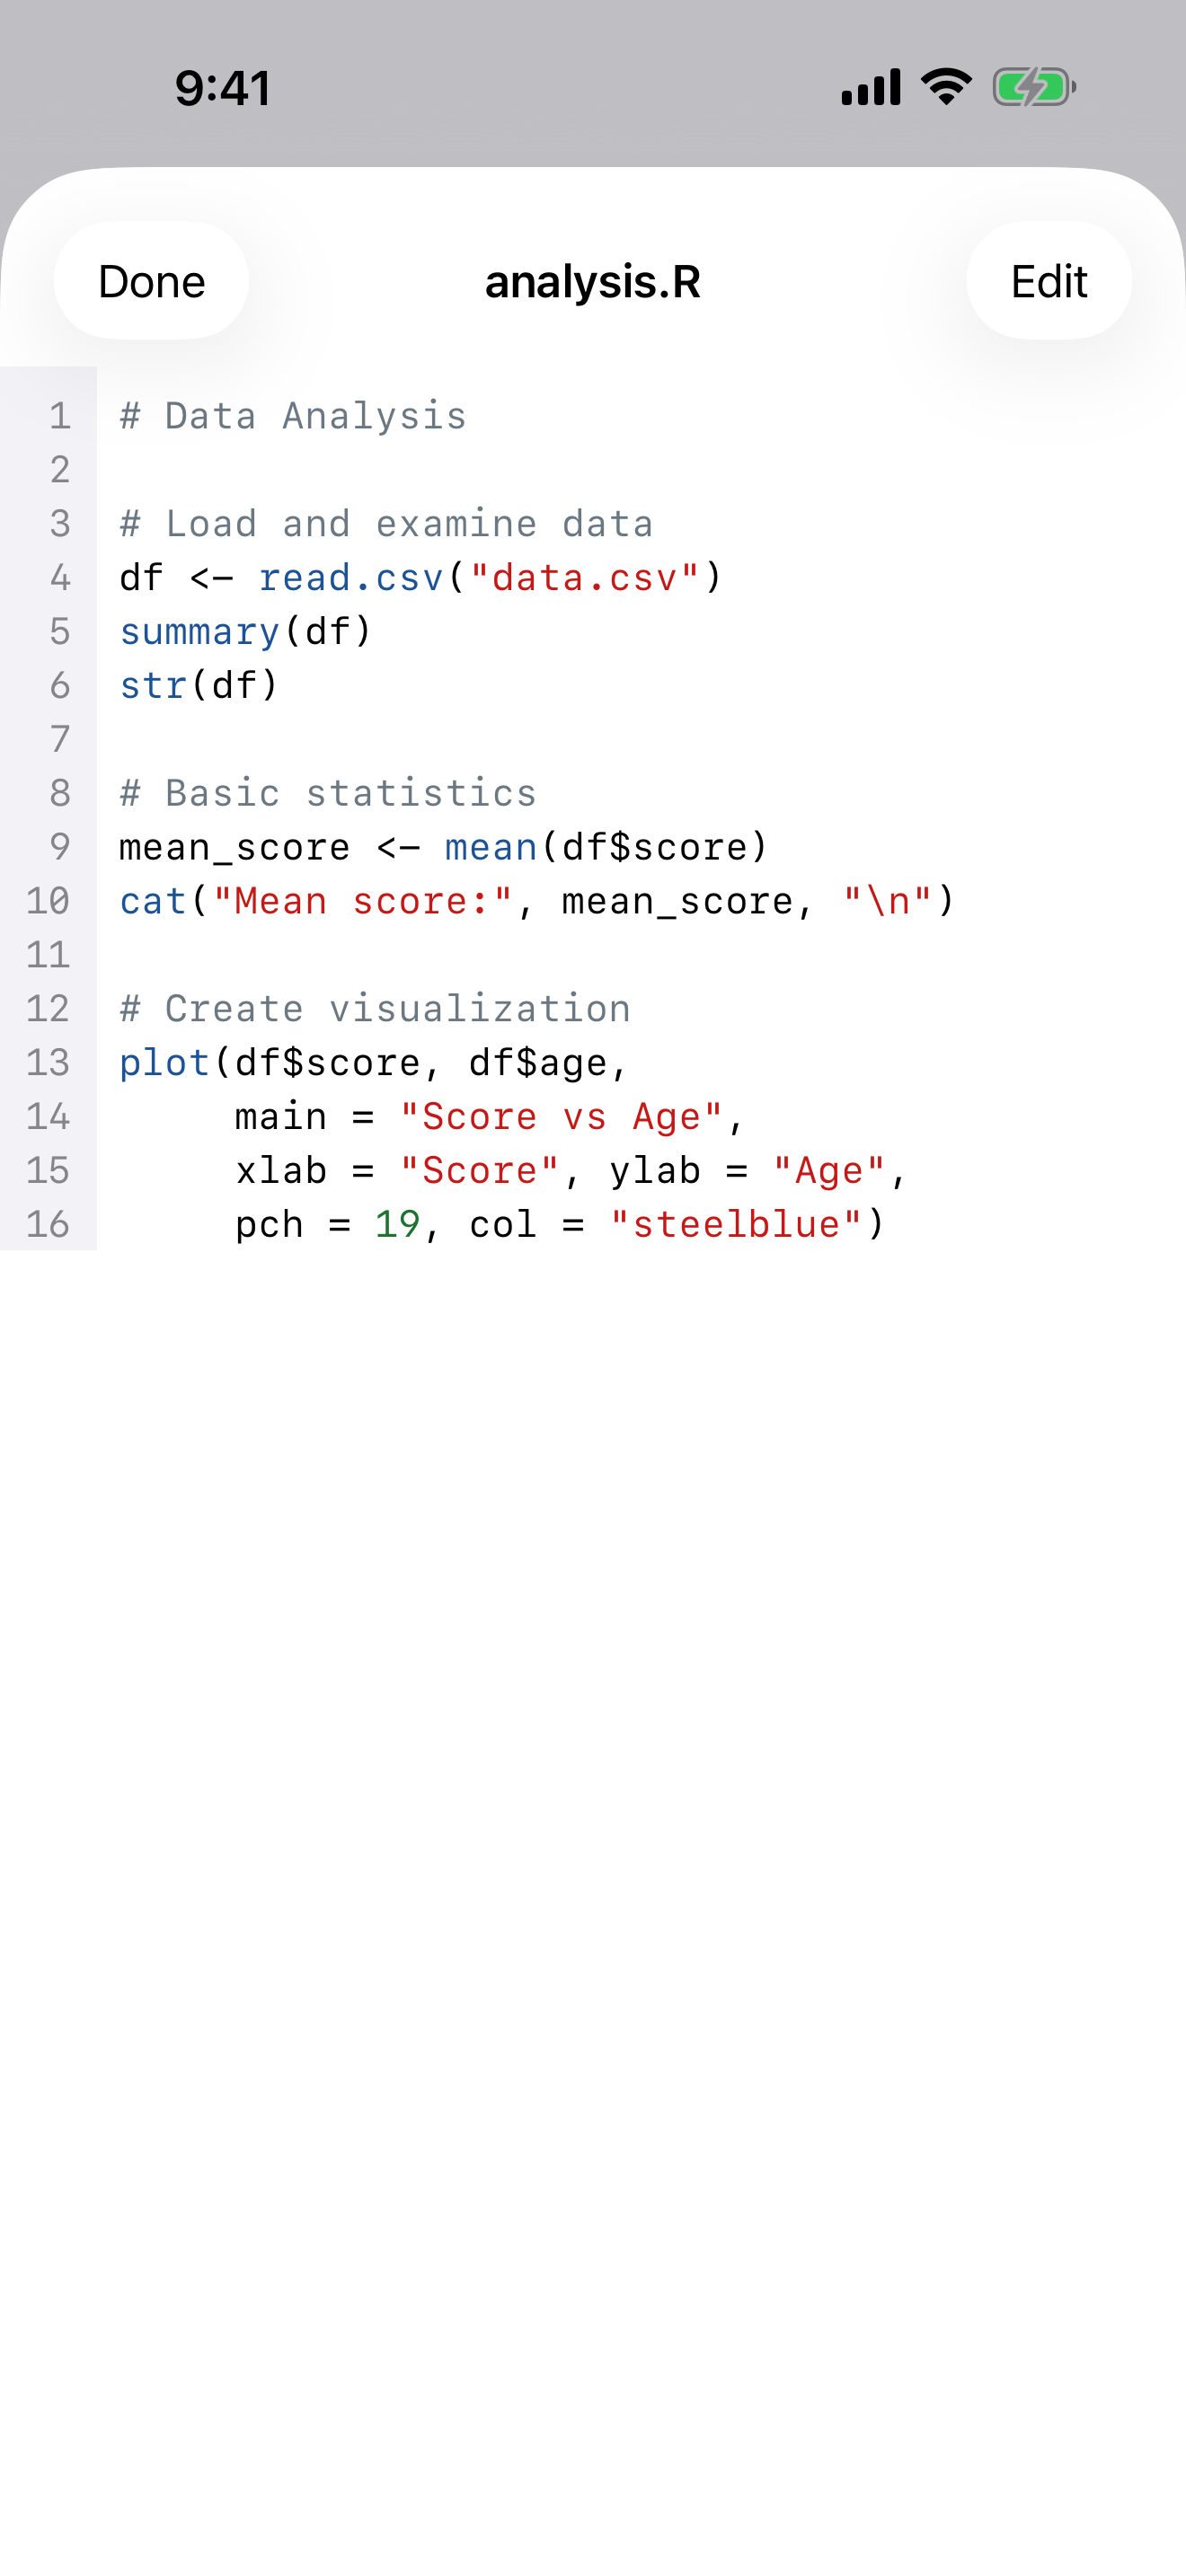
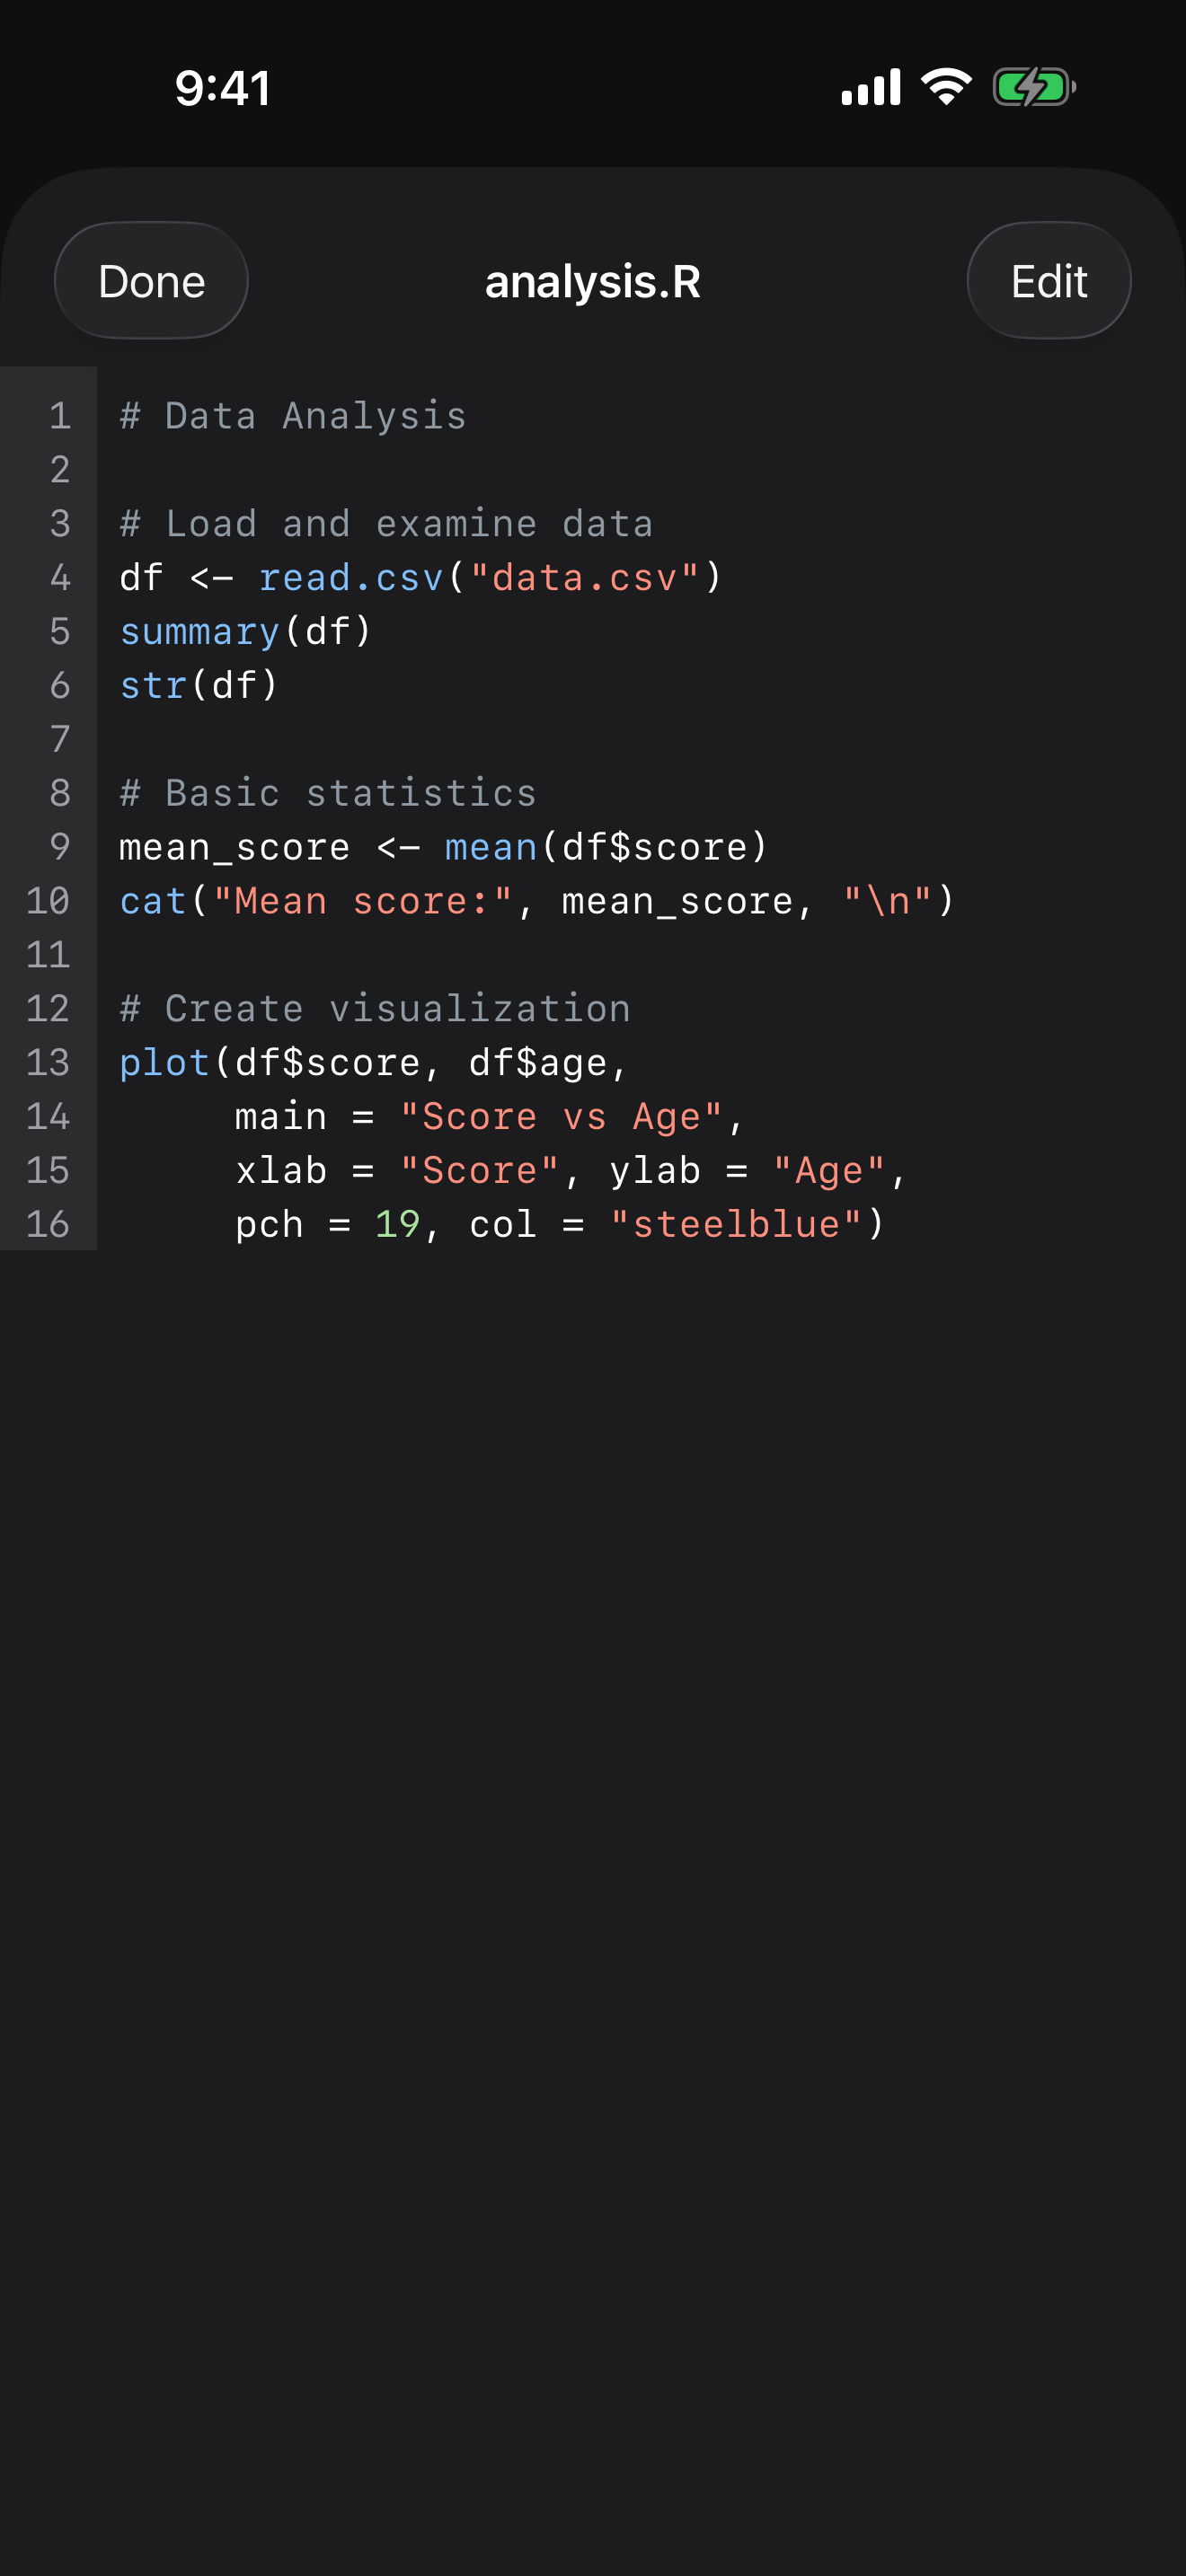
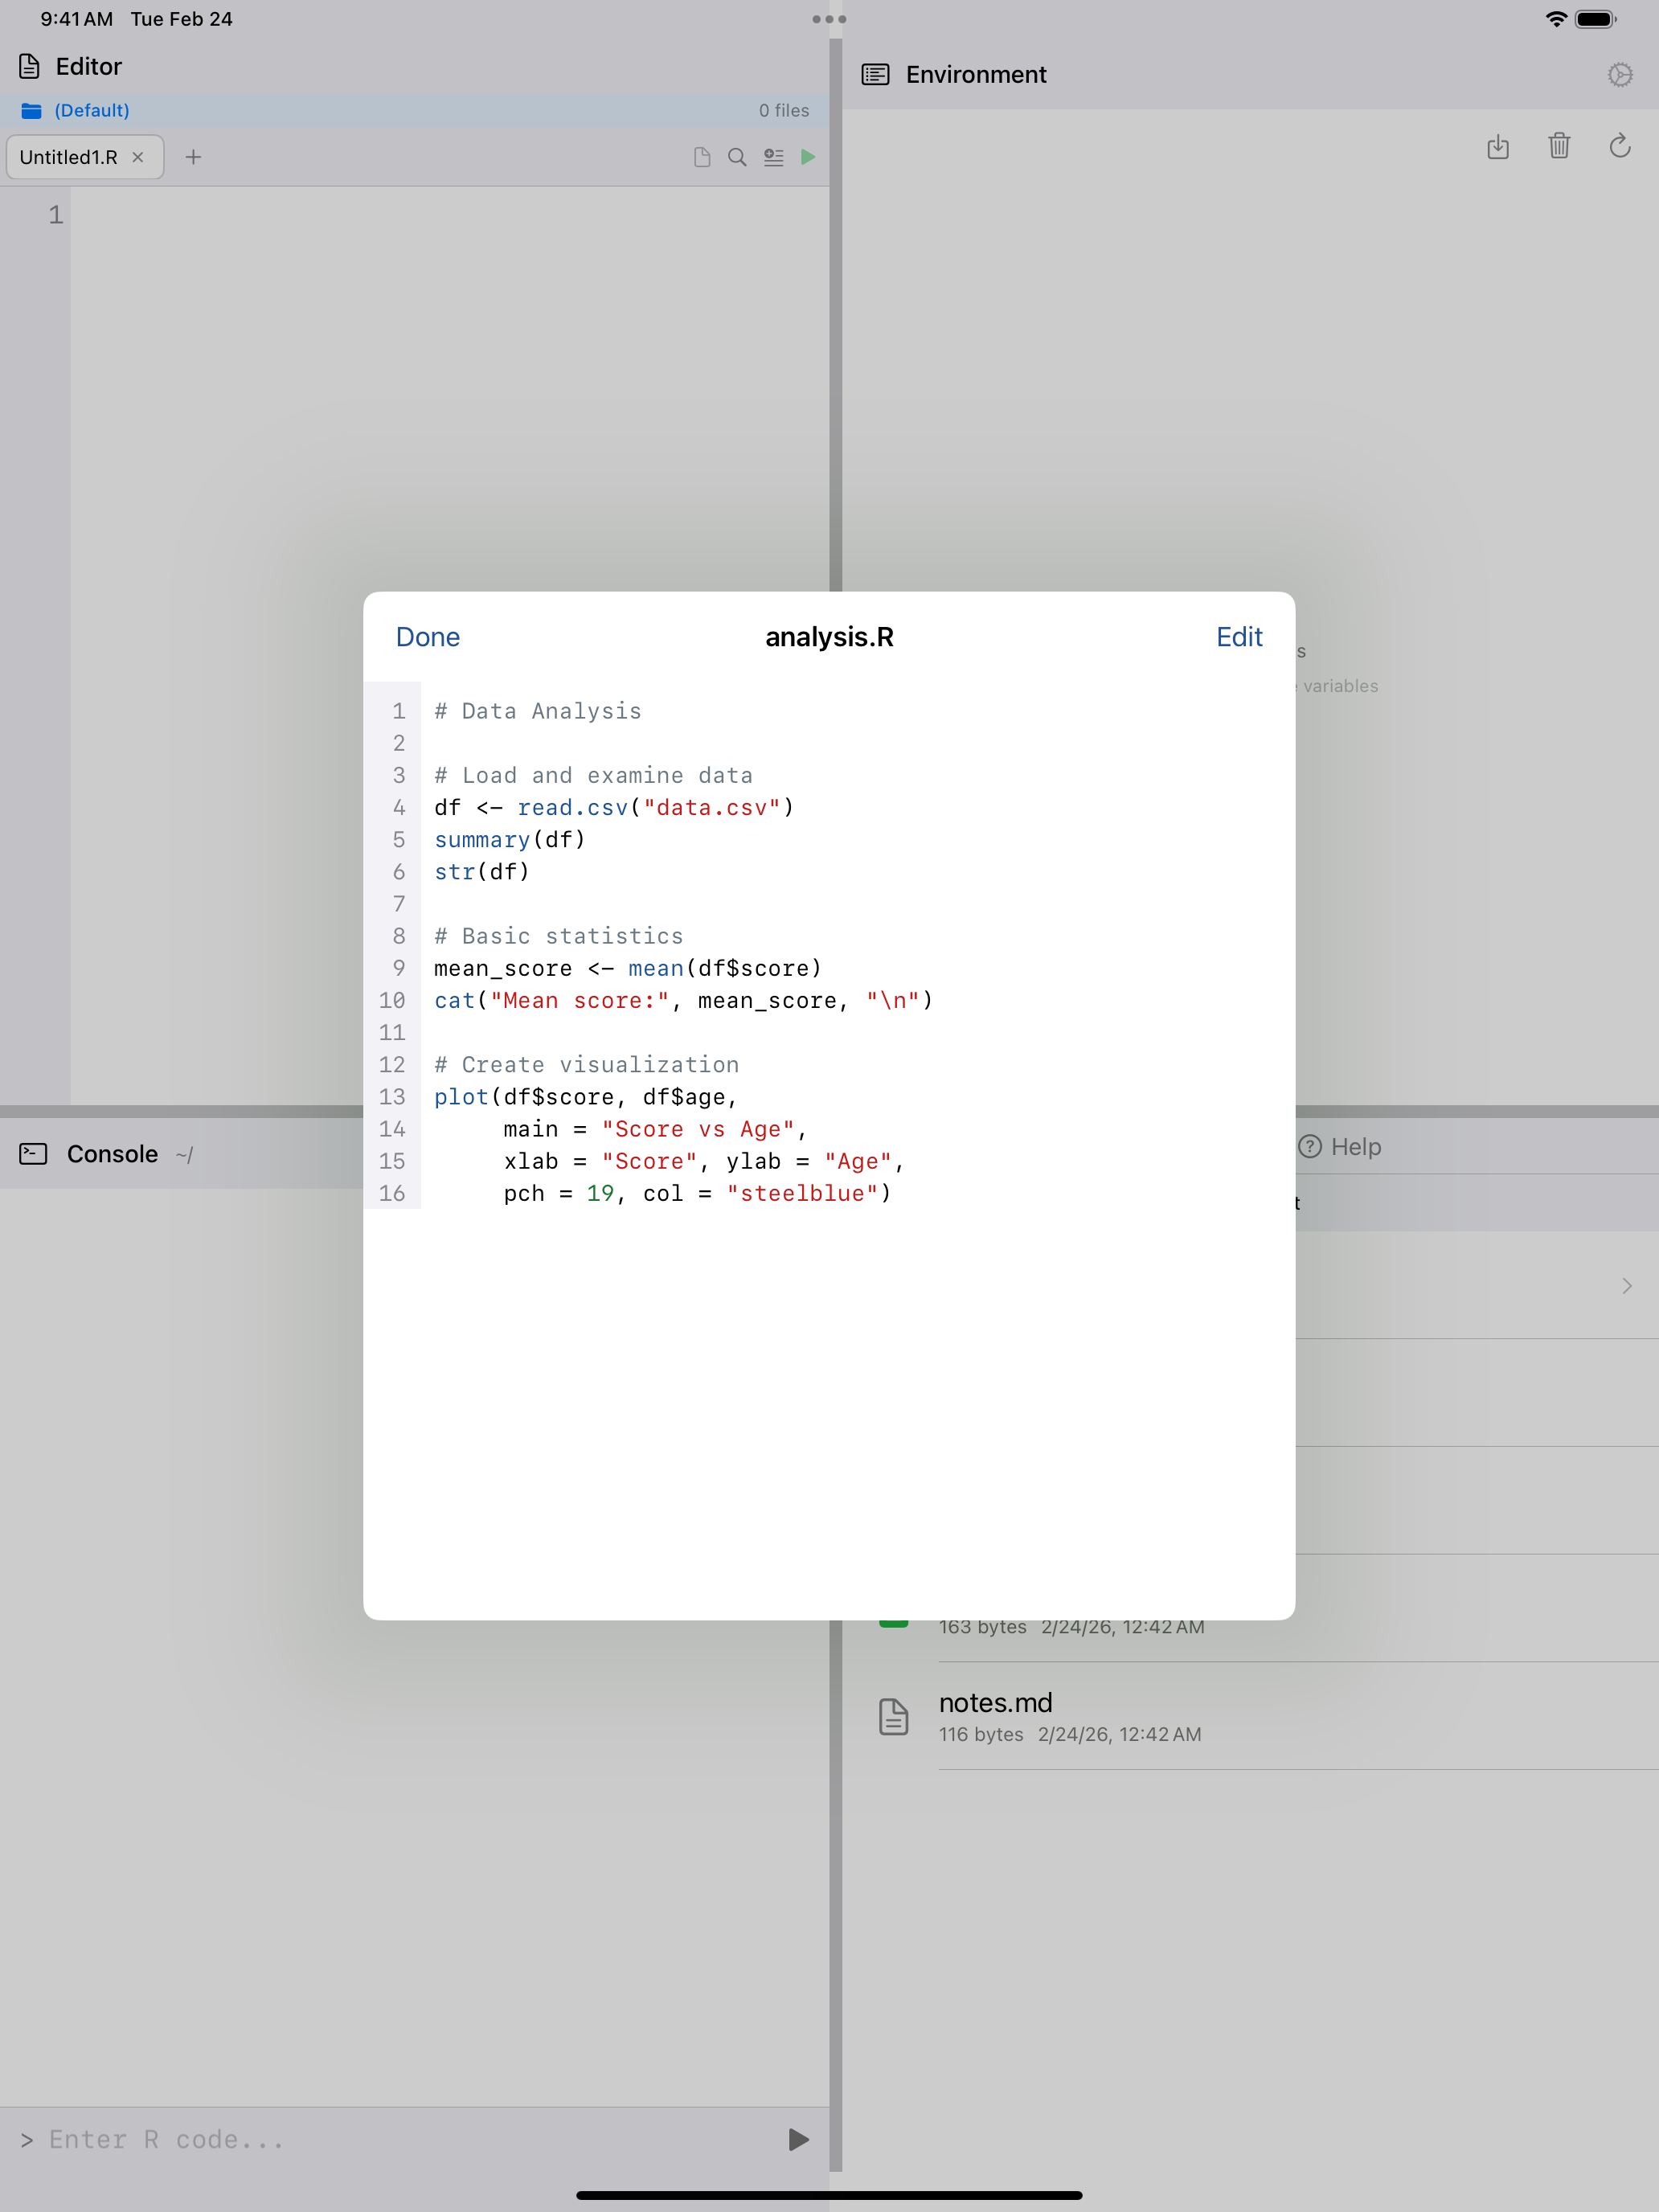
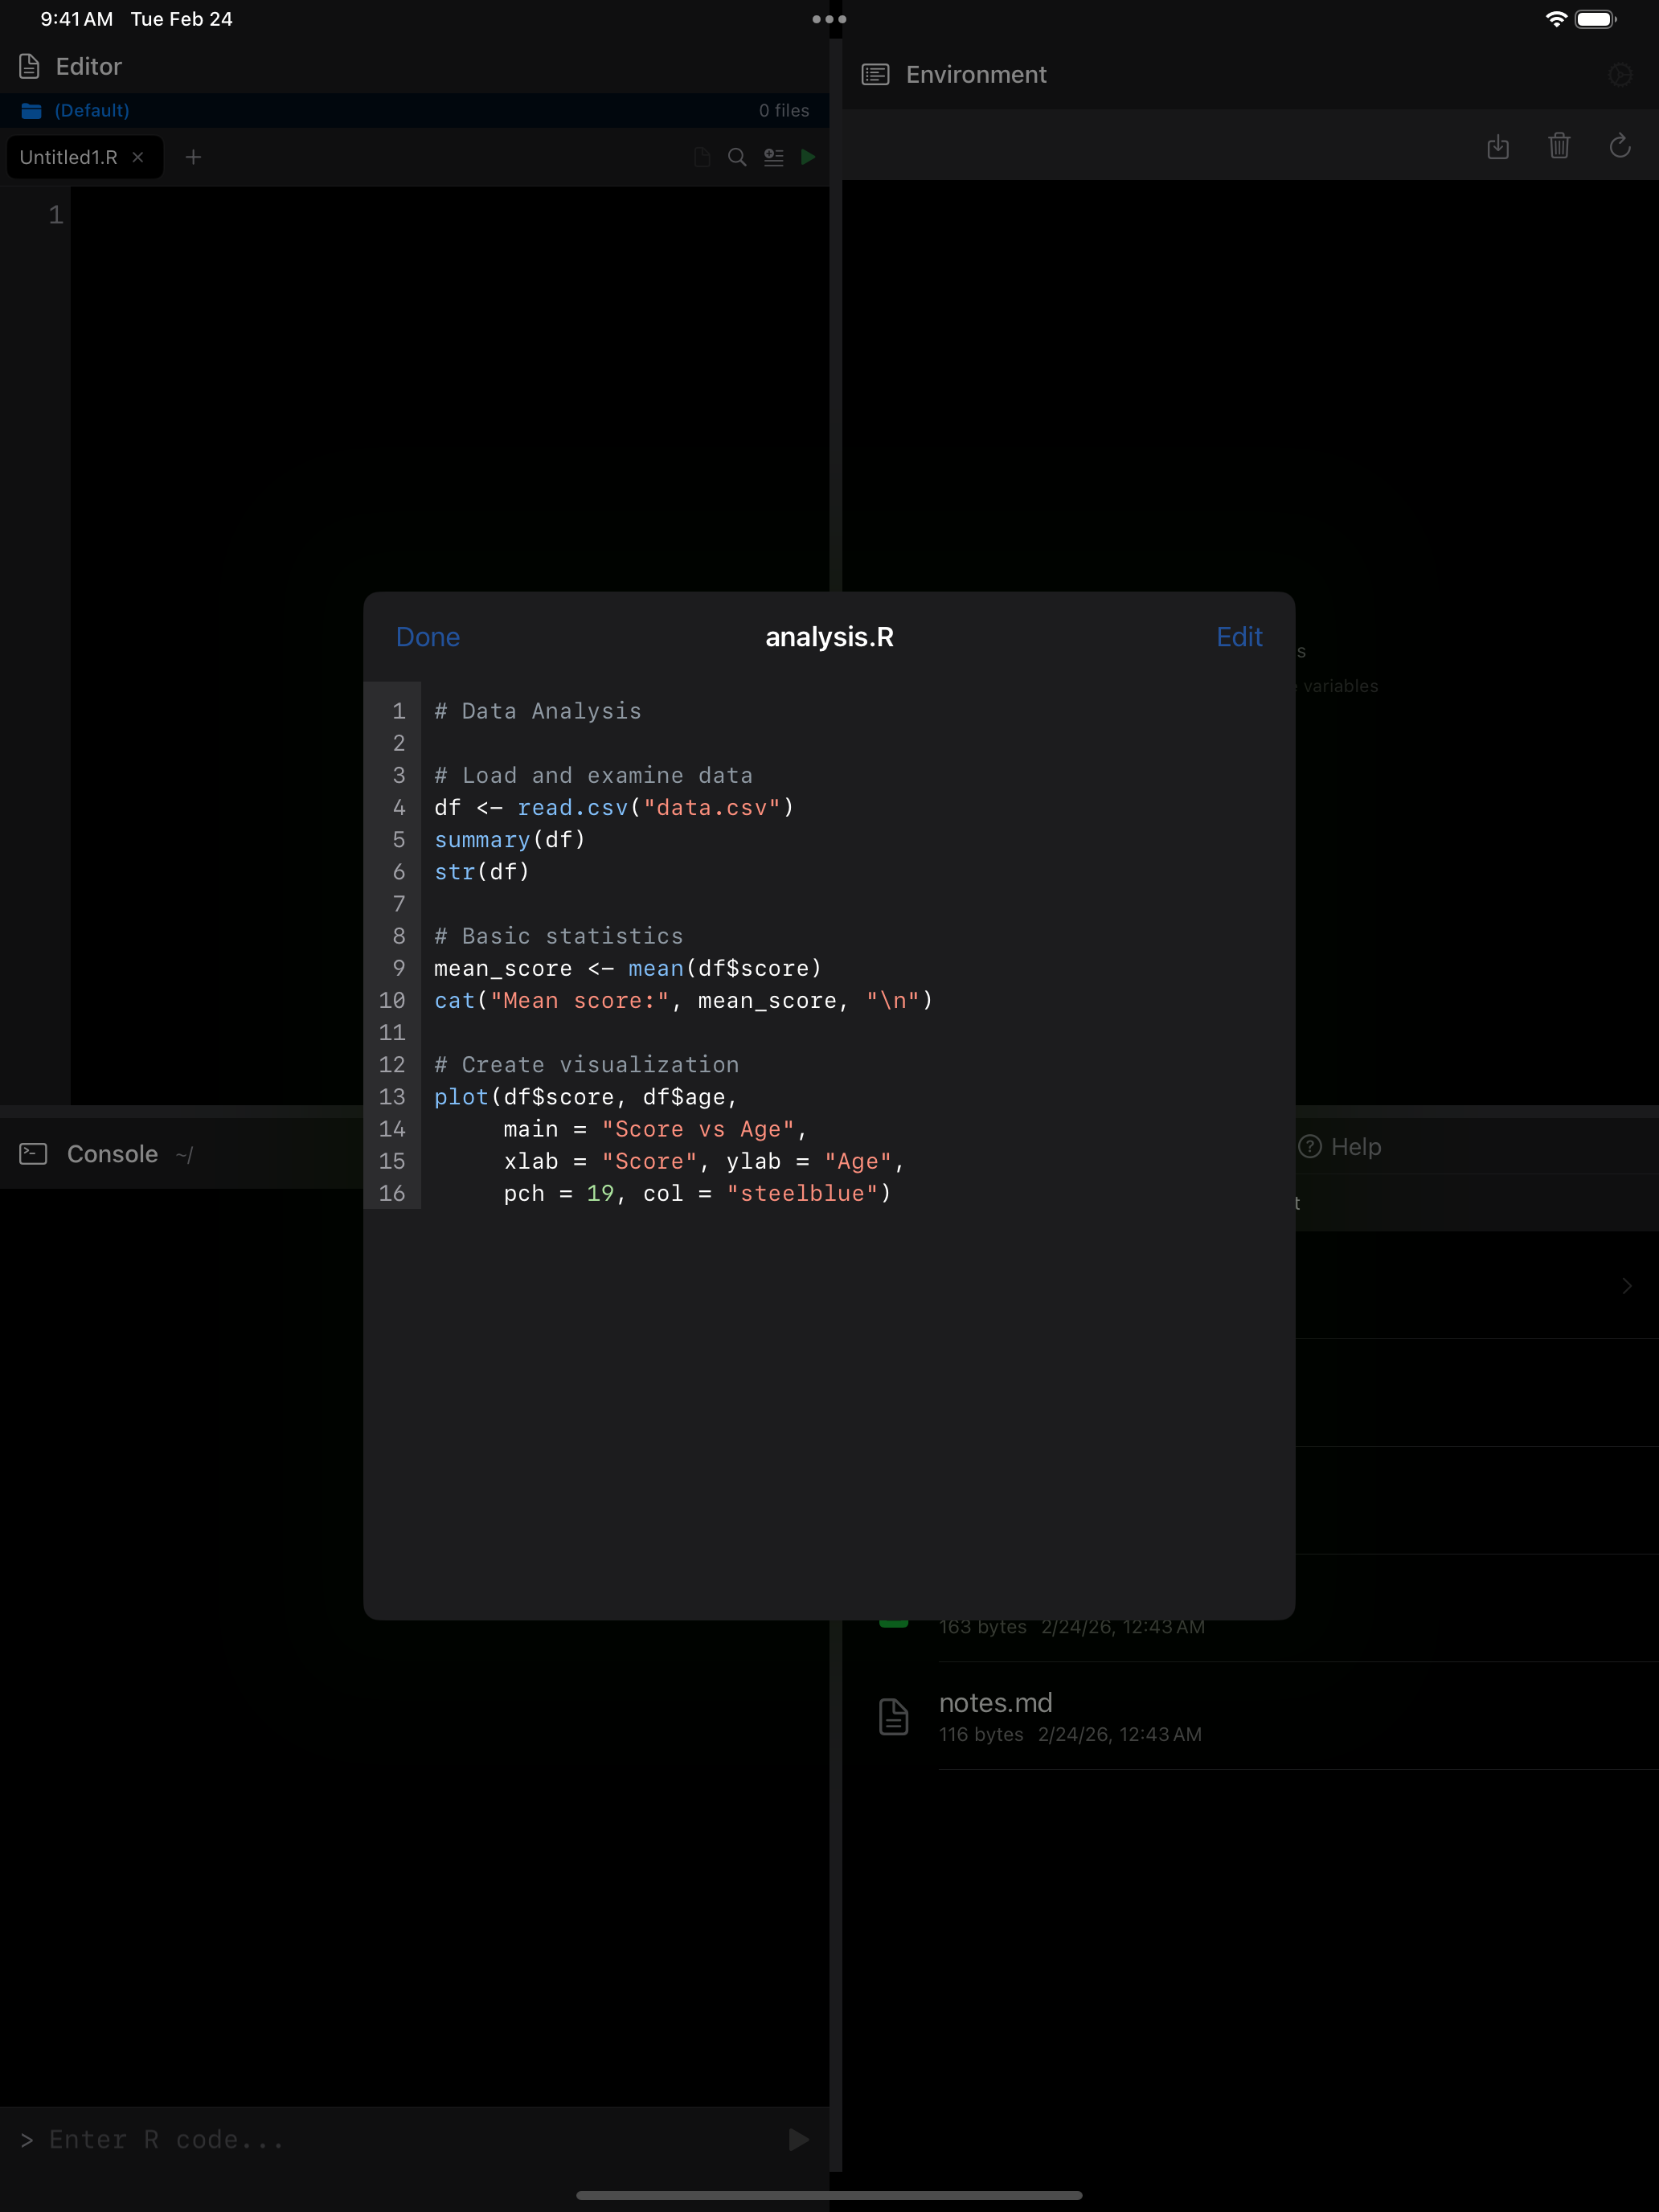
Tap any text-based file (.R, .txt, .csv, .json, .md) to open it in a viewer with line numbers and syntax highlighting for R files.
Tap Edit to switch to an editable text field. Tap Save when done, or Cancel to discard; with unsaved edits, Cancel asks first. If a save fails, your edits stay on screen and an alert says why.
Files keep the text encoding they were read in. A file that isn’t UTF-8, such as a CSV saved by Excel on Windows, opens correctly, a note above the text names its encoding, and saving writes it back the same way. If you type a character that encoding can’t hold, you are offered Save as UTF-8.
Large CSV and text files open without freezing the app: the table is prepared in the background, showing the first 500 rows and counting the rest.
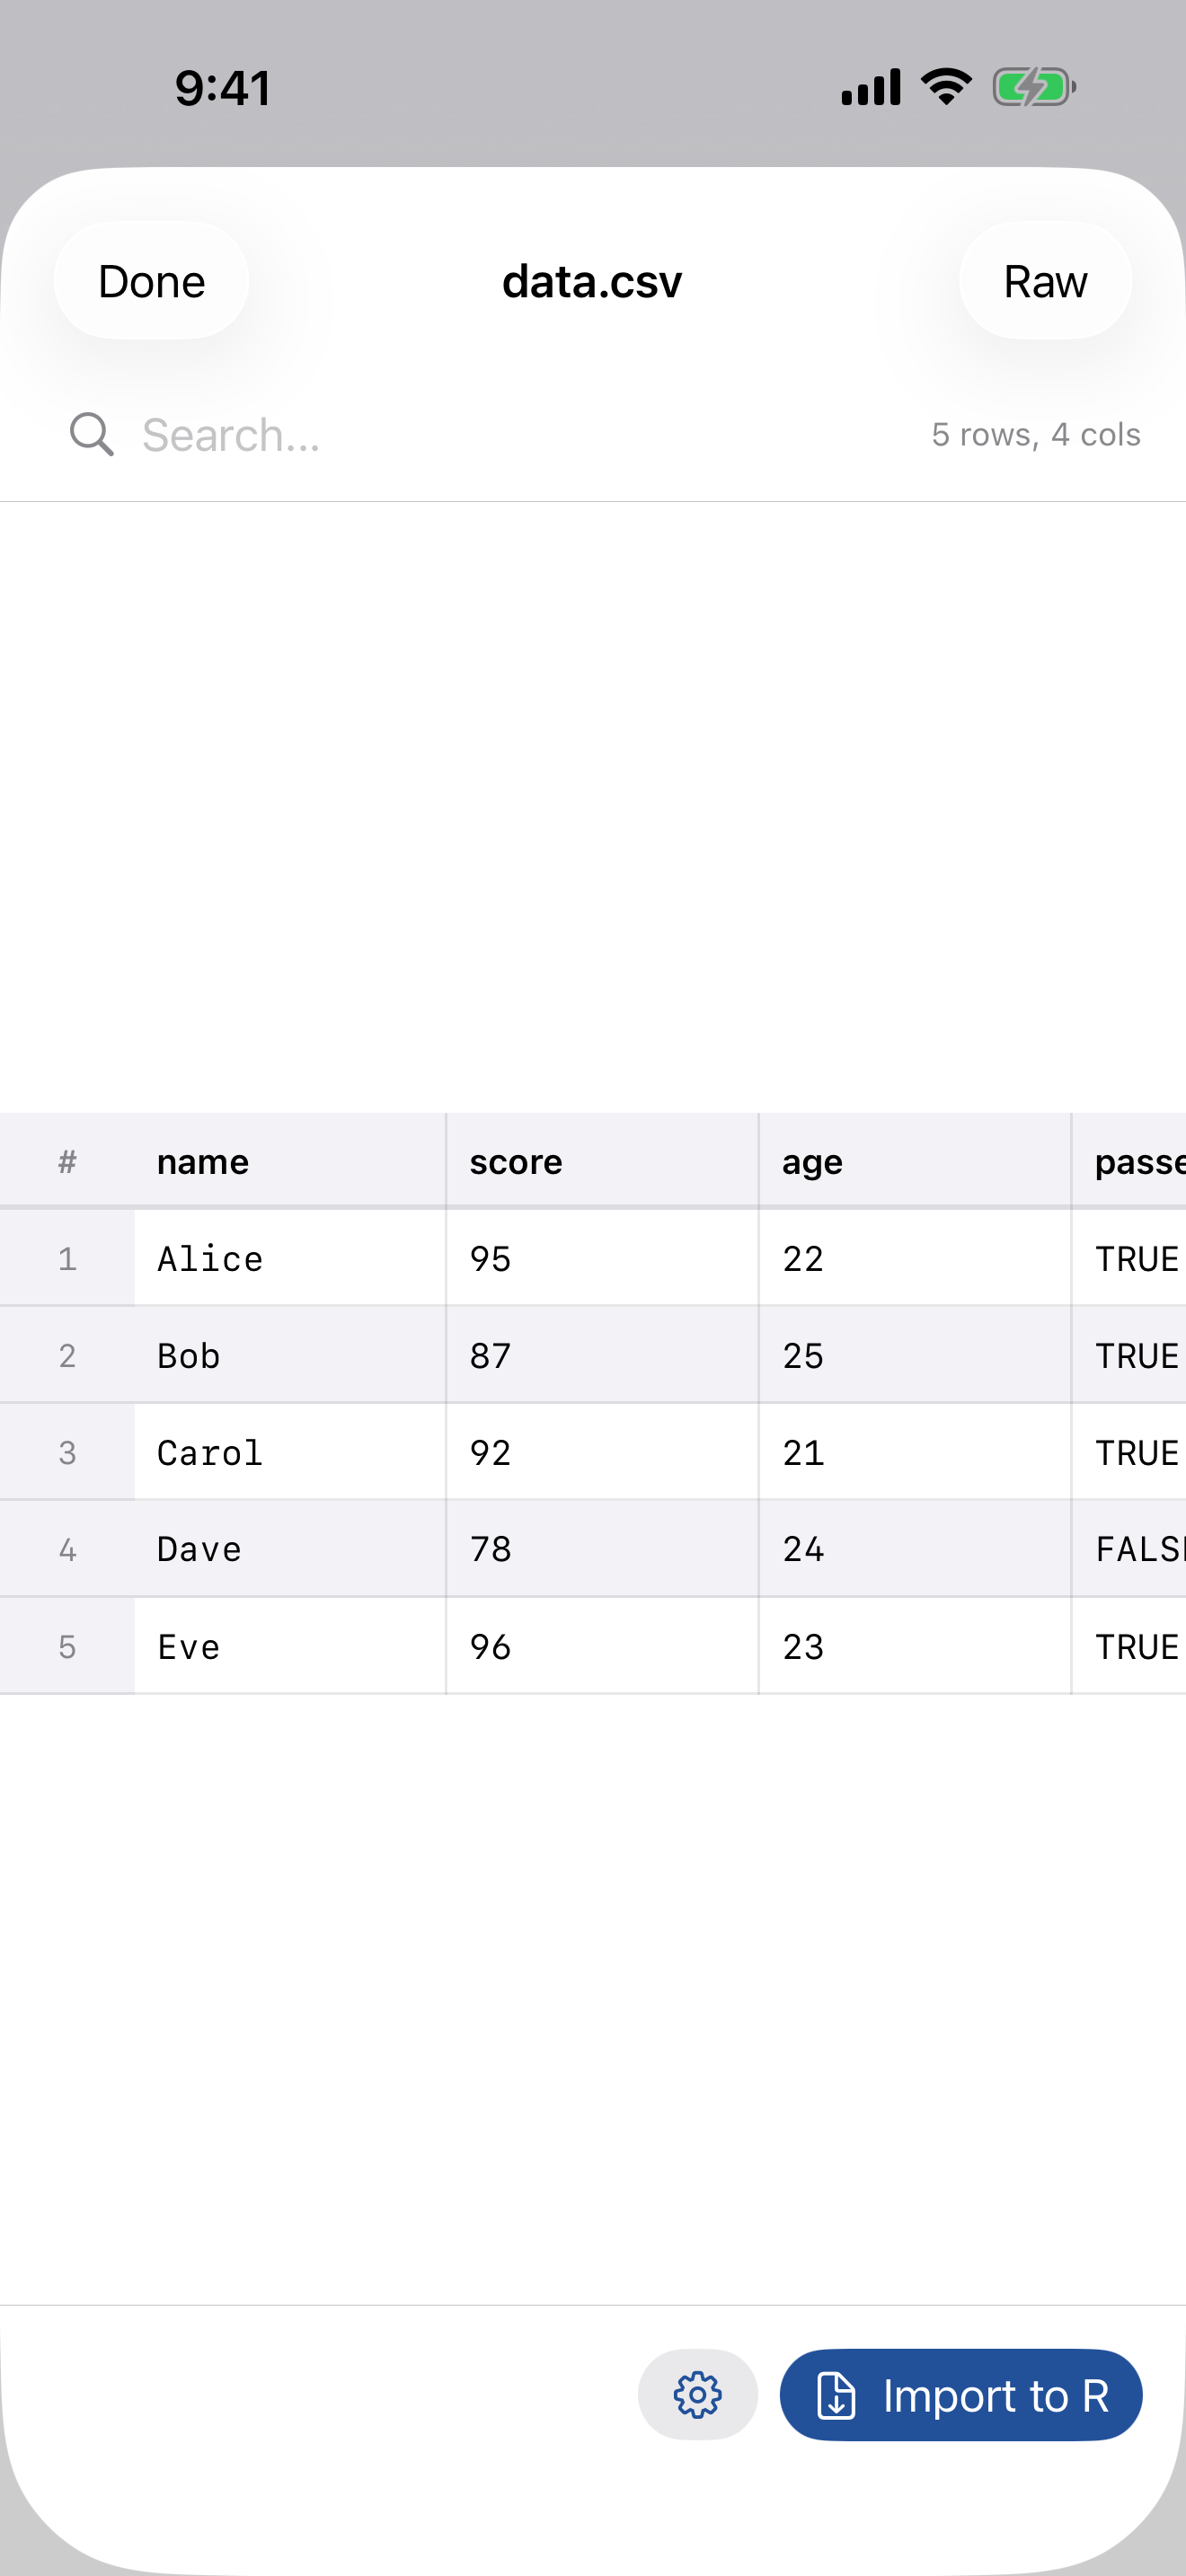
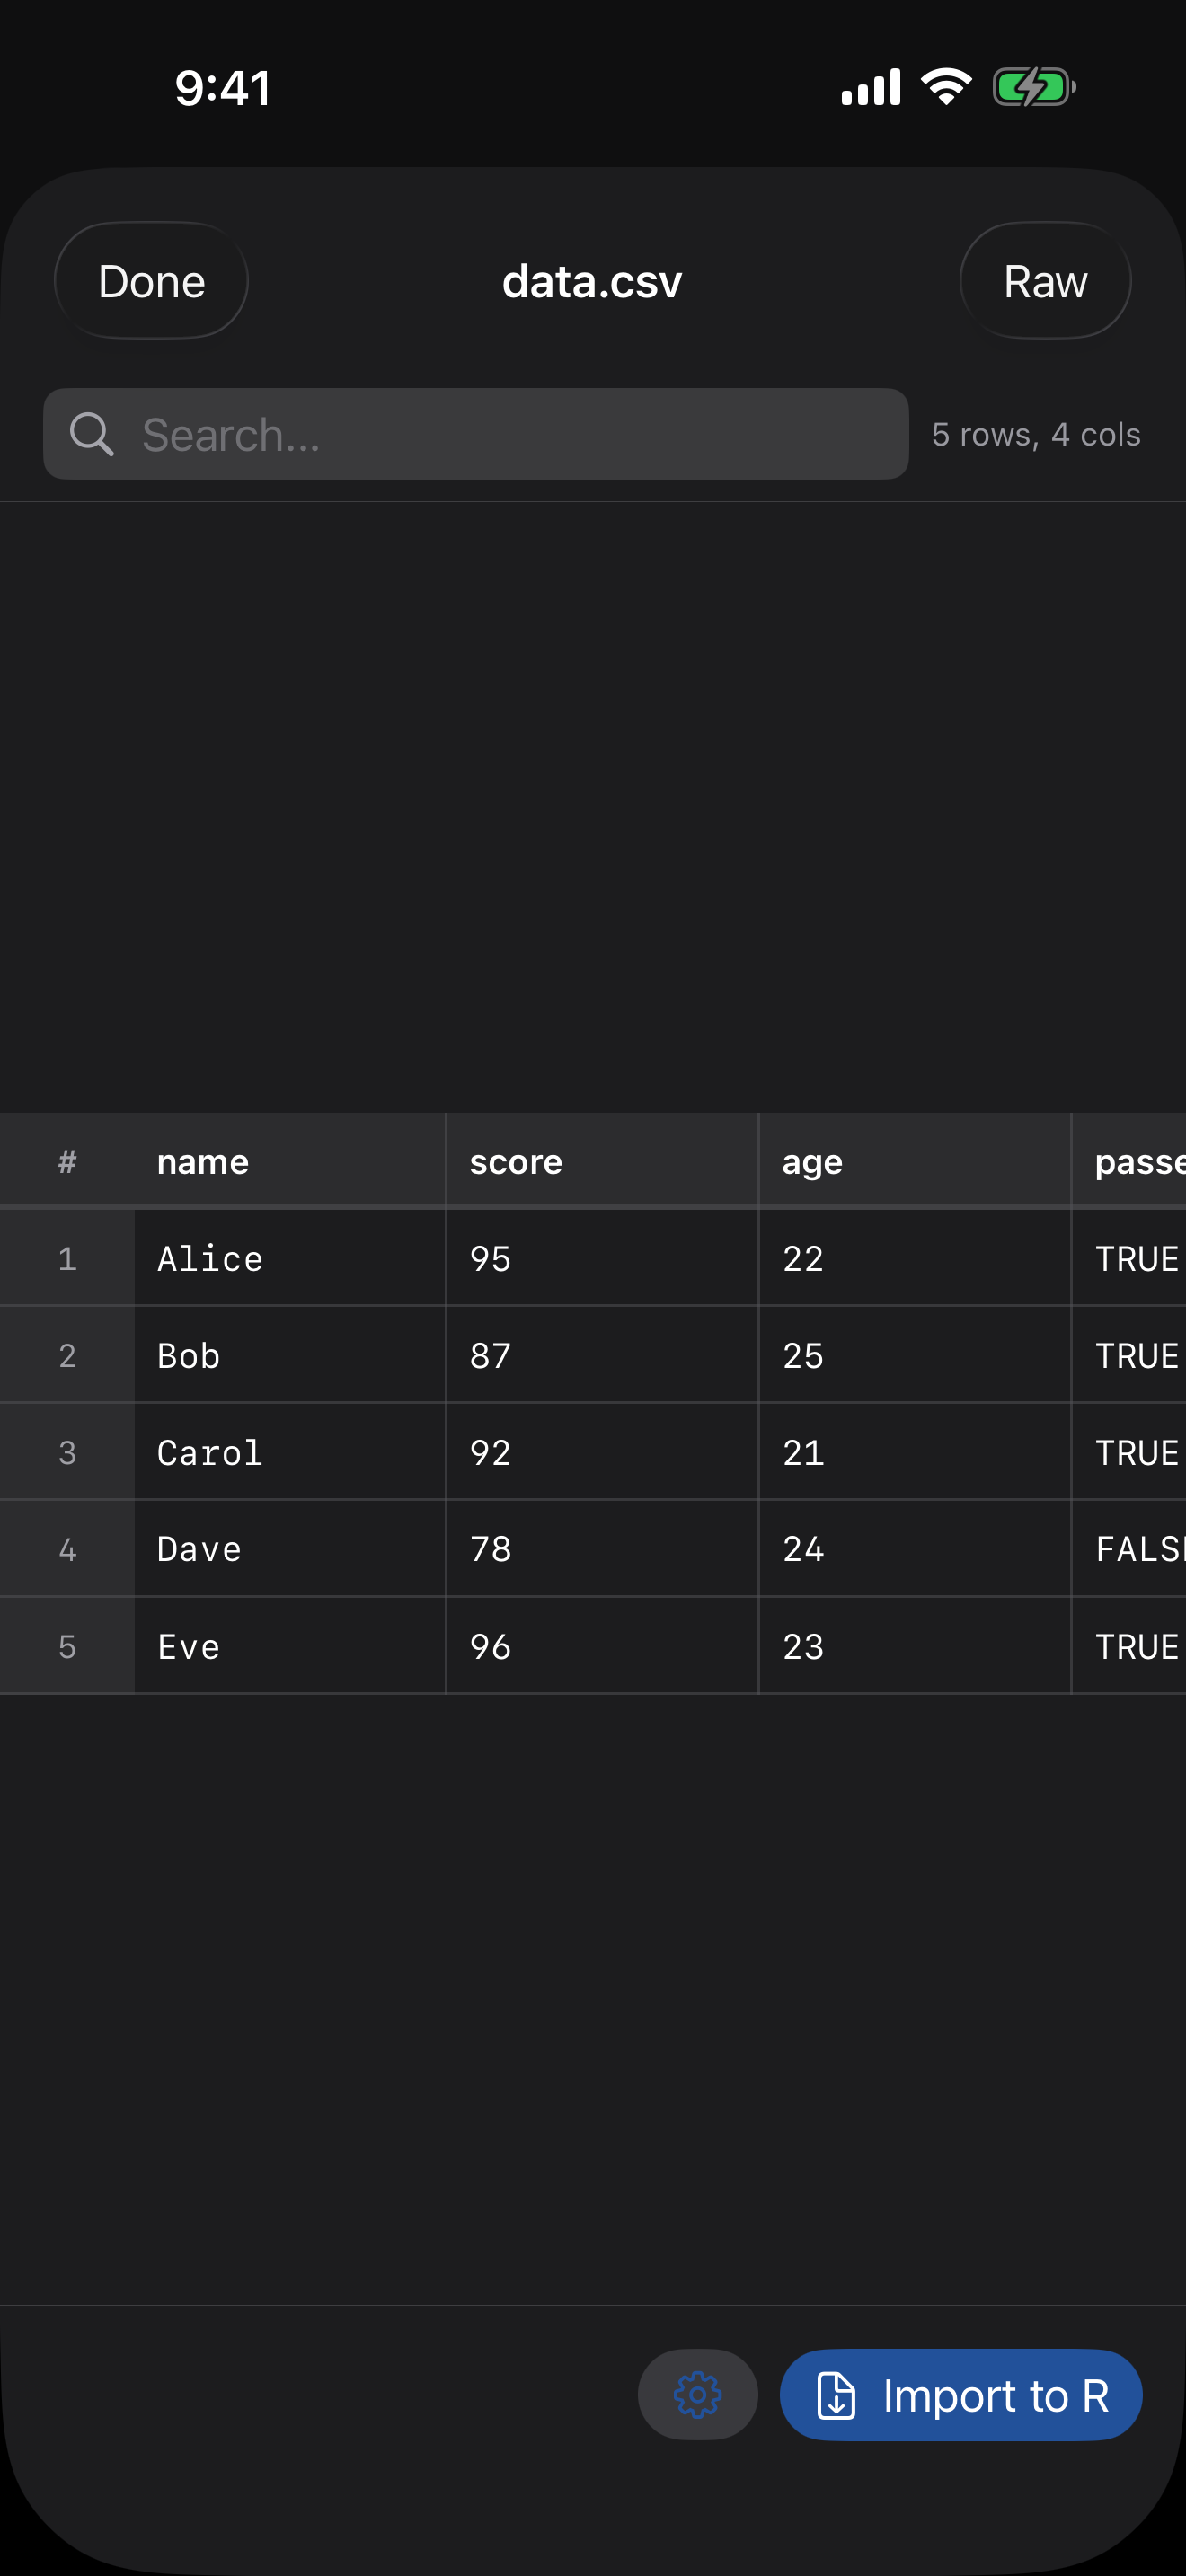
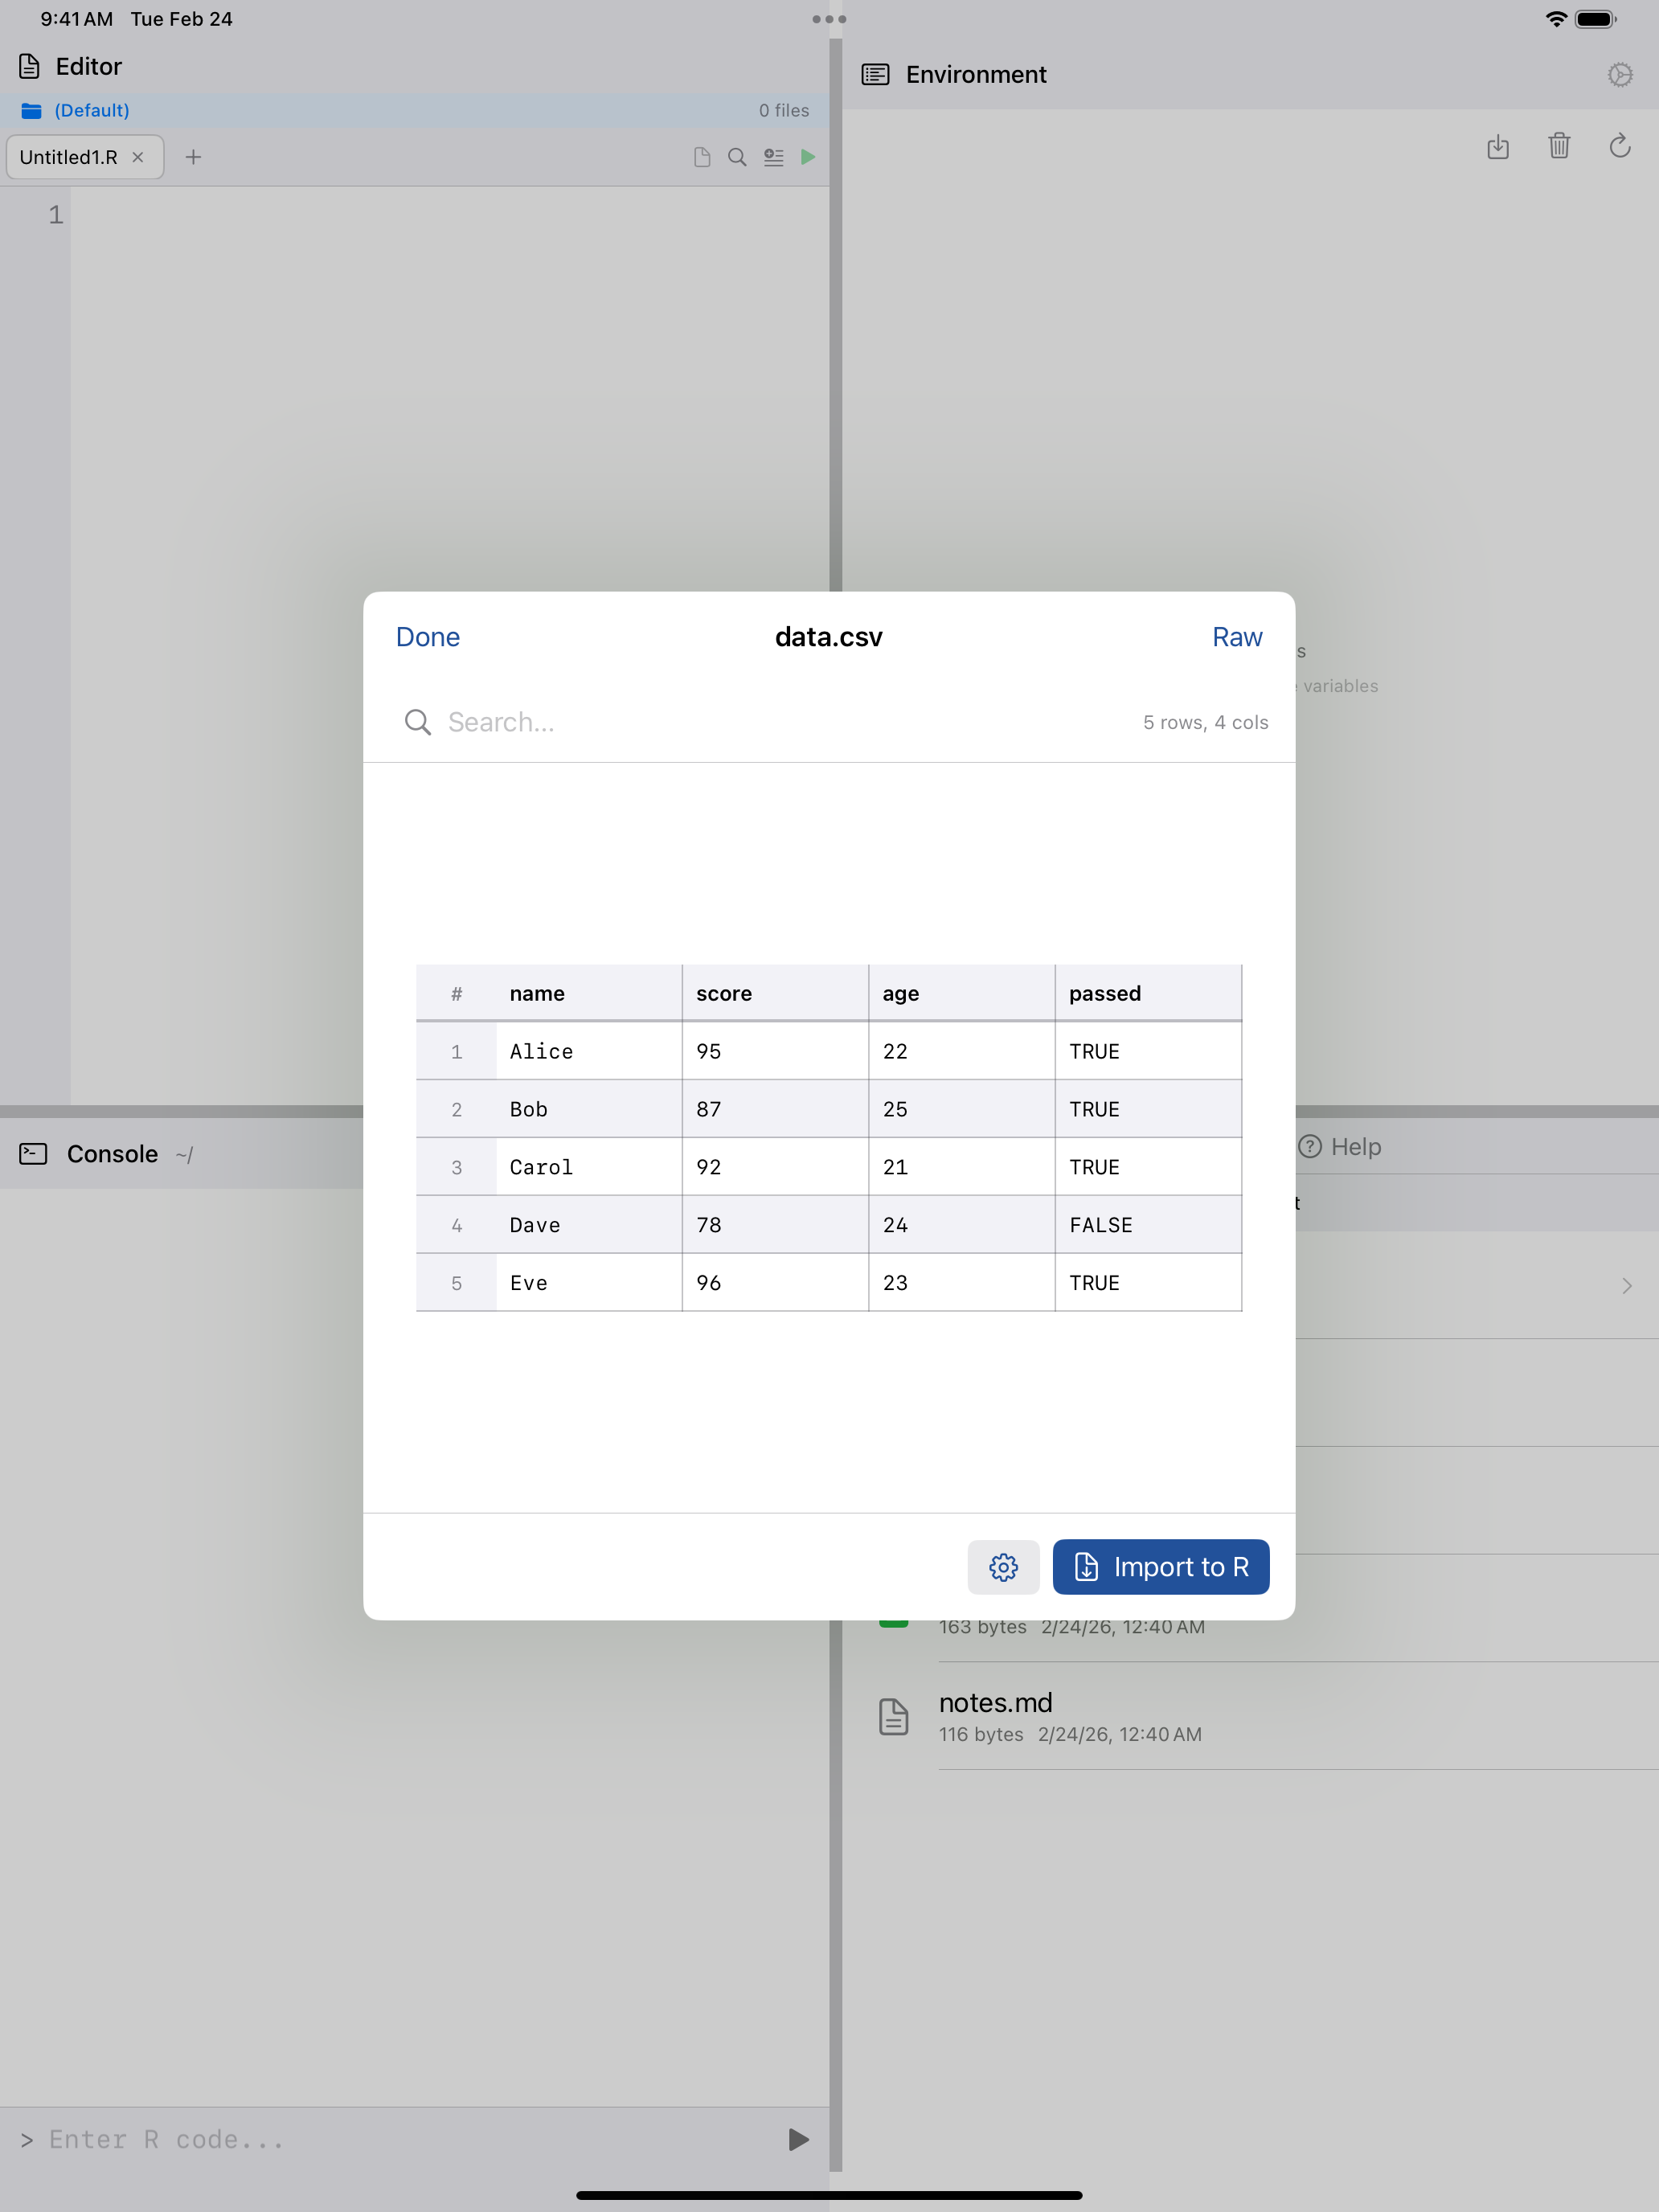
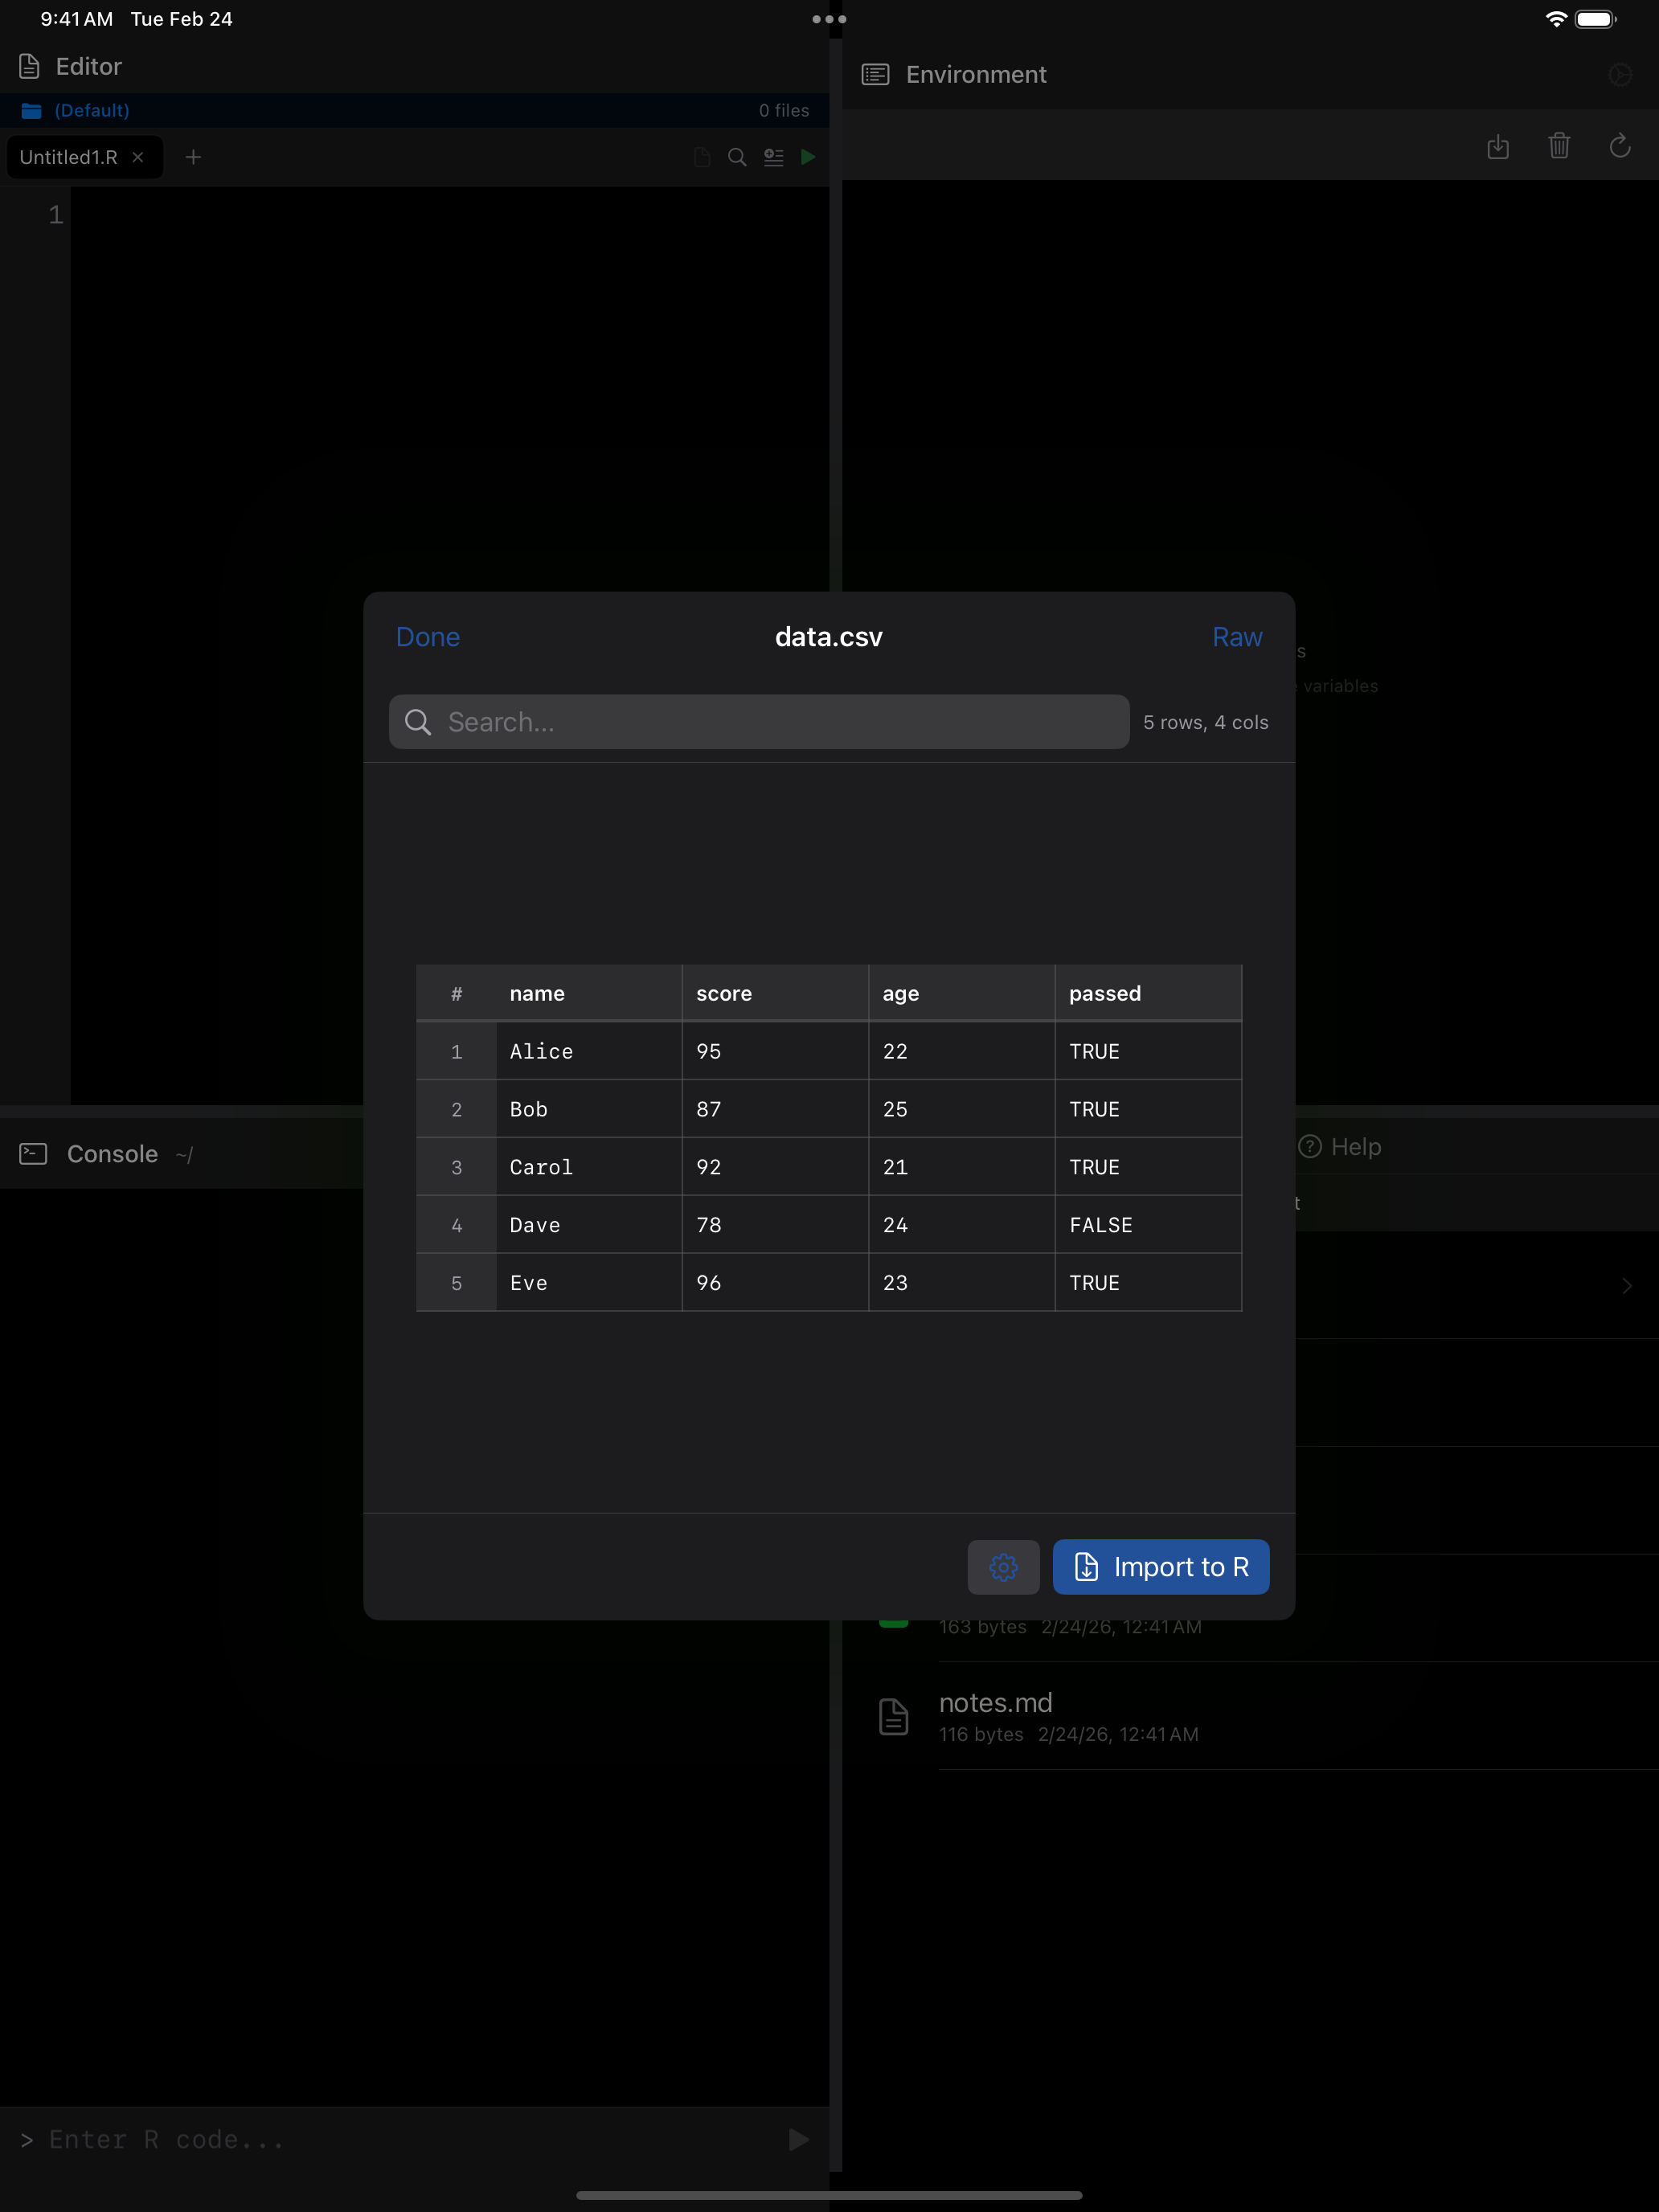
CSV files get special treatment: they open in a formatted table view by default, making it easy to scan rows and columns. You can switch to the raw text view using the Raw button, and toggle back with Table.
Image files (PNG, JPEG) open in a scrollable preview so you can view plots or graphics you have saved.
PDFs and other documents open in Quick Look. Tapping an .rds, .RData or .rda file asks whether to load it into R: an .rds becomes one variable named after the file, and an .RData adds every object it holds to R’s workspace, replacing any with the same names. For a file it can’t show, Files tells you so.
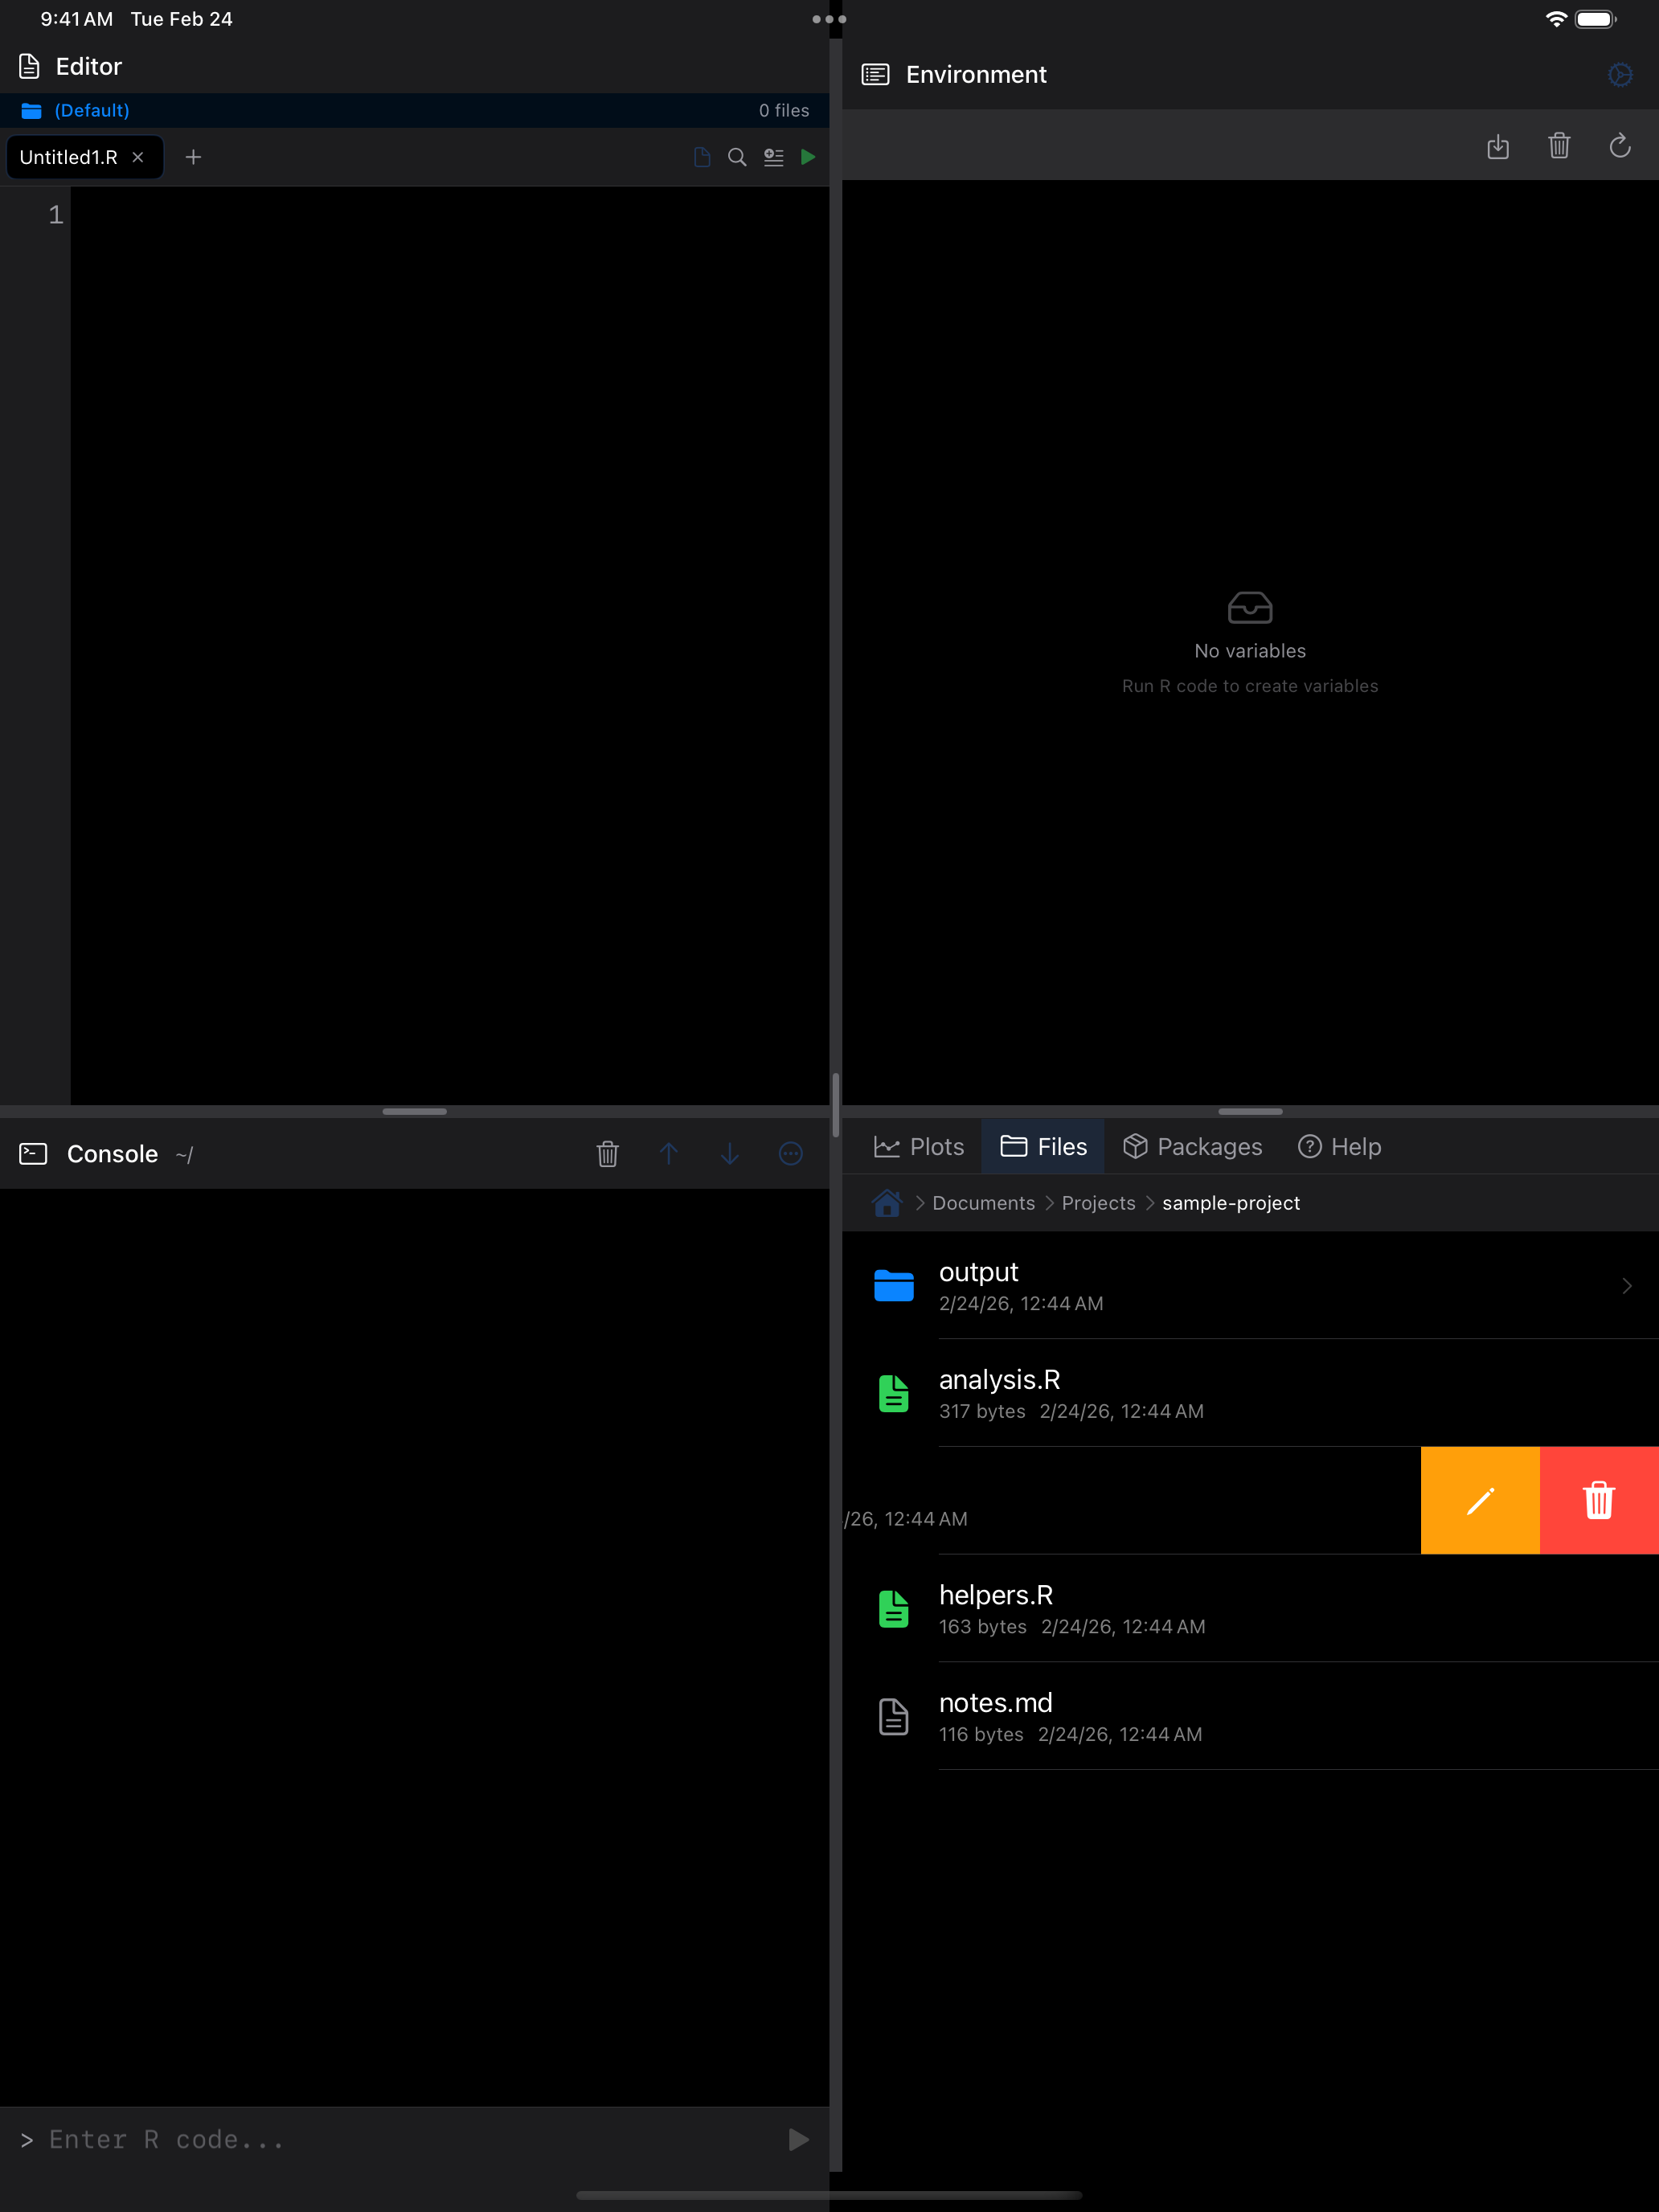
Renaming and deleting
Manage files with swipe gestures:
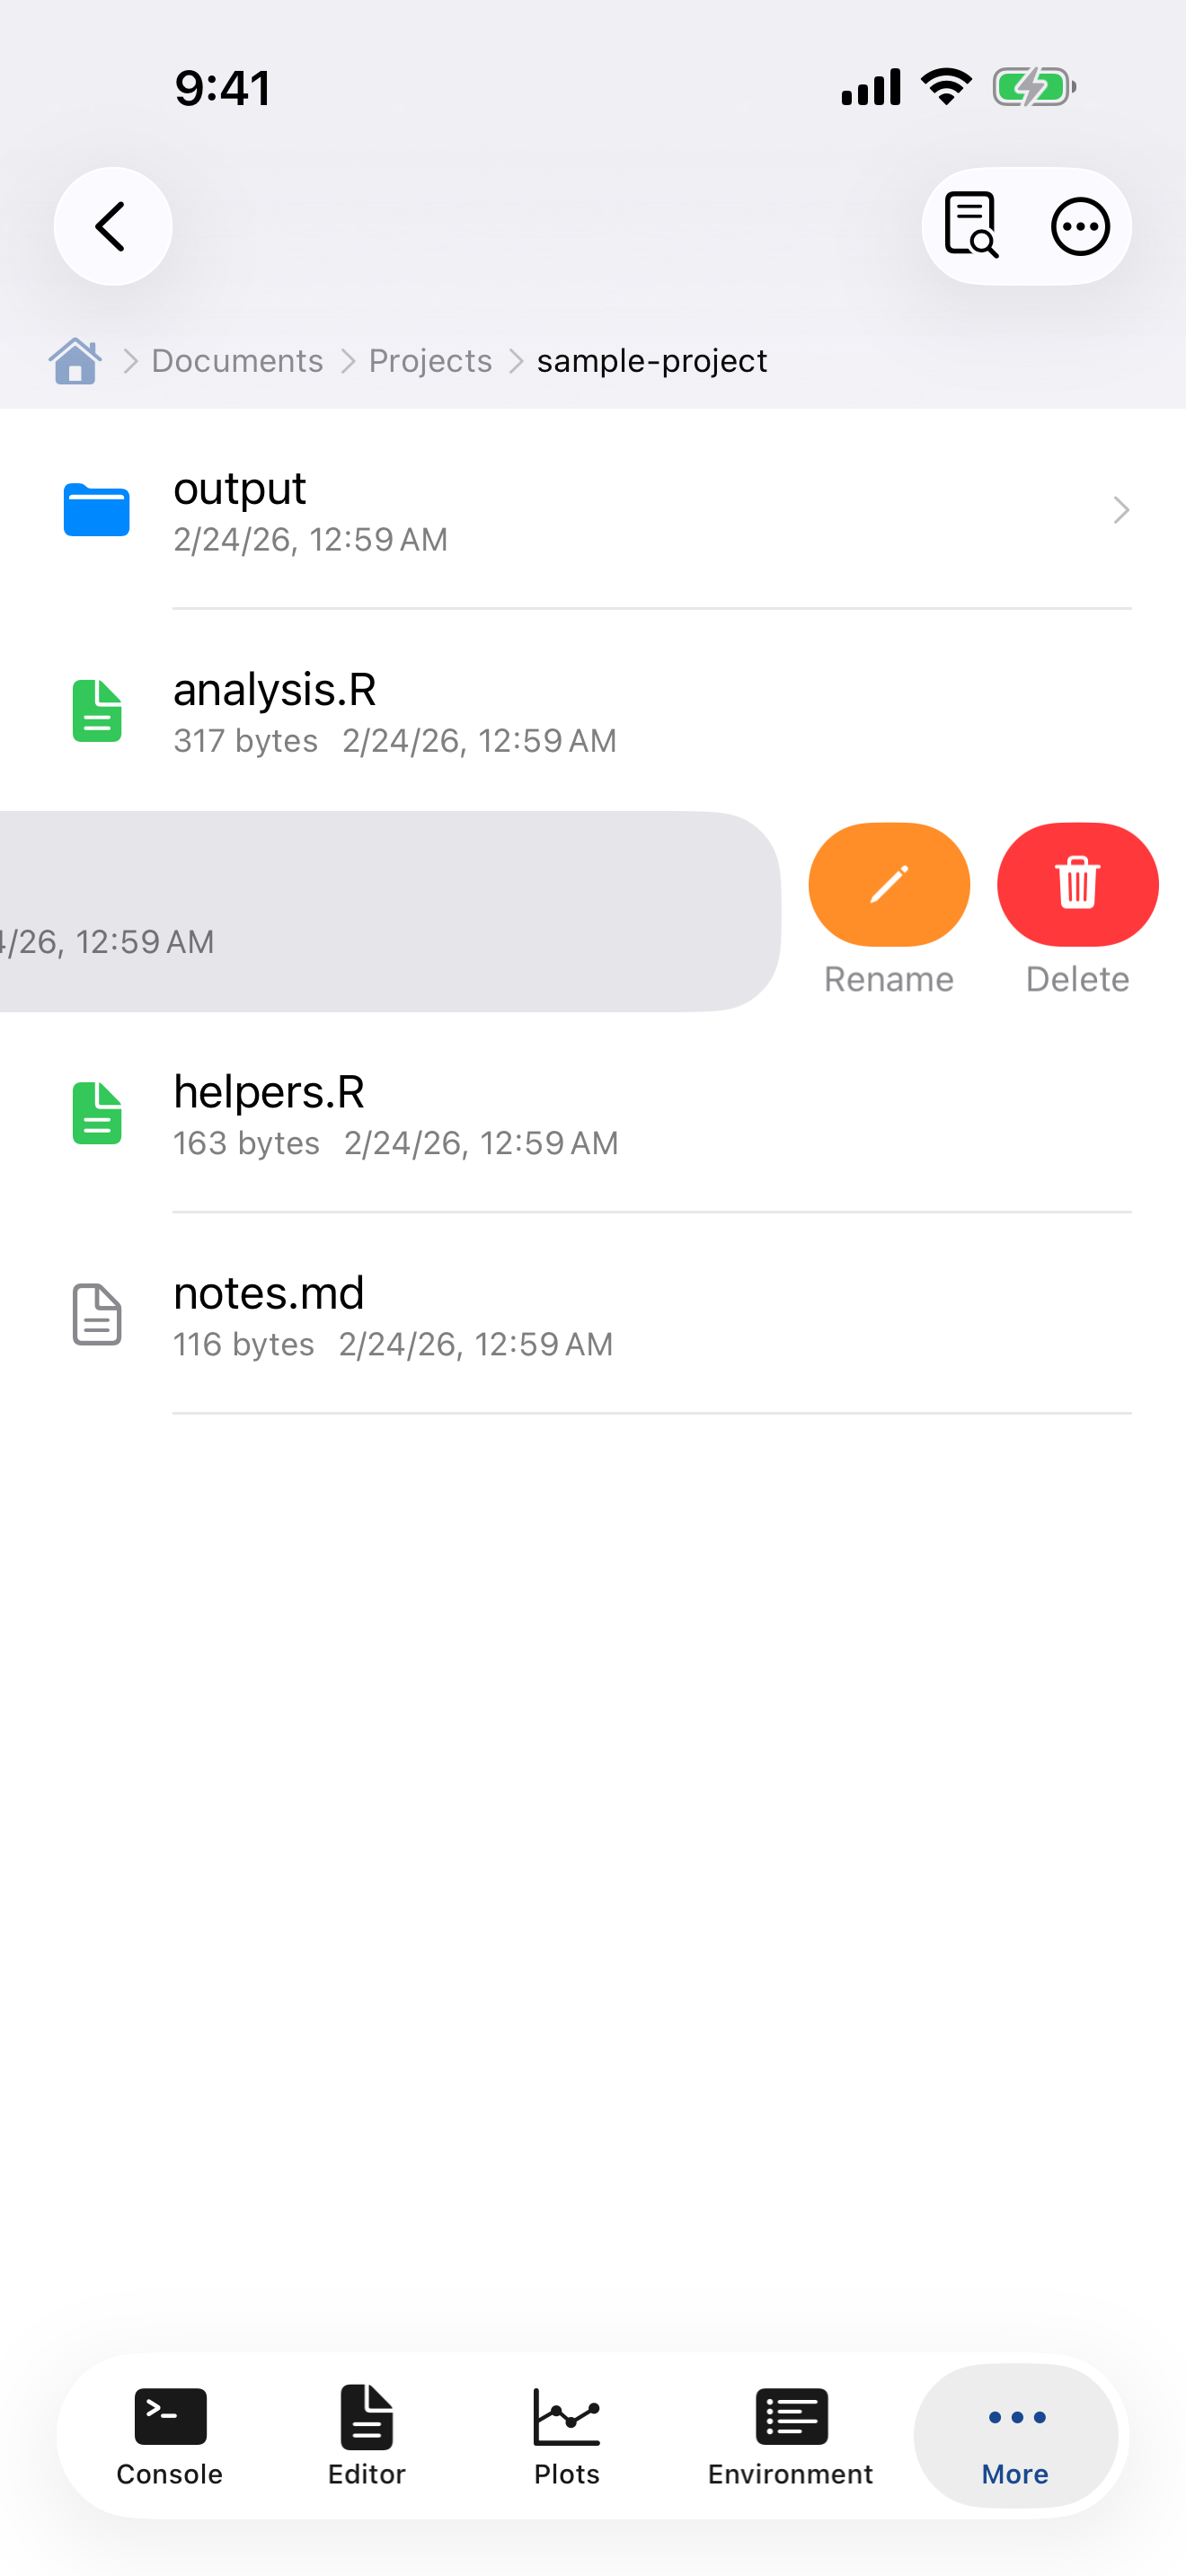
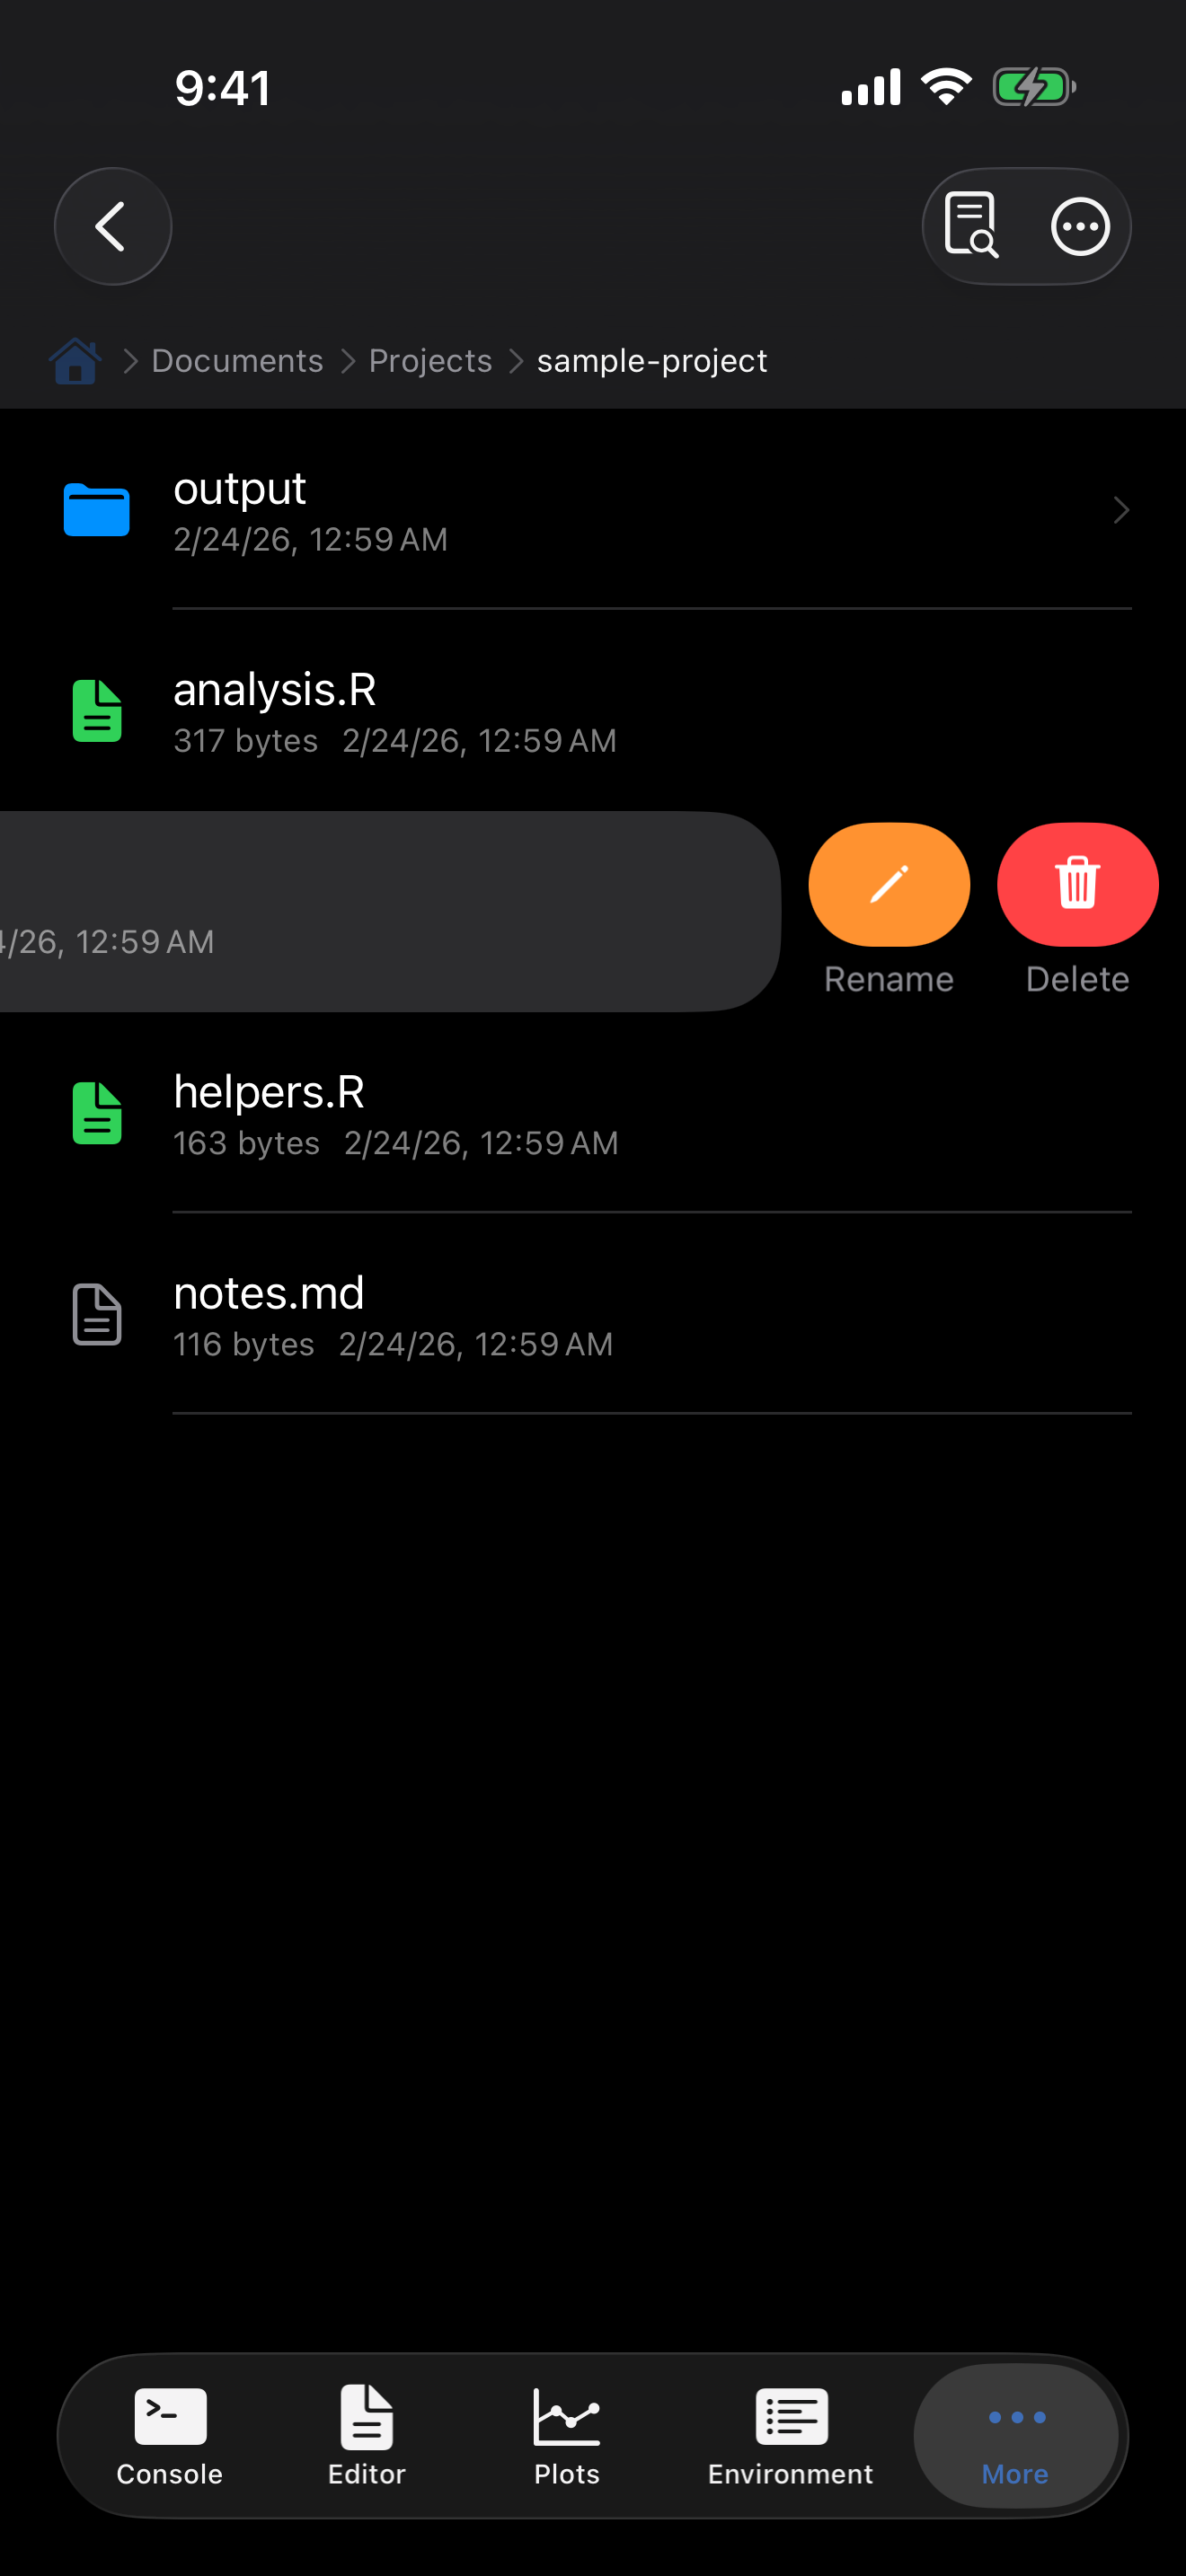
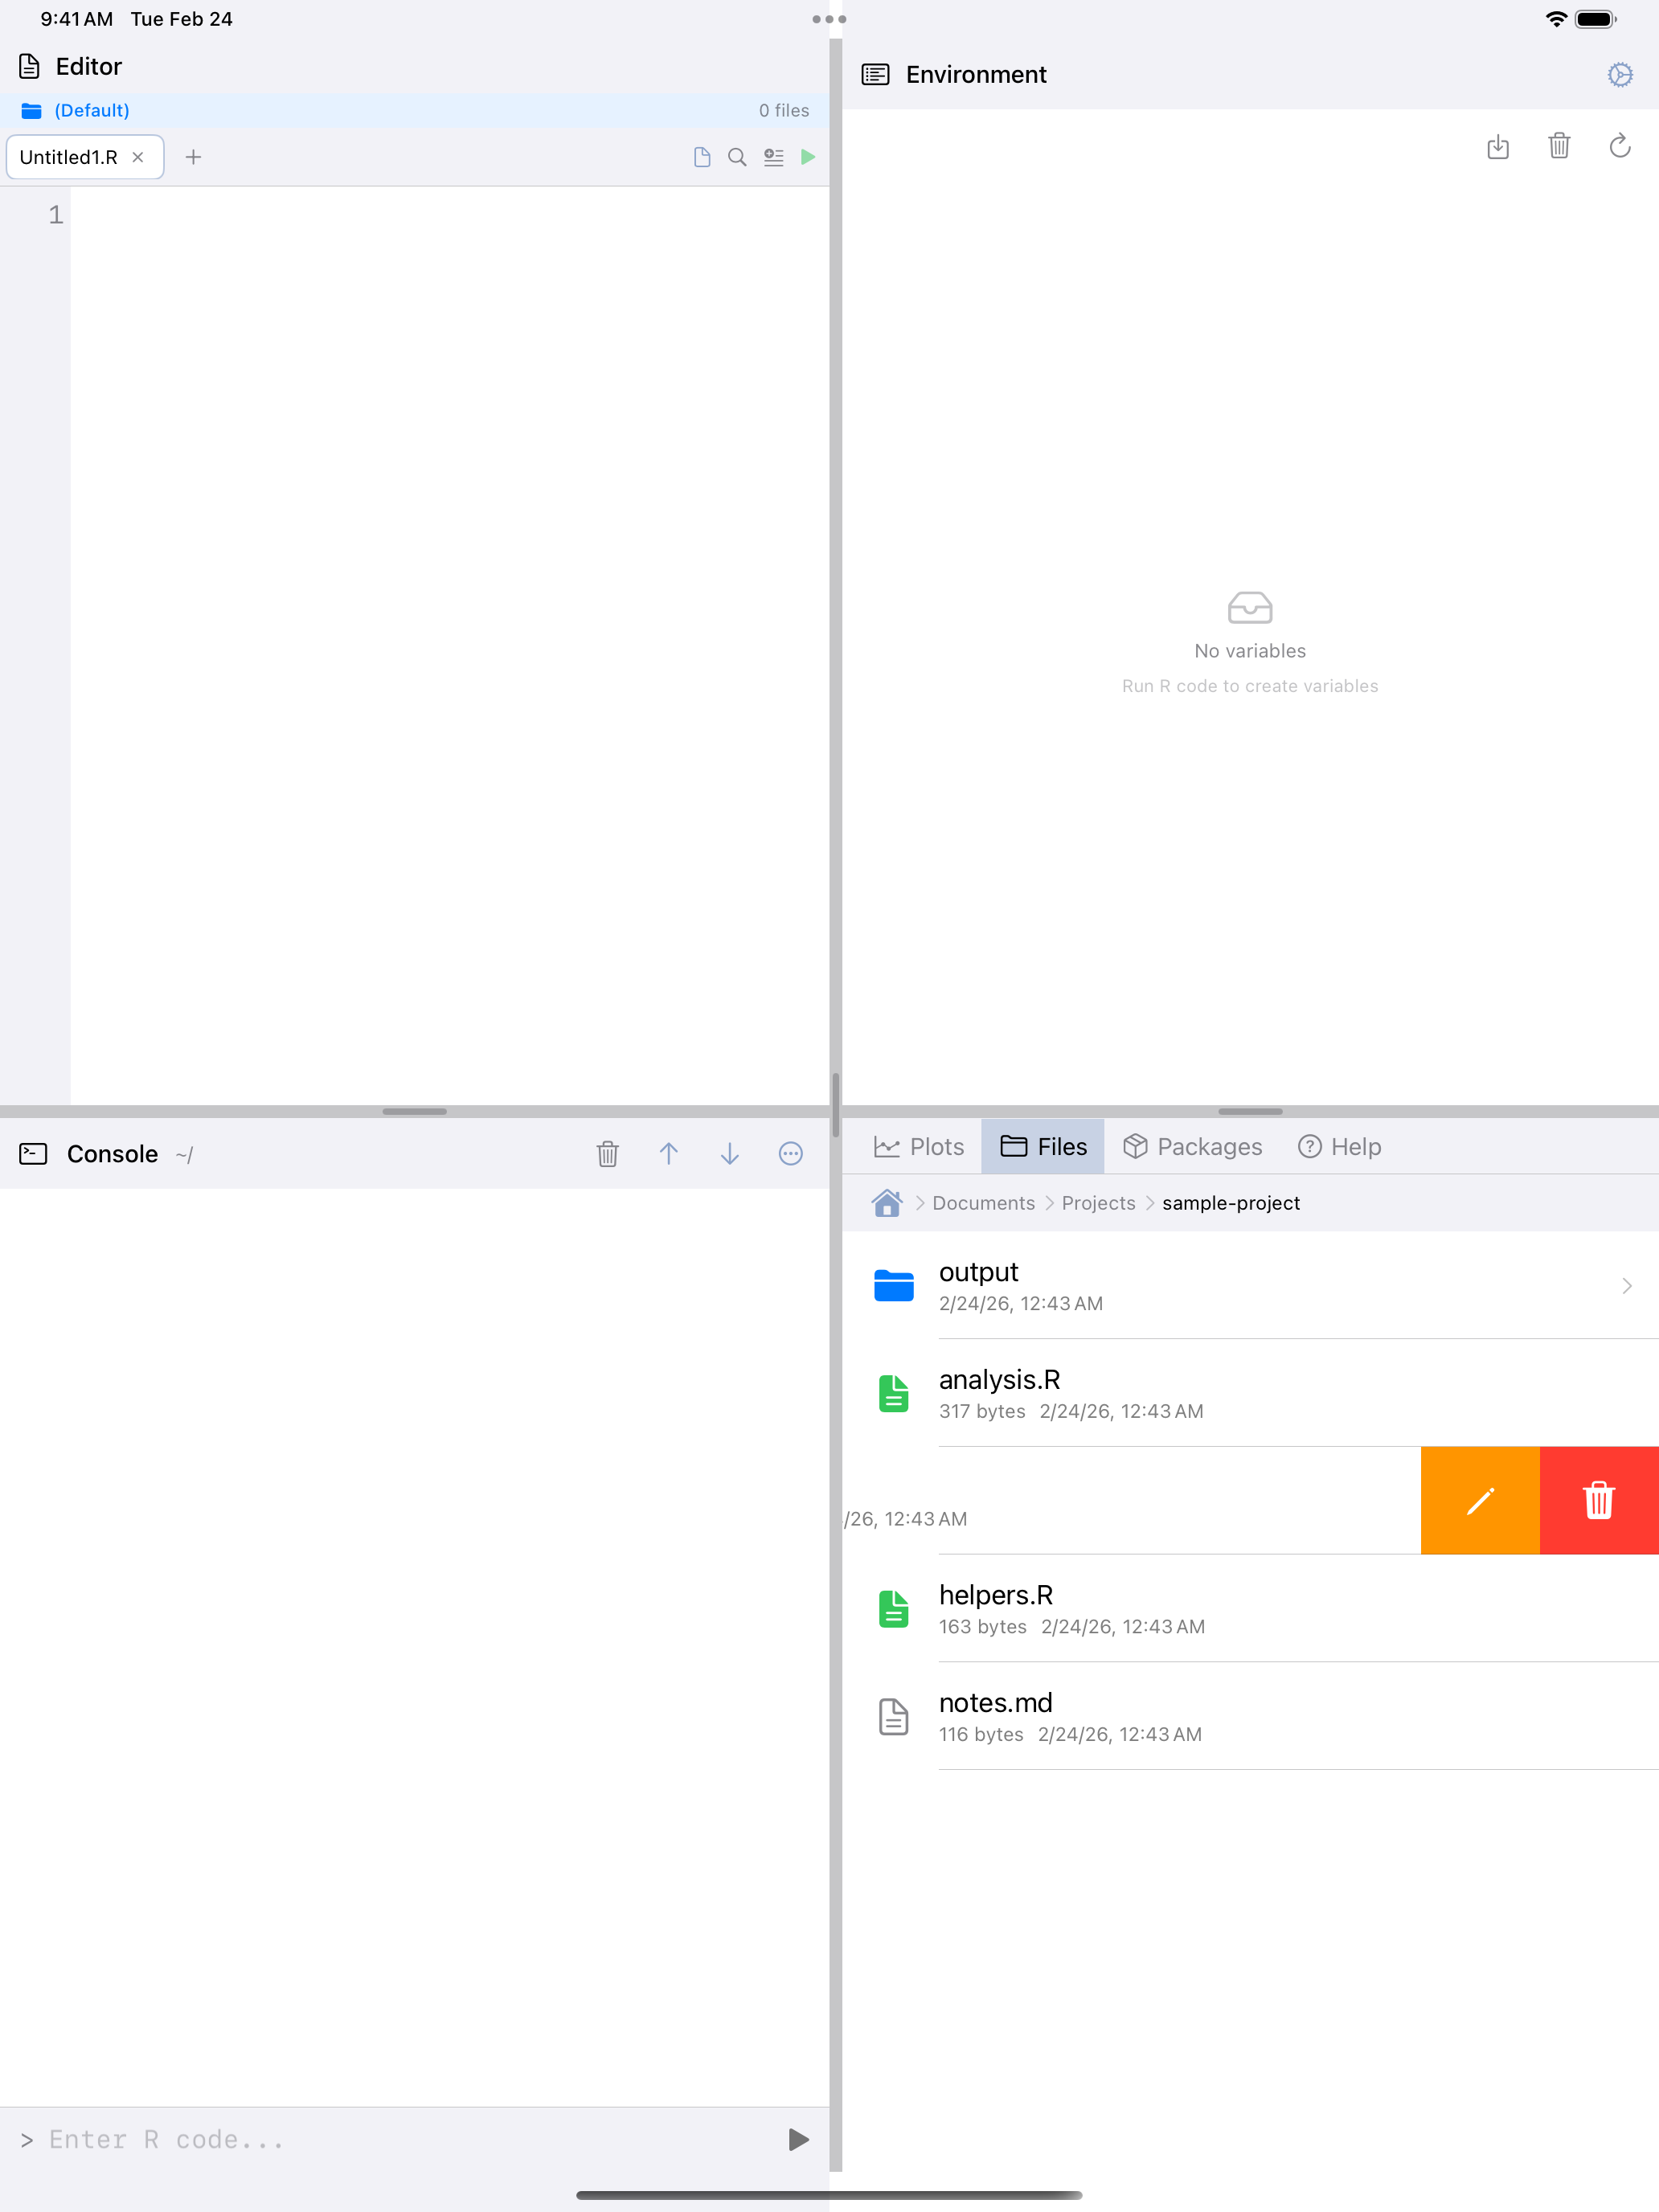
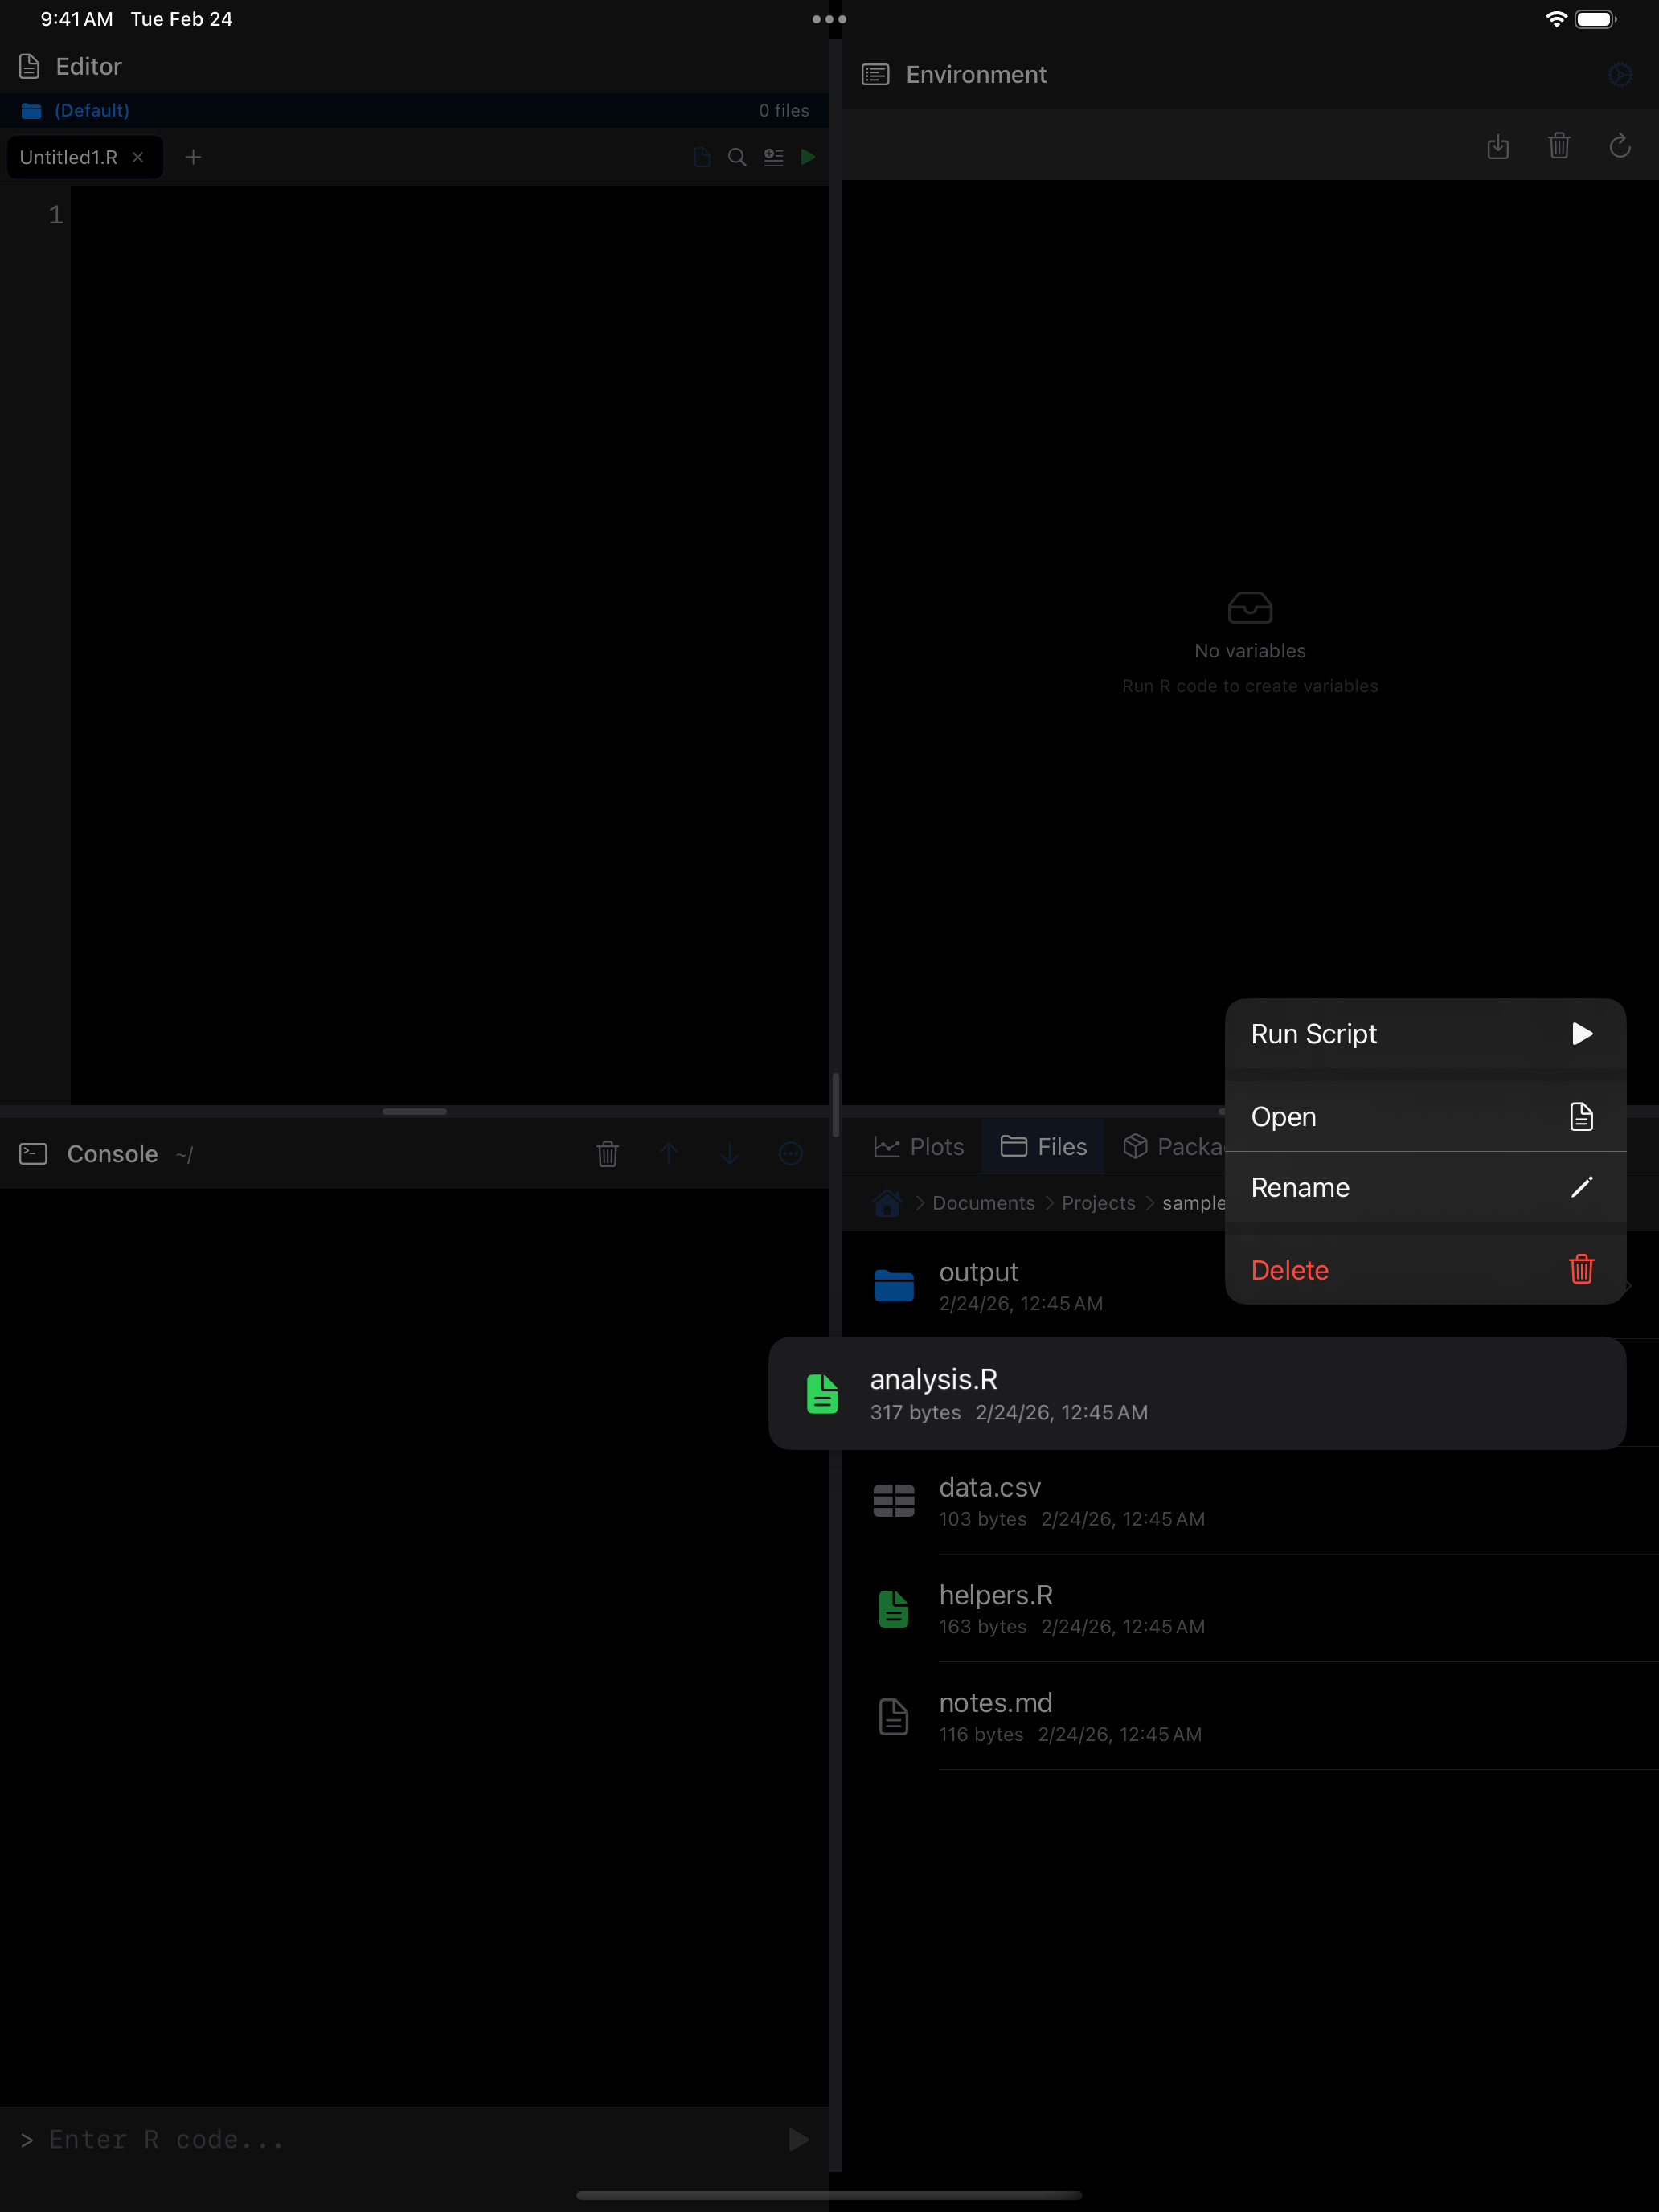
- Swipe left on a file or folder to see the Delete (red) and Rename (orange) buttons.
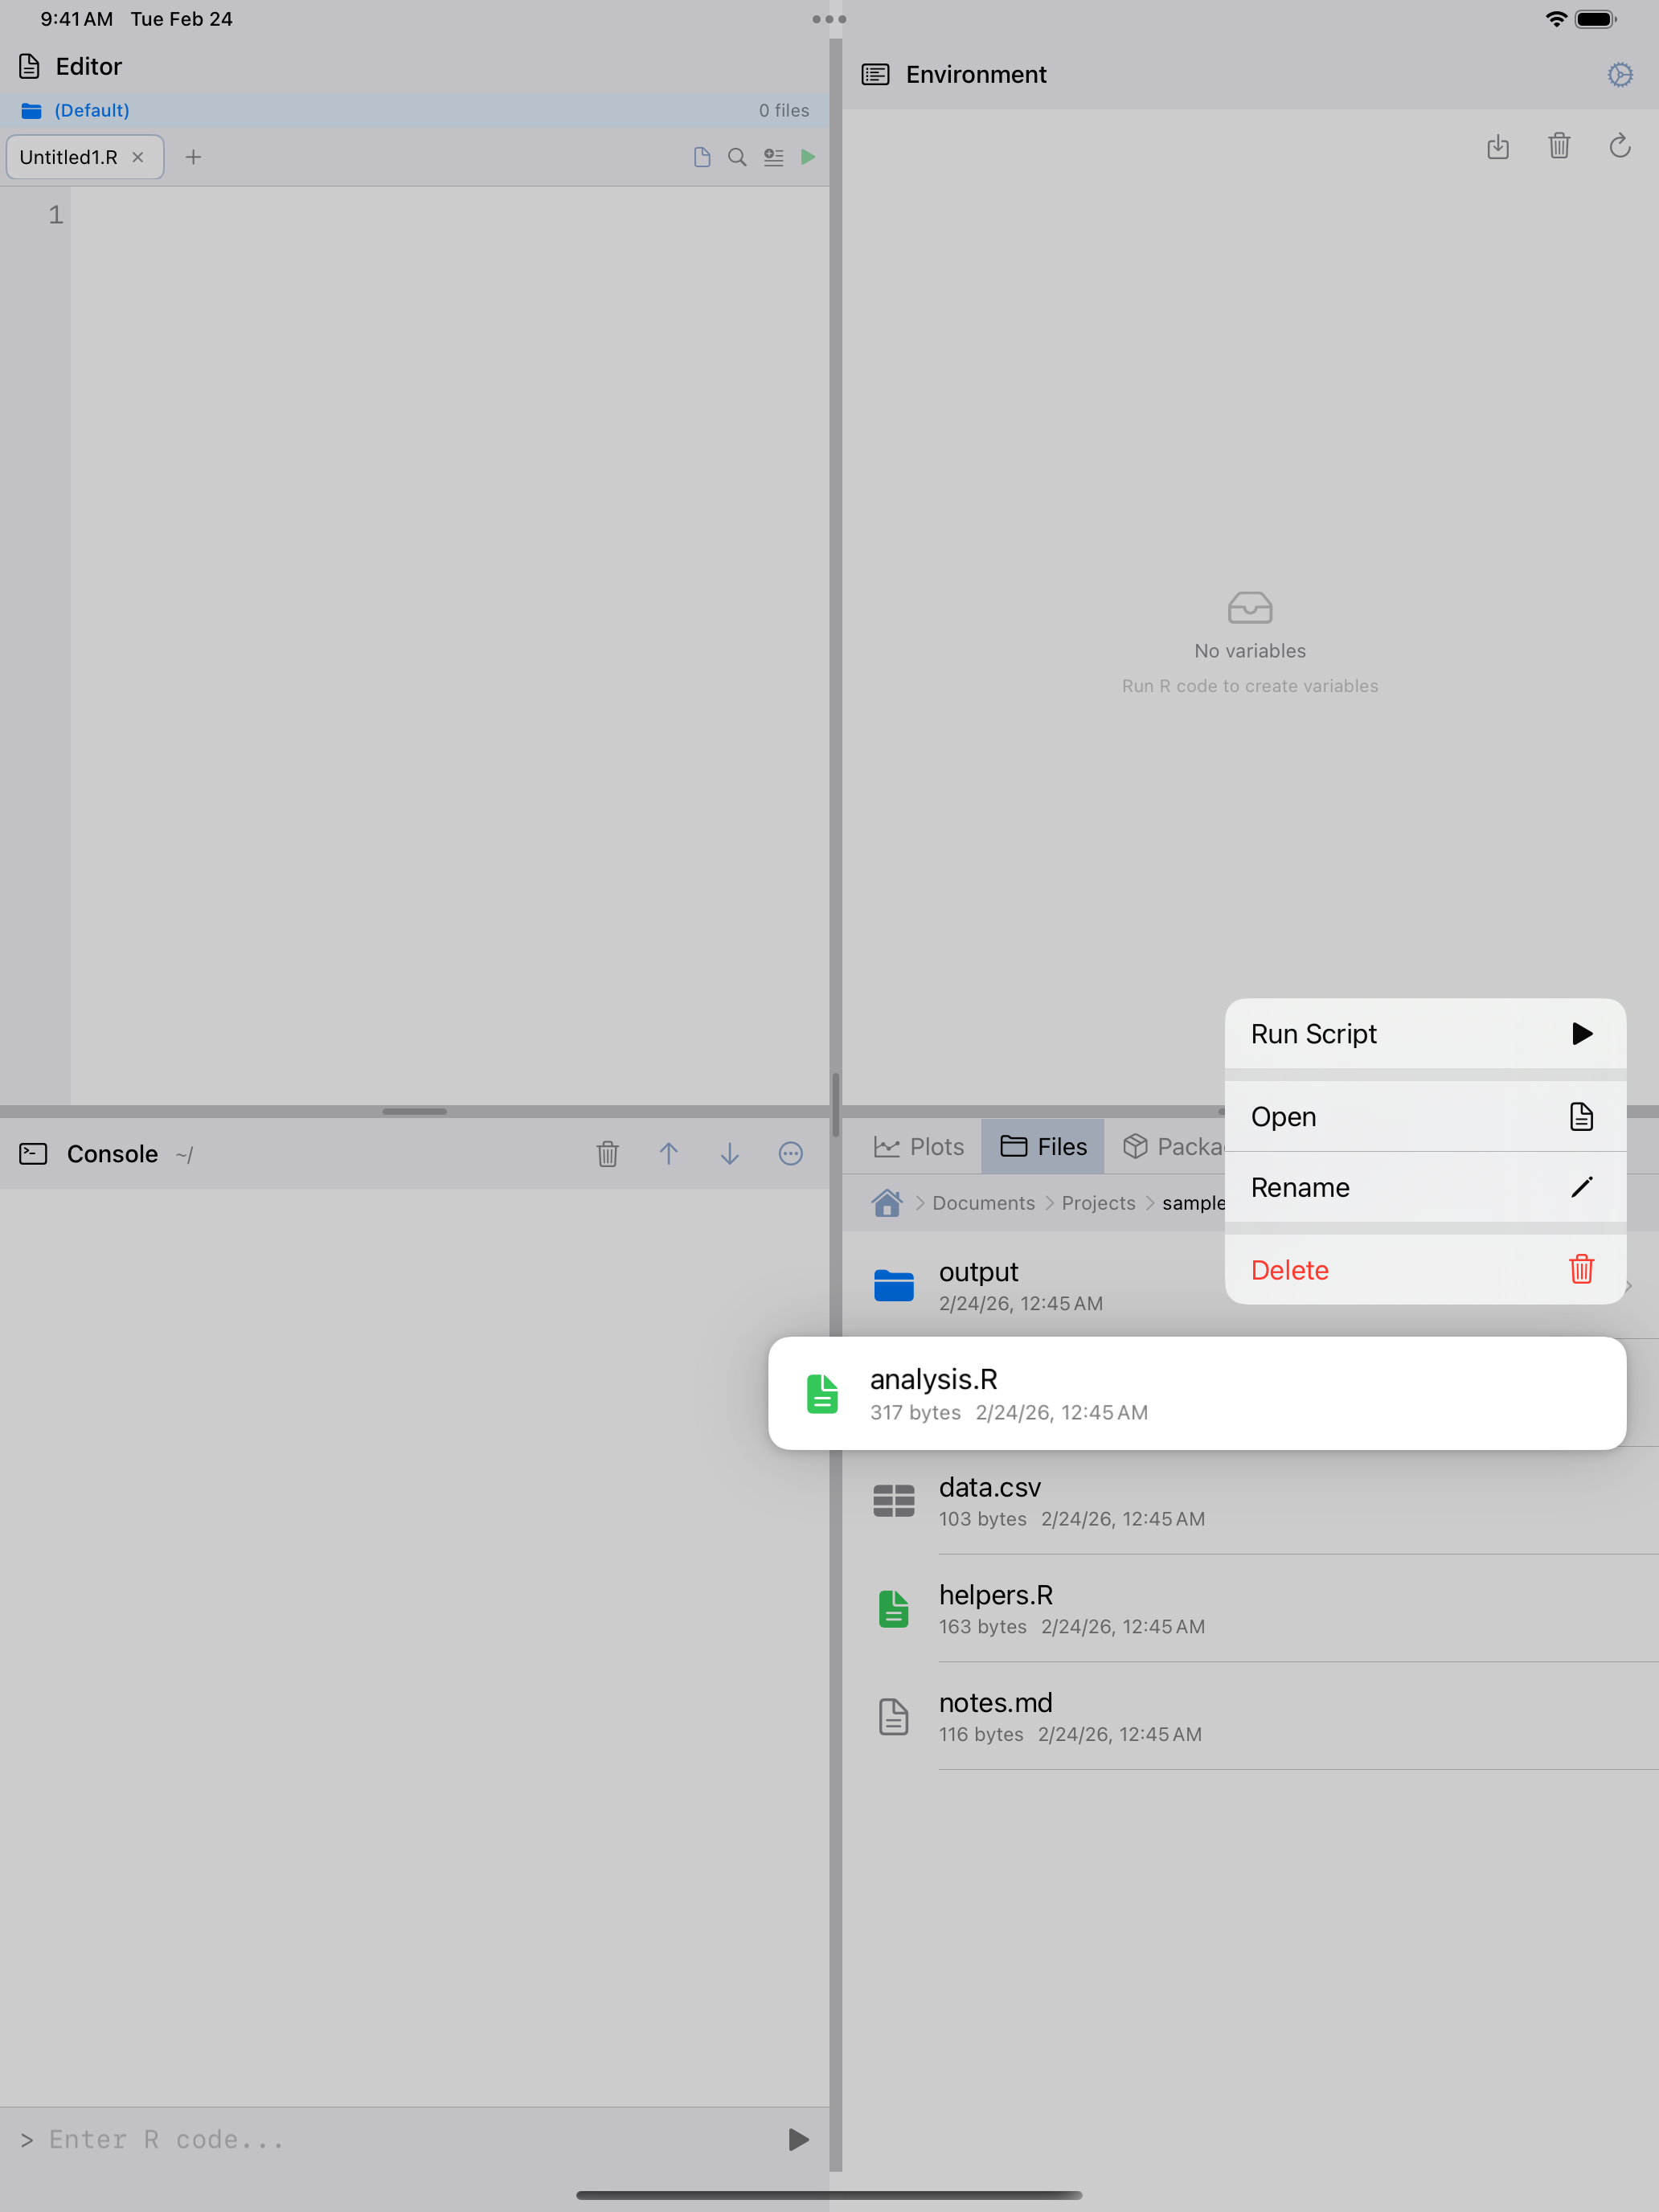
- Long-press a file for a context menu with the same options, plus Open in Editor, Import into R… for data files, Load into R for
.rdsand.RDatafiles, Run Script for R files, Share, and Open in New Window on iPad. VoiceOver offers the same items as actions.
Deleting is permanent. A confirmation prompt appears, but there is no undo.
Renaming, moving or deleting a file here updates everything that refers to it: open editor tabs and iPad editor windows, Recent Files, R’s working directory and Spotlight. Saving an open tab afterwards writes the new name rather than bringing back the old one. An iPad editor window whose file was deleted keeps its text as unsaved, and Save offers to save a copy in the current project.
Searching for files
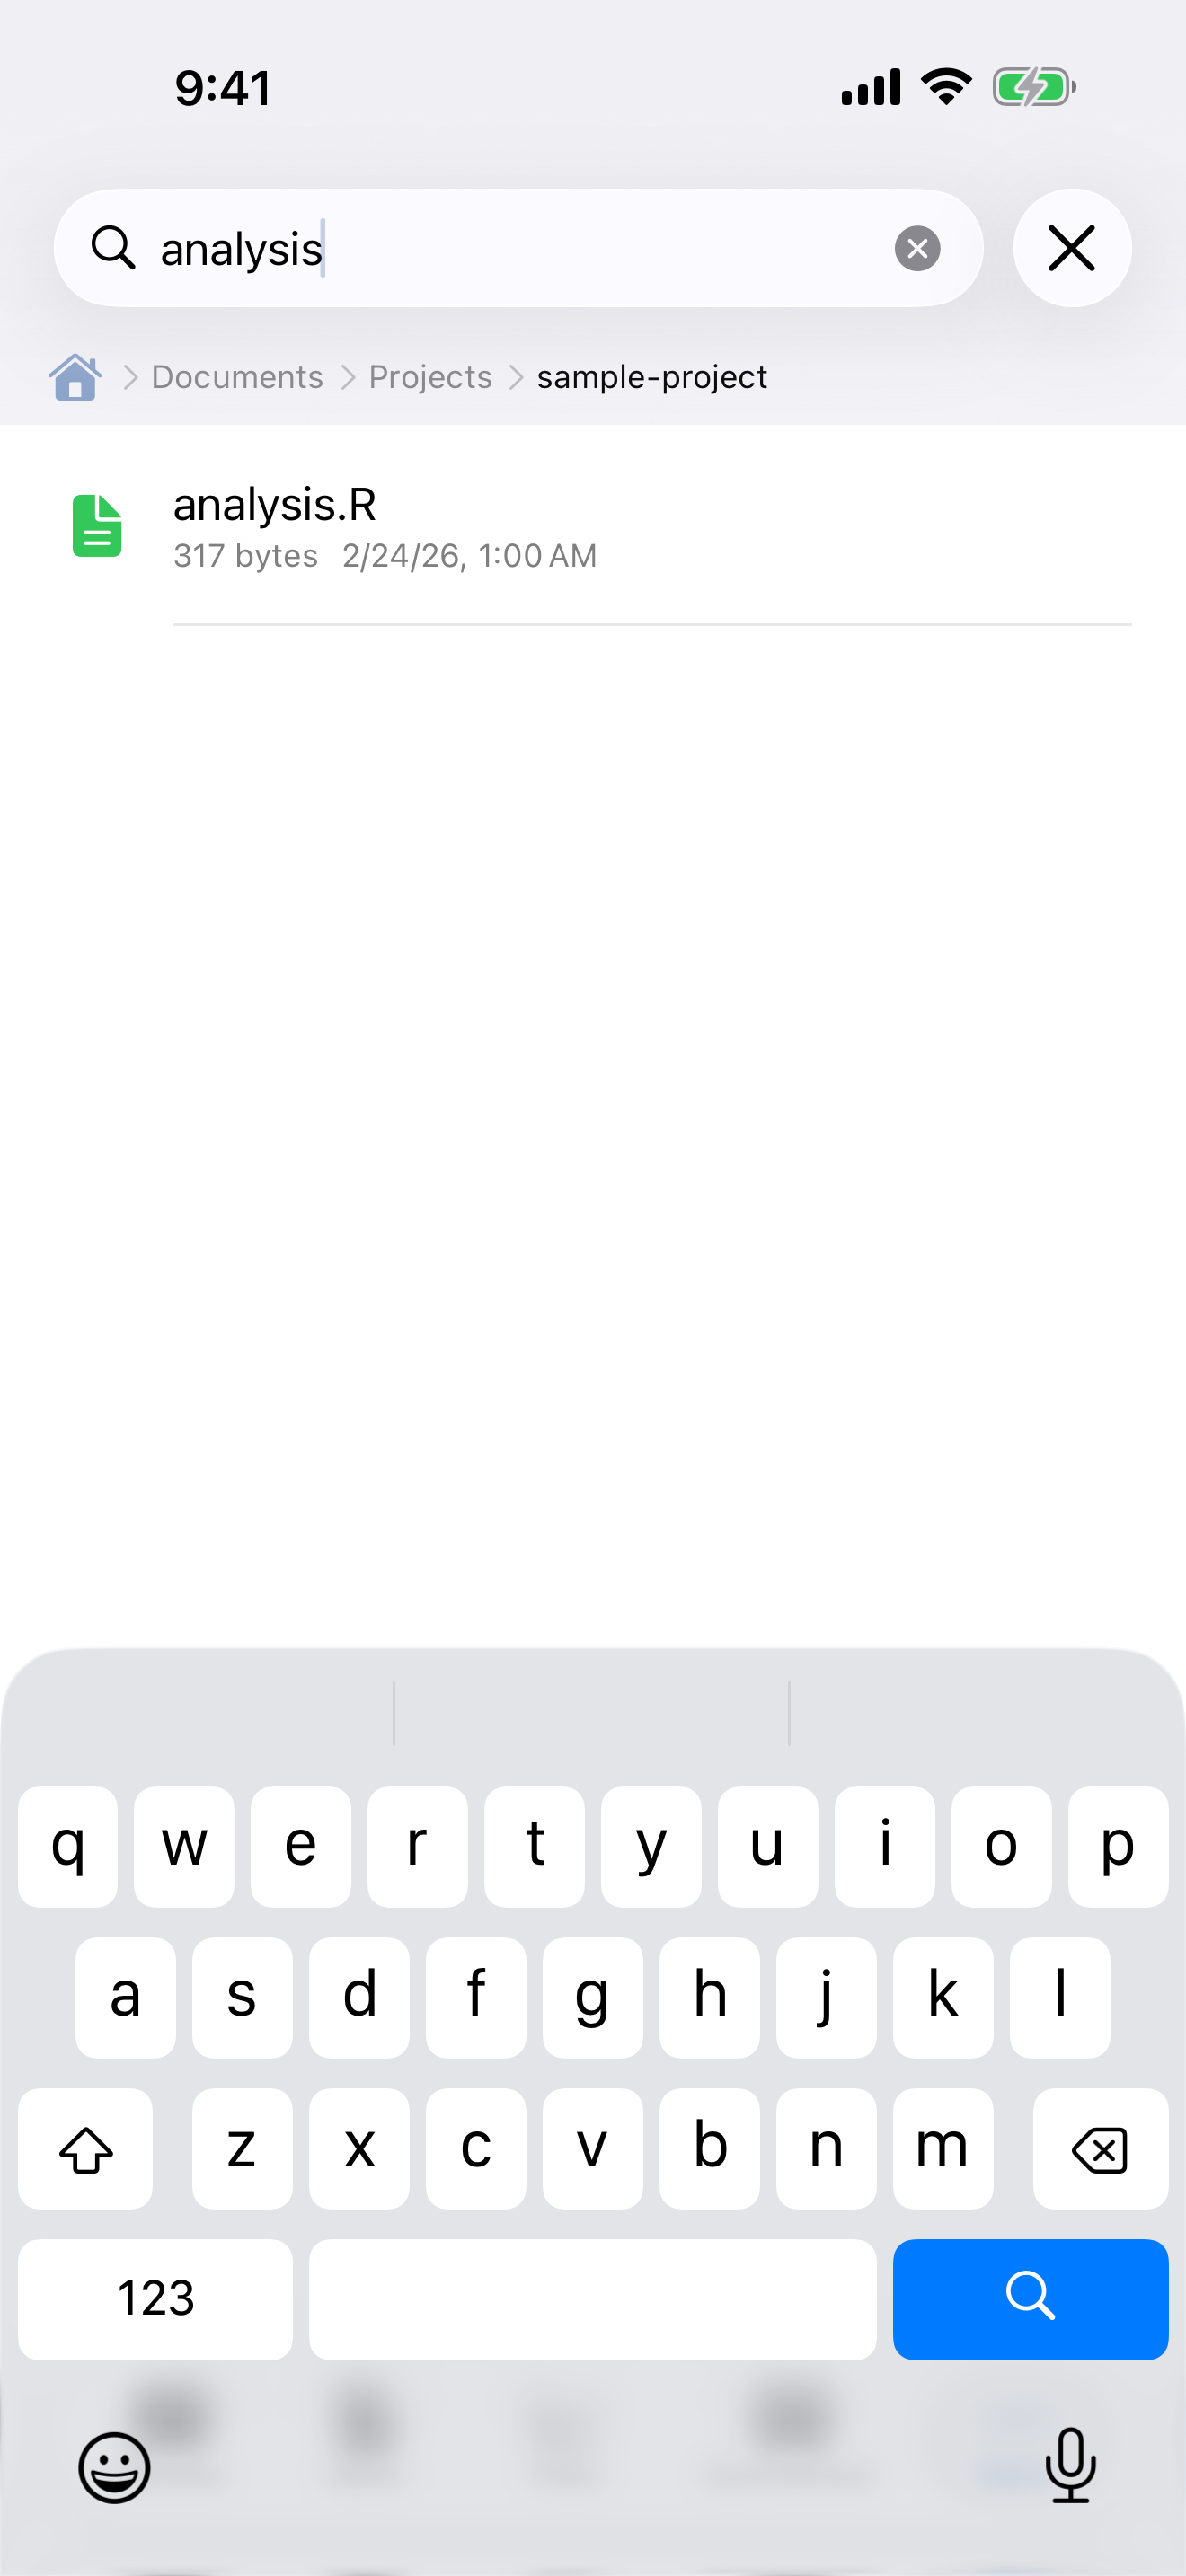
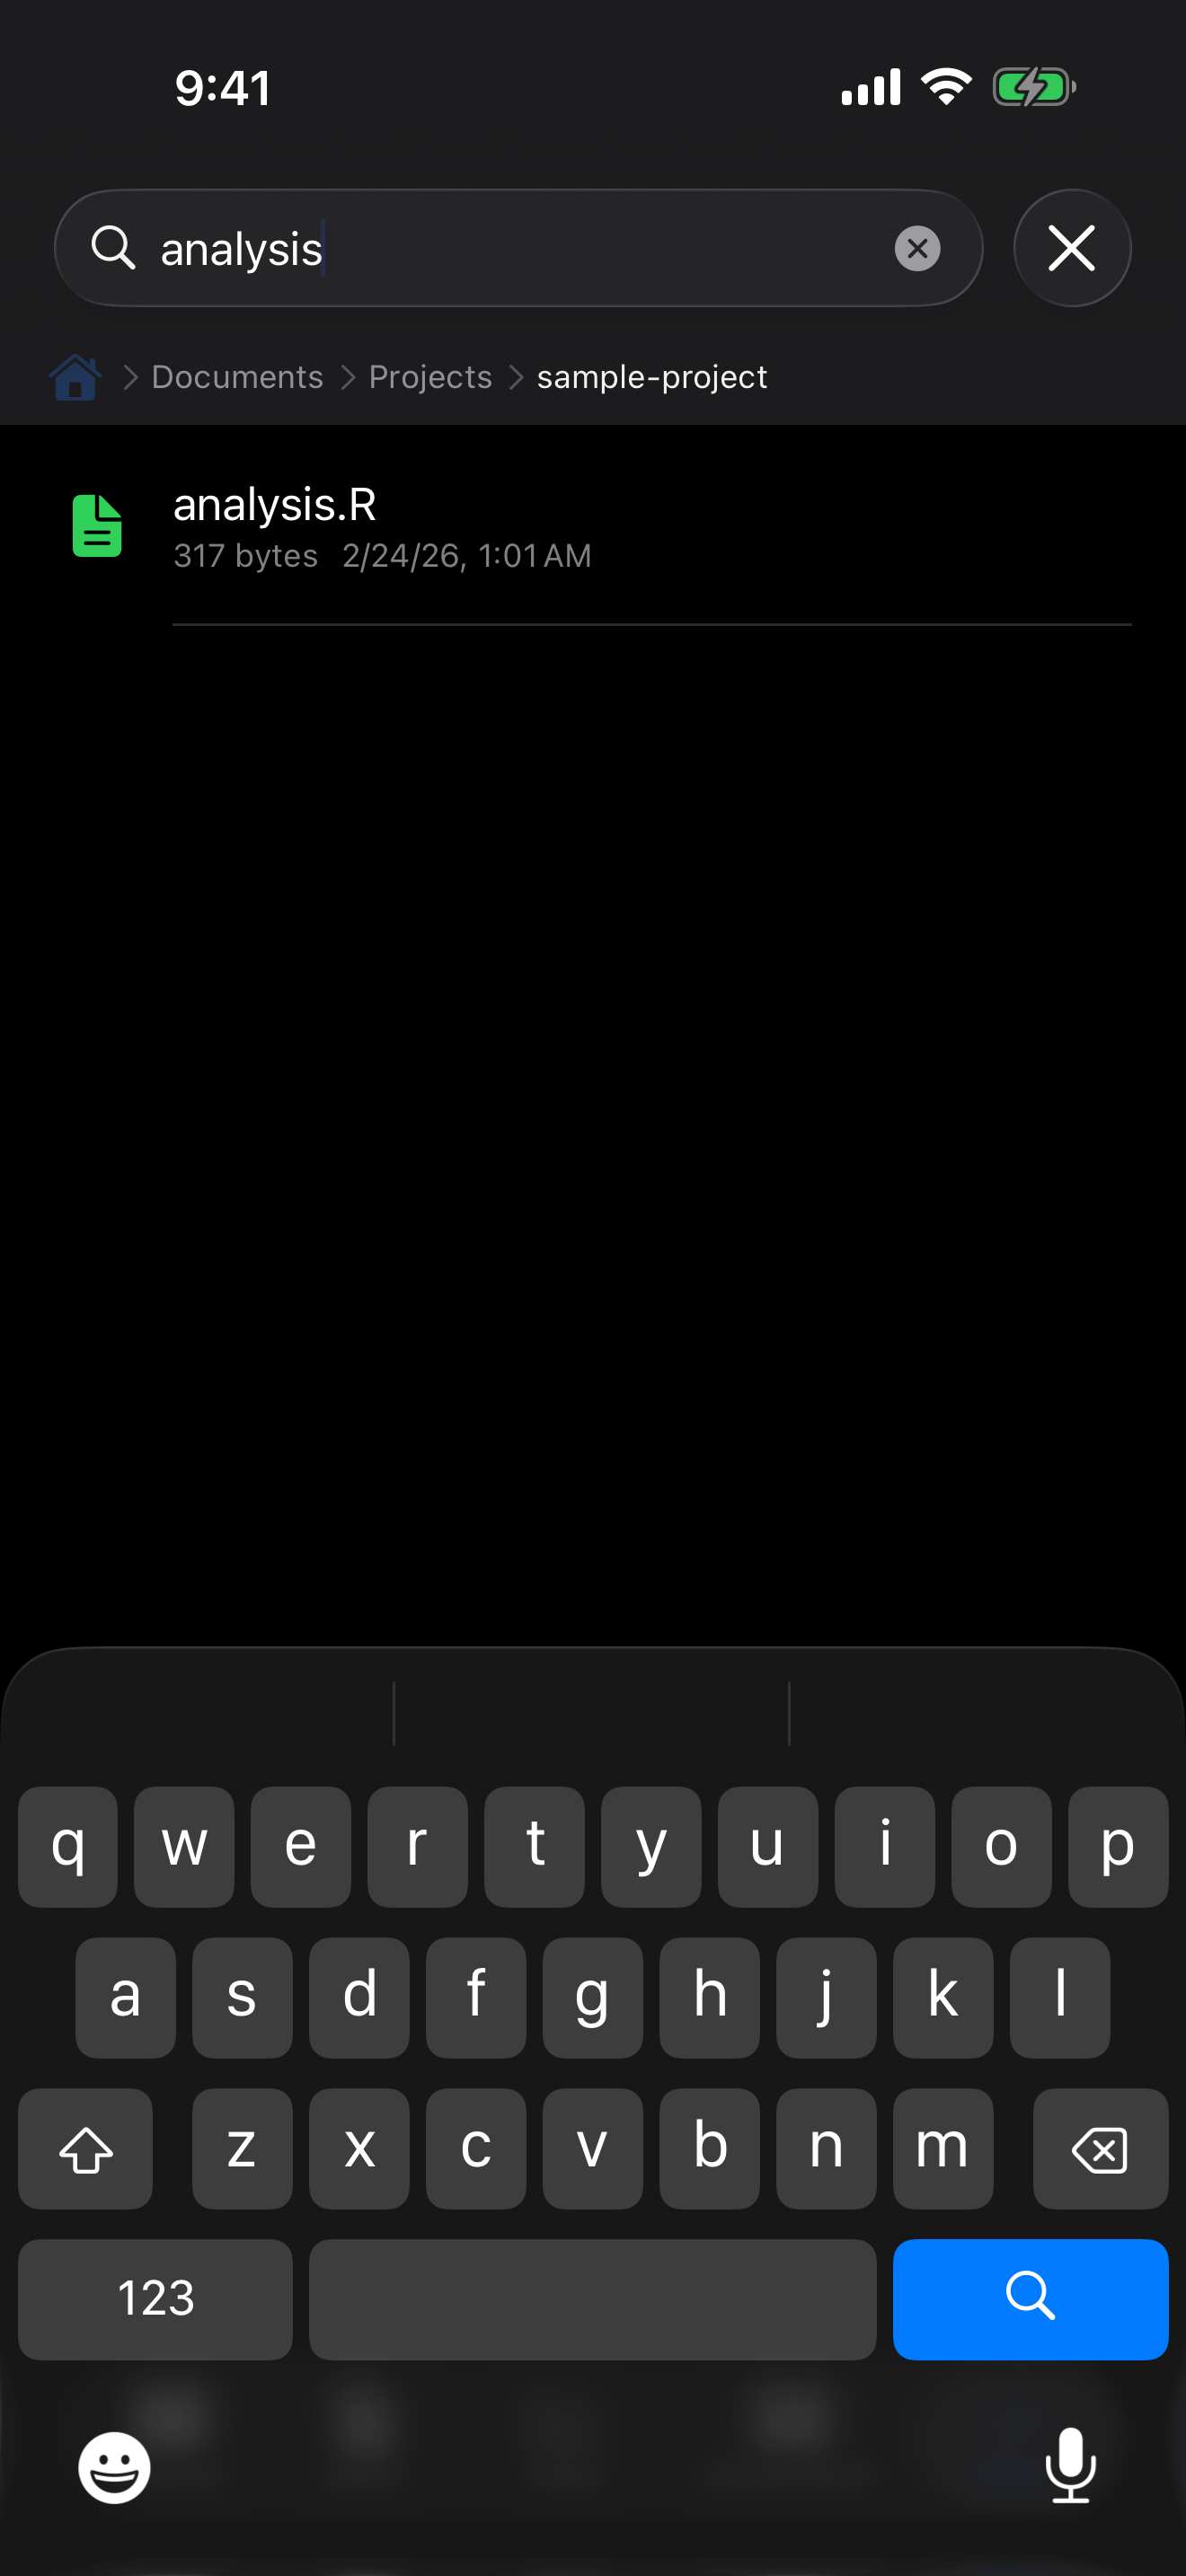
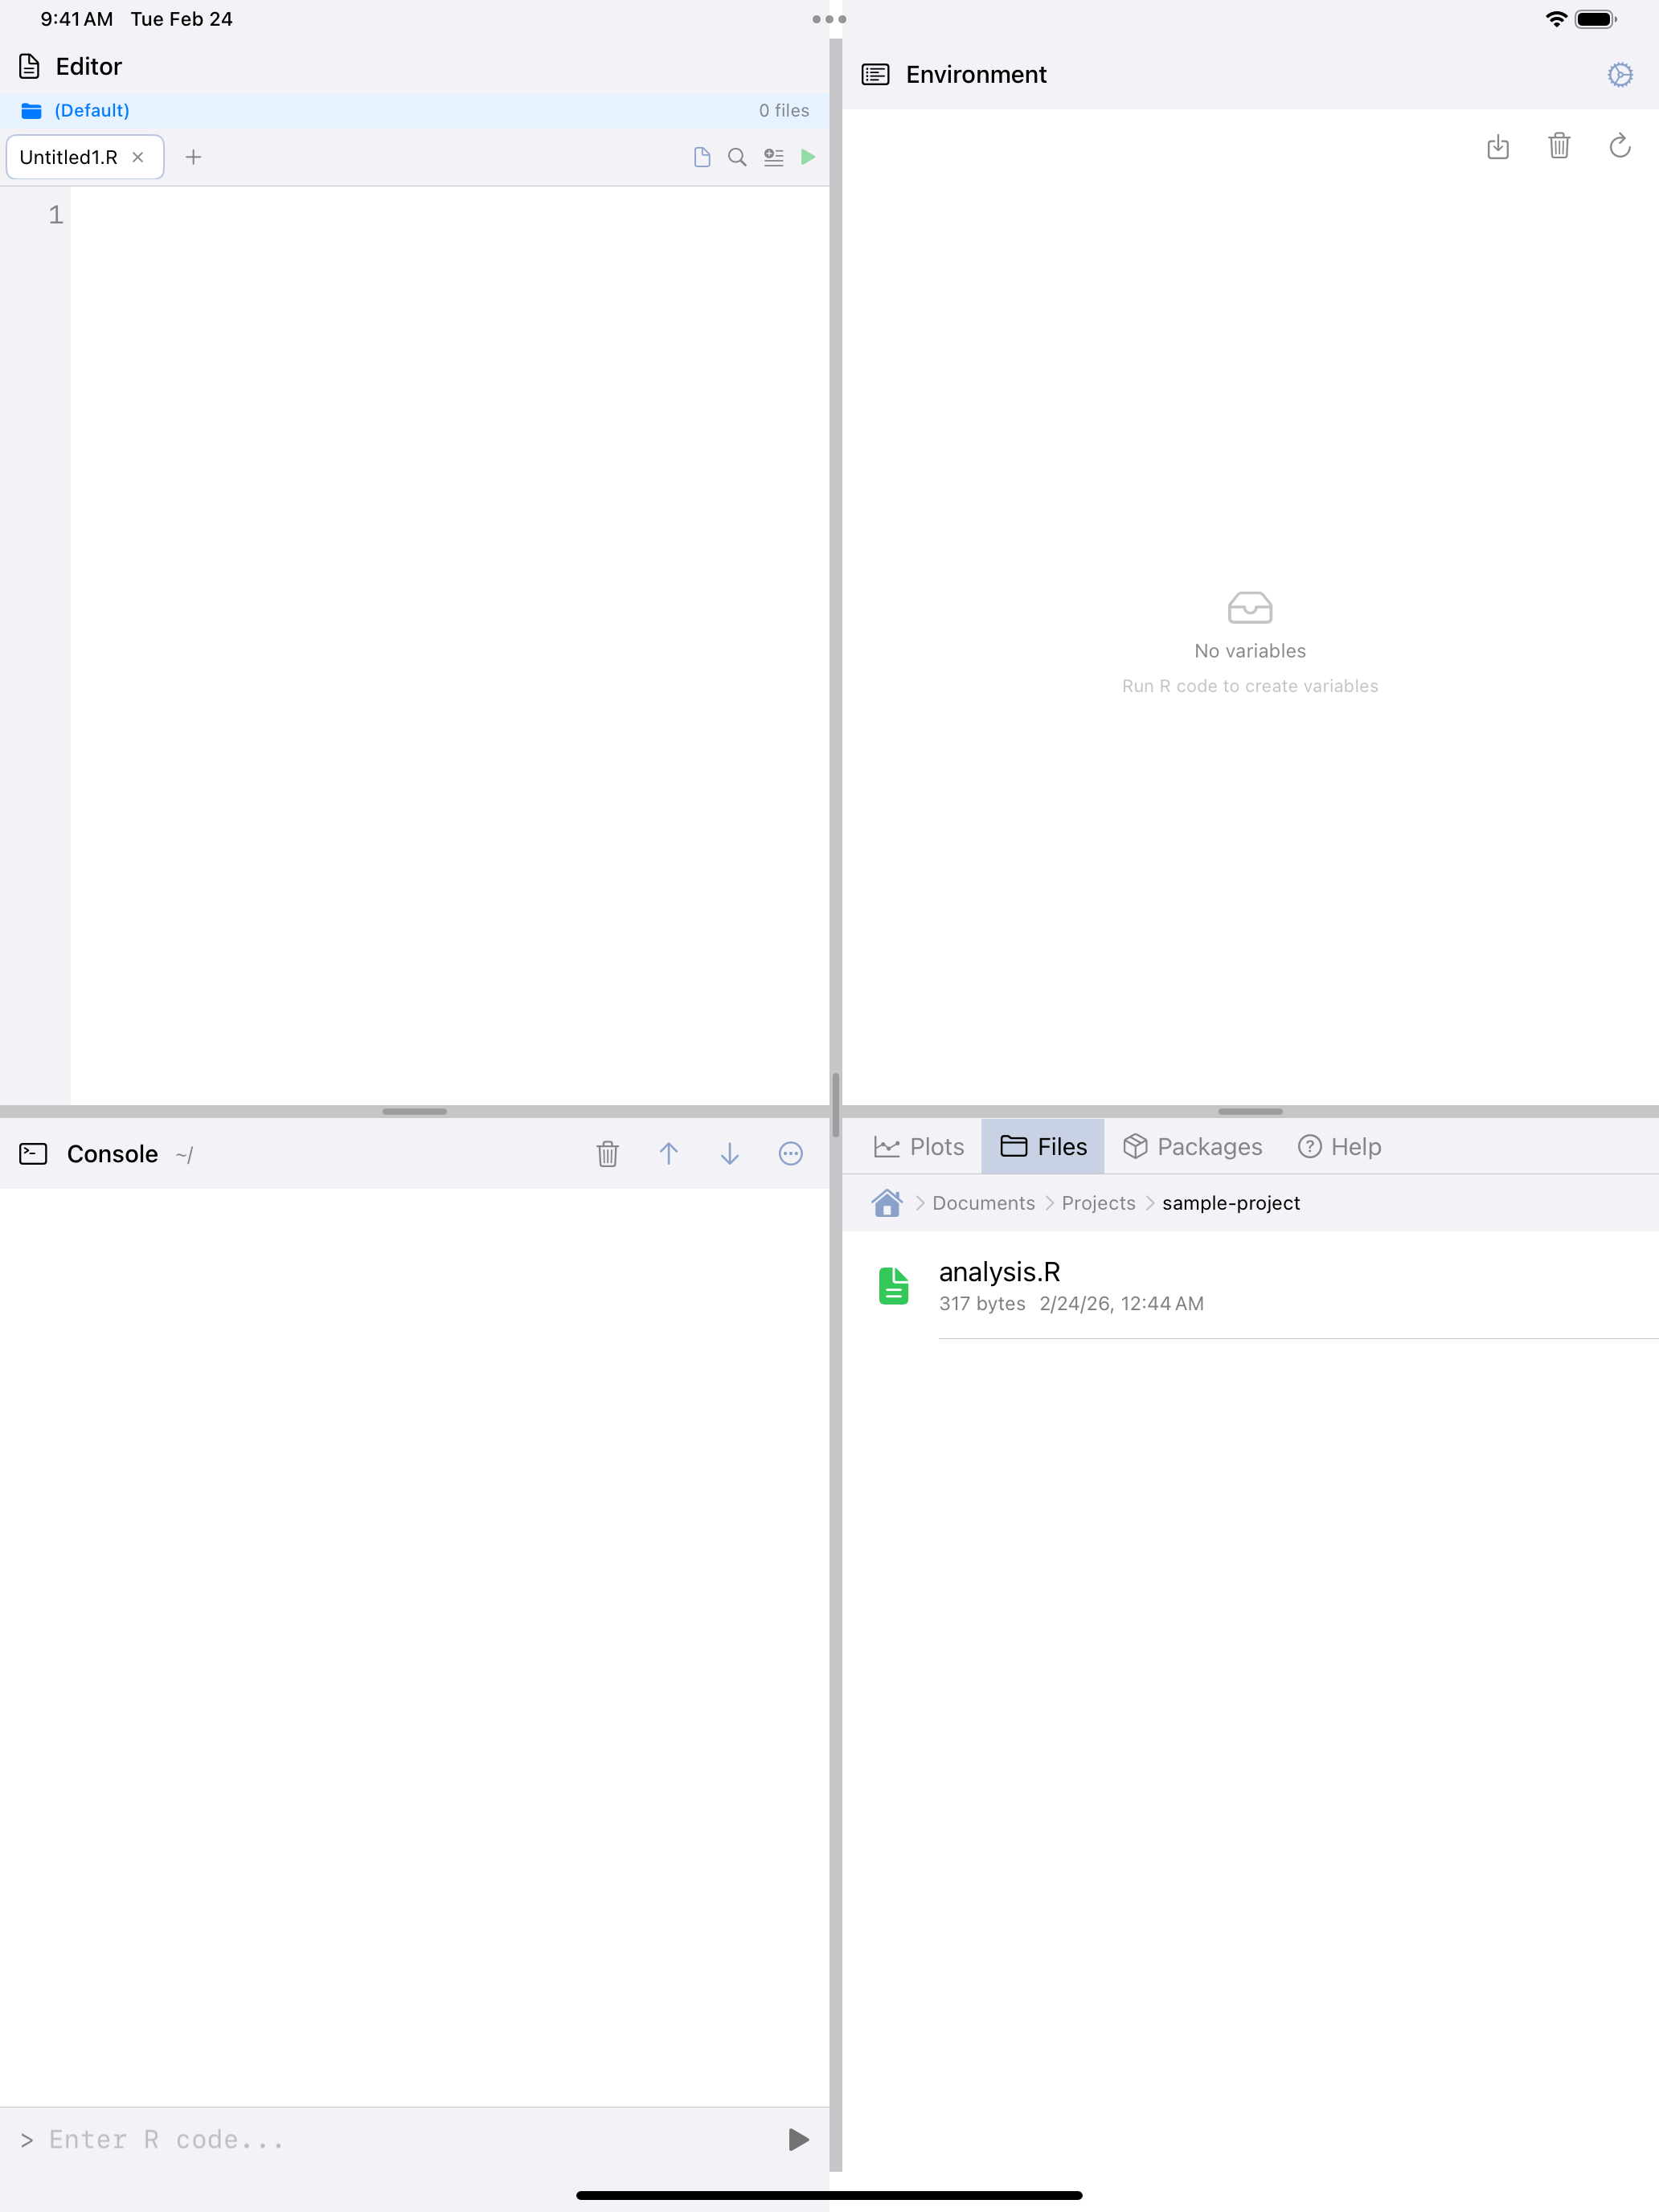
The search bar at the top filters files by name within the current folder.
For full-text search across all folders, tap the magnifying glass icon to open Search in Files. Chips choose the kinds of file searched (R, Text, CSV, JSON and Markdown), each result shows its path below Documents, and tapping a result opens that file. The folders where webRios keeps installed packages are left out of the list and the search.
Running R scripts
There are two ways to run an R script directly from the Files tab:
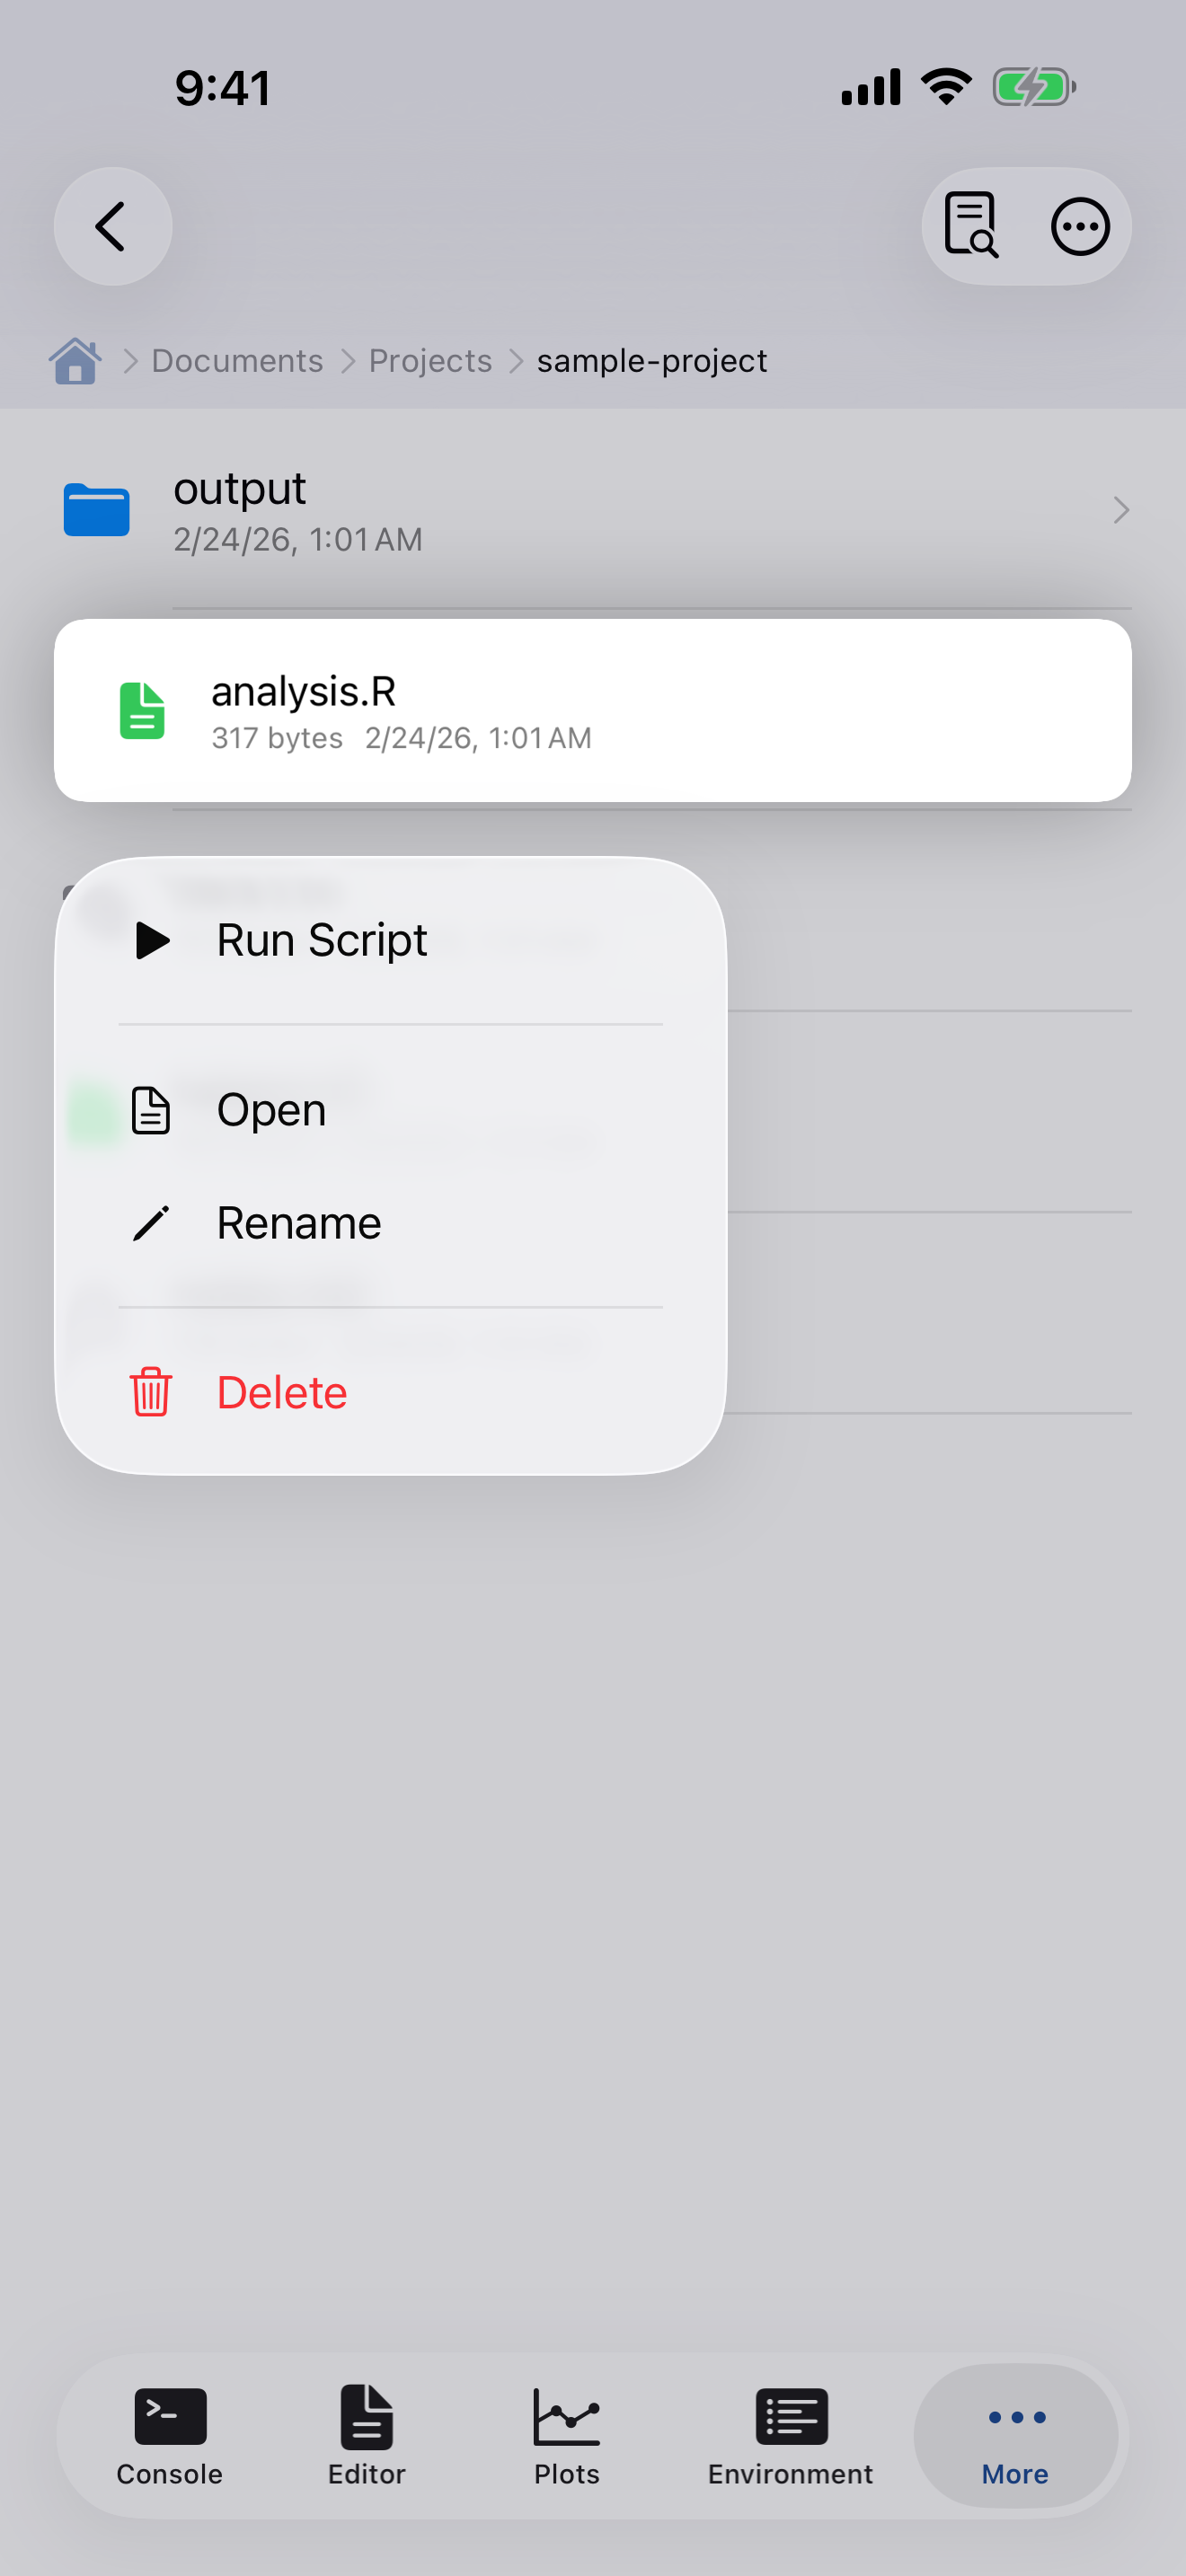
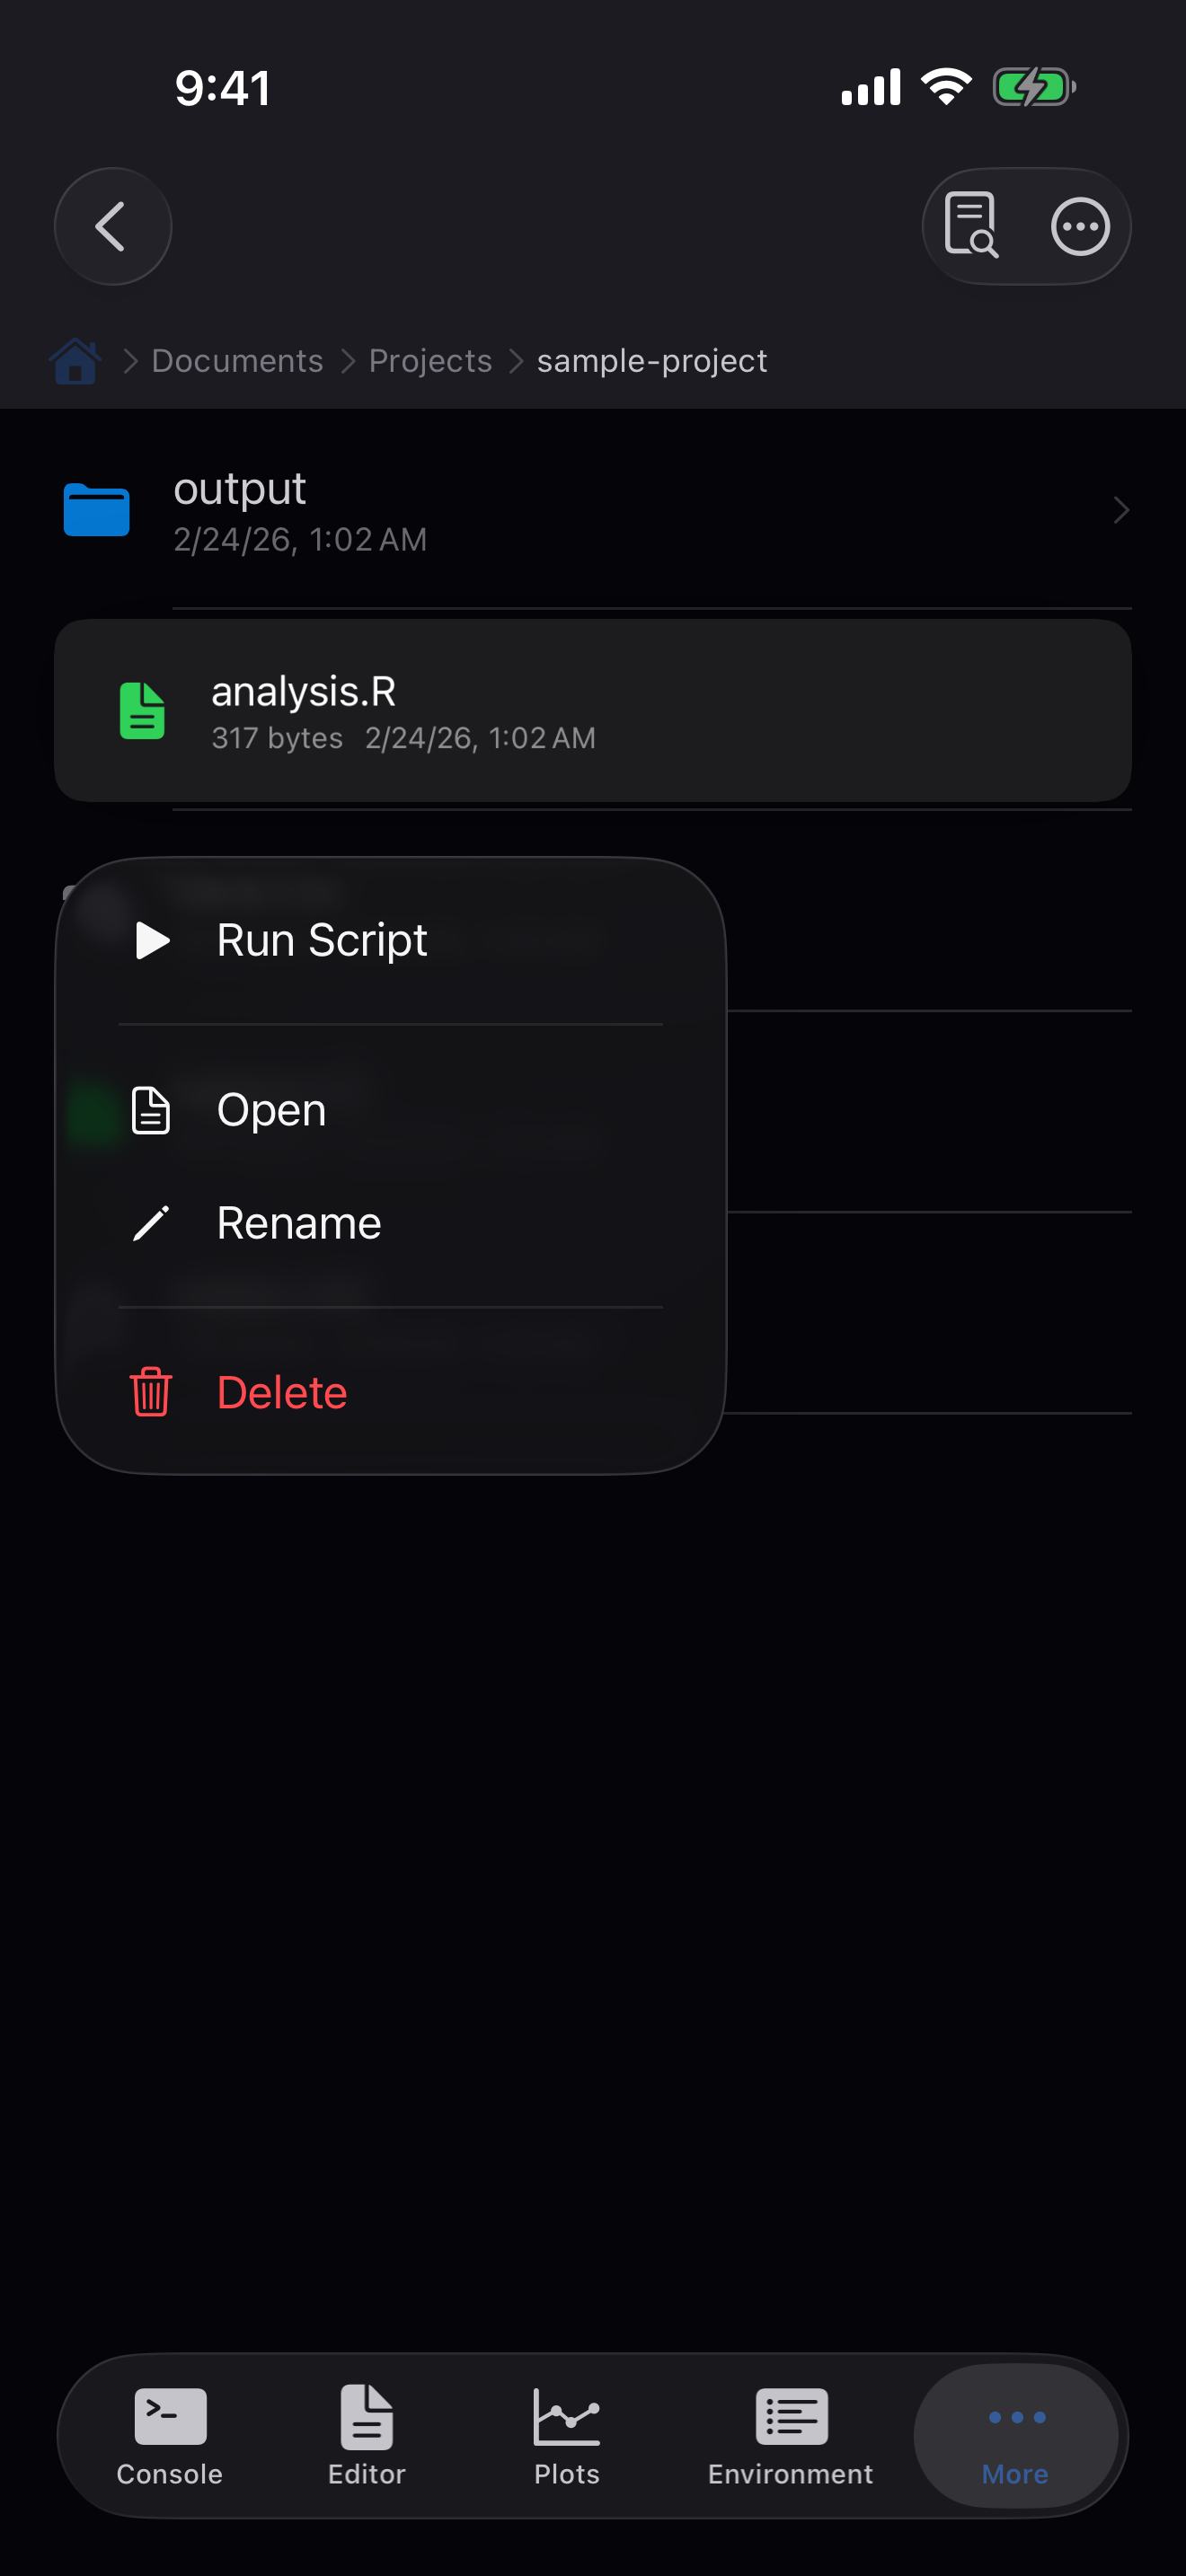
- Long-press the file and choose Run Script from the context menu.
- Open the file, then use the Editor’s run functionality.
The script is echoed into the Console as input and run as one piece, as source() would. Output appears in the Console, and plots in the Plots tab. While it runs, the file’s row shows a spinner, and the Console shows Stop and its run banner as for any other run. When it finishes, a banner reports the outcome, including an error or that it was stopped, with Show Console and Dismiss; VoiceOver announces it. The run is also recorded in History. If R is already busy, the script doesn’t start and Files tells you R is busy.
Setting the R working directory
If your script reads files by relative path (e.g., read.csv("data.csv")), set the working directory first.
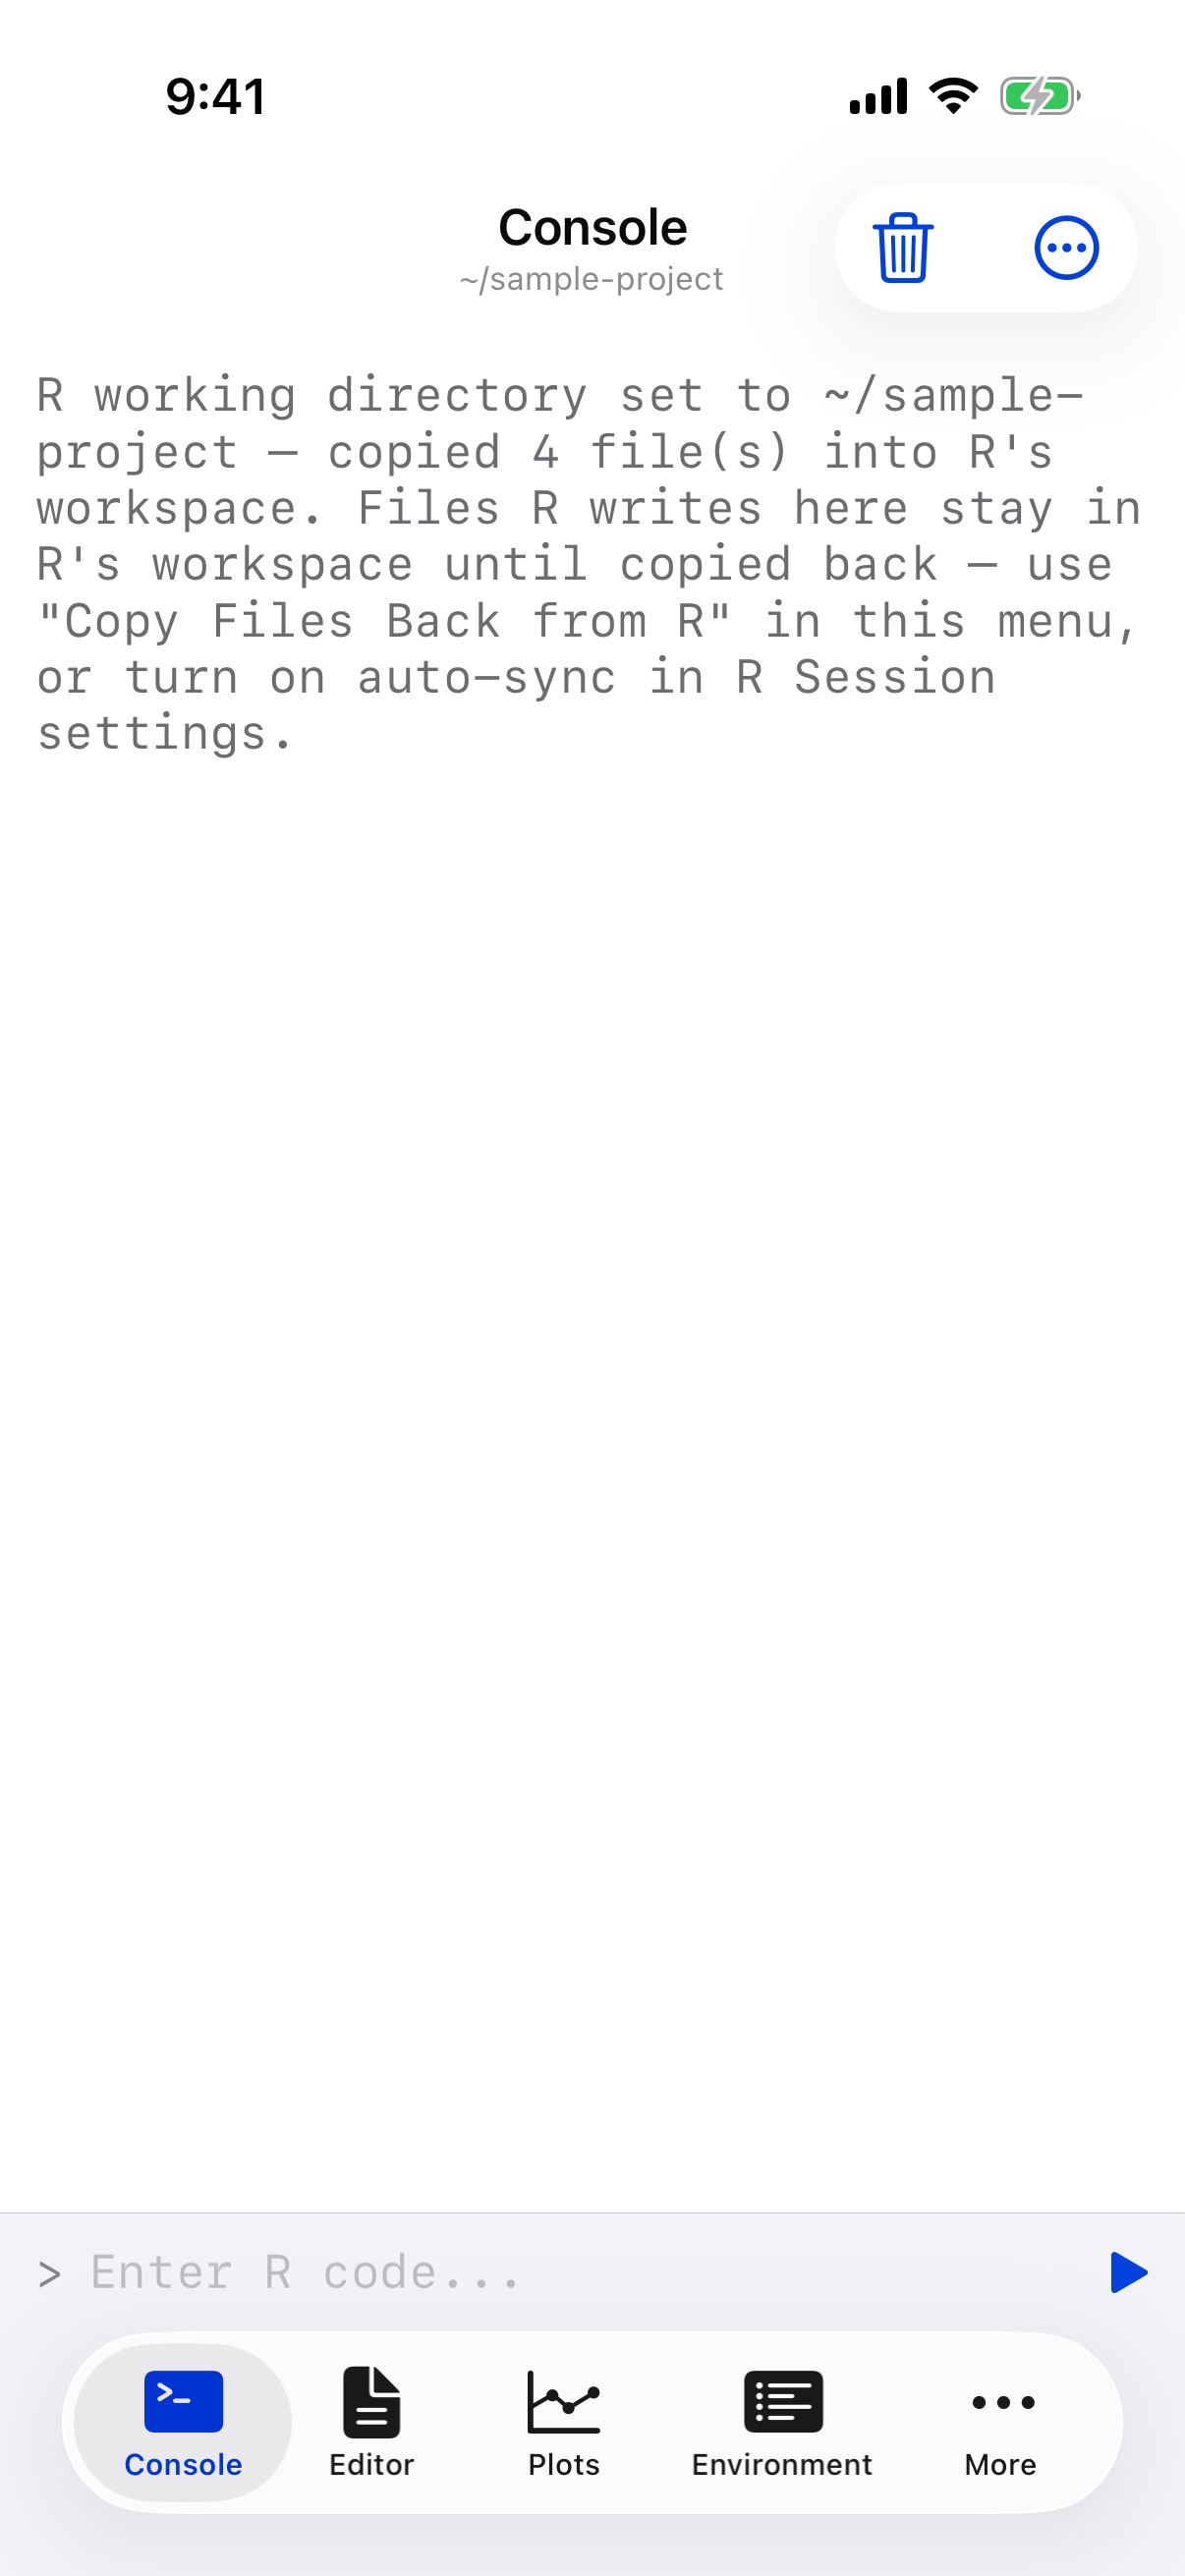
Navigate to the folder, tap the menu (...), and choose Set as R Working Dir. If R has new or changed files in its current working directory that haven’t been copied back, you are asked first: Copy Back First, Discard, or Cancel. Because webR runs in a sandboxed filesystem, this copies the folder’s files into R’s workspace rather than pointing R at the iOS folder. Relative paths then work immediately. To confirm, check the Console tab, which shows the current working directory beneath the title.
The copy is shallow and size-limited: only files directly in the folder are copied (not subfolders), and files over 4 MB are skipped. If you need files from a subfolder, set the working directory on that subfolder instead.
The sandbox also prevents R from writing back to the iOS folder directly. Anything your script creates stays in R’s workspace until you retrieve it with Copy Files Back from R or enable automatic copying in Settings. See Copying files back from R below.
(a) Choose Set as R Working Dir
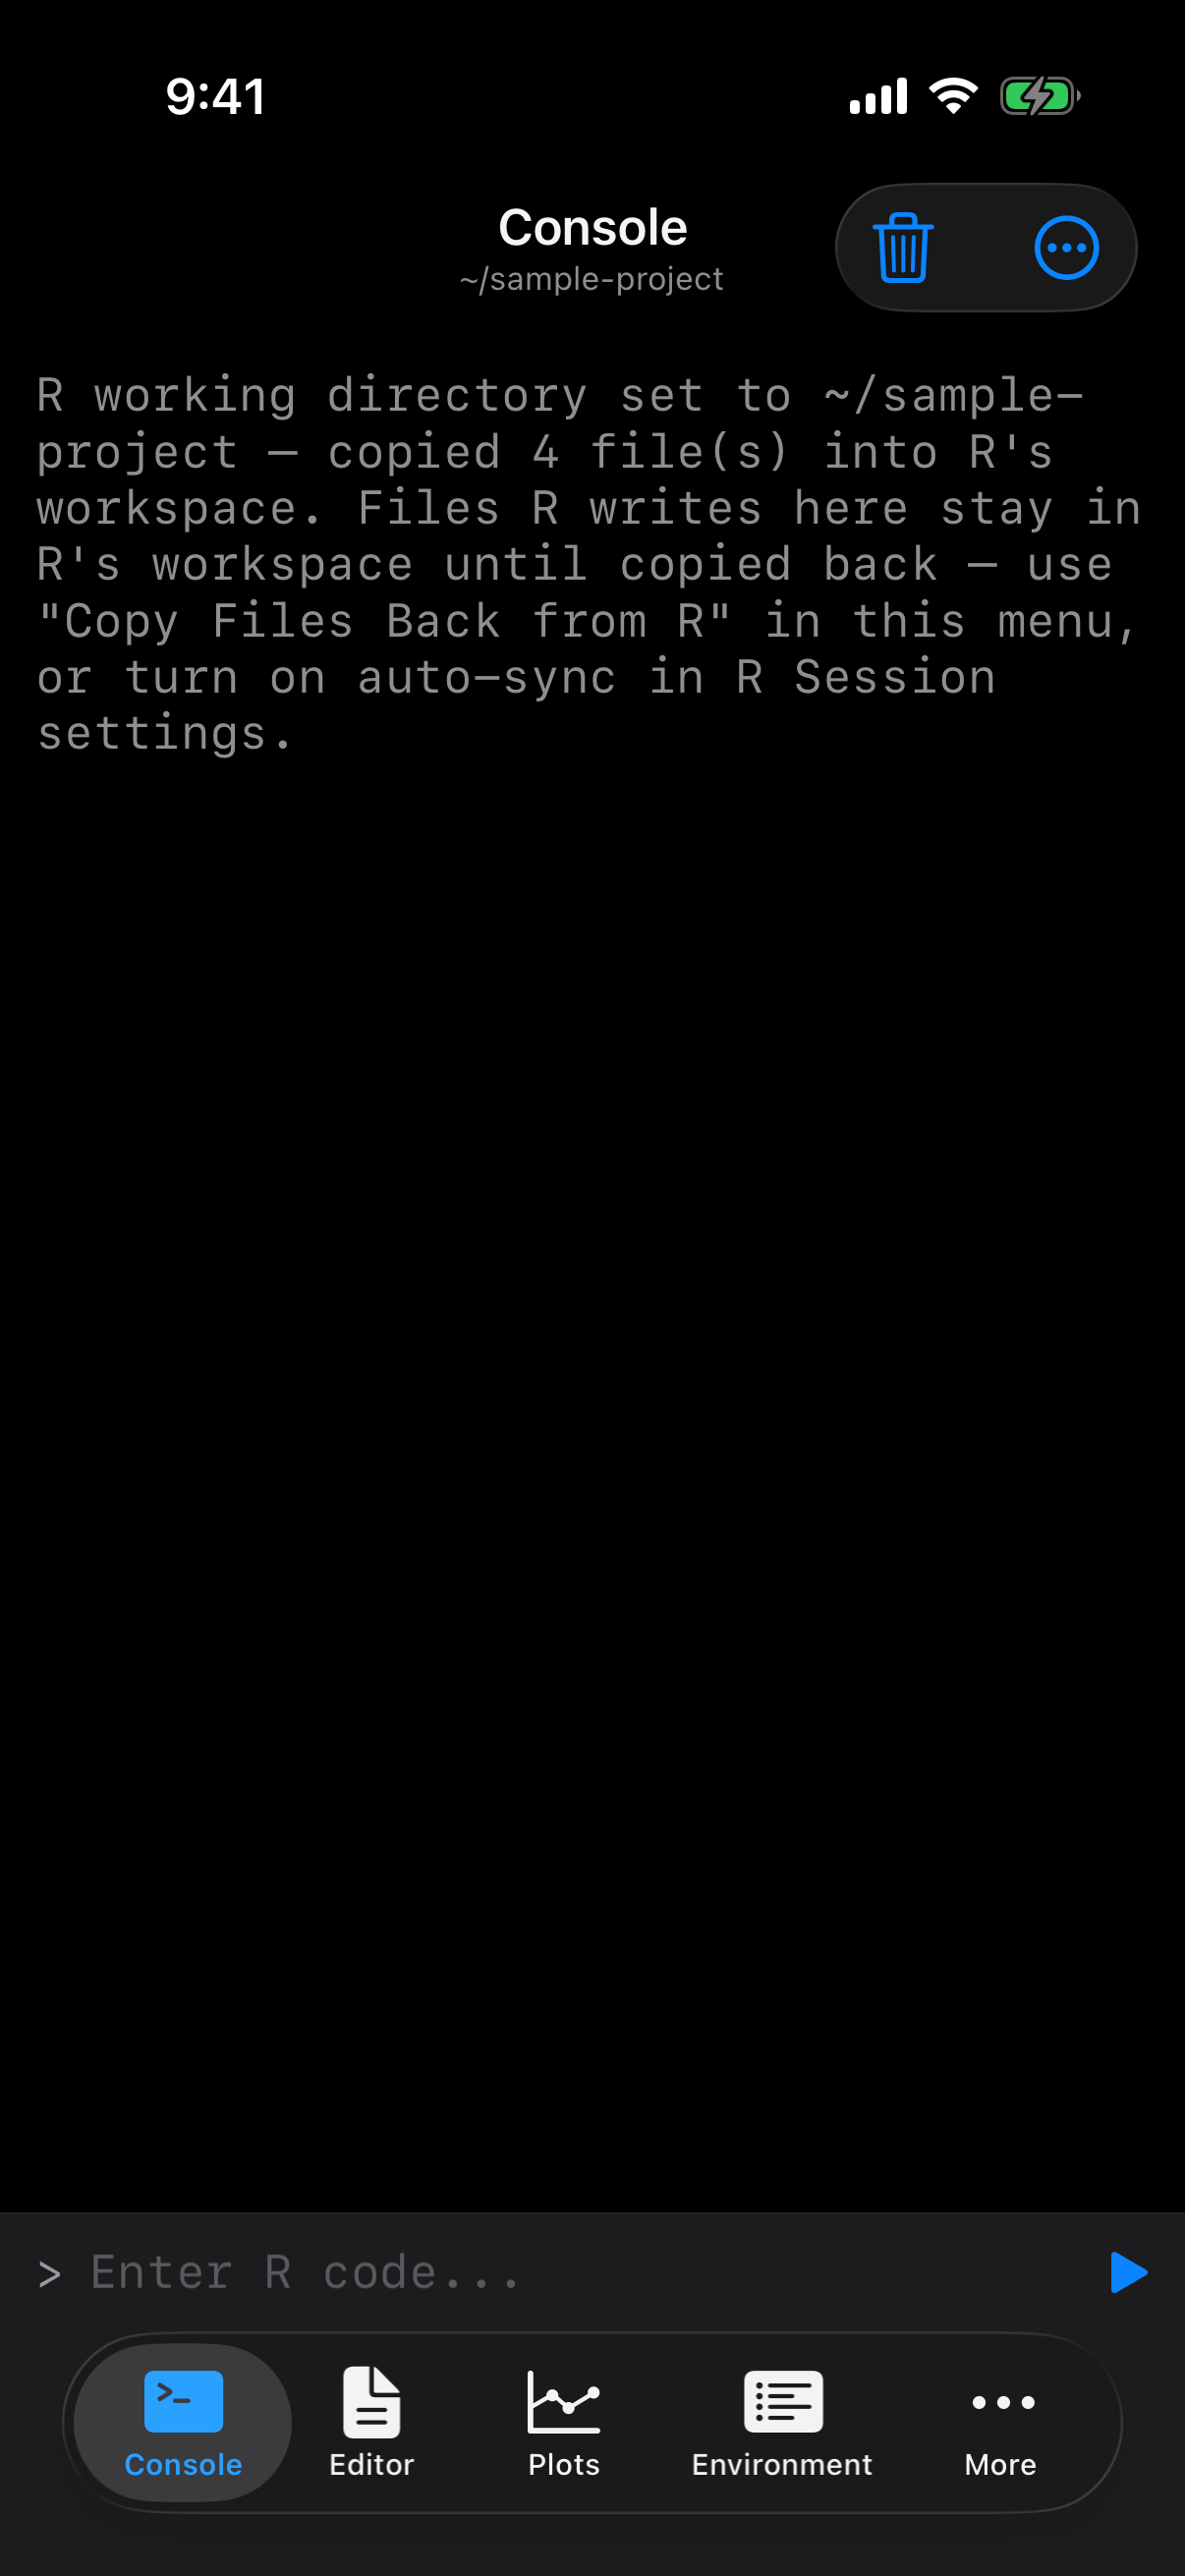
(b) The Console header confirms the new directory
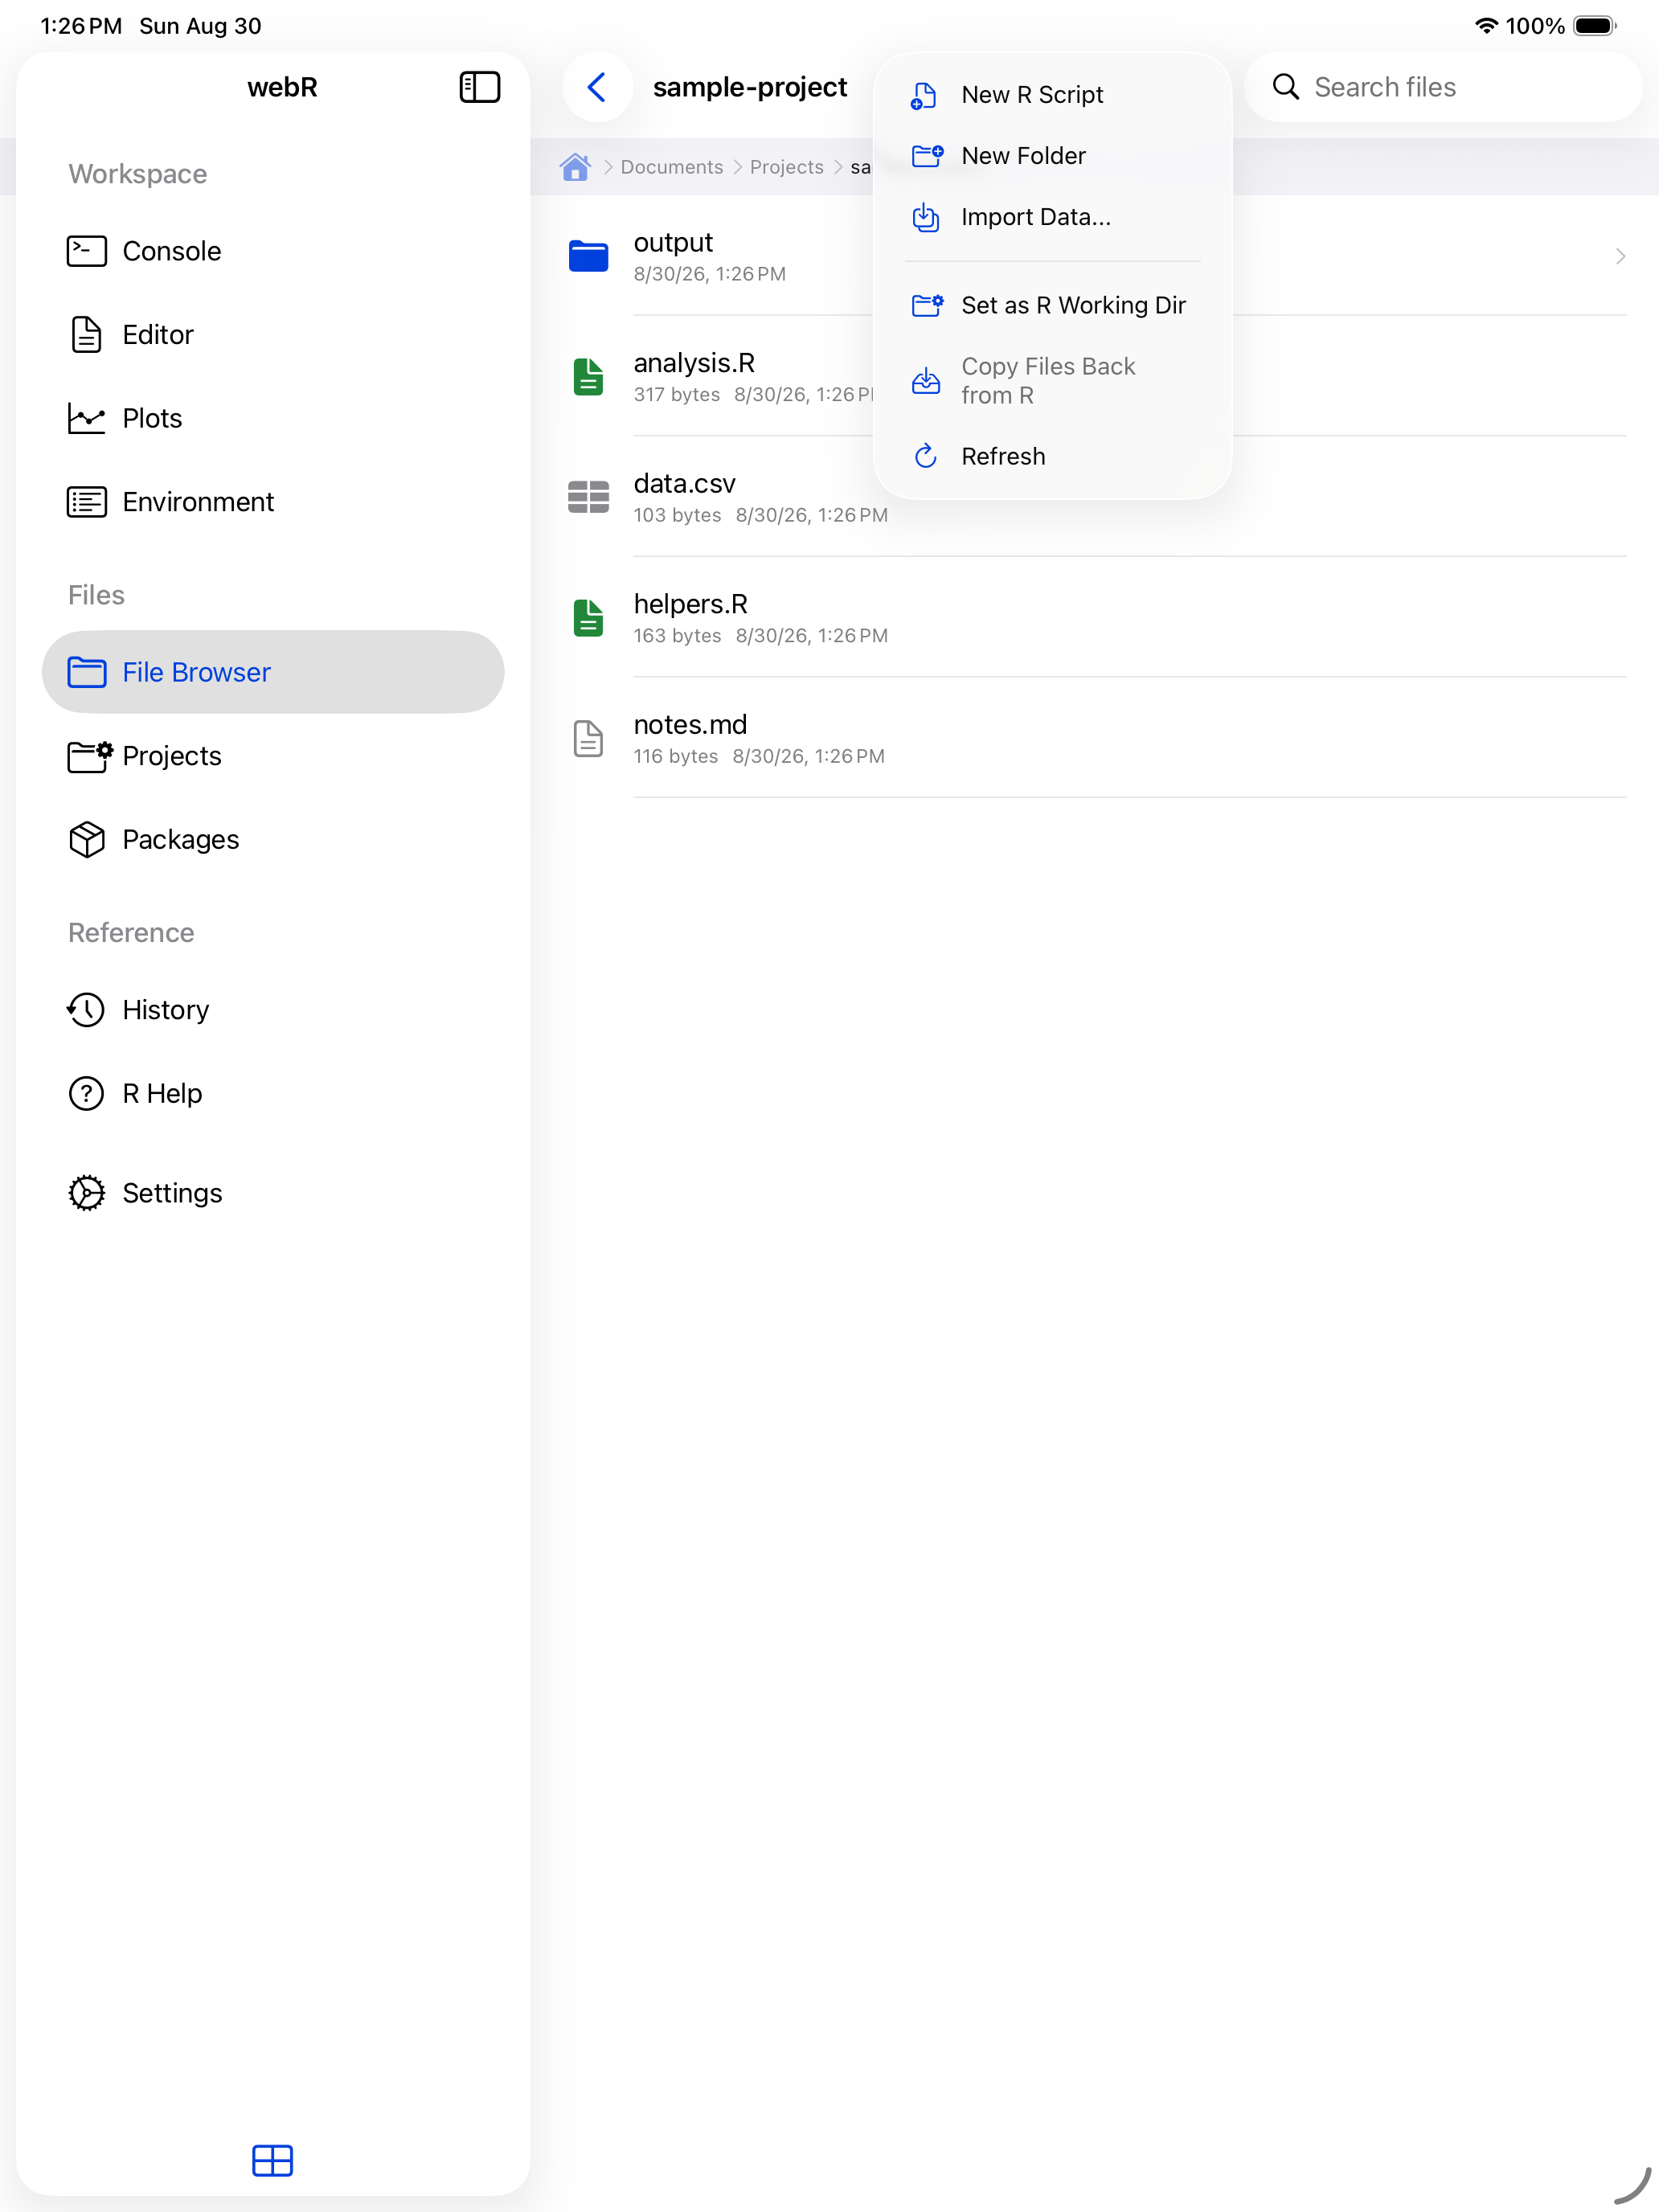
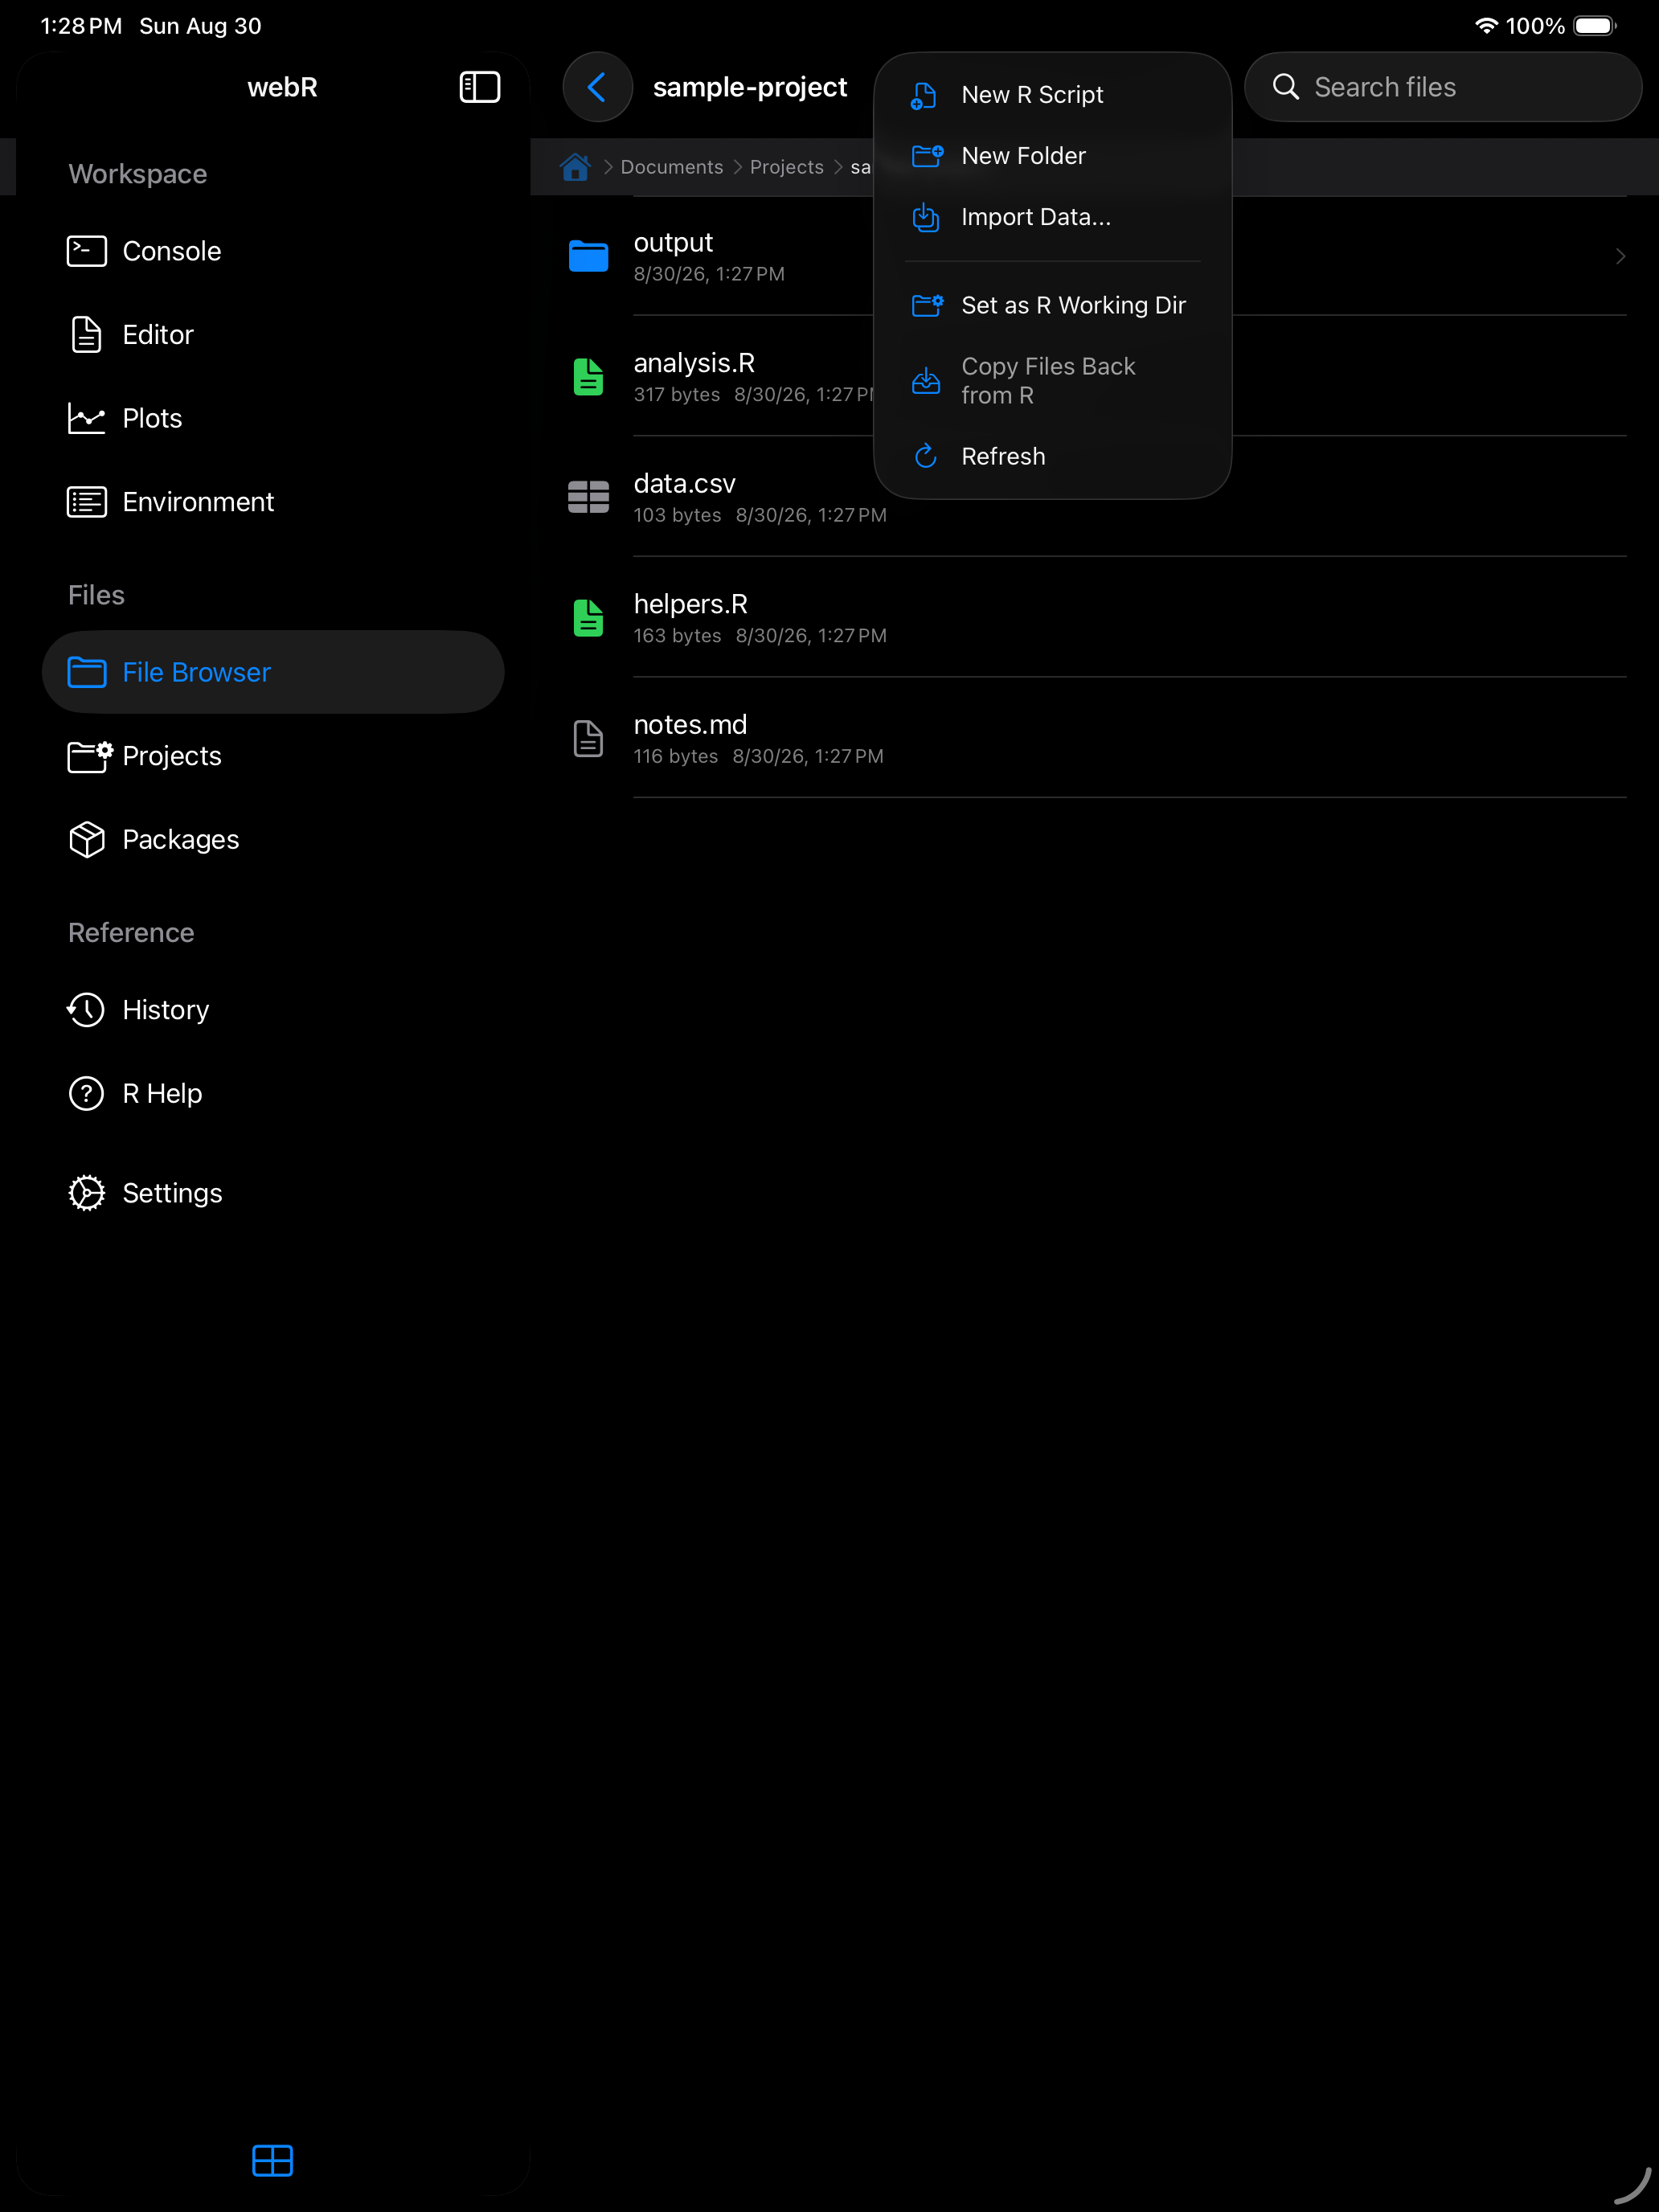
(a) Choose Set as R Working Dir
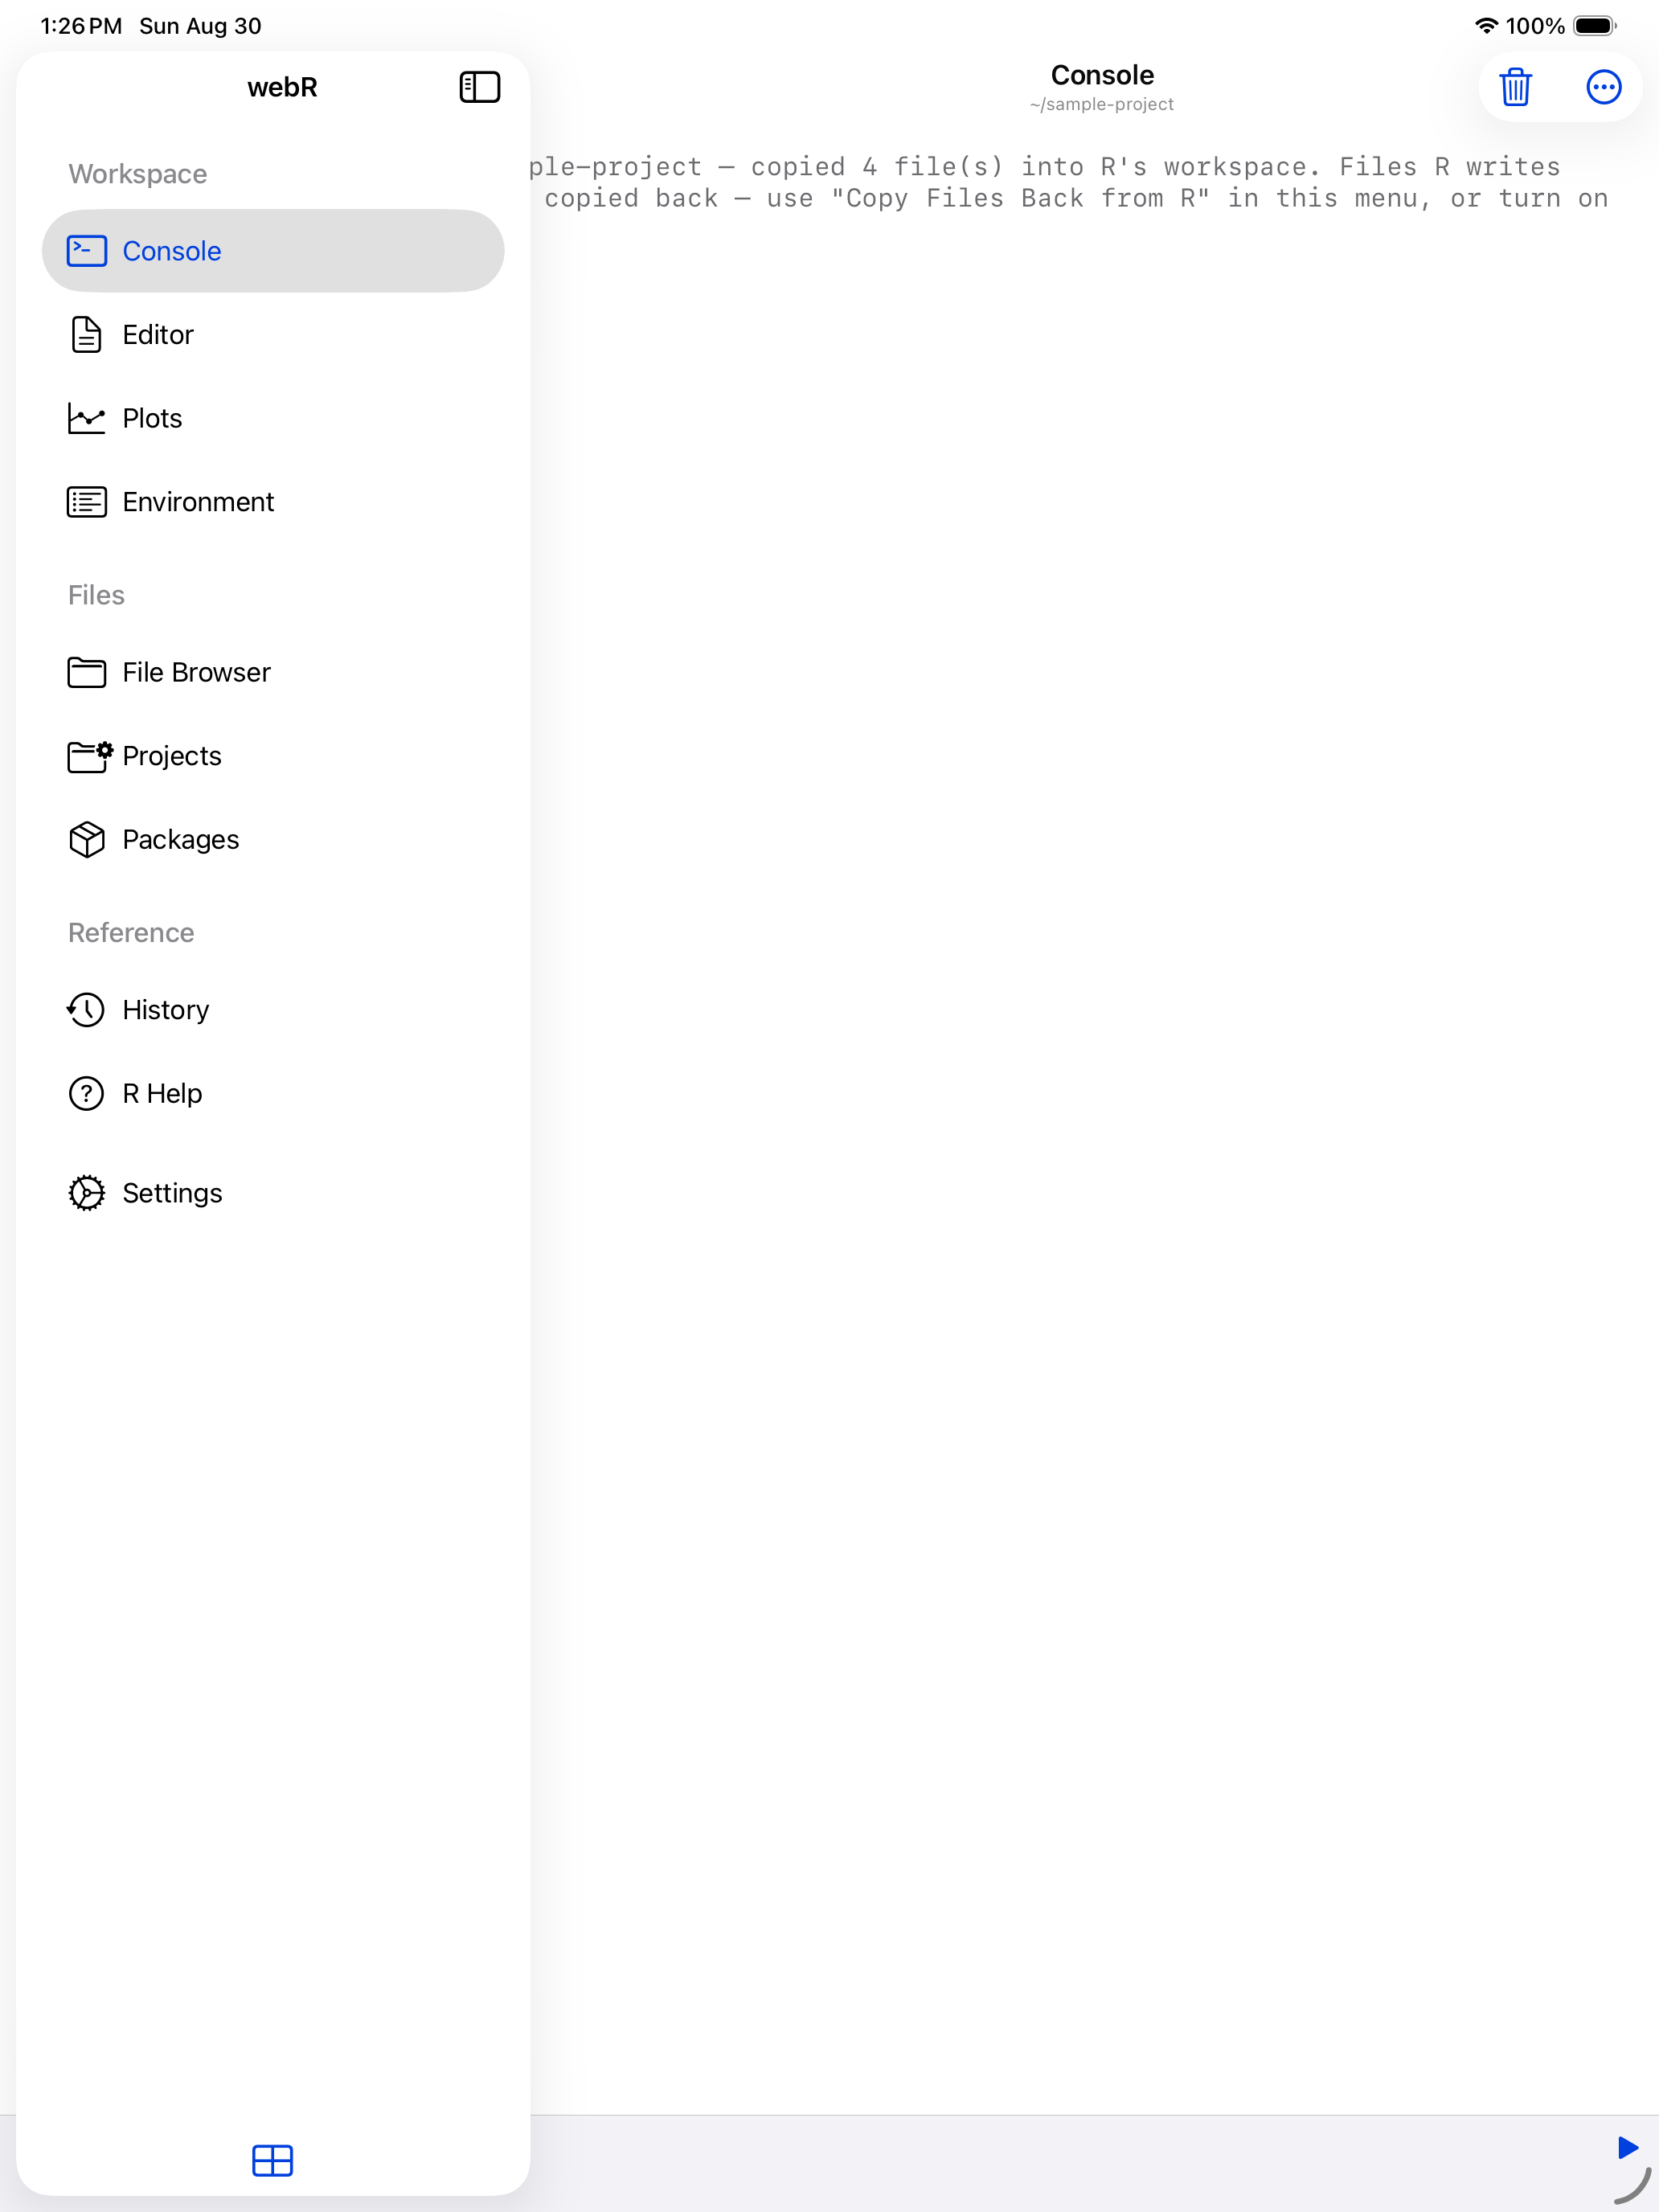
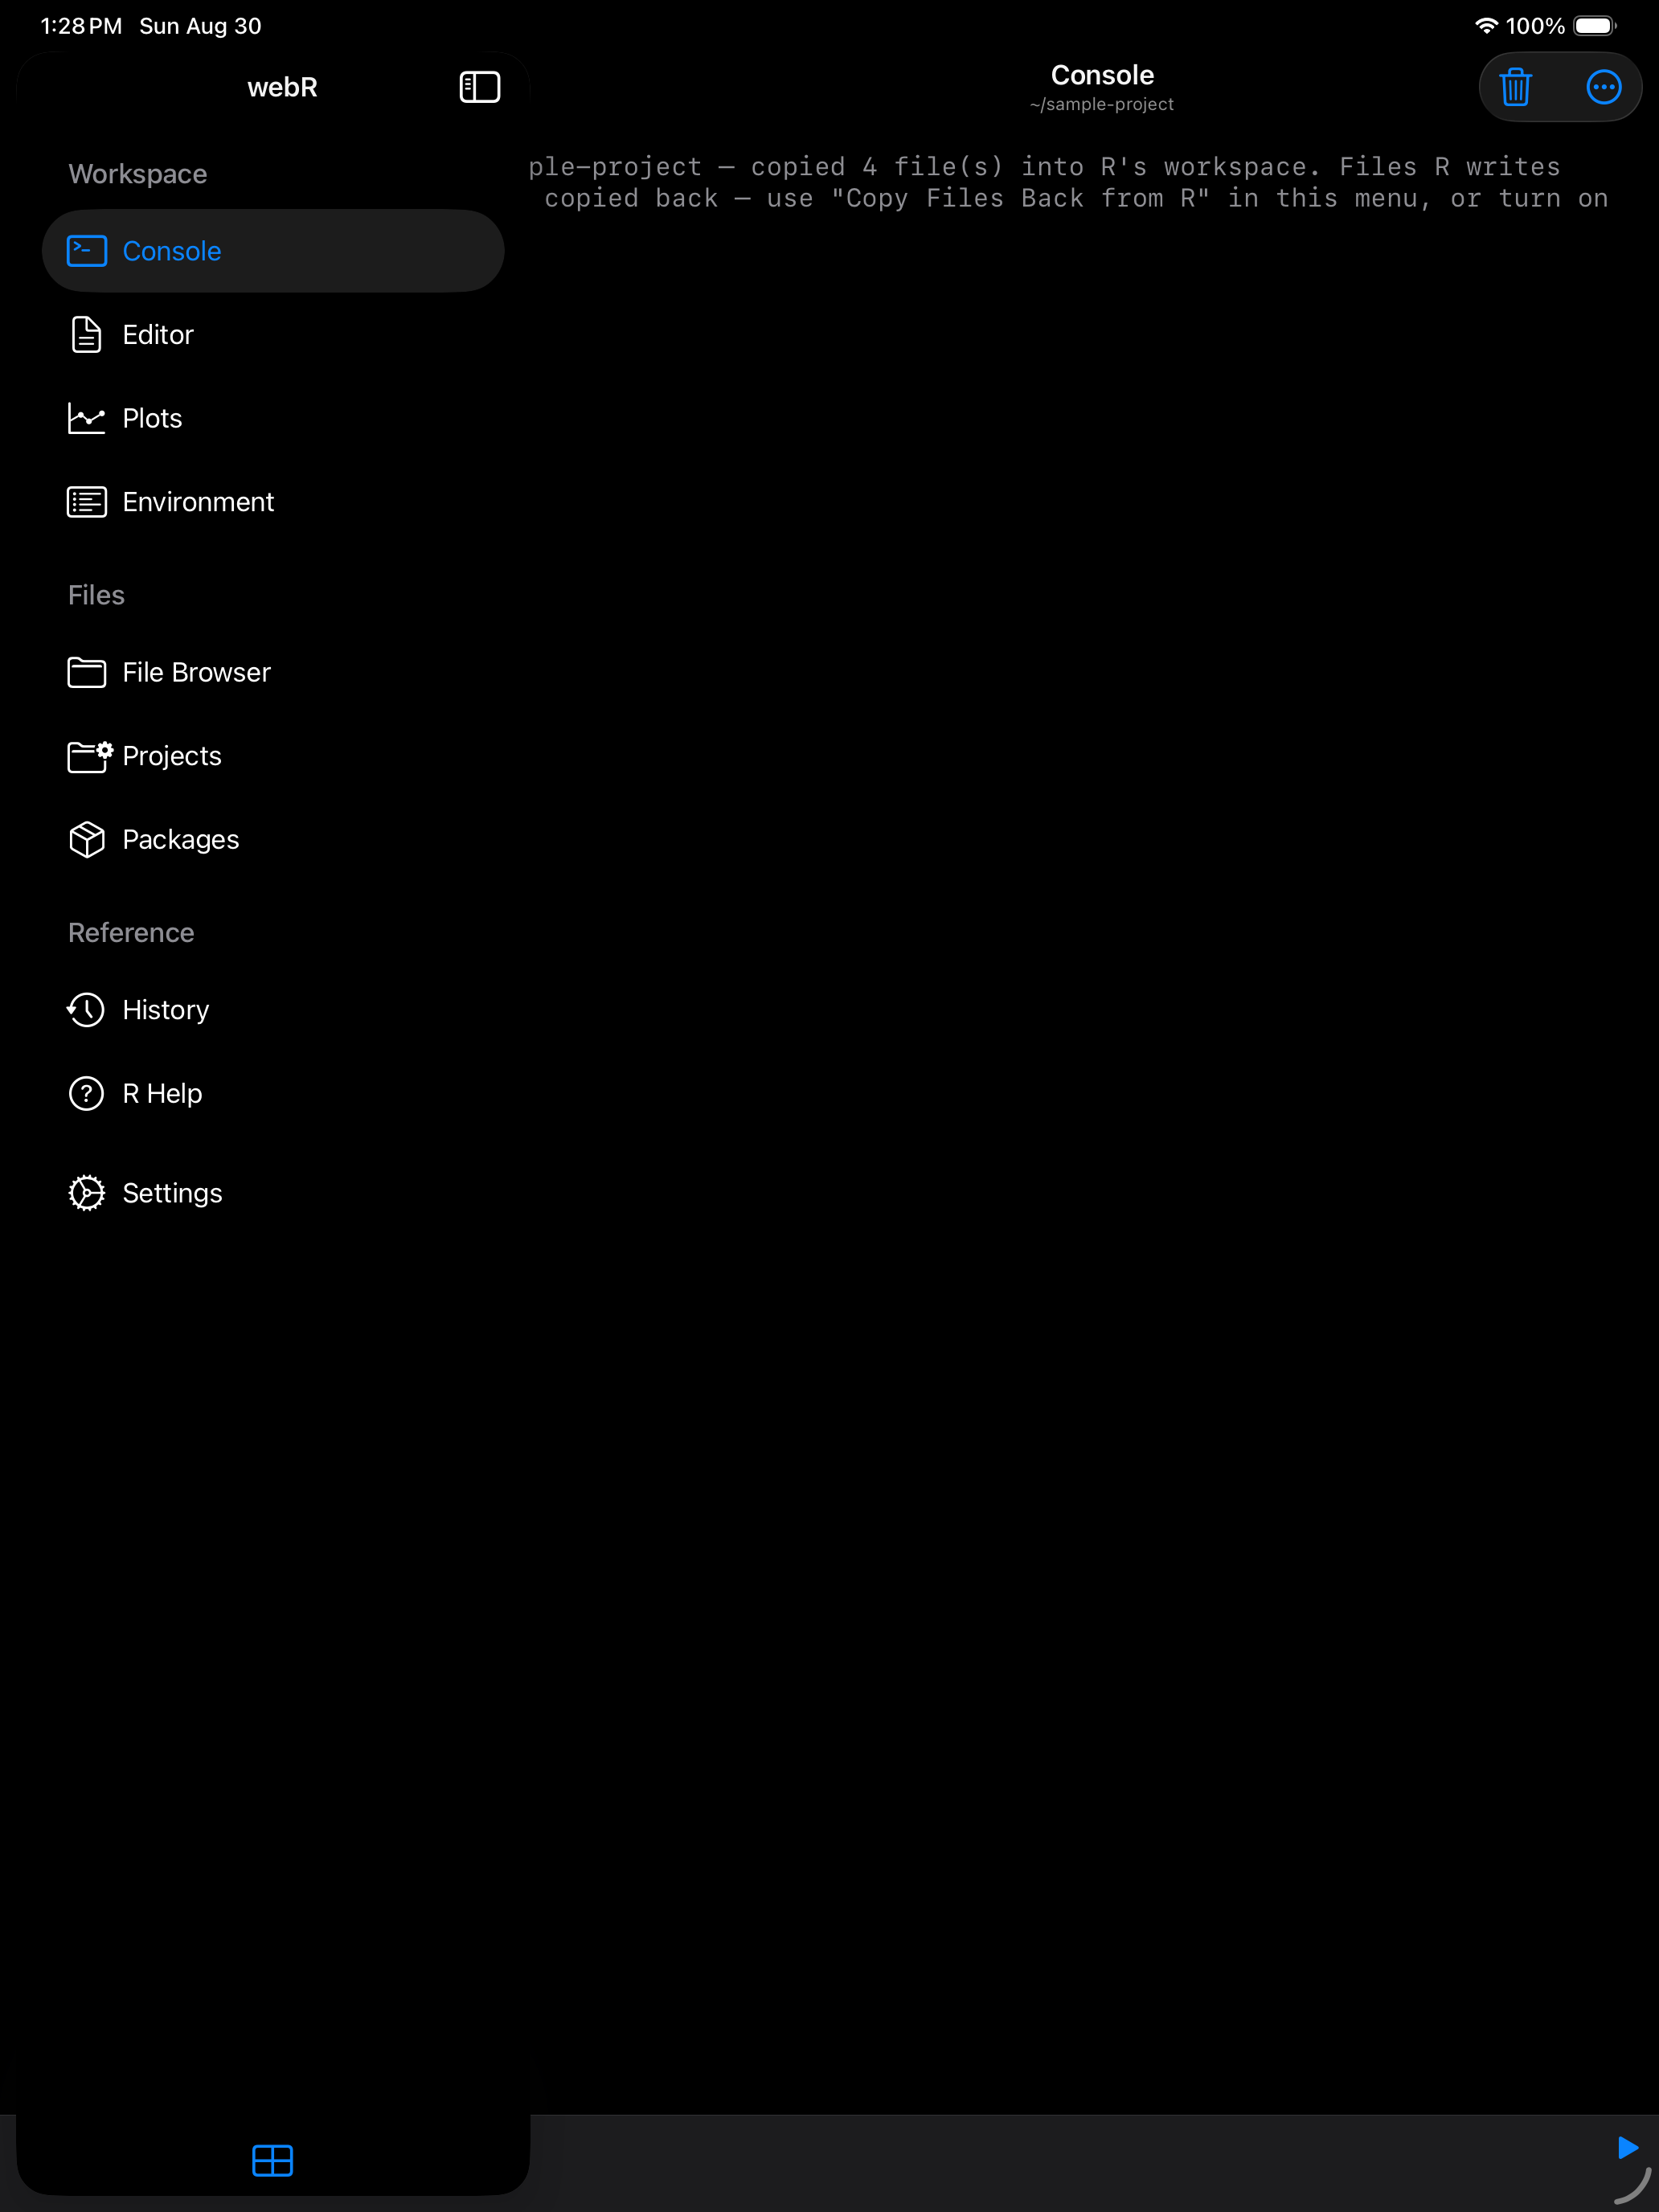
(b) The Console header confirms the new directory
Set the working directory before running scripts that read data files, so your code can use simple file names like "data.csv". Anything the script writes stays in R’s workspace until you copy it back via the menu or by enabling Copy Files Back Automatically in R Session settings.
Copying files back from R
Tap the menu (...) and choose Copy Files Back from R to copy files from R’s workspace back into the iOS folder you set as the working directory.
This item is disabled until you set a working directory. The same rules as the outbound copy apply: only files directly in R’s working directory are copied (not subfolders), files over 4 MB are skipped, and unchanged files are skipped. Copying back never deletes files already in the iOS folder.
The Files list refreshes automatically. For details on what was copied, check the Console tab.
To copy changed files back after every command automatically, enable Copy Files Back Automatically under R Session in Settings. Off by default.
The action sits in the same … menu as Set as R Working Dir:
Opening files from other apps
There are two ways to bring files in from other apps.
Open With. In the Files app, Mail, Messages and other apps, share a file (or use Open With) and choose webRios. R scripts (.R), R Markdown (.Rmd) and Quarto (.qmd) documents open in the Editor. CSV and TSV files open in the data import wizard. .rds and .RData files load into R after asking. A file from Mail or Messages is moved into the current project, under a new name if needed. A file already in webRios is used where it is, and one elsewhere, such as in iCloud Drive, is opened in place. If webRios is still starting, the file waits until R is ready.
Import to webRios. The share sheet’s Import to webRios action appears when you share something webRios can import: .R, .Rmd, .qmd, .csv, .tsv, .json, .txt, .rds and .RData files, up to ten at a time. Its confirmation lists anything it skipped and anything it couldn’t read. The files wait in webRios until you import them: Files gets a badge (on iPhone, More does too), and the next time you open the app an alert offers Open Files to import them into the current project.
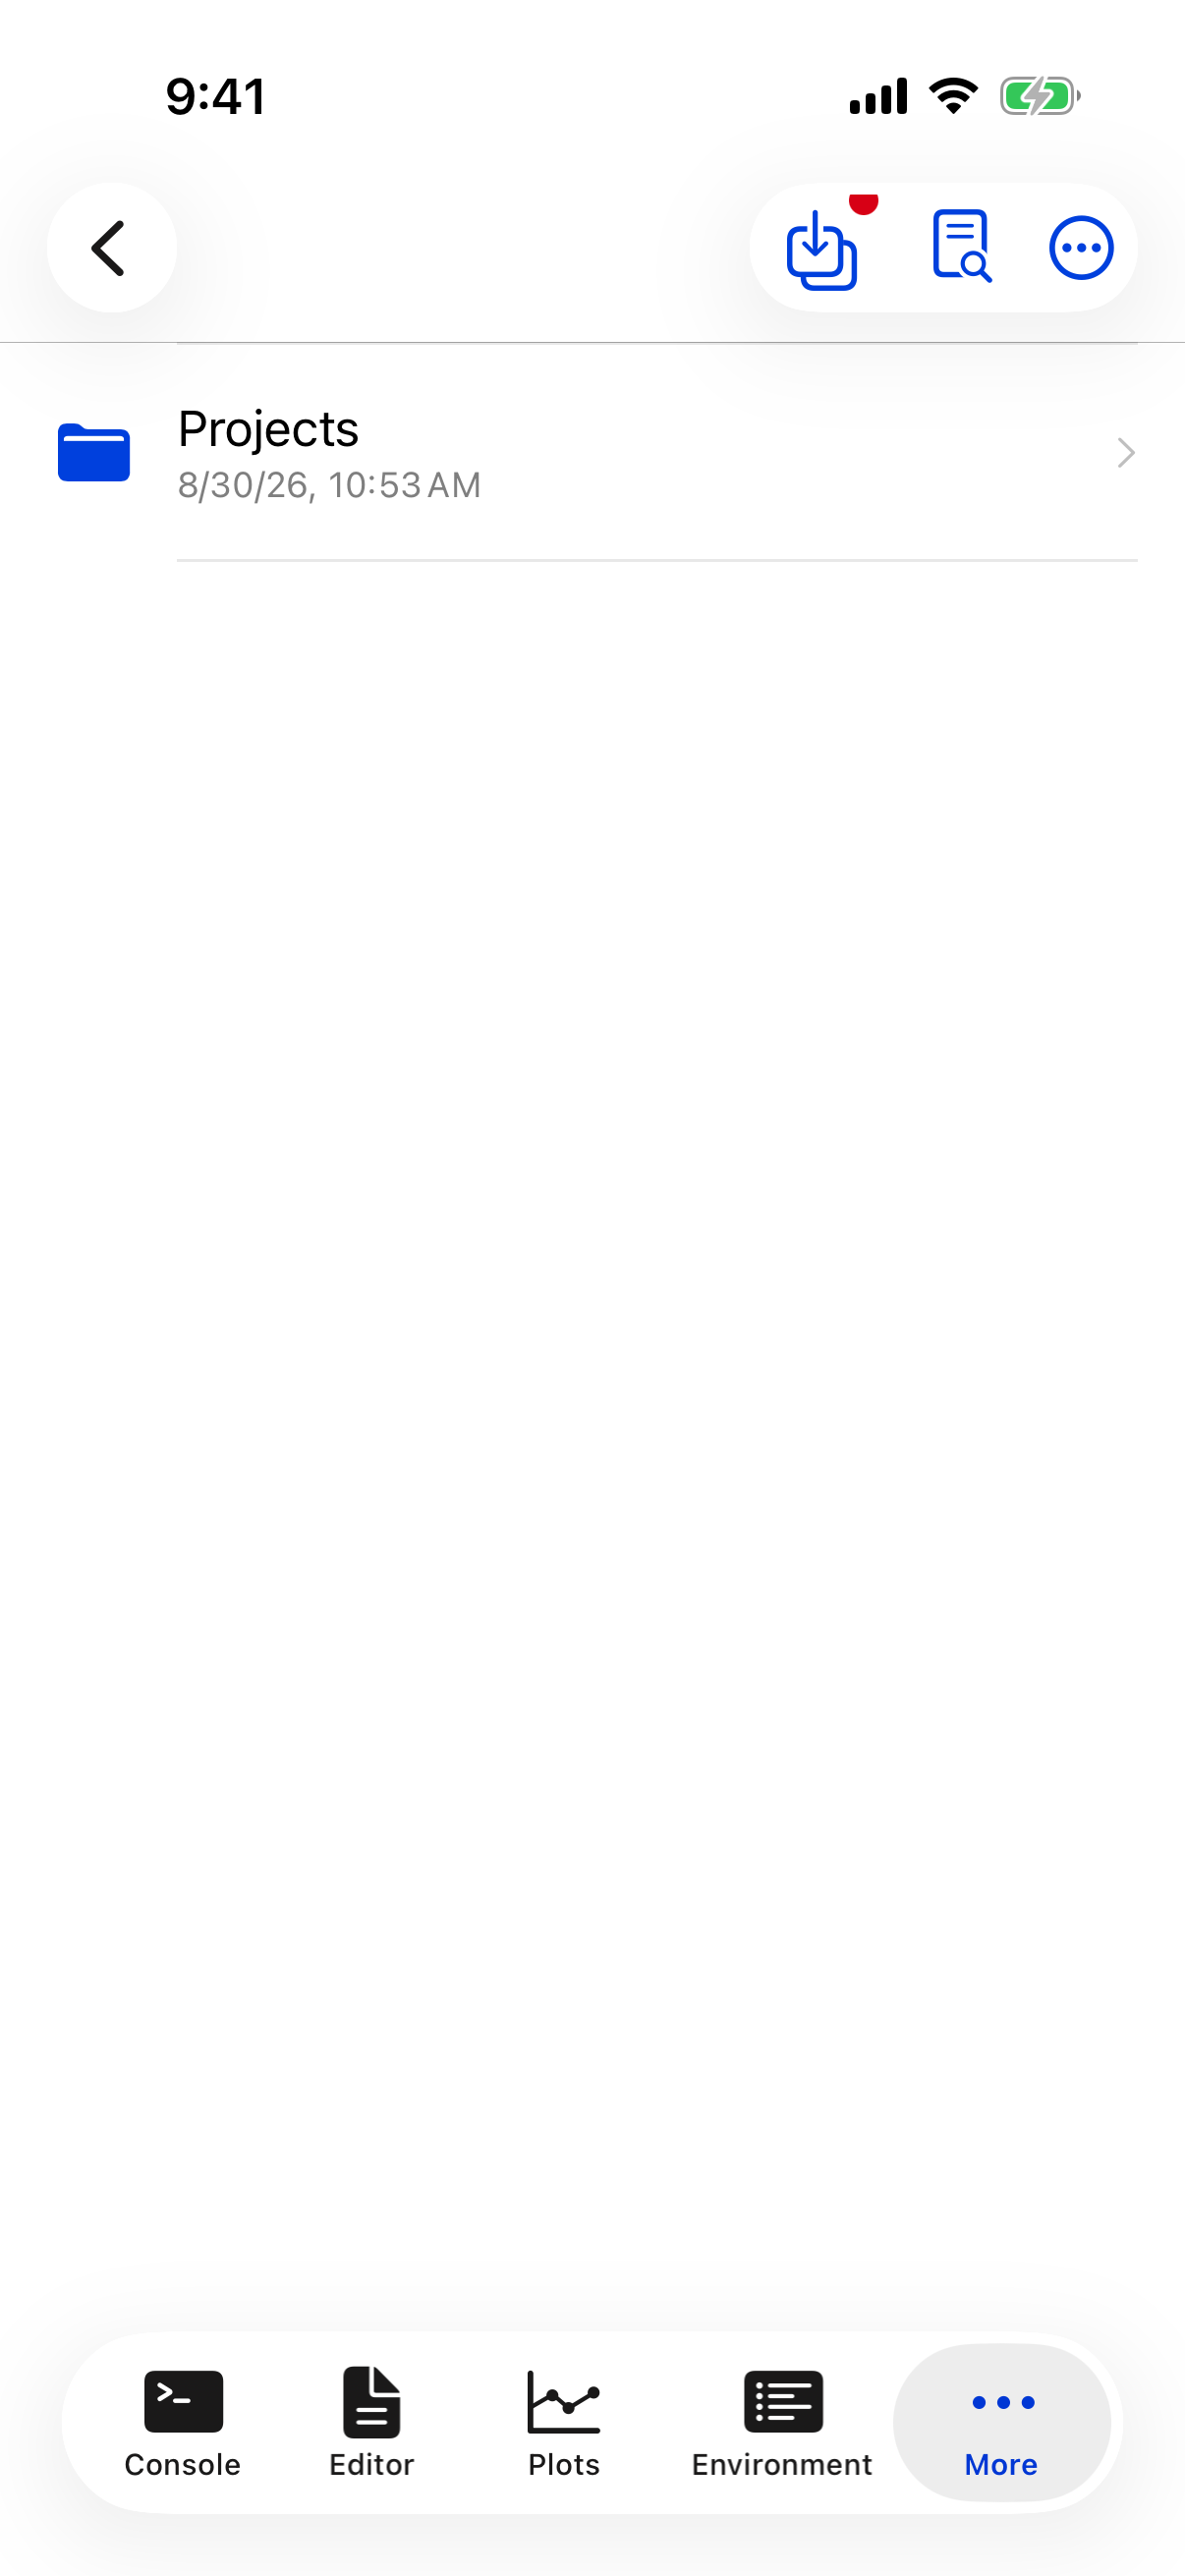
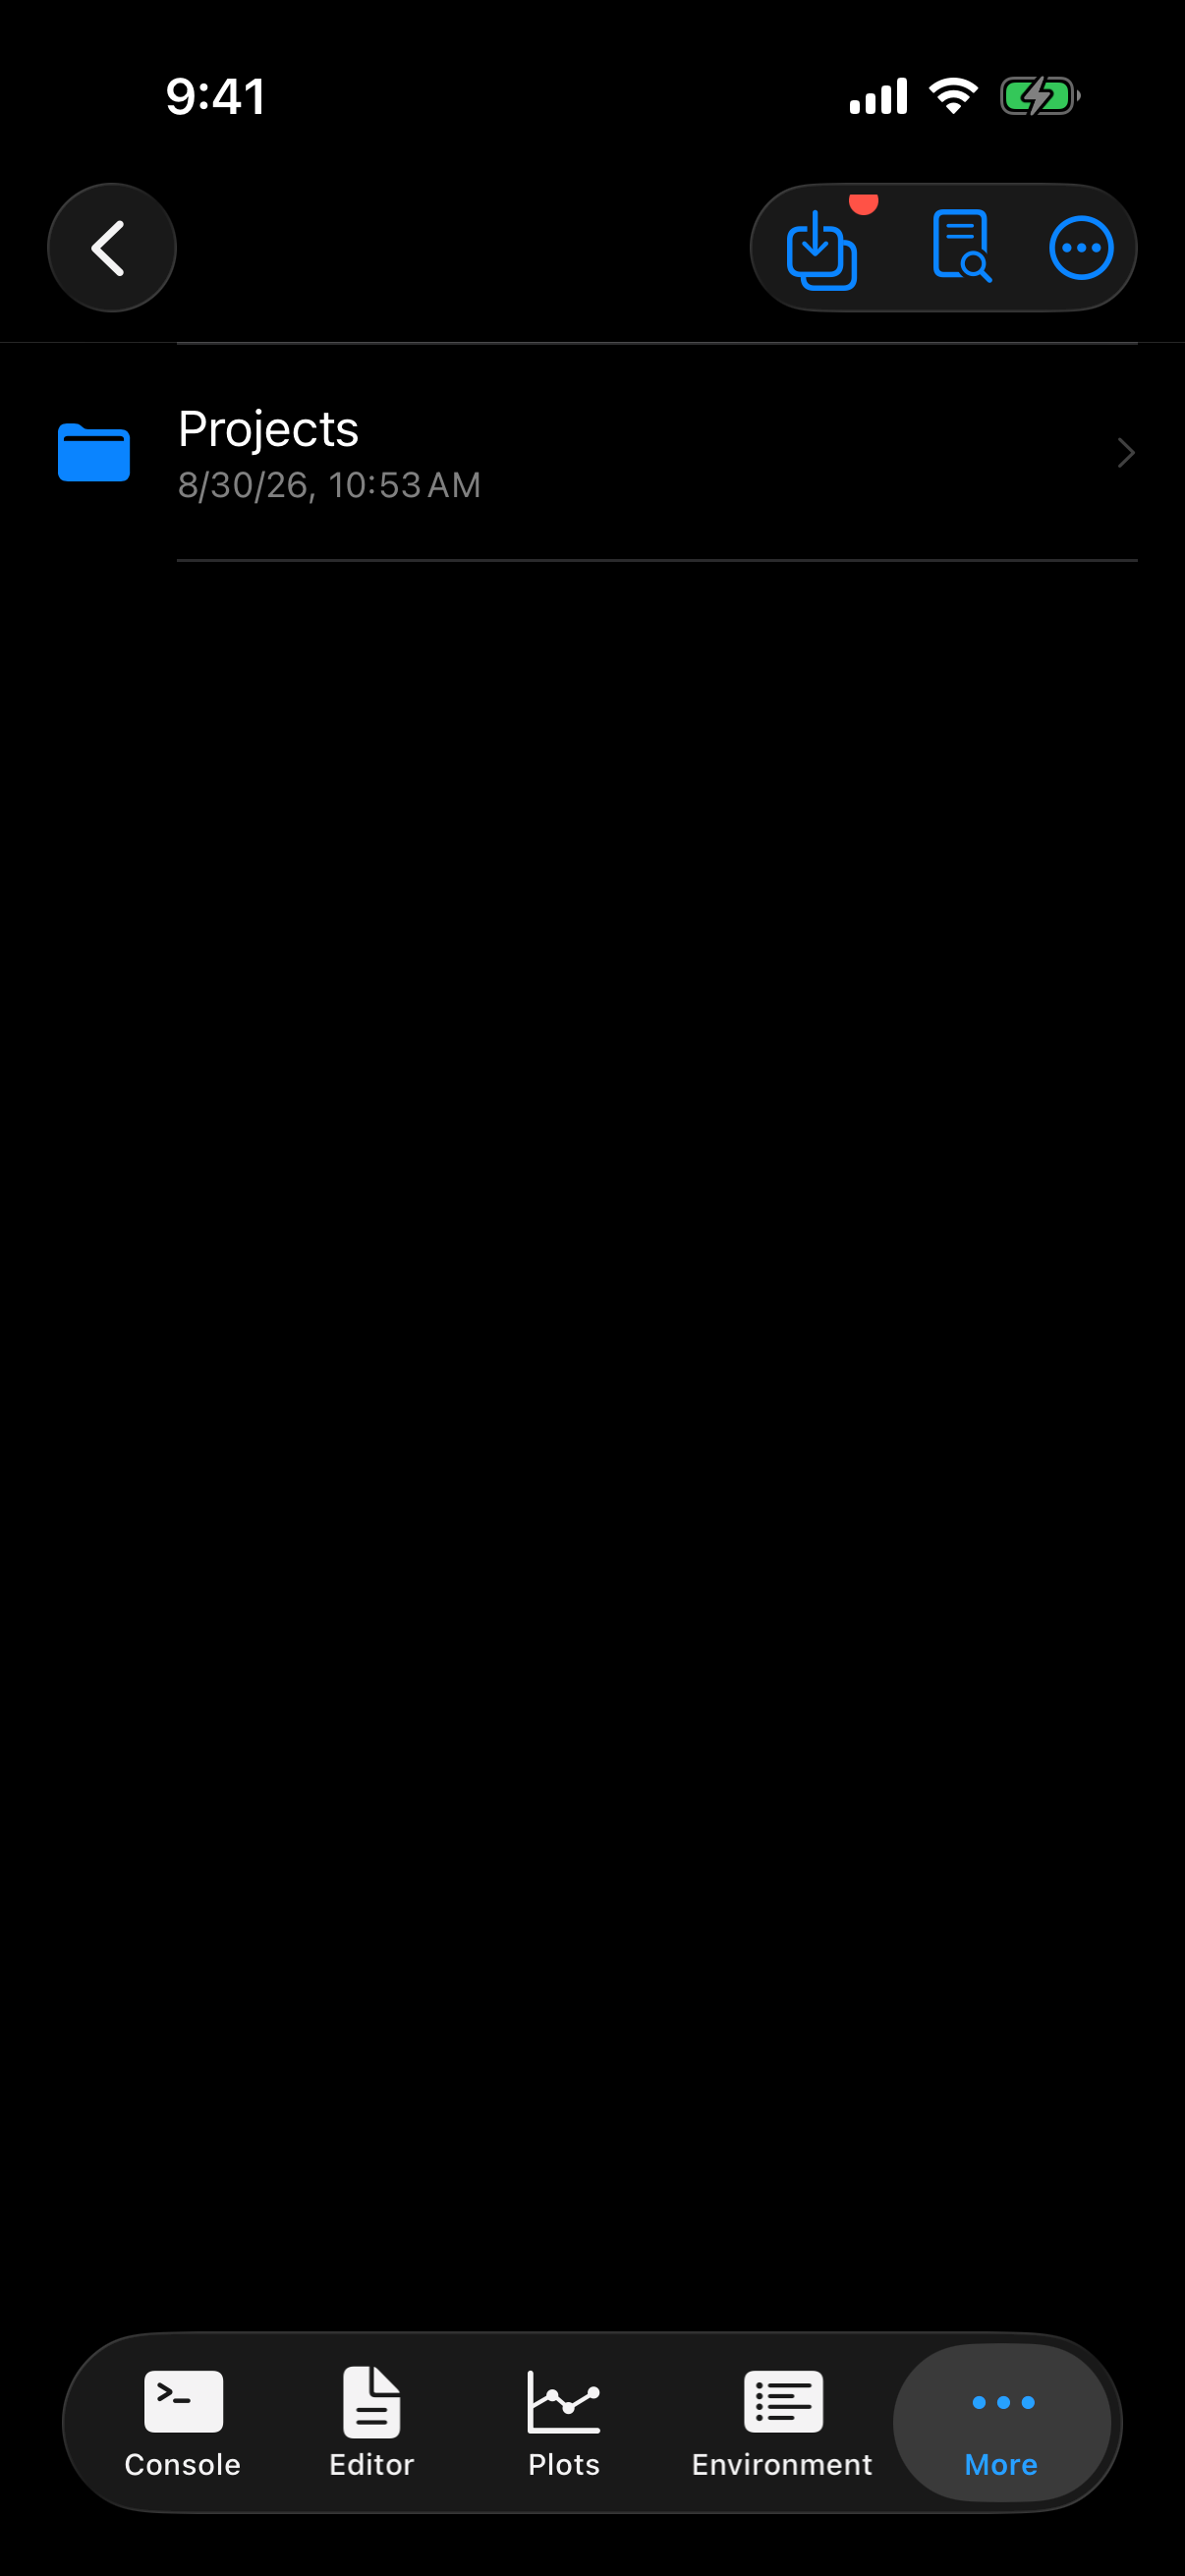
(a) A badge appears in the toolbar
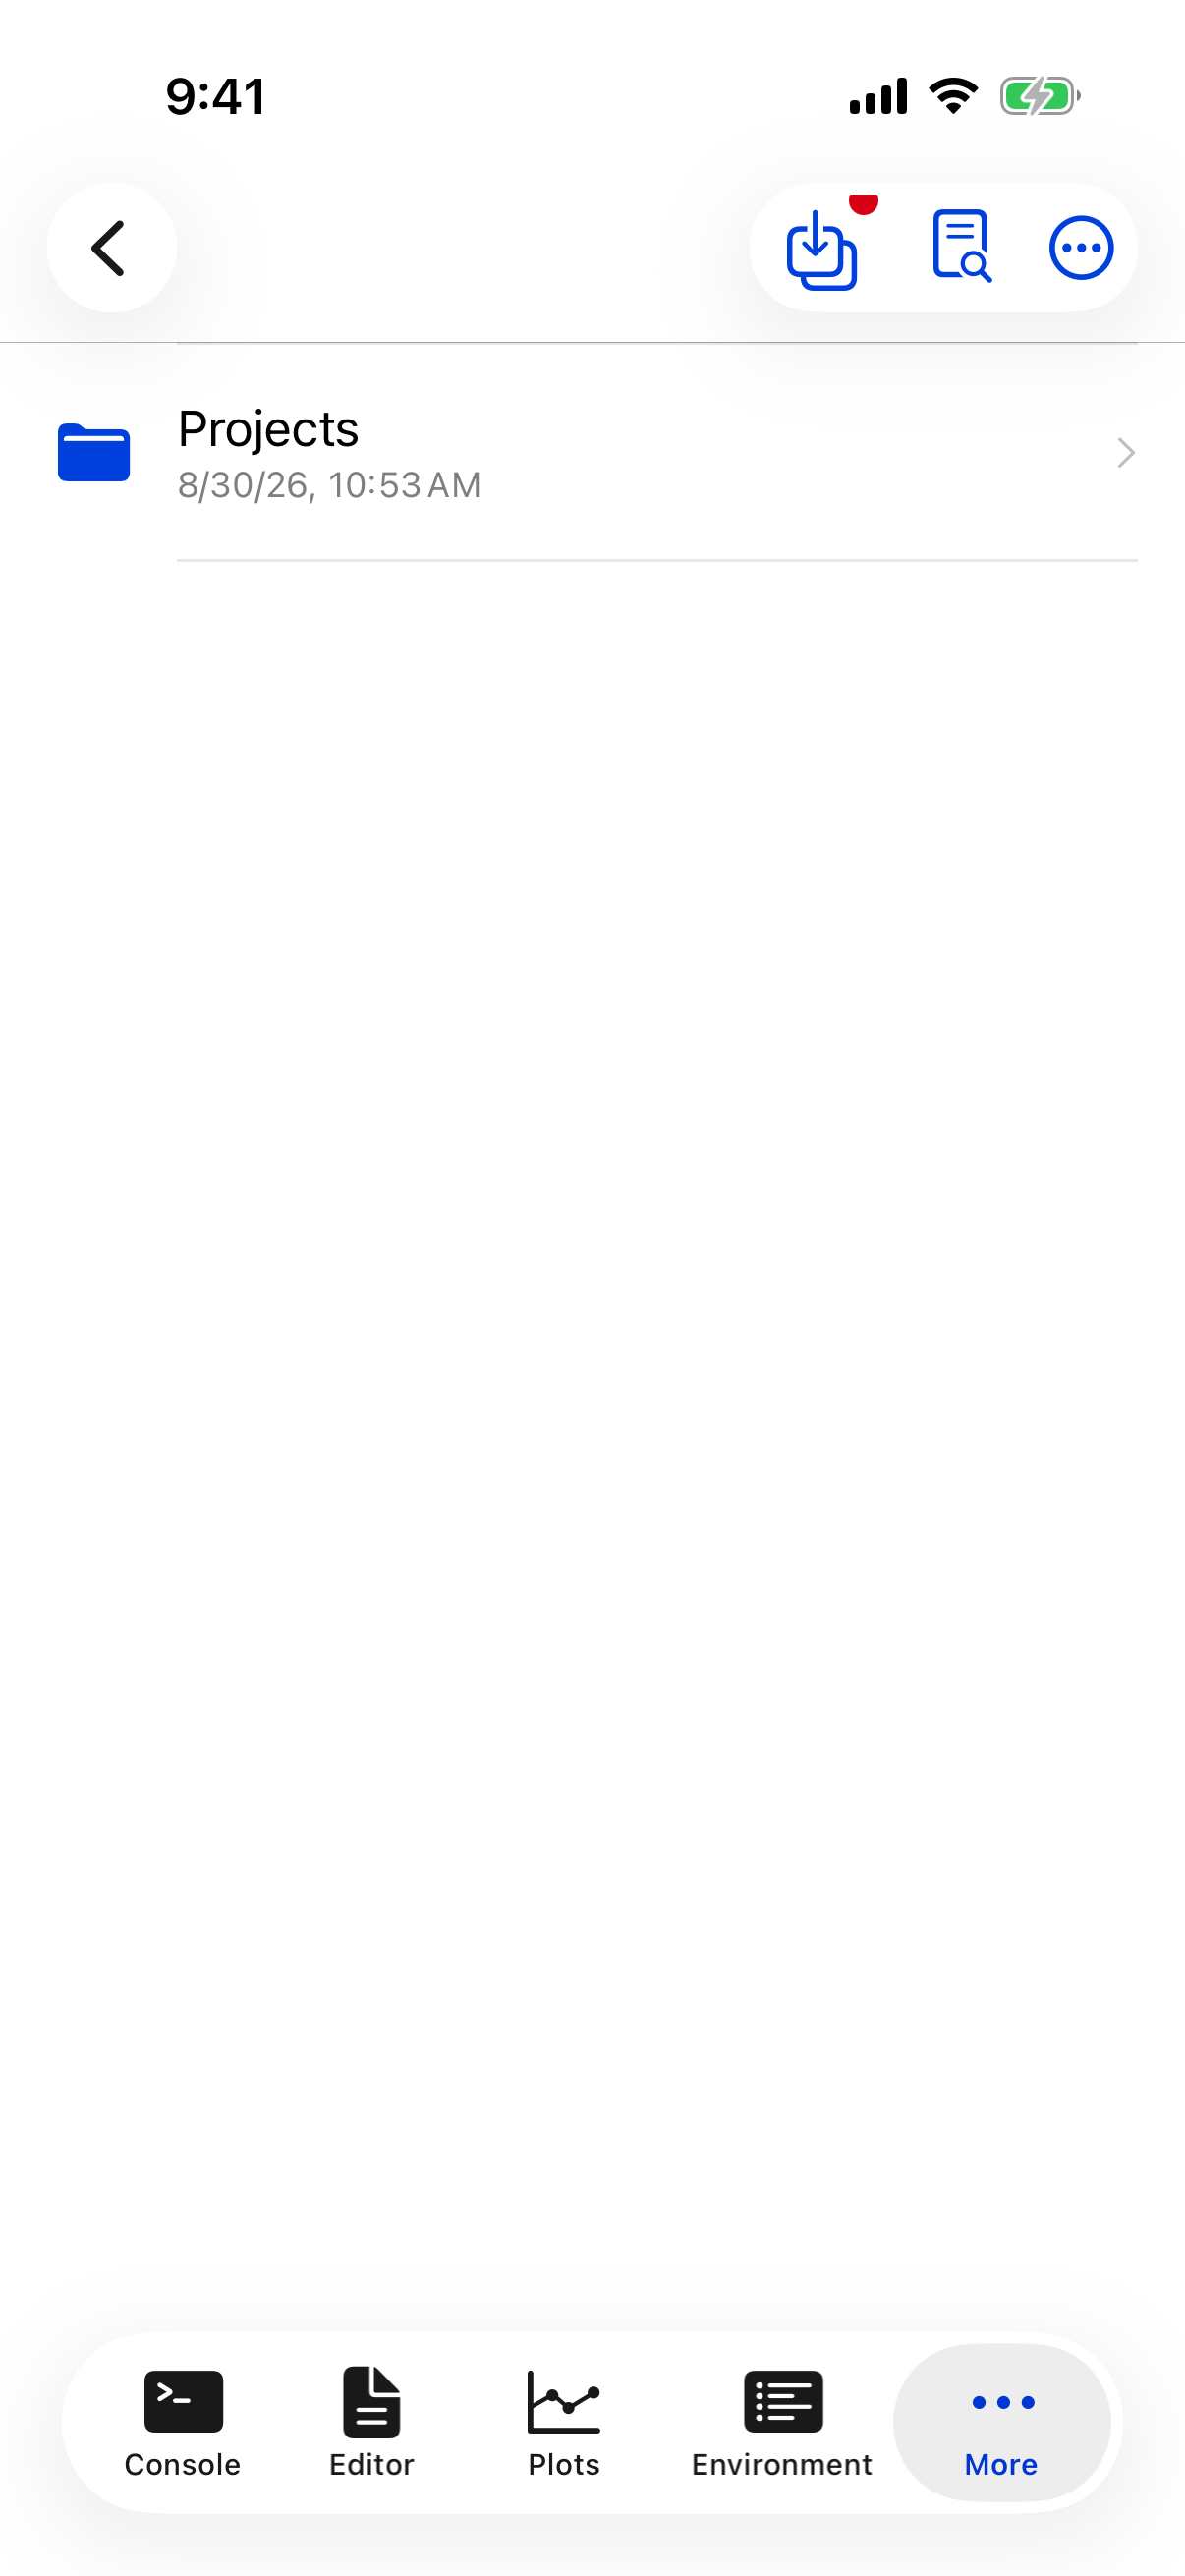
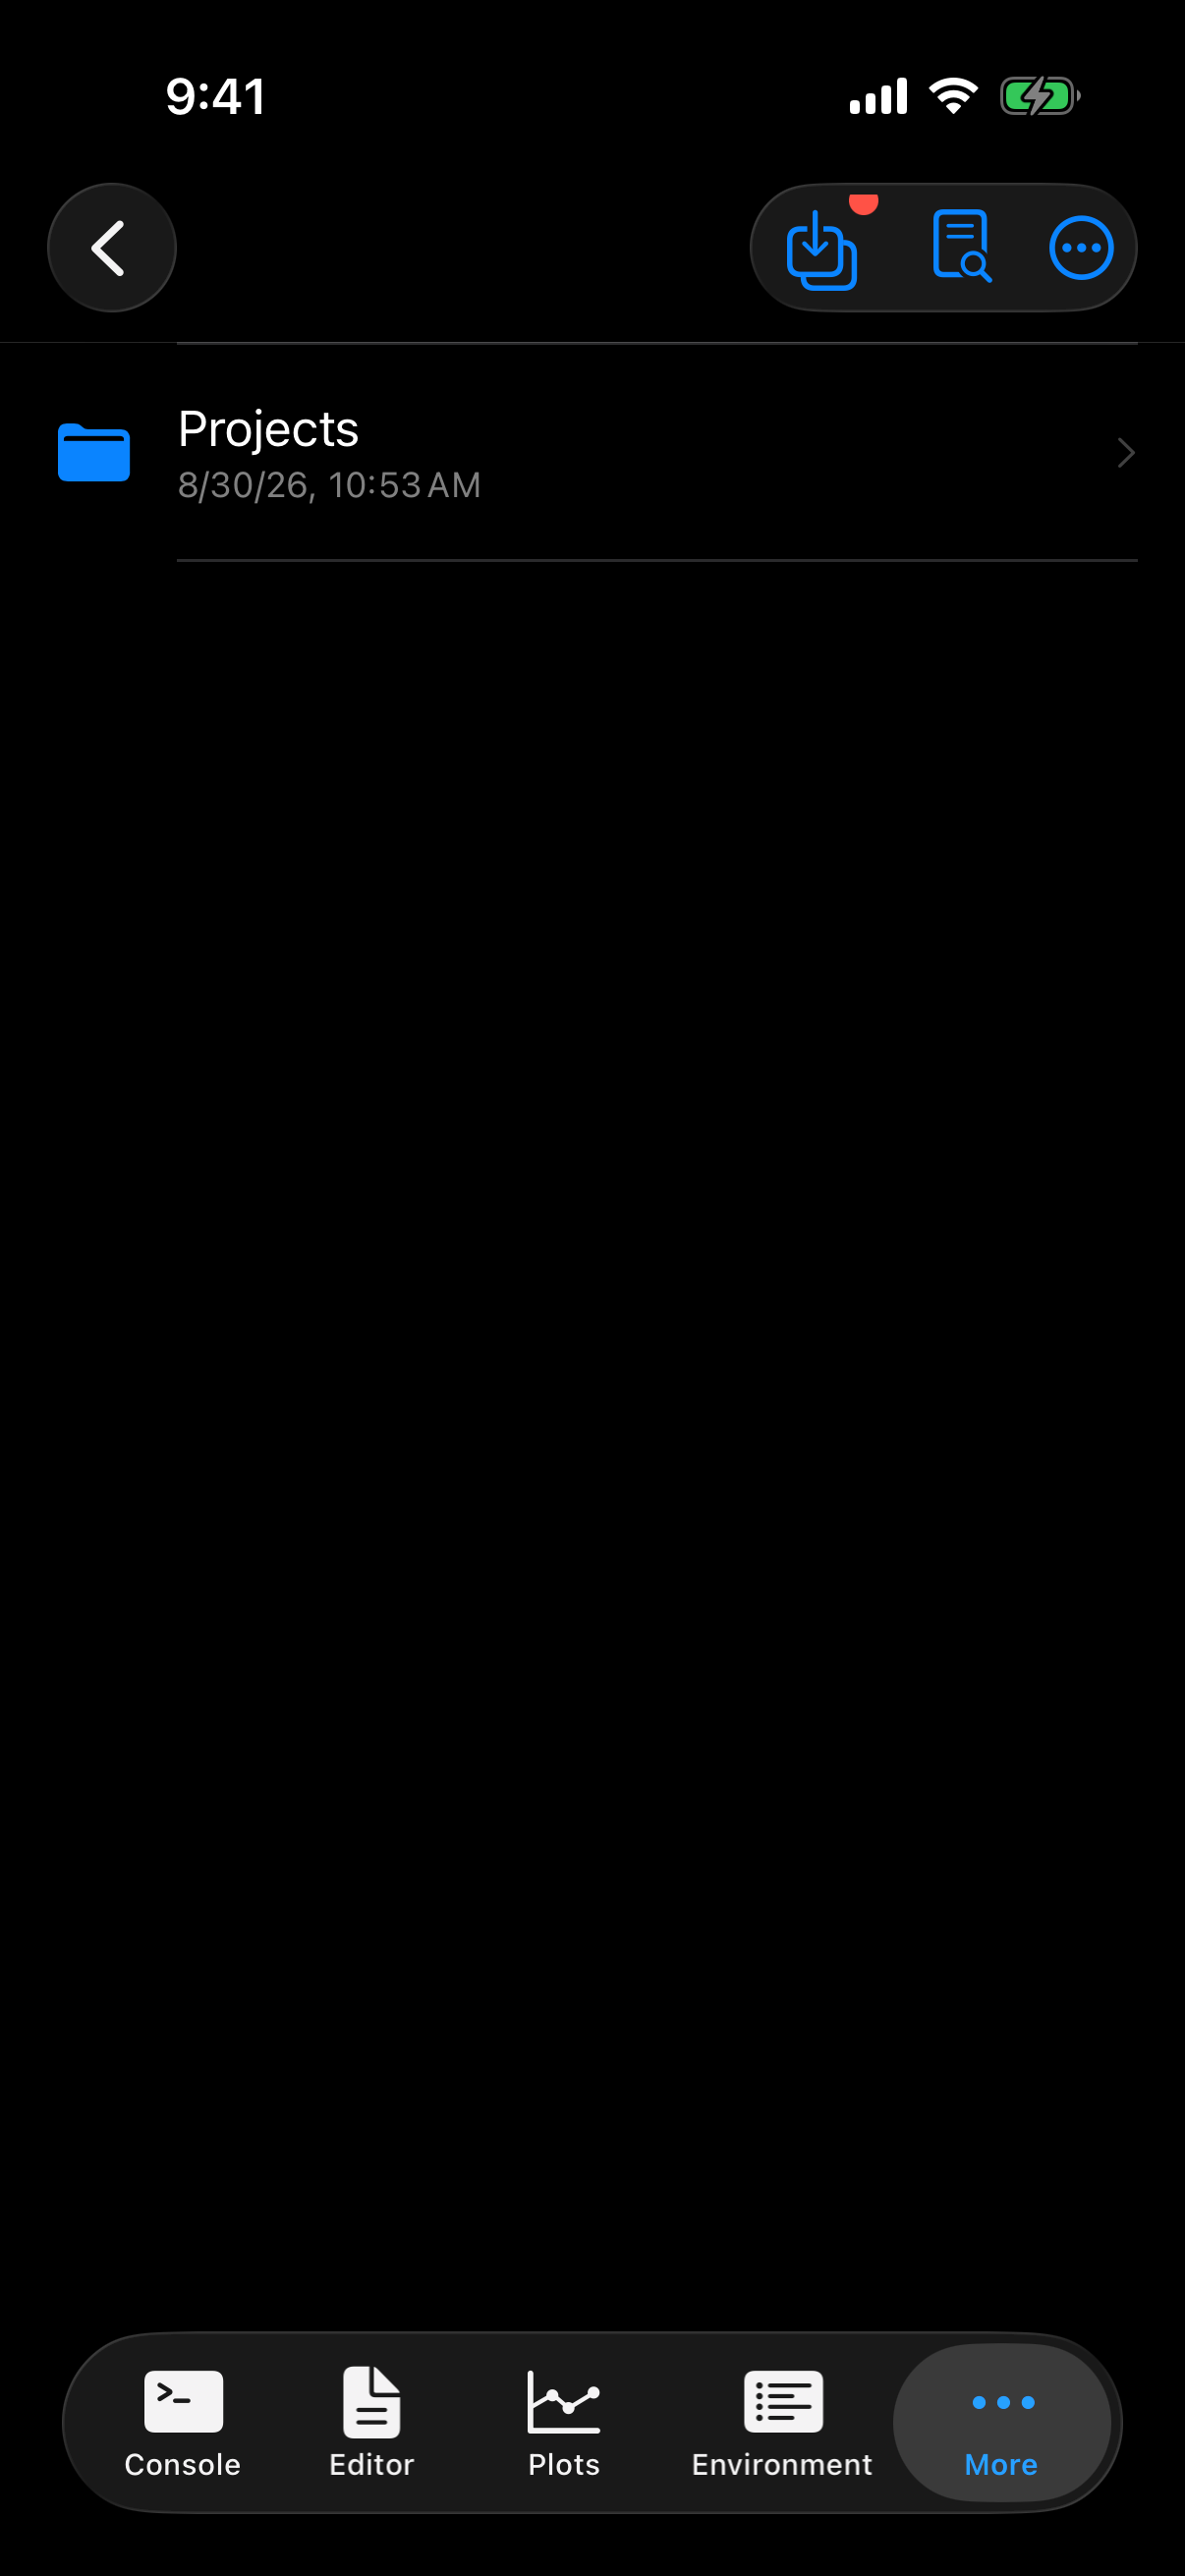
(b) Review and import the shared files
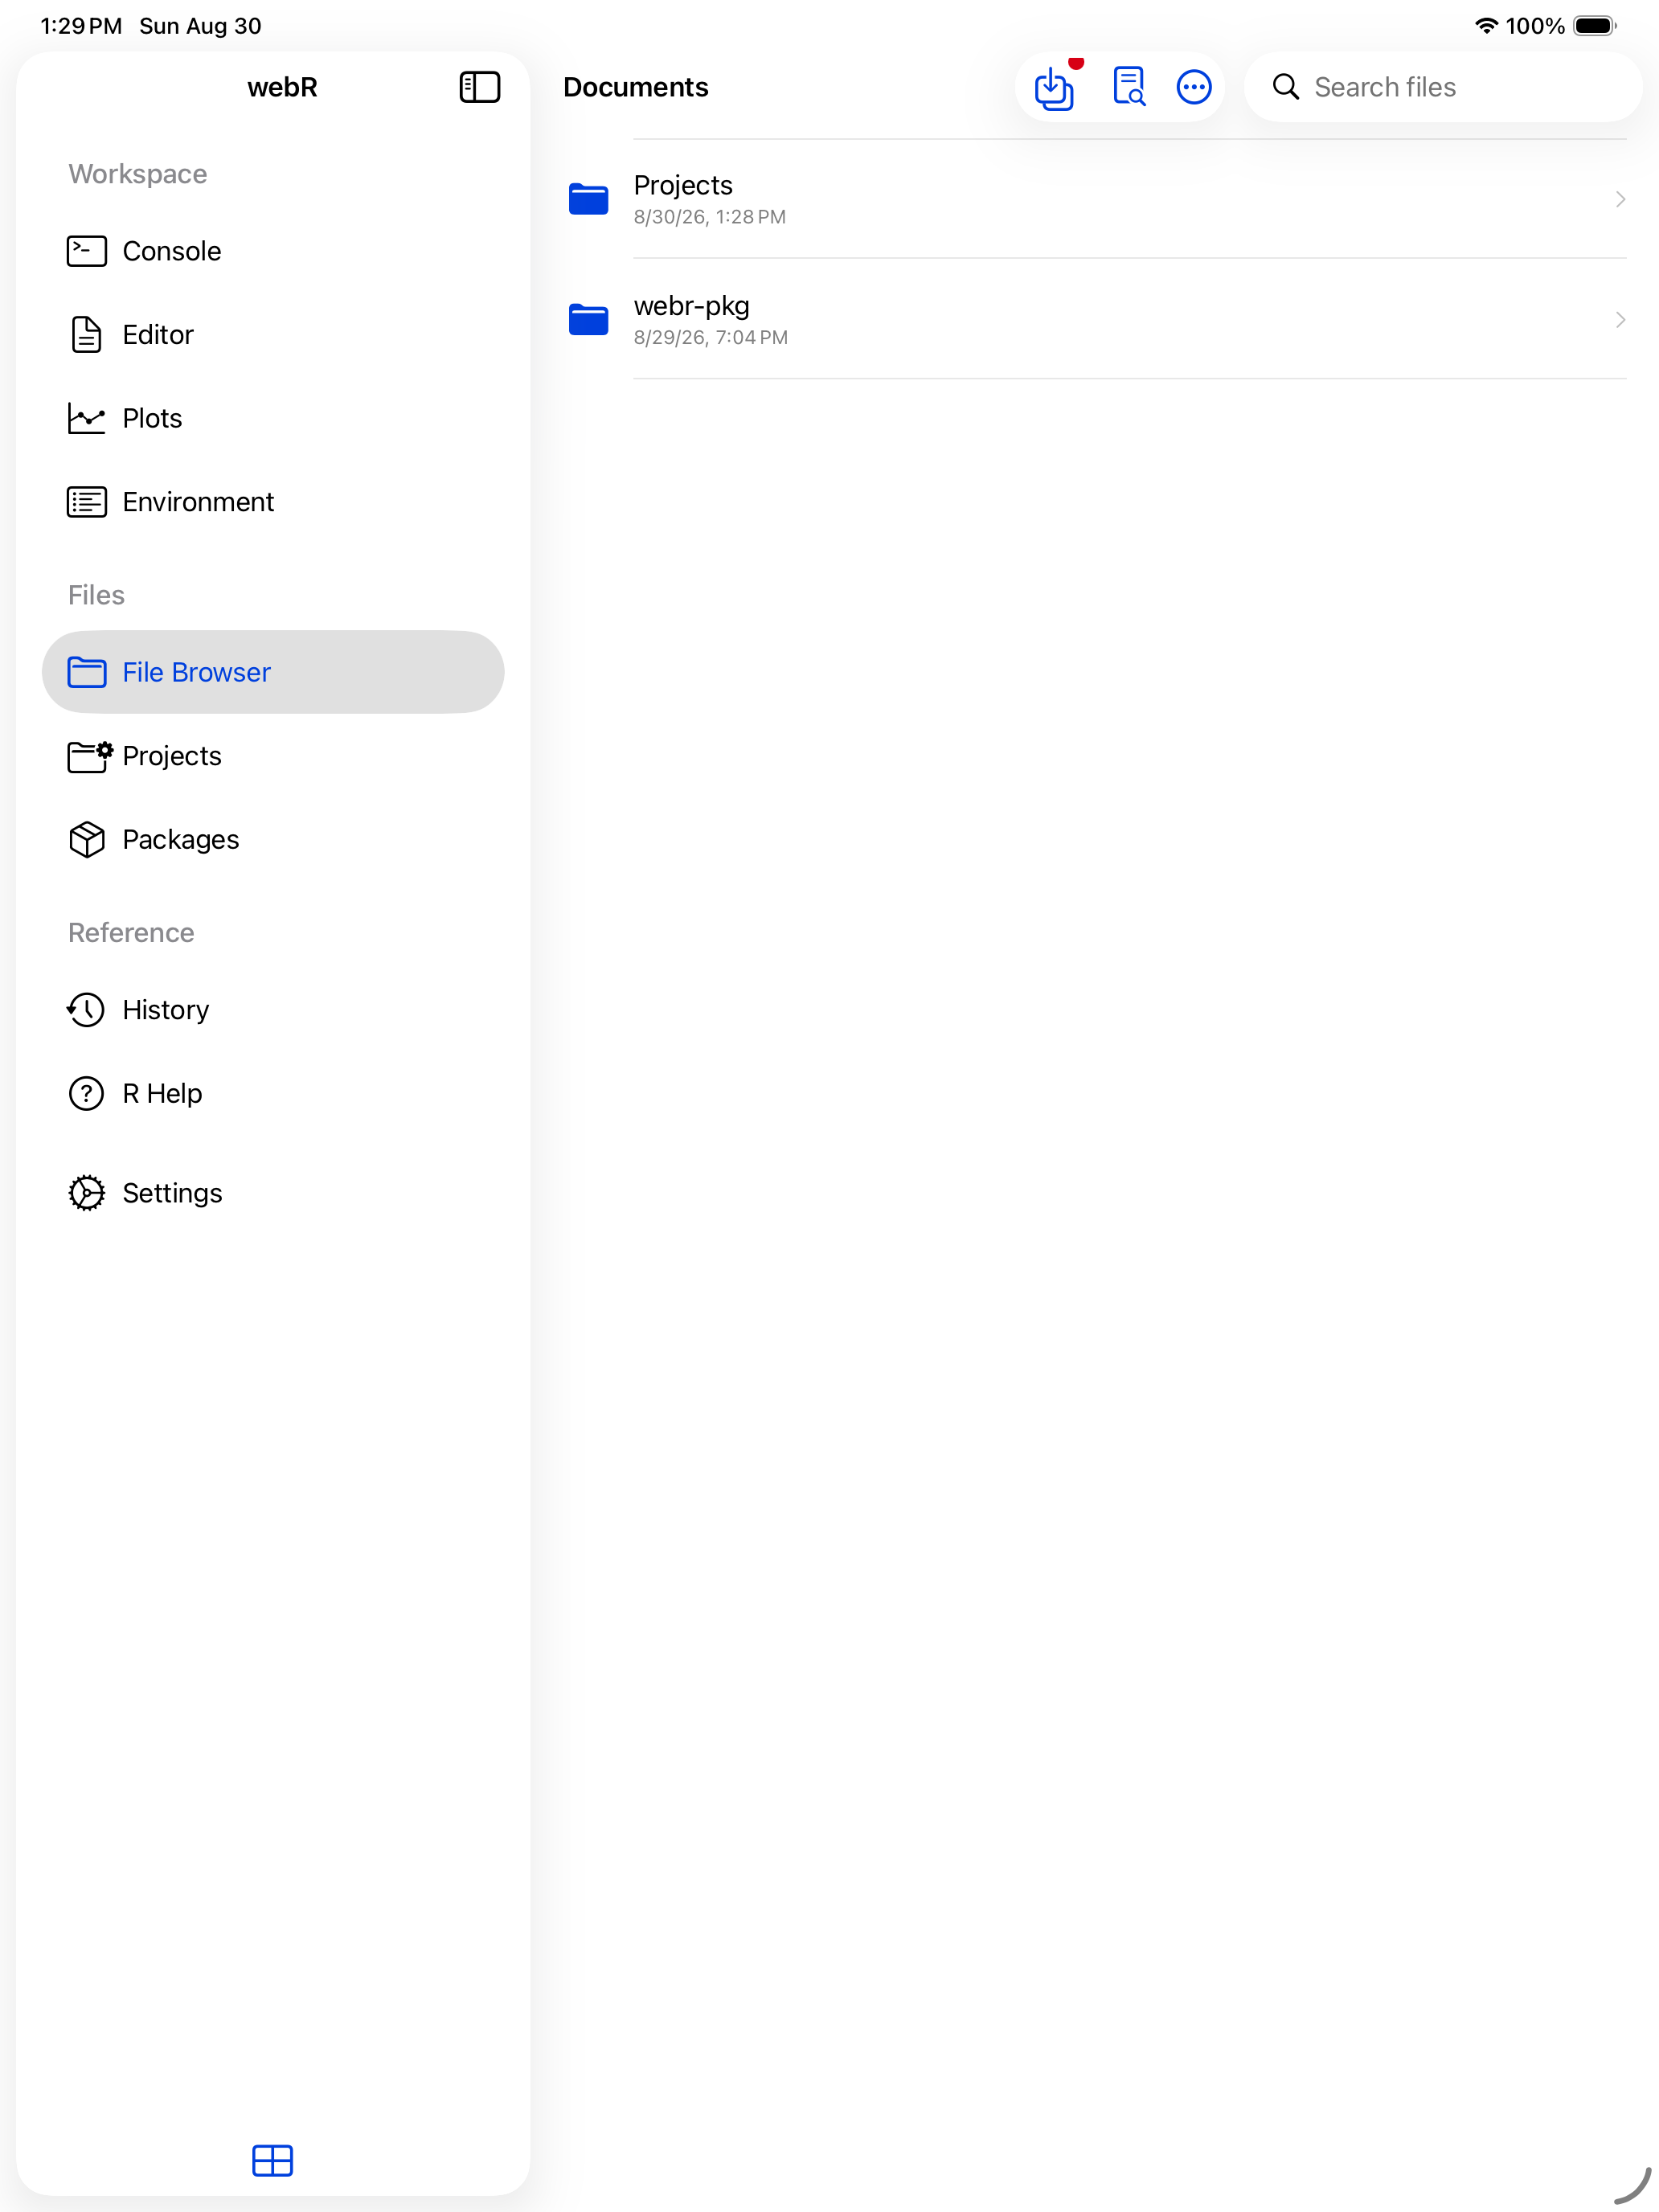
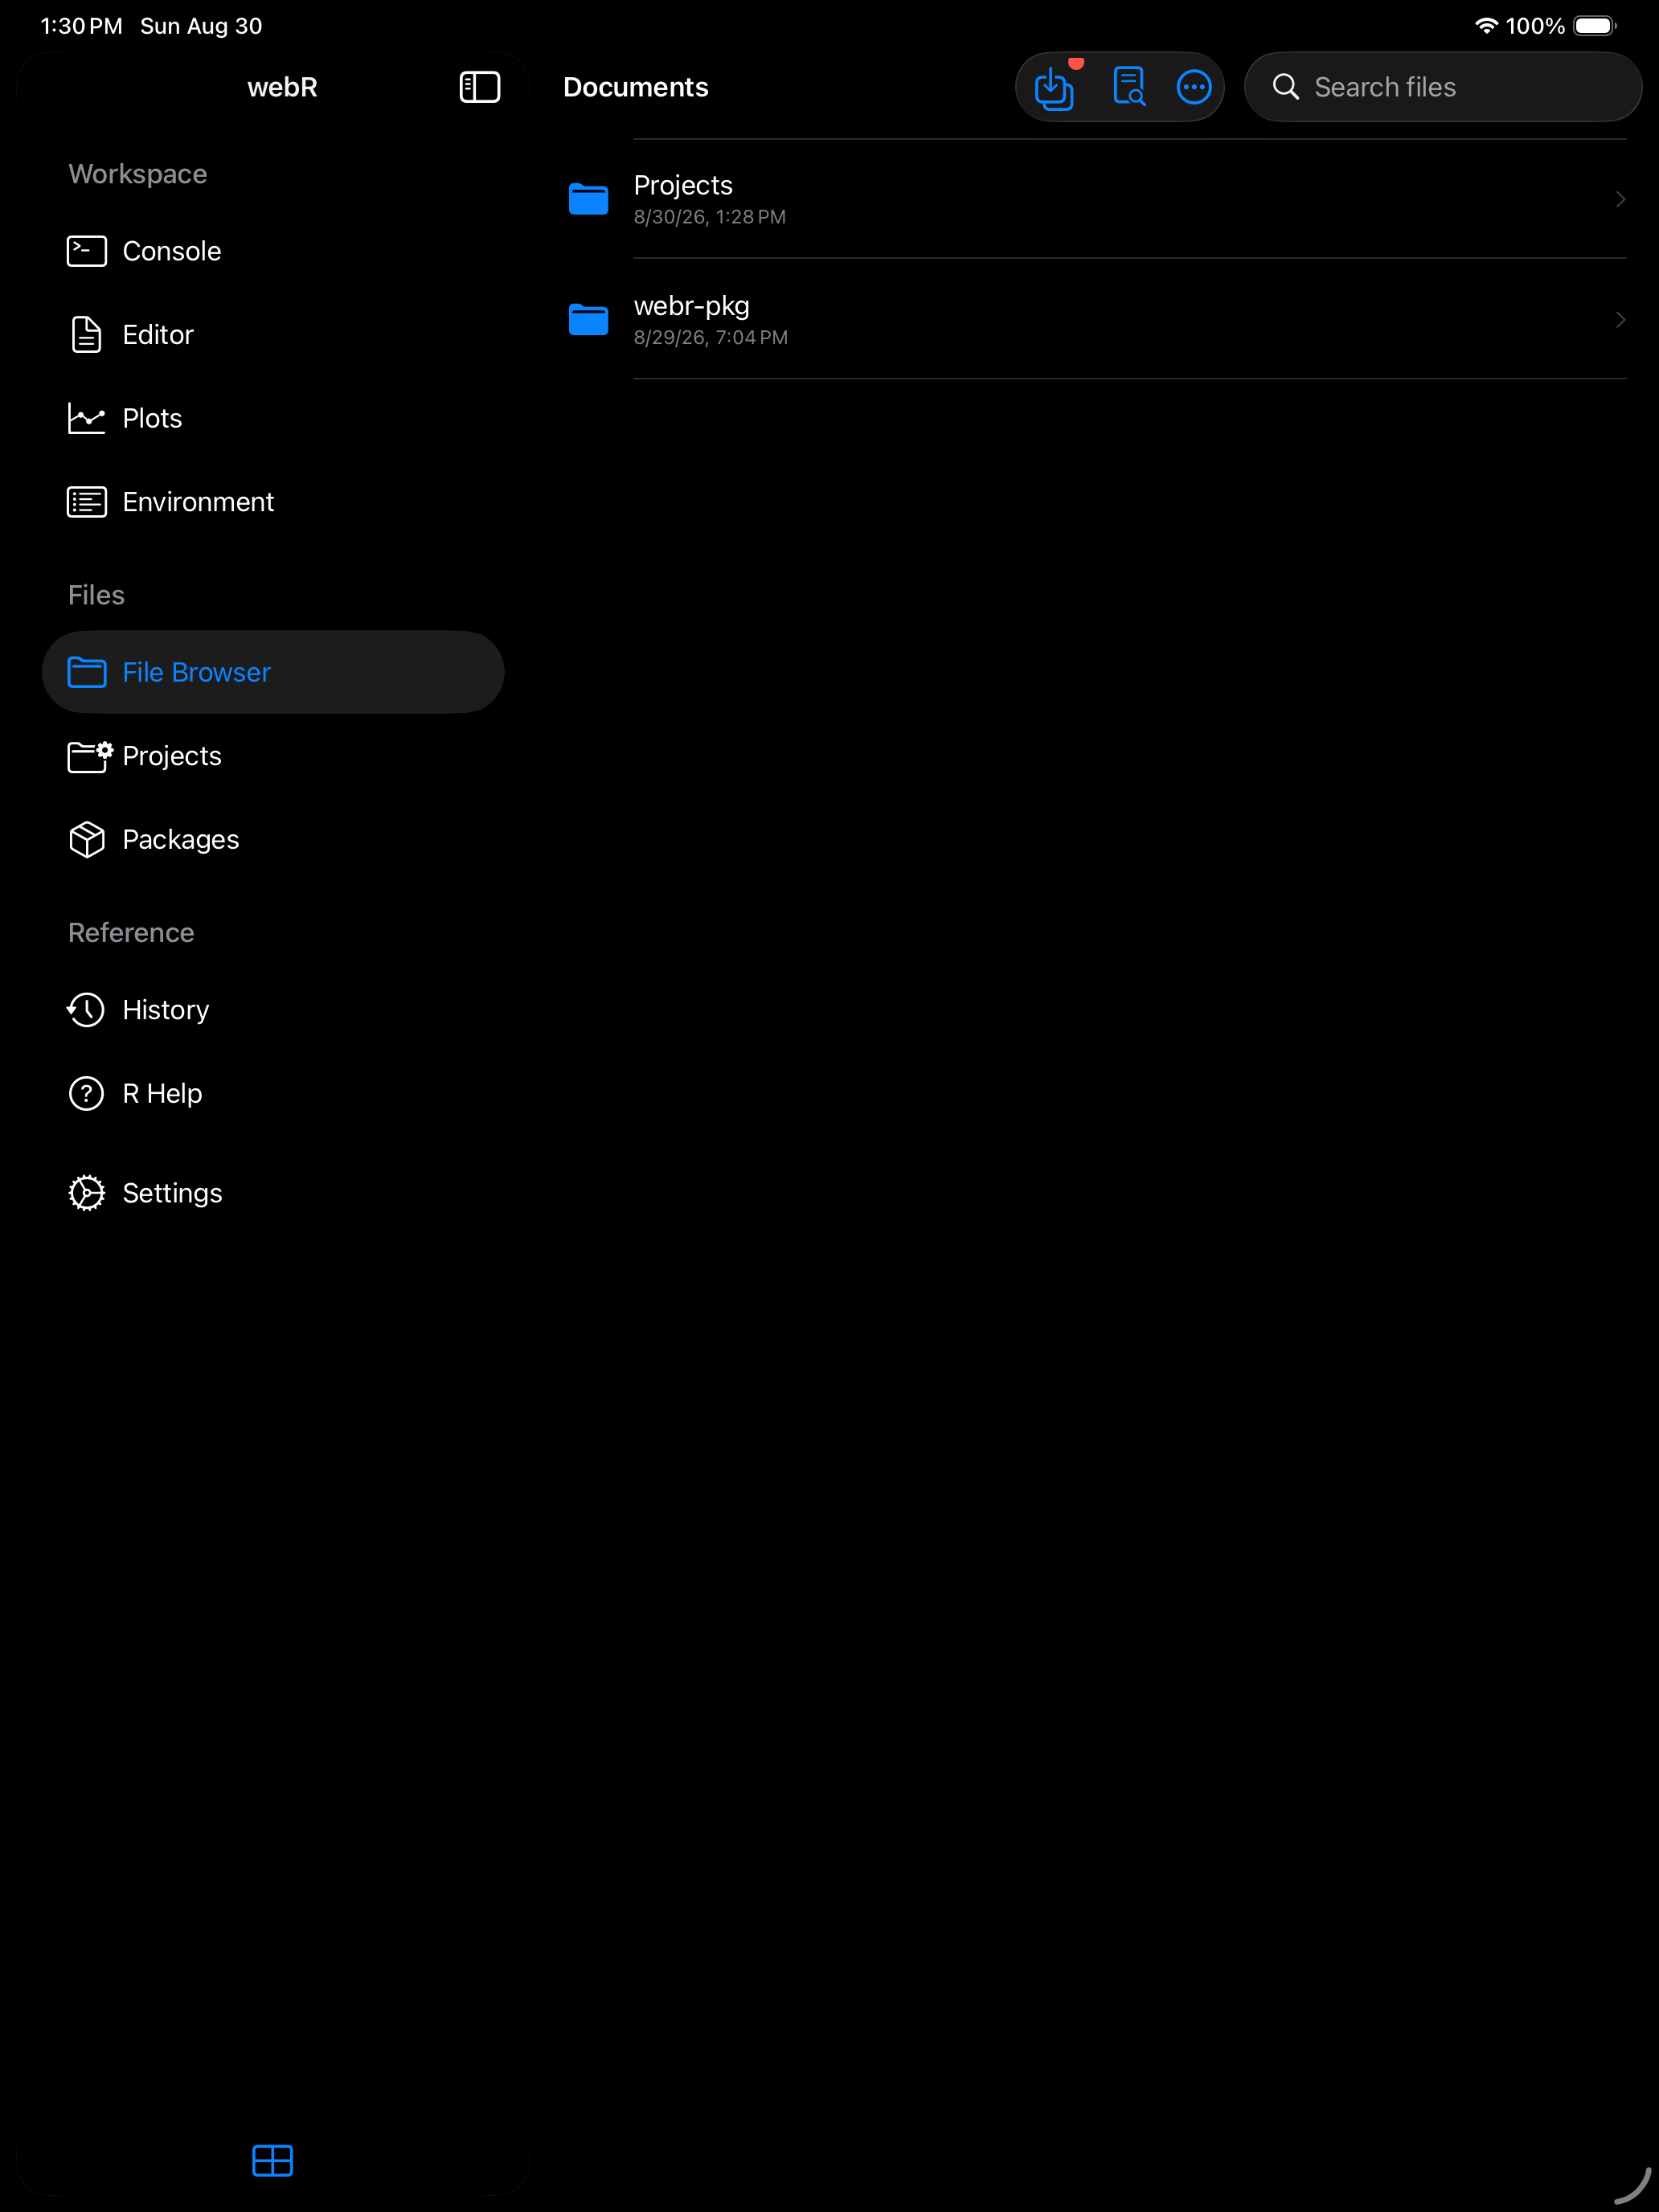
(a) A badge appears in the toolbar
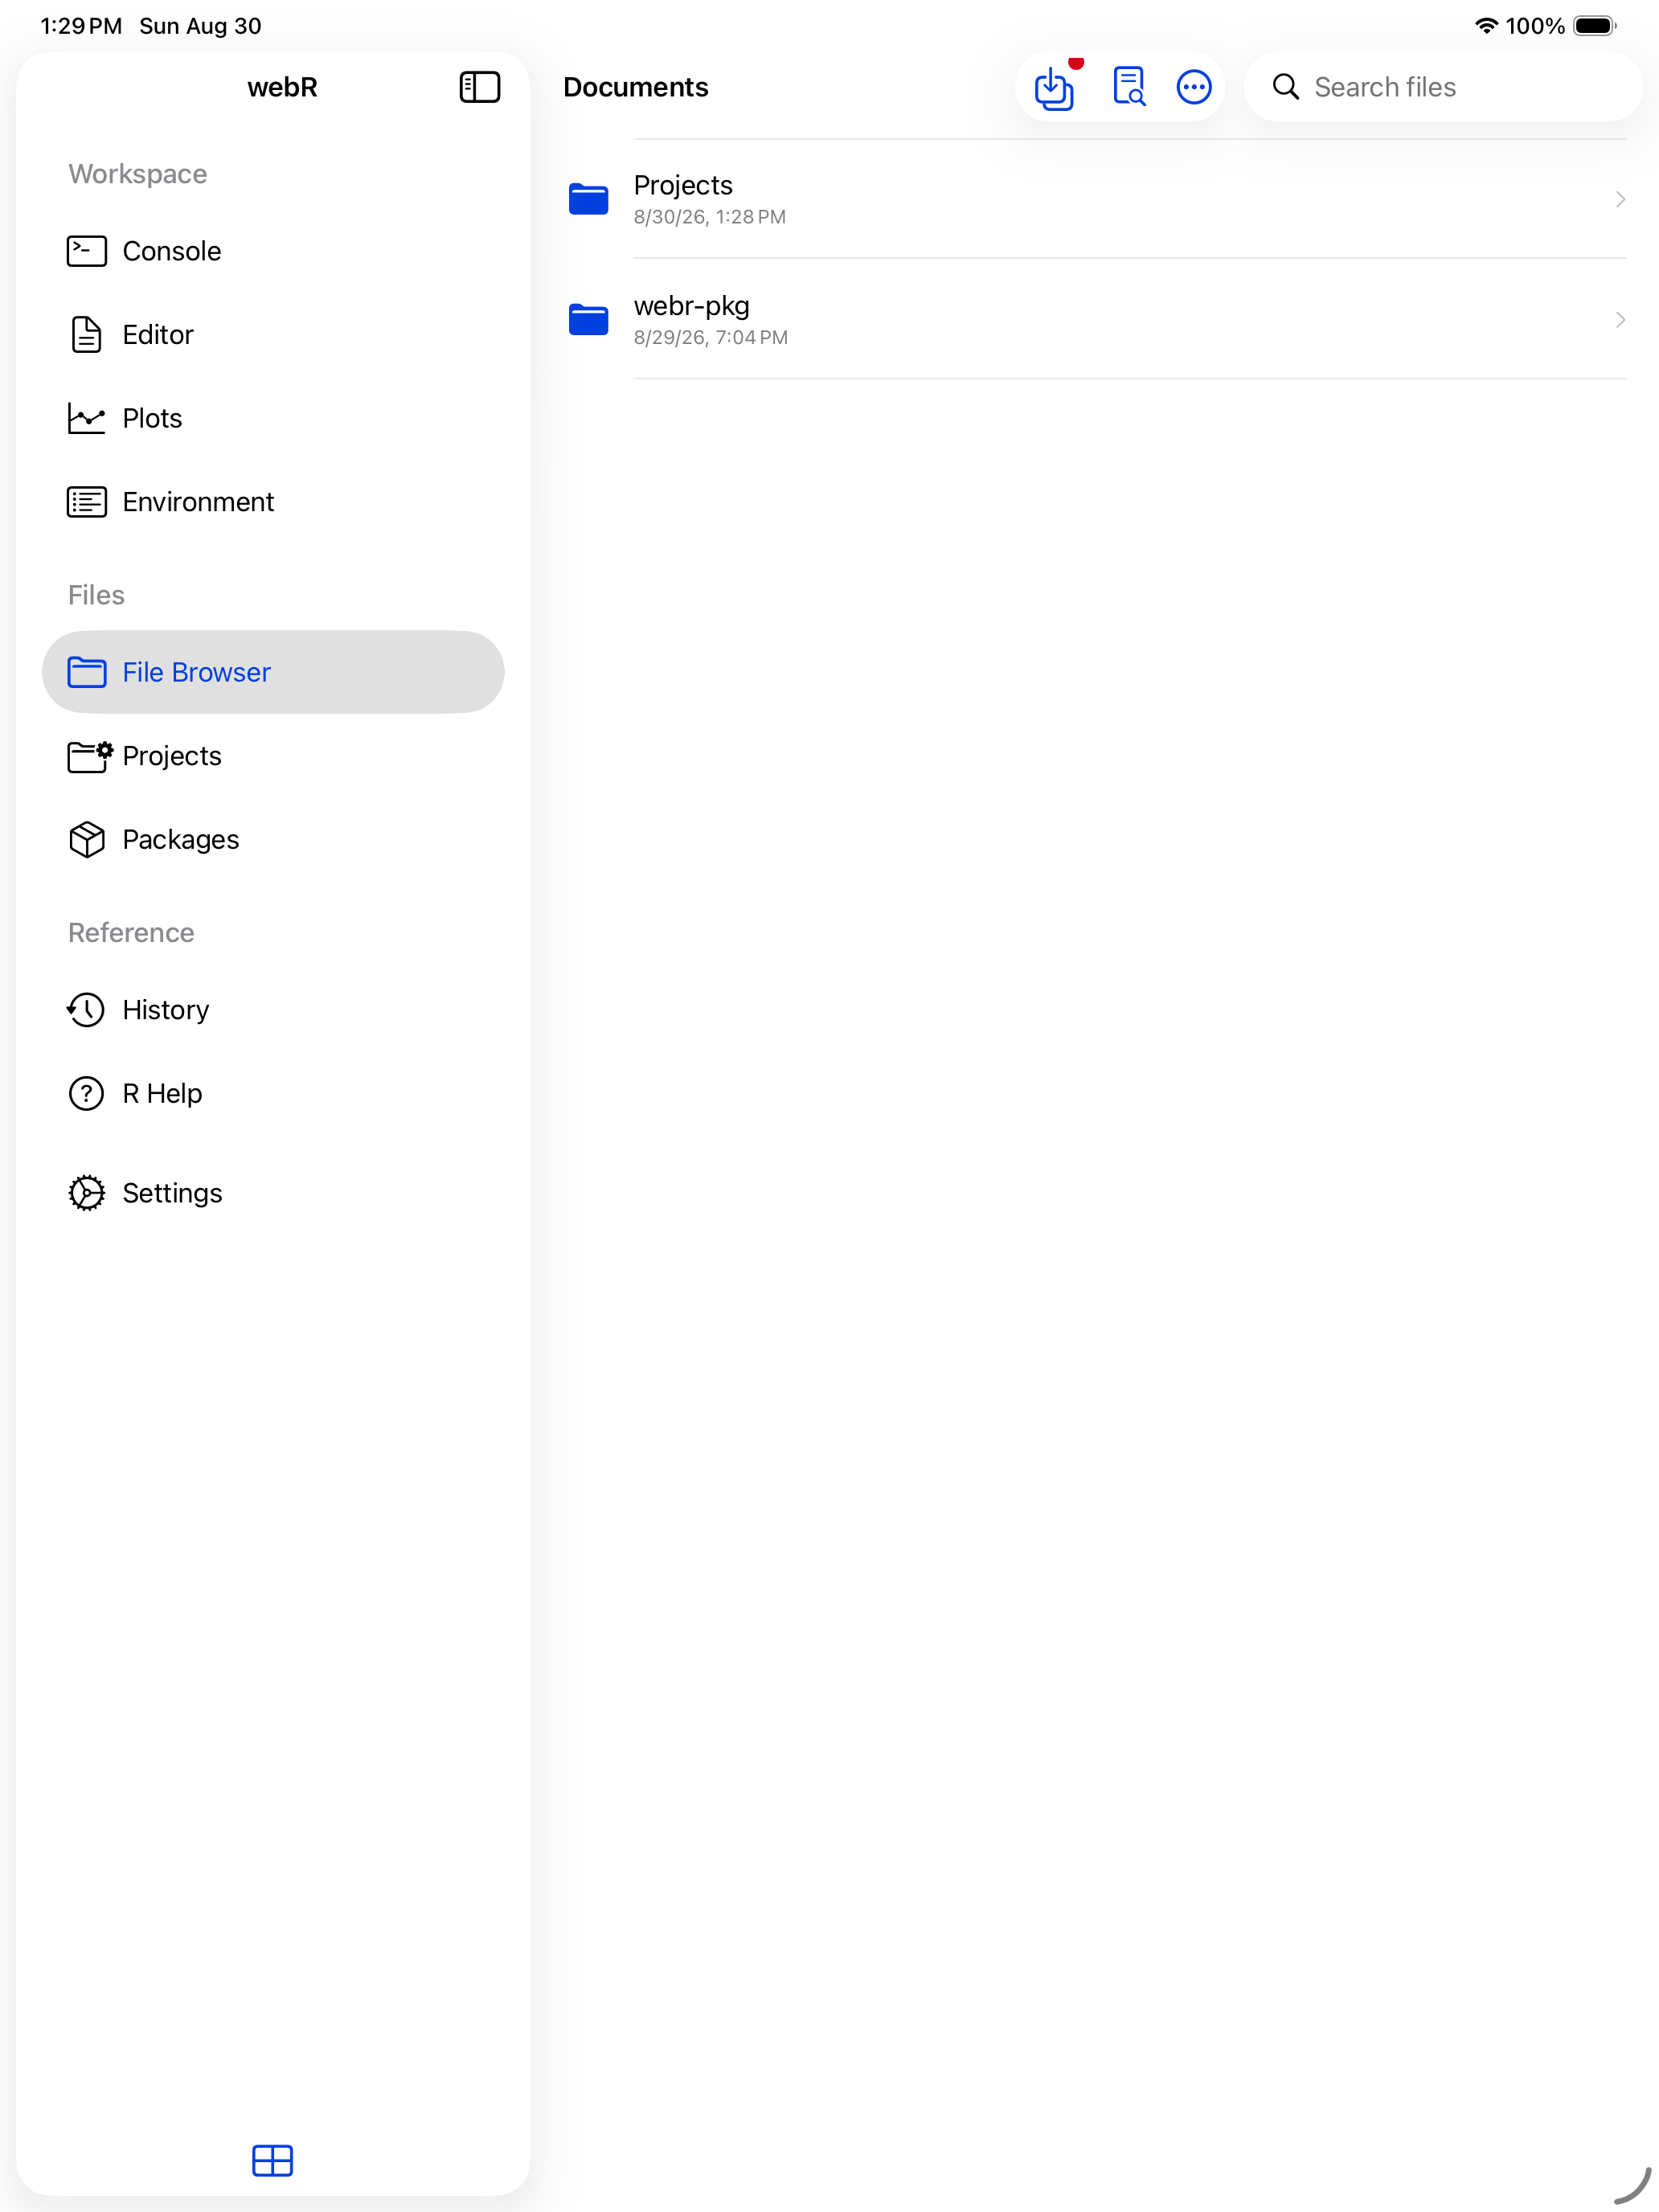
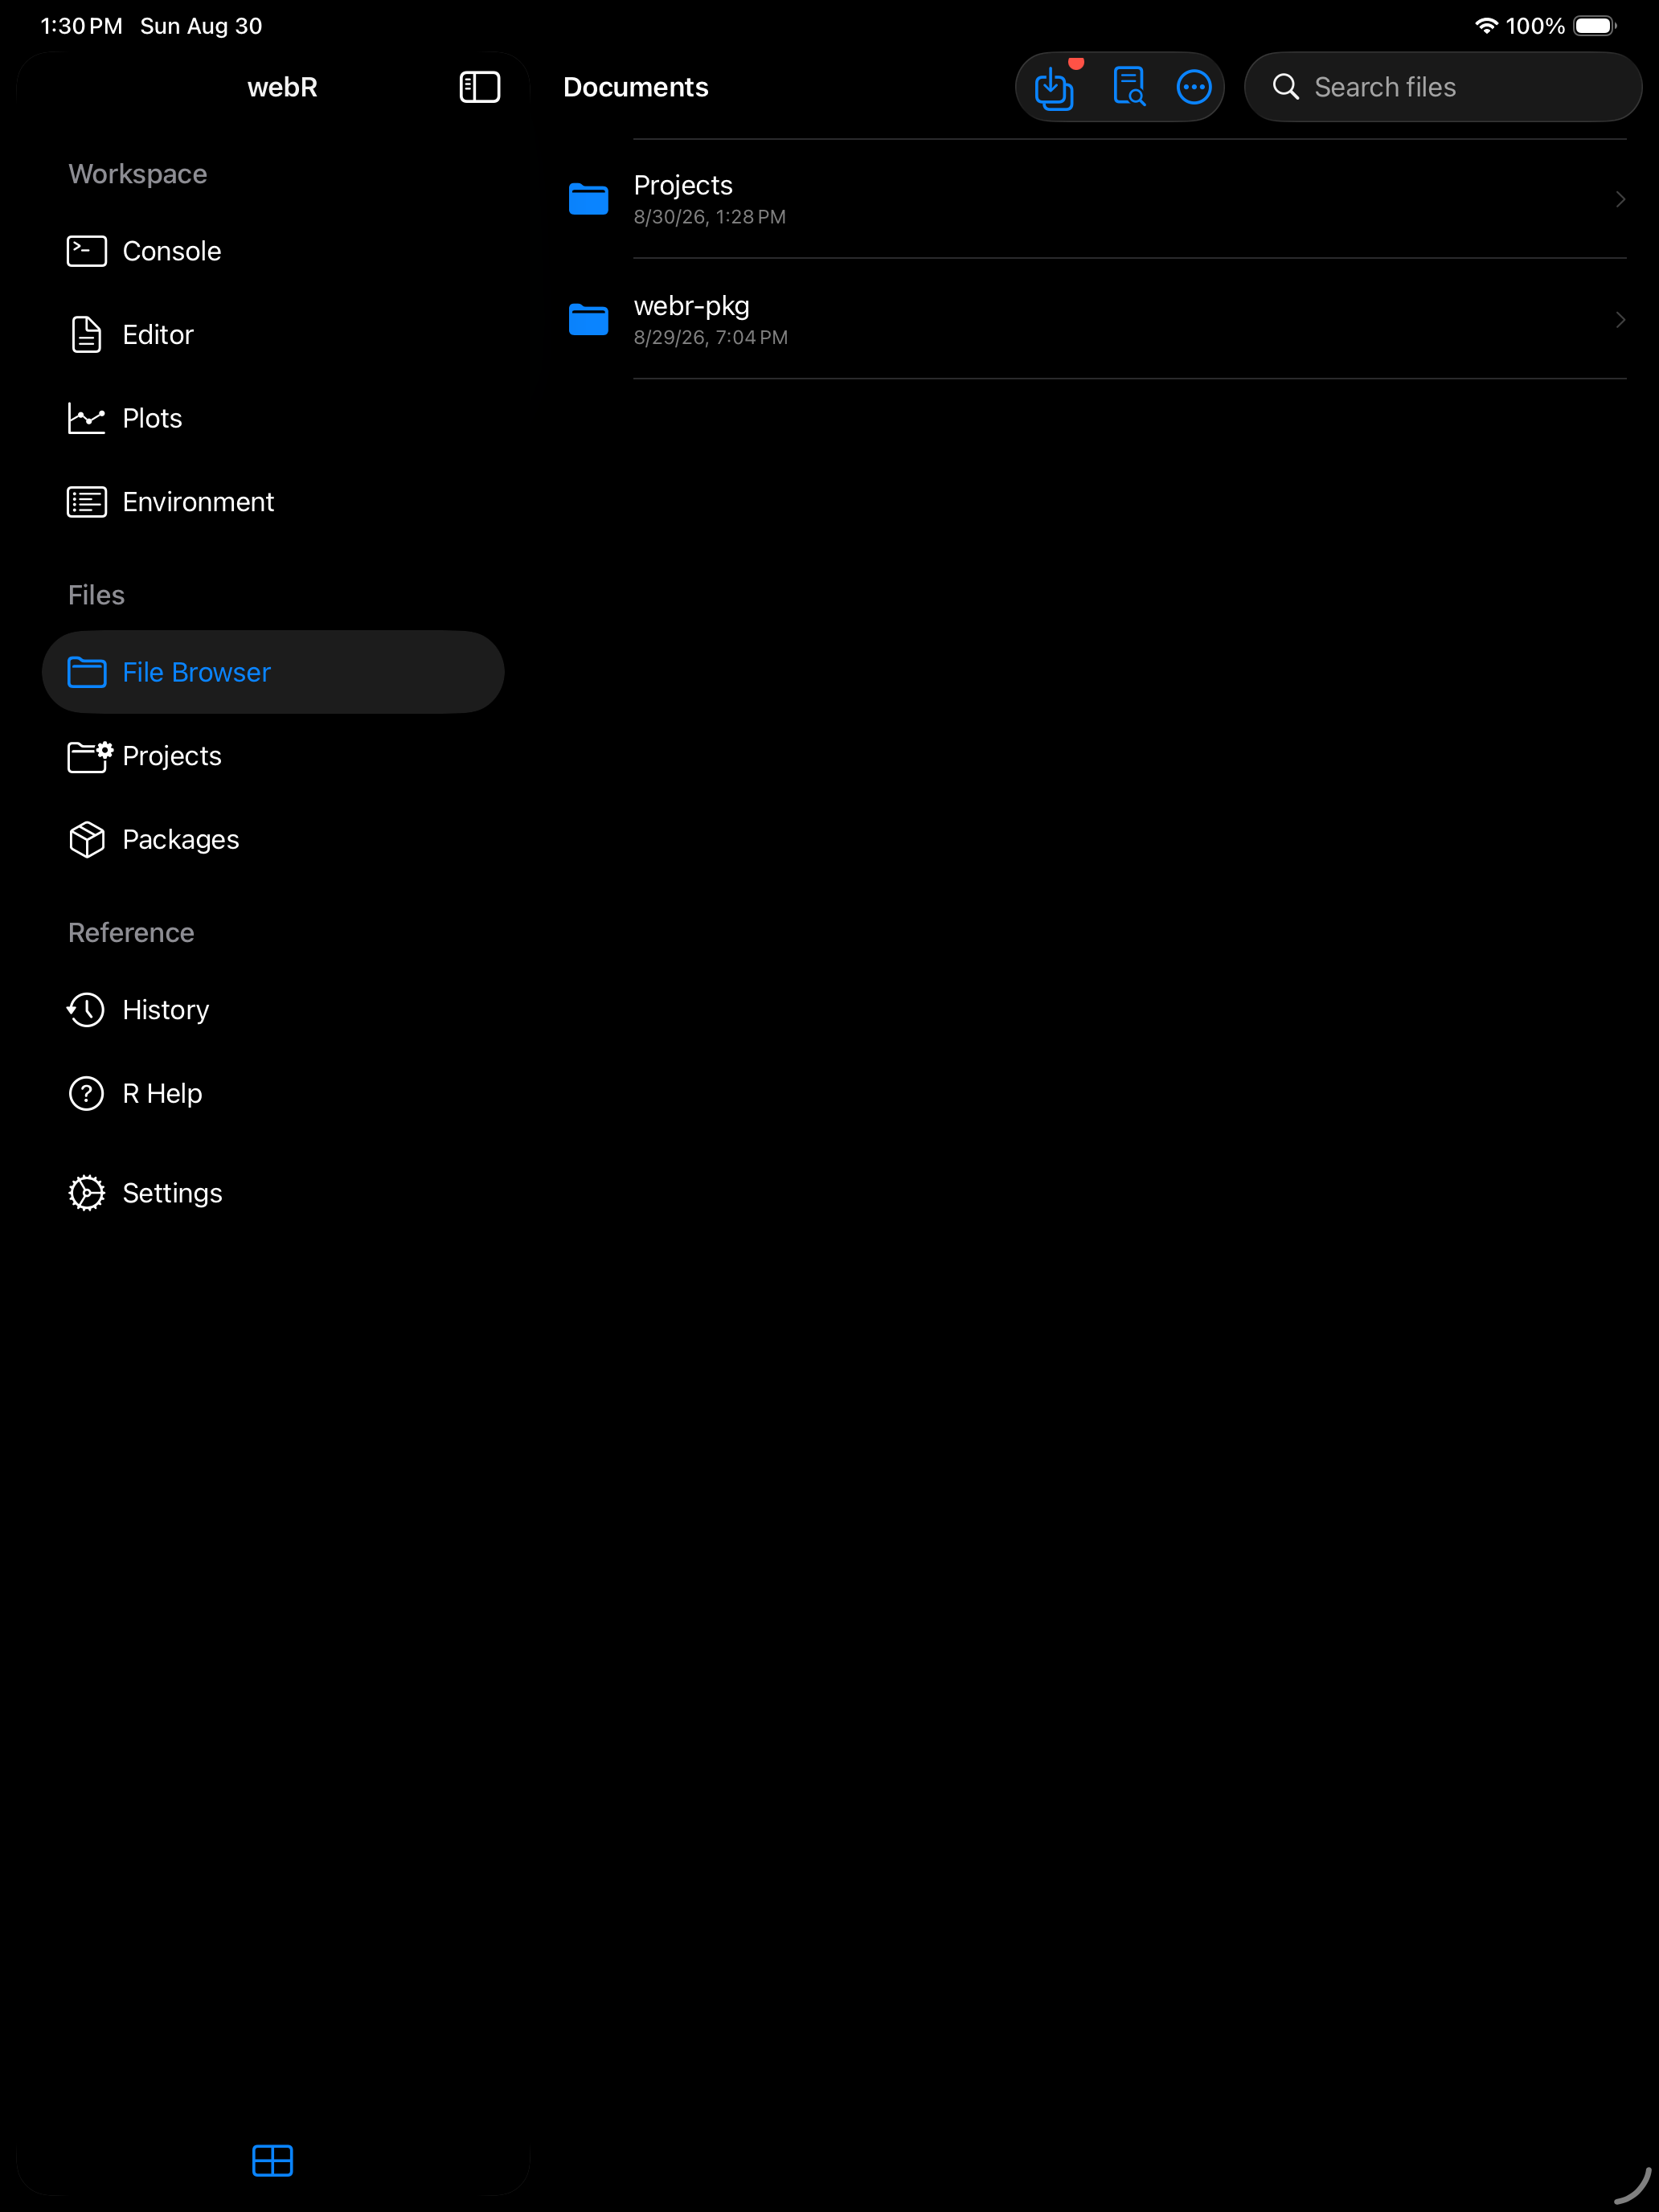
(b) Review and import the shared files
Supported file types
The editor handles any text file: R scripts, R Markdown, Quarto, plain text, logs, CSV, TSV, JSON, and Markdown. Images open in a preview viewer, PDFs and other documents in Quick Look, and .rds and .RData files load into R. Other file types appear in the list, and Files tells you when it can’t open one.
The list refreshes itself when the Editor saves a file or files are copied back from R. Pull down to refresh if you have made changes outside the app.